Disclaimer: This is a sponsored post. I purchased the Cricut Explore Air from JoAnn Fabrics. It was on sale so I did get it at a discounted price. I am also a beta tester for Cricut. There was no monetary compensation for purchasing the Cricut Explore Air or for being a Cricut beta tester. This is simply a project that I chose to make and wanted to share with my readers because I felt others would enjoy making it as well. All opinions are my own. There are also links to products I recommend from companies I have a referral relationship with. I will be compensated if you make a purchase after clicking on my links.
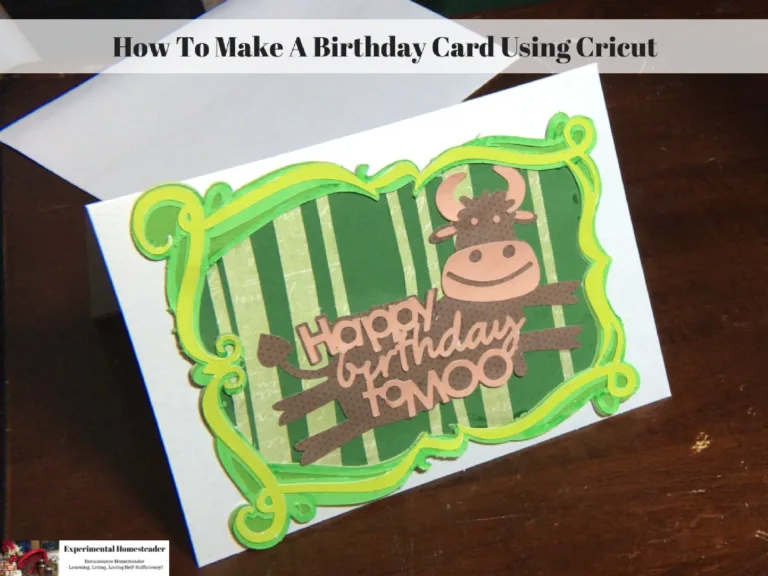
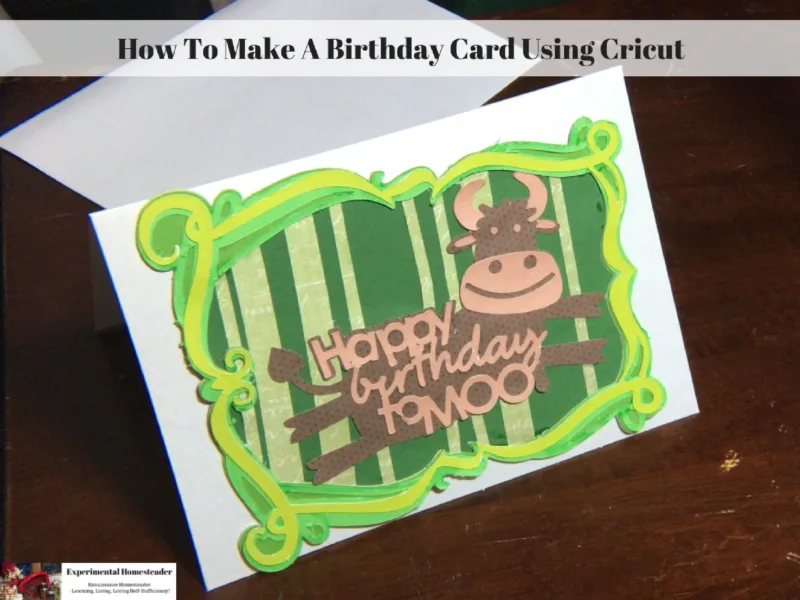
Learn how to make a birthday card using Cricut Explore Air and Design Studio!
Recently I purchased a Cricut Explore Air at a discounted price using a coupon from Jo-Ann Fabric And Craft Stores with the intention of doing some beta testing on the Project Primrose site that Cricut set up.
The site is really cool because you can share projects you have created with other users - and see what they are creating.
You do have to request a profile before you can start to share projects but if you are super creative or spend a lot of time working with your Cricut, I do recommend checking into the site.
How To Make A Birthday Card With Cricut
Below are the instructions on how to make a birthday card using a Cricut.
Print
How To Make A Cow Birthday Card With The Cricut Explore Air
Ingredients
- Both of my images came from the Cricut Access Image Library. Sign up for Cricut Access™ and get unlimited access to images, fonts and projects.
- 1 sheet yellow cardstock
- 1 sheet dark green cardstock
- 1 sheet medium green cardstock
- 1 sheet printed green cardstock
- 1 sheet peachy pink cardstock
- 1 sheet green cardstock
- 1 5 x 7 sheet of polka dotted brown paper
- Pre-made blank card and envelope
- Glue
Instructions
- I set the design up in the Cricut Design Space then opened the app on my iPad. Click here for the design template.
- I connected the iPad to the bluetooth connection on the Cricut Explore Air.
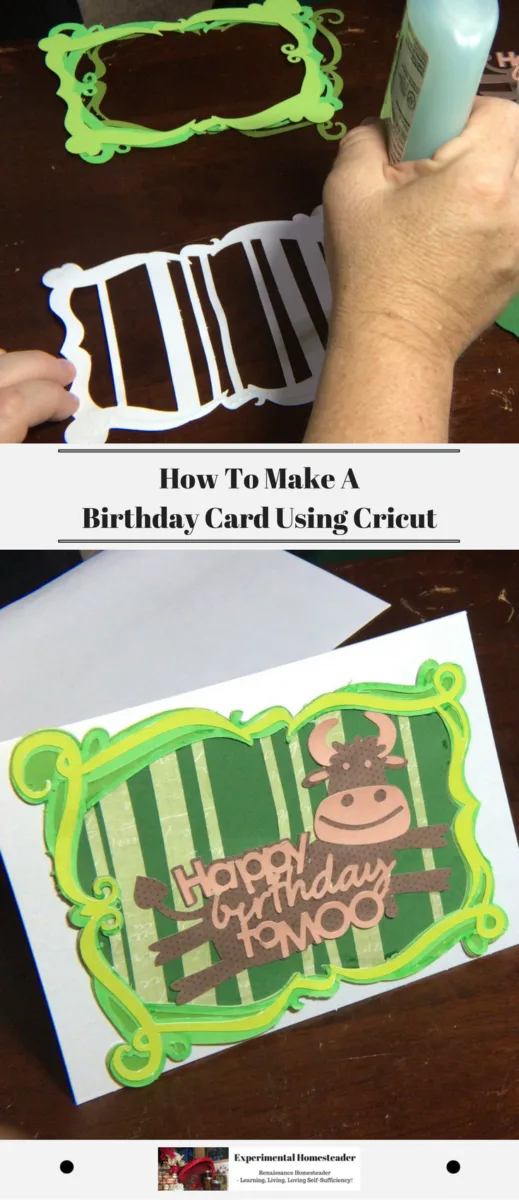
- I then cut the images, switching out the colors of the paper as needed.
- Once all the pieces of the design are cut out, glue them together and then glue the design to the front of the pre-made card.
- Allow to throughly dry.
- Now the card is ready to sign, place in the envelope and give.
Notes
Note: I used 12 x 12 sheets for all the paper except the polka dotted brown but 5 x 7 sheets are plenty large.
I highly recommend the following articles:
- Easy Handmade Birthday Cards For Moms
- Easy Handmade Cards For Halloween
- Valentine Crafts: Cute DIY Tabletop Photo Holder
- How To Make Birthday Safari Theme Decorations
- How To Make A Mini-Book Cricut Card
Use the buttons on the right-hand side of the screen to share this article with friends or family who might find it useful. Pin the picture below to your pinboard on Pinterest for future reference.


