
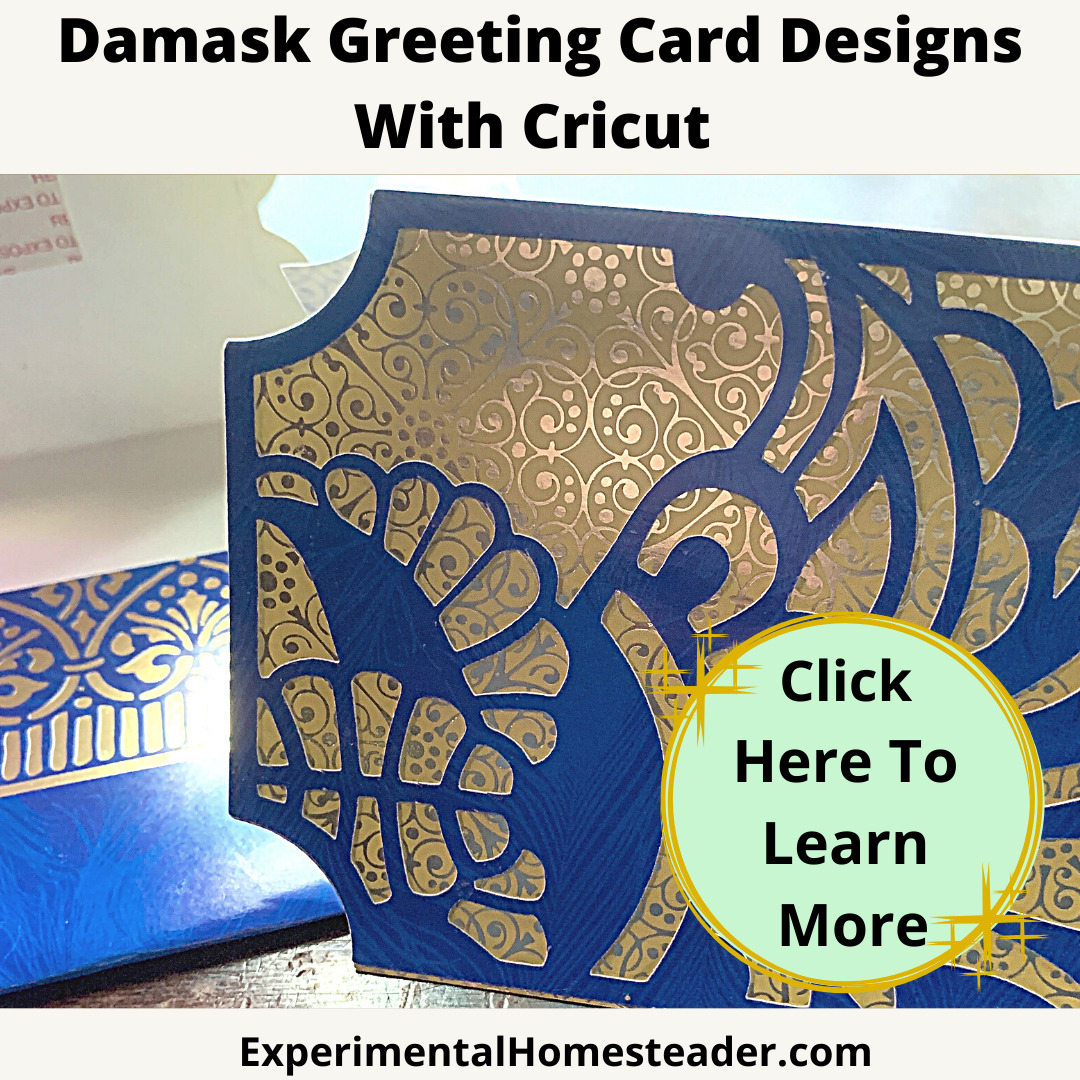
Knowing how to make a card on Cricut gives homesteaders a chance to combine creativity with frugality, saving money and possibly earning extra income along the way.
On a homestead, every dollar we save or make counts.

We’re often looking for ways to use what we have, be resourceful, and create beautiful, useful items without relying on mass-produced goods.
Handmade cards fit perfectly into that lifestyle, combining artistry, frugality, and practicality.
Over the years, I’ve noticed something special happens when you give someone a handmade card.
Their reaction is different compared to when you hand them a store-bought one.
A store-bought card is lovely, of course, but it doesn’t carry the same heart and soul as something you’ve made with your own hands.
Whether it’s the feel of the textured cardstock, the vibrant colors you’ve chosen, or the personalized message inside, each detail speaks volumes about the time and care you’ve invested.
And if you’re already living a homestead lifestyle, making soap, canning preserves, or sewing clothes, cardmaking is a natural extension of those skills.
Making your own cards is another step toward living more sustainably, and it could even become a small income stream for your homestead.
Sure, a Cricut machine might seem like a big investment at first, but with all the different ways you can use it around the homestead, it practically pays for itself before you know it.

Why Handmade Cards Belong on a Homestead
At first glance, cardmaking might not seem like an essential skill for a homesteader.
We think of livestock care, gardening, food preservation, and self-sufficiency skills as the backbone of the lifestyle.
But creativity has always had a place in rural living.
Handmade goods were a way to avoid store trips, save money, and put personal touches on gifts and correspondence long before online shopping became the norm.
A good card can be more than just paper, it’s a keepsake.
In the past, letters and cards were treasured for years, tucked away in boxes or scrapbooks.
Today, while so much of our communication is digital, a handmade card still carries weight and meaning.
It can mark a special moment, offer encouragement, or simply let someone know they are thought of.
For the homesteader, there’s also the frugal side of cardmaking.
Store-bought cards, especially those that are embellished or artistically designed, are expensive.
It’s not uncommon to see them priced between $5 and $10 each.
By creating your own, you can produce something equally beautiful for just pennies on the dollar.
And the best part is, you can customize it for the exact occasion, personality, or style of the recipient.
The Profit Potential
If you’ve been to a farmers market or craft fair recently, you’ve probably noticed how popular handmade cards have become.
Many small creators sell them individually or in themed sets, and buyers are willing to pay for something that feels unique.
Selling handmade cards could become an easy side business for a homesteader.
Imagine pairing a set of floral-themed cards with a jar of your homemade jam for a gift basket.
Or selling holiday card sets alongside your baked goods at the local Christmas market.
You could even offer personalized cards for weddings, birthdays, or thank-you notes - perfect for customers looking for something they can’t find in a store.
Online platforms like Etsy, Facebook Marketplace, or your own homestead website make it simple to reach a wider audience.
And if you already have a social media presence for your homestead, cardmaking content - photos, tutorials, and product listings, can attract customers who appreciate your creativity and craftsmanship.
Why I Love Using the Cricut Maker for Cardmaking
Before I started using my Cricut Maker, I made cards completely by hand.
That was rewarding, but also time-consuming, especially if I wanted to make multiples.
The Cricut Maker changed the game for me.
It allows me to design, draw, and cut precise shapes quickly, so I can focus on the fun part -choosing colors, adding embellishments, and making each card unique.
The fine point pens are especially great for adding text and intricate details without having to rely on my handwriting, although I sometimes mix in handwritten notes for that extra personal touch.
The pens give a clean, professional finish while still letting me control the design completely.
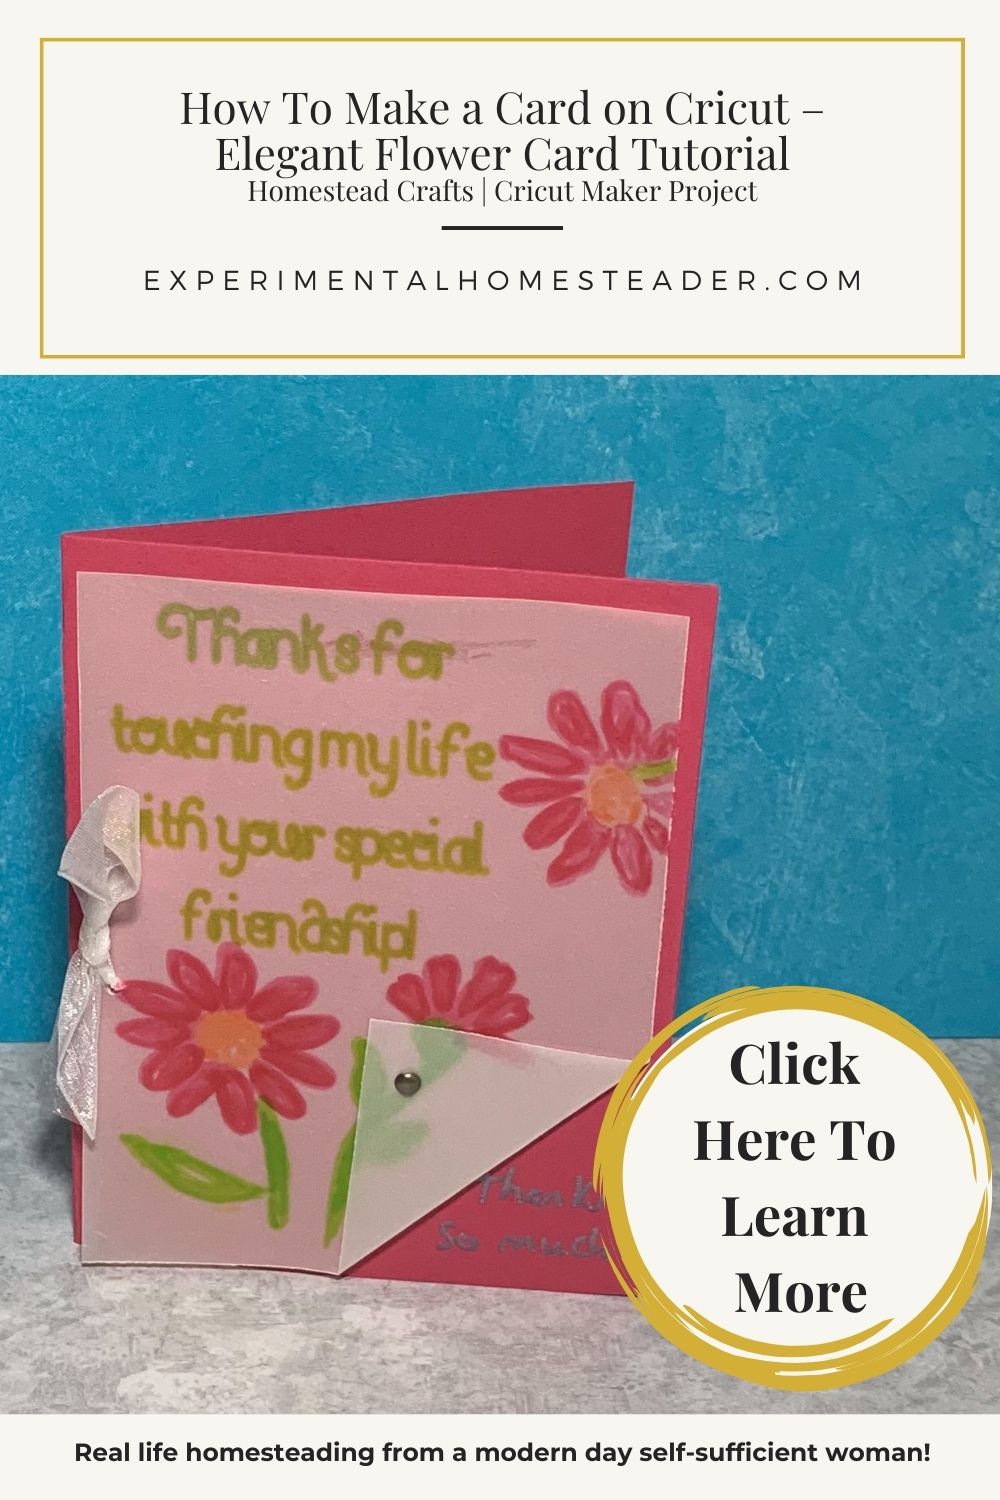
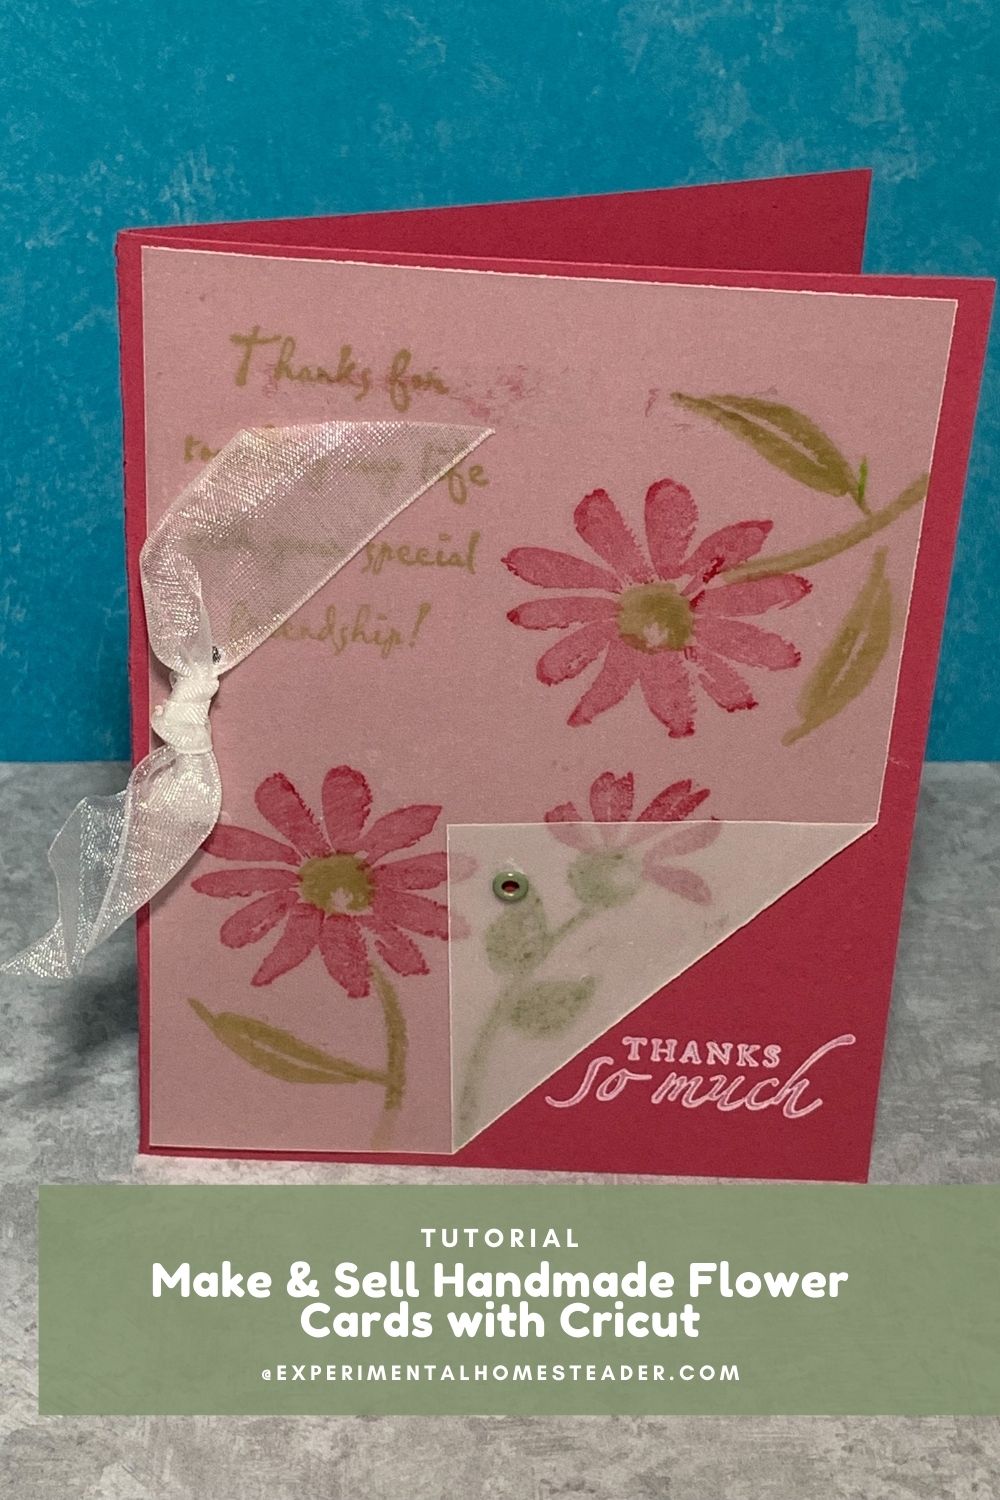
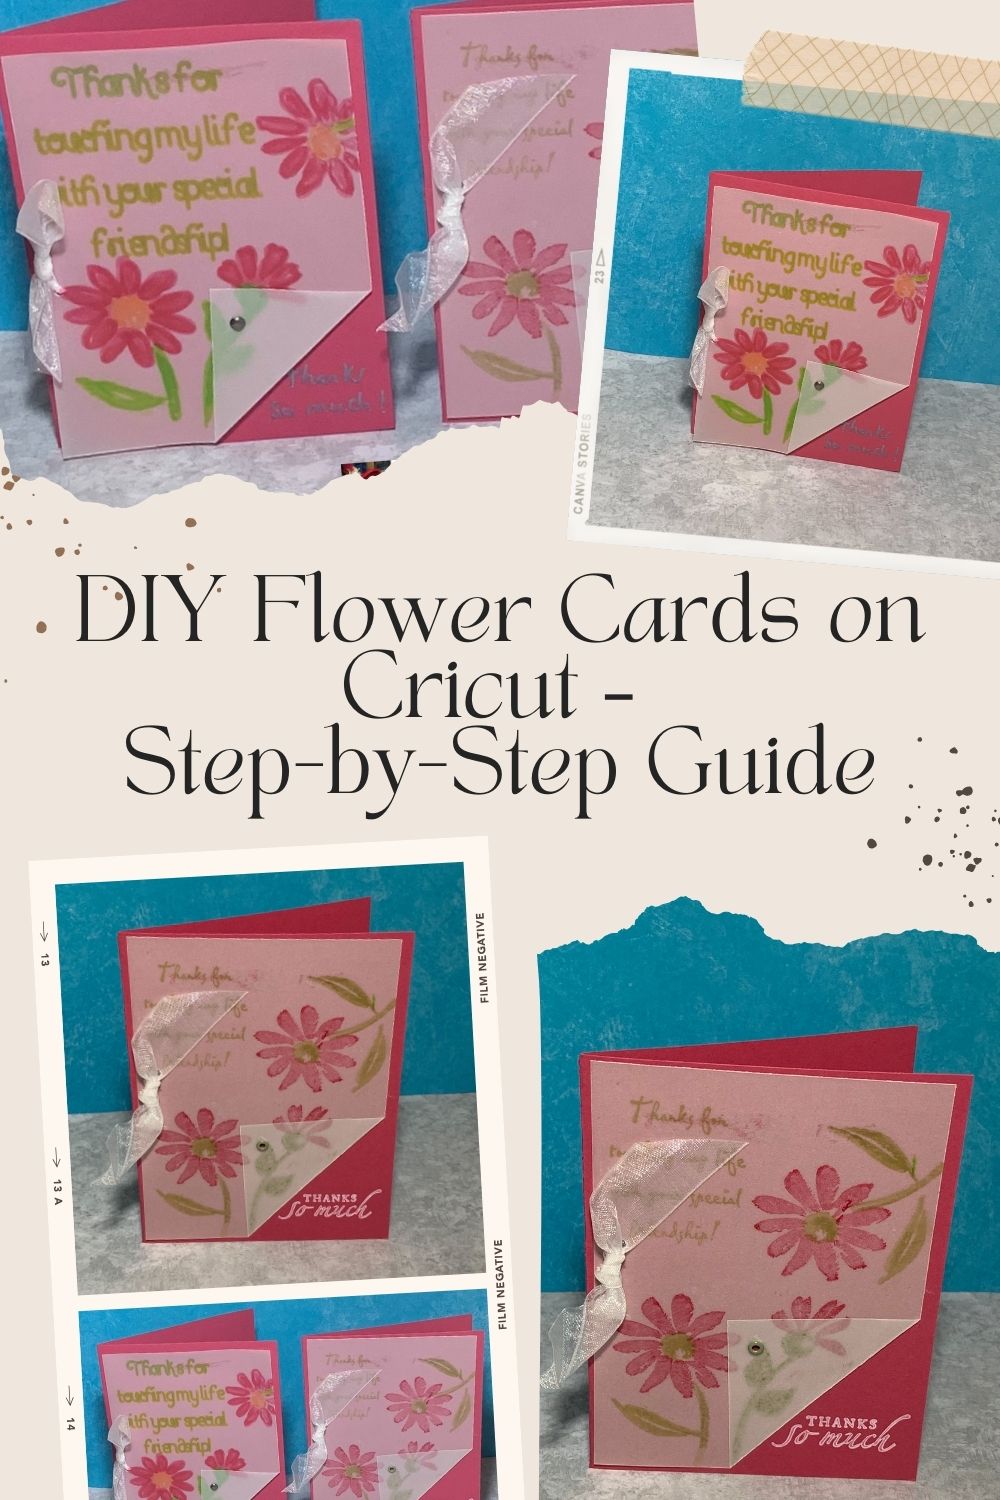
For this particular flower card set, the Cricut Maker did most of the precision work - drawing the flowers, cutting the card layers, and helping me line everything up perfectly.
This means I can create a polished, sellable product in far less time than it would take me to do everything manually.
The Gift-Giving Advantage
On a homestead, I’m always looking for ways to make gift-giving more meaningful without breaking the budget.
Handmade cards are a perfect solution.
Not only can I design them to match the personality of the person I’m giving them to, but I can also pair them with other handmade items from the homestead.
For example:
-
Garden-themed cards paired with a packet of heirloom seeds.
-
Floral thank-you cards tied with twine to a jar of homemade honey.
-
Rustic holiday cards paired with a small bag of spiced nuts or a cinnamon-scented candle.
These small, thoughtful touches turn a simple gift into something memorable.
And because I make the cards myself, I don’t feel like I’m spending unnecessarily on packaging or presentation.
Customization is Key
One of the biggest benefits of making your own cards with the Cricut Maker is the ability to customize.
Need a birthday card for someone who loves goats?
Done.
A thank-you note with sunflowers for a gardening friend?
Easy.
You’re not limited to what’s on the rack at the store - you can make something truly personal.
This is where cardmaking can also become part of your homestead branding.
If you’re selling products under a farm name, you can design cards that feature your farm logo, colors, or themes.
You could include one with each customer purchase as a thank-you, turning a simple card into a marketing tool.
Frugality Meets Creativity
Making your own cards is a wonderful mix of frugality and creativity.
On the practical side, you’re reducing waste by using up scrap paper, ribbon, and other materials that might otherwise be thrown away.
On the creative side, you’re constantly experimenting with colors, patterns, and textures.
That creative outlet is important.
Homesteading can be physically demanding and sometimes stressful.
Sitting down to design and assemble cards can be a peaceful, rewarding way to wind down at the end of the day.
It’s a reminder that the homestead isn’t just about survival, it’s also about beauty, joy, and creating a life you love.
A Homesteader’s Perspective
From my perspective, cardmaking is one of those “hidden” homestead skills that doesn’t get talked about enough.
Just like soapmaking, candle pouring, or baking bread, it’s a way to provide for yourself and others in a thoughtful, resourceful way.
If you’re a homesteader who’s never tried it, I encourage you to start small.
You don’t have to invest in a lot of equipment right away, though I personally recommend the Cricut Maker if you plan to make cards regularly or sell them.
Even with simple supplies, you can create something beautiful.
And once you get the hang of it, you might find it becomes more than a hobby.
It could become a small but steady part of your homestead income, or simply a way to bring joy to the people in your life.

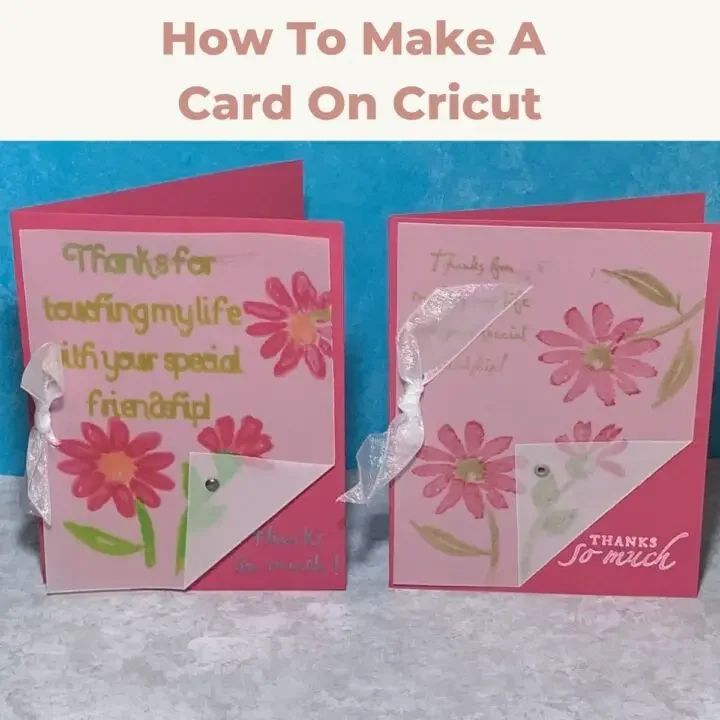
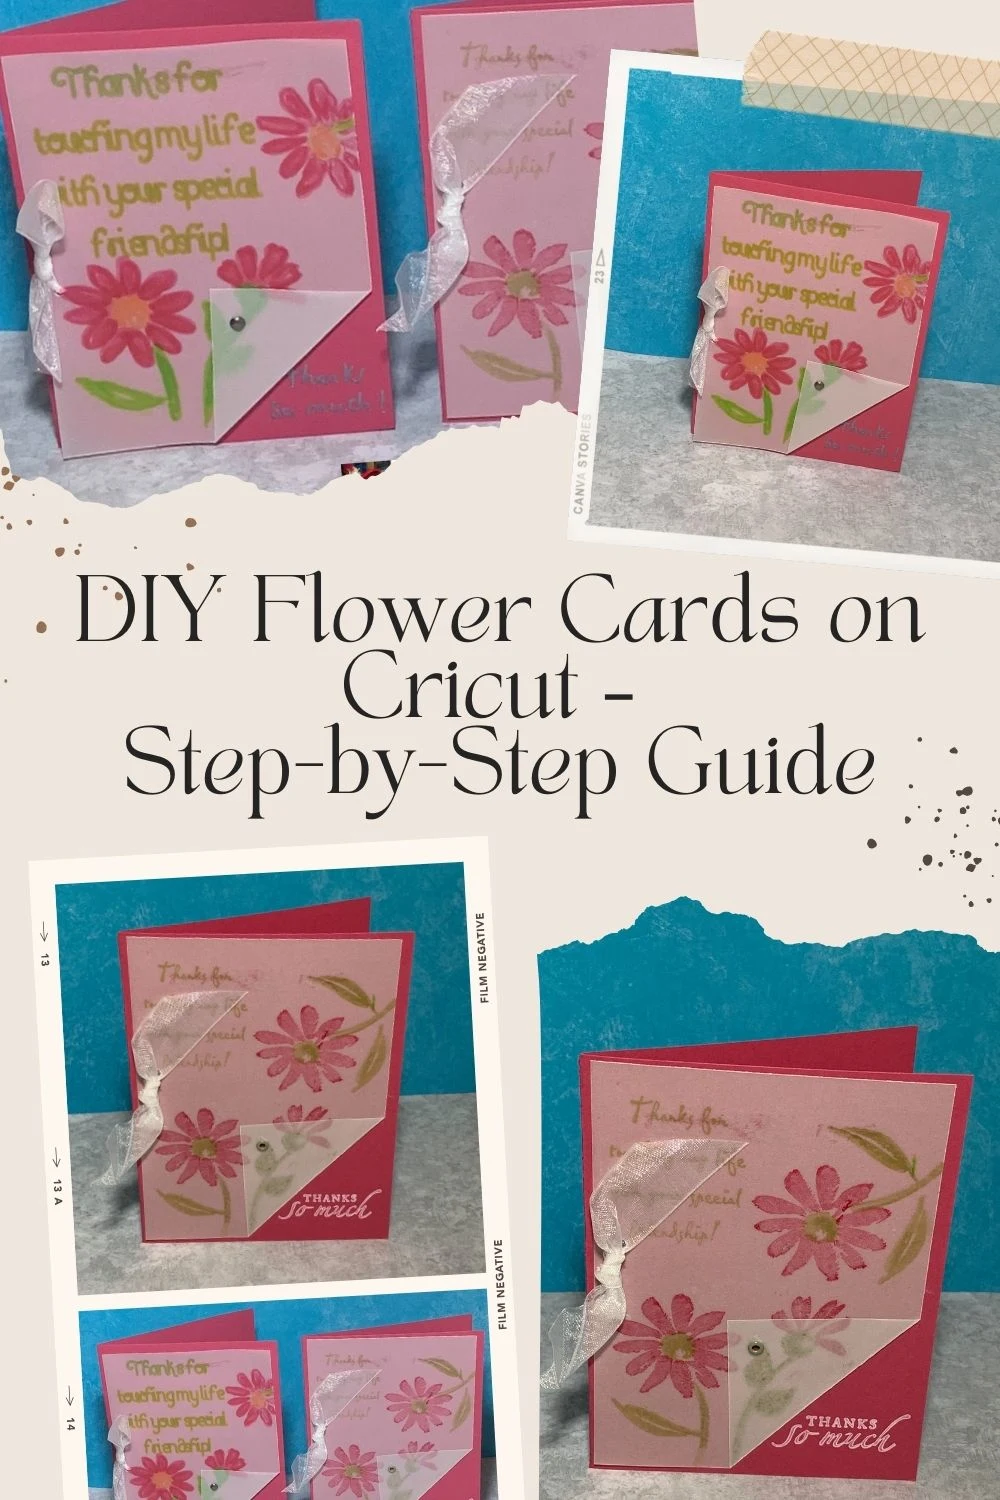
Step-by-Step: How to Make a Flower Card on Cricut Using the Fine Point Pens
Create a beautiful set of handmade flower cards using your Cricut Maker and Fine Point Pens. This project is perfect for homesteaders who want to save money on greeting cards, create thoughtful gifts, or even add a unique product to their market table. Each card features a delicate floral design, customizable sentiment, and a soft vellum overlay for an elegant touch. Whether you’re making a set for personal use, gift-giving, or to sell, these cards are as practical as they are pretty.
Materials
- Cricut Maker machine (or Cricut Explore series)
- Cricut Design Space software
- Cricut Fine Point Pens (assorted colors)
- StandardGrip cutting mat (green)
- Cardstock in two coordinating colors (one for the base, one for the design layer)
- Vellum or translucent paper for overlay
- Small brad or eyelet (for embellishing the vellum corner)
- Ribbon (¼" width works best)
- Glue or double-sided tape
- Bone folder (optional, for crisp folds)
- Weeding tool or tweezers (optional, for removing small cut pieces)
Tools
- Cricut Maker (or Cricut Explore series)
- Cricut Design Space software
- Cricut Fine Point Pens (assorted colors)
- StandardGrip Cutting Mat (green)
- Scissors
- Bone folder (for crisp folds)
- Weeding tool or tweezers (optional, for removing small cut pieces)
- Hole punch or eyelet setter (for vellum corner embellishment)
Instructions
Step 1 – Open and Prepare Your Design
Open Cricut Design Space.
Either create your own card design from scratch or search the Design Space library for a floral card template.
For this project, select a card layout that has space for a printed sentiment and flower illustrations.
Resize the card to your desired dimensions—standard A2 size (4.25" x 5.5") works well.
Ungroup the design so you can edit individual layers.
Step 2 – Add Your Sentiment
Click on the “Text” tool in Design Space and type your message.
For my card, I used: “Thanks for touching my life with your special friendship!”
Choose a writing-style font so the Cricut will draw the letters instead of cutting them.
Position the text where you want it to appear on the card’s front panel.
Change the line type to “Draw” and select the fine point pen color you plan to use.
Step 3 – Add Floral Details
Search for flower images in Design Space and choose “Draw” versions so the Cricut will outline them for coloring later.
Place them around your sentiment for balance—two larger flowers near the bottom, smaller ones toward the top.
Assign pen colors for each floral element (e.g., red for petals, green for stems).
Group all your drawn elements together so they stay aligned during cutting.
Step 4 – Prepare the Vellum Overlay
Add a square or rectangle in Design Space that is slightly smaller than your card front.
In one corner of the shape, add a triangle cut to create the “folded corner” look.
This piece will be cut from vellum to give a soft, layered effect over the flowers.
Step 5 – Cut and Draw Your Design
Load your cardstock onto the StandardGrip mat.
Insert the first fine point pen into clamp A of your Cricut Maker.
Press “Go” and let the machine draw your sentiment and flower outlines.
When prompted, switch pen colors as needed for the floral details.
Once drawing is complete, the Cricut will automatically cut the card panel shape.
Load the vellum sheet onto the mat and cut your overlay piece.
Step 6 – Color Your Design (Optional)
Remove the card panel from the mat.
Use colored pencils, markers, or water-based brush pens to fill in the flowers and leaves.
Allow ink to dry completely before assembling to avoid smudging.
Step 7 – Assemble the Card
Fold your card base in half using a bone folder for a crisp edge.
Attach the drawn/colored panel to the card base with glue or double-sided tape.
Place the vellum overlay in the lower corner, securing it with a small brad or eyelet.
Thread a ribbon through the pre-cut holes (if your design includes them) and tie a bow on the left side.
Step 8 – Add the Finishing Touches
If desired, stamp or write “Thanks so much!” or another short phrase in the lower corner of the base.
Add any extra embellishments such as sequins, glitter, or washi tape.
Let all adhesive fully dry before placing the card in an envelope.
Step 9 – Packaging for Gift-Giving or Selling
If you’re making multiples to sell or give away:
Package cards in clear cellophane sleeves for protection.
Group sets with envelopes and tie with twine or ribbon.
Add a small tag with your homestead logo or a handwritten note.
Frequently Asked Questions: How to Make a Card on Cricut
Q: Do I need a Cricut Maker to make this card, or can I use a different Cricut machine?
A: While I used the Cricut Maker for this project, you can also use a Cricut Explore series machine as long as it’s compatible with Fine Point Pens. Some features may vary, so double-check your design in Cricut Design Space before starting.
Q: How much does it cost to make one card?
A: It depends on the materials you already have. If you have cardstock, vellum, and pens on hand, the cost per card can be under $1. Buying all new supplies might bring it closer to $5–$7 for a set of cards.
Q: Can I sell cards I make with this design?
A: Yes, you can sell your handmade cards as long as you follow Cricut’s Angel Policy, which allows selling physical items you’ve created using Cricut designs for small-scale, home-based businesses.
Q: Do I have to use vellum for the overlay?
A: No, vellum adds a soft, elegant layer, but you can experiment with other materials like transparency film, patterned paper, or even fabric for a unique twist.
Q: How long does it take to make one card?
A: Once your design is set up in Cricut Design Space, a single card can be completed in about 10–15 minutes, plus drying time if you’re adding extra embellishments.
Q: Is this project beginner-friendly?
A: Yes! It’s a perfect introduction to using Cricut Fine Point Pens and layering card designs. Beginners will find it easy to follow, but there’s plenty of room for creative customization for more advanced crafters.
Cricut Projects & Tips for the Homestead
Discover creative, practical ways to use your Cricut on the homestead. From handmade cards and custom labels to gift ideas and market-ready crafts, these projects help you save money, add a personal touch to everything you make, and even create new income streams. Whether you’re looking for step-by-step tutorials or time-saving tips, you’ll find plenty of inspiration to keep your Cricut working year-round.

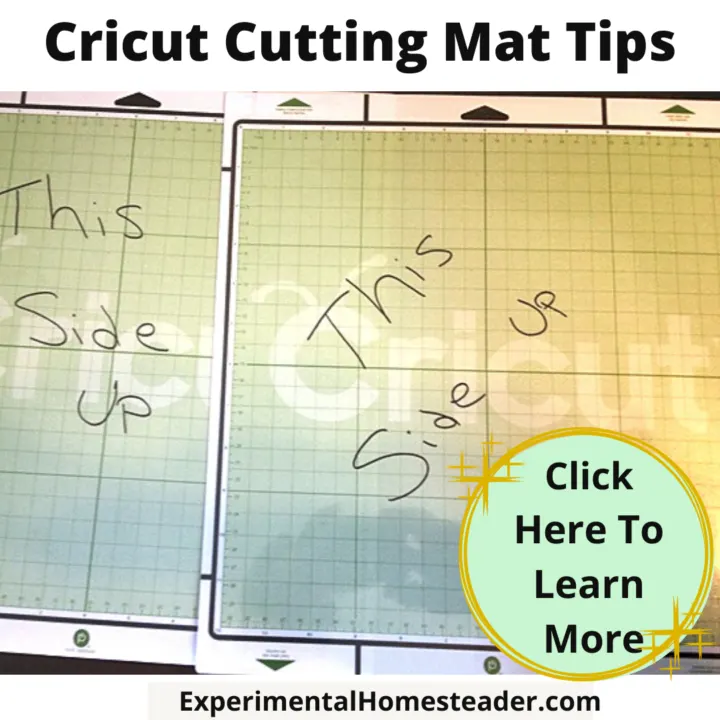
Cricut Cutting Mat Tips
Don't throw your Cricut Cutting Mat away when it loses its stickiness! Learn how to care for it as well as get ideas on repurposing it.


Carol Spierdowis
Thursday 14th of August 2025
Great blog. Thanks for sharing.
Sheri Ann Richerson
Thursday 14th of August 2025
Hi Carol! Thank you so much! I am so glad you enjoyed it! Sheri Ann