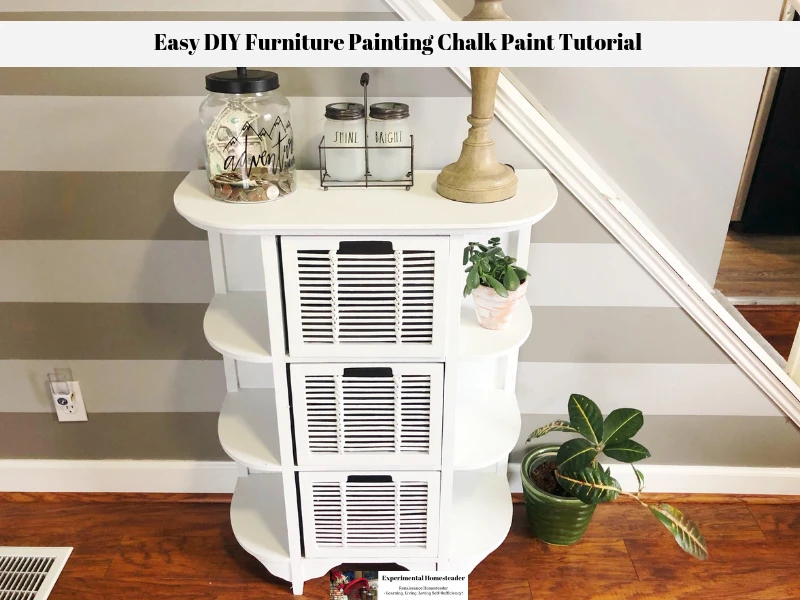
Why This Console Storage Table Was Ideal For Repurposing
Sometimes all a piece of furniture needs is a little TLC and that was the case with this particular piece.
In addition to all the storage space this particular console storage table has, I love how easy it was to transform it from something really ugly into something stylish using this easy DIY furniture painting technique.
I love that this particular piece of furniture was not bought new, but instead it was found second hand.
Repurposing furniture found at a garage sale, flea market or second hand store is a great way to save money.
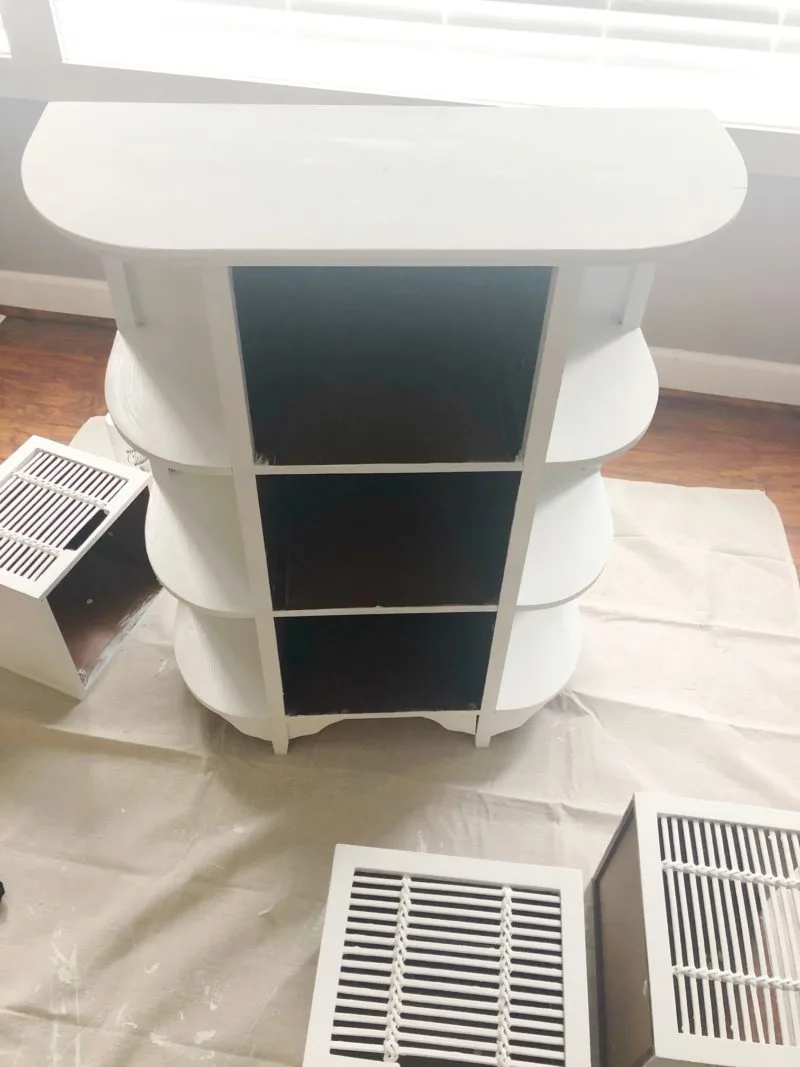
A new coat of white chalk paint quickly brought this piece up to date and gave it a whole new look.
Ideas For Using This Console Storage Table
This console storage table is not only really easy to do, but it serves a purpose regardless of where you put it.
Positioned near an entryway, this DIY chalkboard console storage table is perfect for putting keys, your purse or even the mail on when you first come into your home.
It also works well as a bedside table or even a coffee table.
The shelves on the side of the console are ideal for holding books or knick knacks.
In the event you have a larger bathroom, it would work in there as well.
Hand towels, washrags, or other small items would fit perfectly on the shelves.
Plus since there is hidden storage space, this would be a perfect place to put toilet paper or other items you use on a regular basis that you don't want guests to easily see.
Here is how to get started repurposing an older piece of wood furniture you have using this easy DIY furniture painting with chalk paint tutorial.
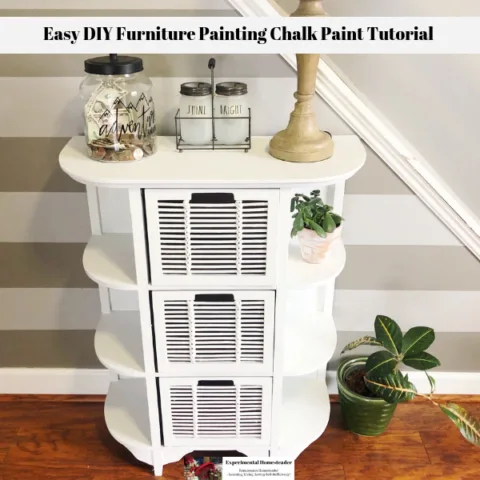
Easy DIY Furniture Painting Chalk Paint Tutorial
This easy DIY furniture painting chalk paint tutorial is perfect for making wood furniture look new or giving it a distressed Shabby Chic look.
Materials
- Wood furniture
- White chalk paint
- White chalk paint furniture wax
Tools
- Chalk paint and wax brush
- Sandpaper (optional)
- Drop cloth
- White cotton T-shirt
Instructions
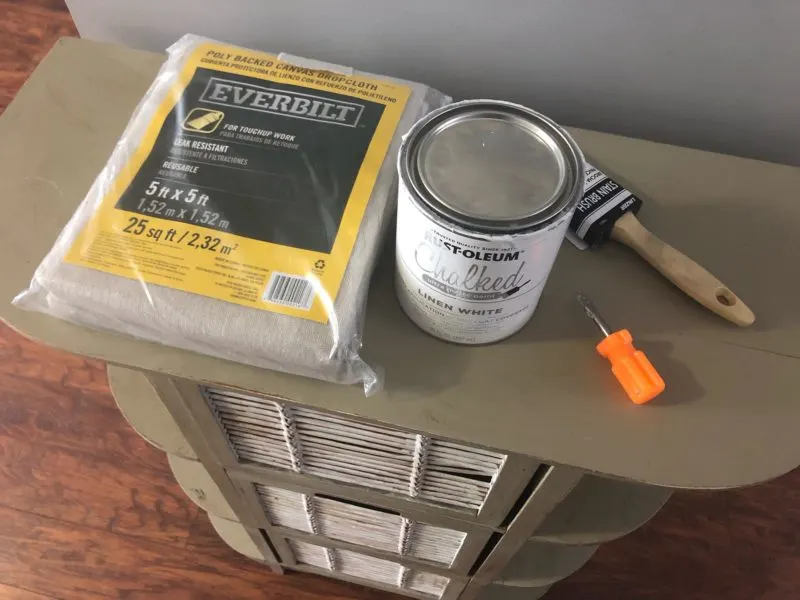
- Gather all the materials needed to complete this project.
- Begin by dusting and clean your piece of furniture. If you are going to sand it, do that know. Some people do and some people don't.
- For those who chose to clean the piece of furniture, let it dry completely. For those who chose to sand it down, make sure there is no dust left on the furniture.
- Remove the drawers.
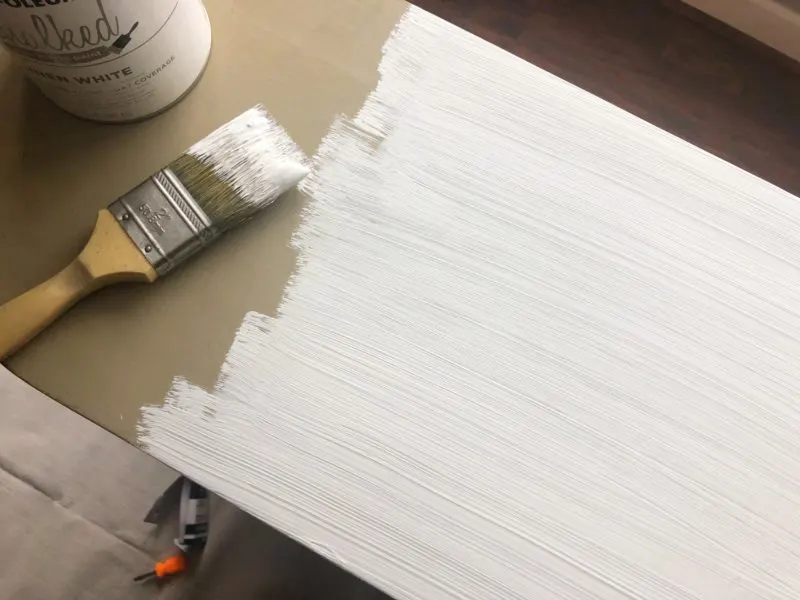
- Use a paint brushto paint the piece of furniture starting at the top. Make sure the brush strokes are going in the same direction as the grain of the wood.
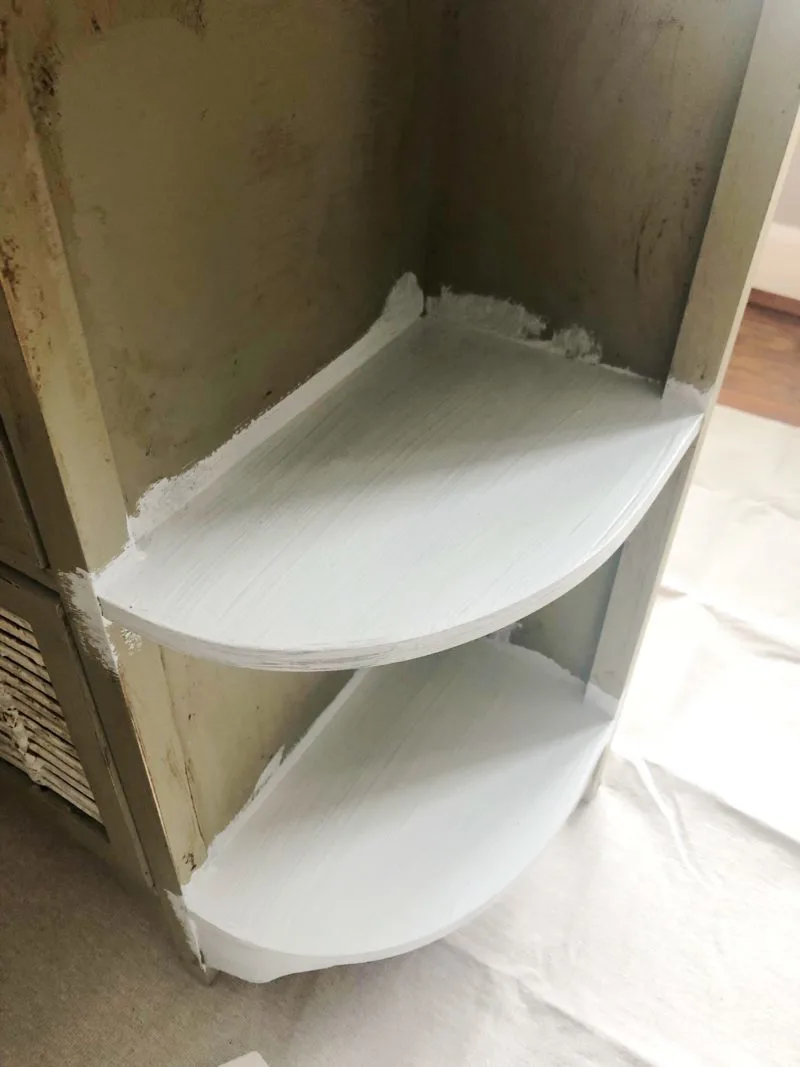
- Work your way down the piece of wood, painting as you go. This keeps the paint from dripping onto the freshly painted areas if you end up with a little too much paint on your paint brush.
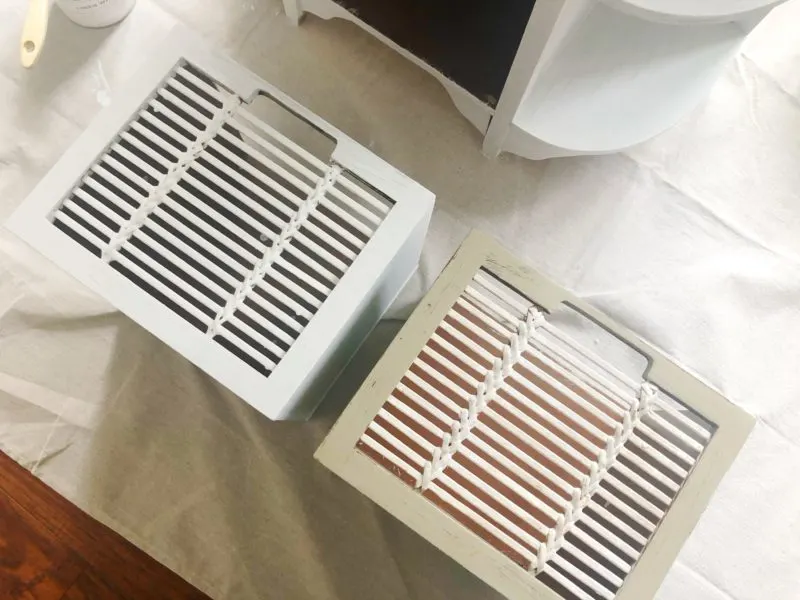
- Once the whole piece is painted, paint the drawers and let the pieces dry for several hours. Do not try to put the drawers back into the piece of furniture.
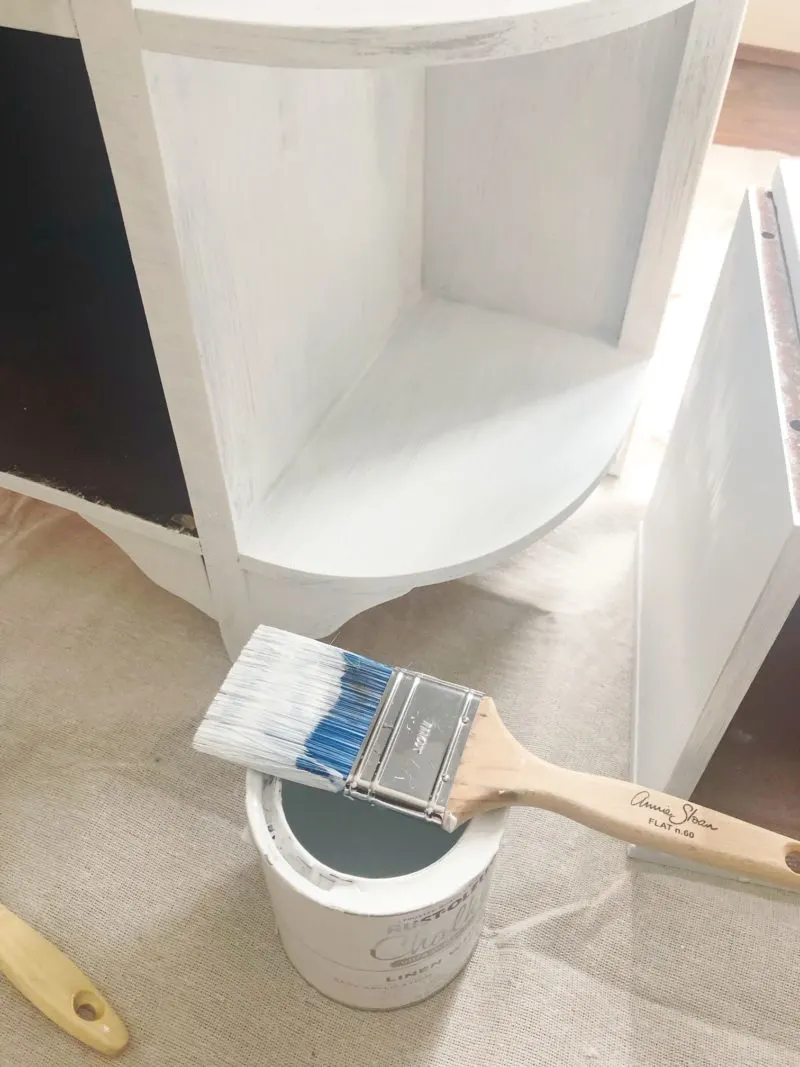
- Once the pieces are dry, paint a second coat on everything. Remember to paint in the same direction as you did before and make sure to get in each corner. This is a good time to look for spots you might have missed the first time.
- Let the furniture dry overnight. Again, do not try to put the drawers back into the piece of furniture.
- Once the paint it dry, lightly use a piece of sandpaper to distress the edges if you want to give the furniture a Shabby Chic or distressed look.
- Once you are happy with how the piece of furniture looks, apply a top coat of chalk paint wax over the entire piece to protect the finish on the furniture. Simply rub the wax all over the piece of furniture using an old white cotton T-shirt. Wax the furniture using a circular motion.
- Now go over the piece one more time with a clean white cotton T-Shirt to remove any excess wax.
- Leave the pieces to dry overnight and then either move it into place and put the drawers back into the piece of furniture or if you prefer a polished piece, buff the wax and then put the piece of furniture back together.
Notes
Note: In order to do this in my living room. I lay down a large drop cloth with a plastic bottom and fabric top.
Recommended Products
Sheri Ann Richerson is a participant in the Amazon Services LLC Associates Program, an affiliate advertising program designed to provide a means for sites to earn advertising fees by advertising and linking to Amazon.com.
-
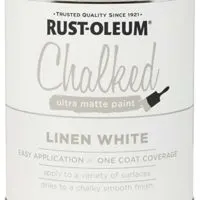 Rust-Oleum 285140 Ultra Matte Interior Chalked Paint 30 oz, Linen White
 -
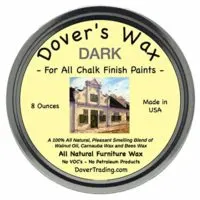 Dover's Wax for All Chalk Finish Paints - Dark
 -
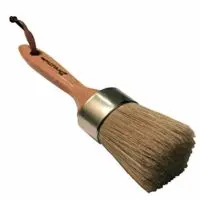 Brossum Large 2-in-1 Round Chalk & Wax Brush for Painting Furniture | Handmade, All Natural Bristles with Ergonomic Handle
 -
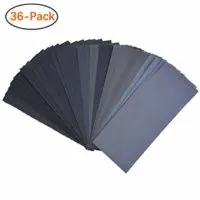 120 To 3000 Assorted Grit Sandpaper for Wood Furniture Finishing, Metal Sanding and Automotive Polishing, Dry or Wet Sanding, 9 x 3.6 Inch, 36-Sheet
 -
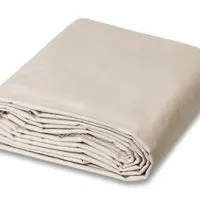 9 x 12 All Purpose Canvas Cotton Drop Cloth
Final Thoughts On This Easy DIY Furniture Painting With Chalk Paint Tutorial
There are a few things you should understand about this easy DIY furniture painting with chalk paint tutorial before you make the decision to start.
First of all, chalk paint is not the same thing as chalkboard paint, so it does not actually make the surface of the wood have a true chalkboard finish.
Chalk paint is pricy and is sold by the quart, not the gallon, plus you need to wax the chalk paint to seal it once you are done.
You also need to use a special brush made for chalk paint.
Chalk paint is easy to distress and if you are going for the Shabby Chic look, this is the type of paint you want to use.
Finally, while chalk paint is touted as "no prep needed" this is a personal choice.
Whatever scratches, built up cleaning products such as wax or other imperfections your furniture has in it now will show if you paint without sanding it down.
Some people don't mind this - and some pieces of furniture are in really good shape, so if this is the case, you are going to love this easy DIY furniture painting with chalk paint tutorial.
If this is not the case, you can still follow this easy DIY furniture painting with chalk paint tutorial after sanding and prepping the piece of furniture you intend to paint.
I highly recommend the following articles:
- Easy DIY Antique Milk Can Fall Floral Flower Arrangements
- Fall Decorating Round Up Post
- Fall Floral Arrangement Ideas
- DIY Fall Flower Arrangement
- DIY Burlap Wreath Fall Arrangement
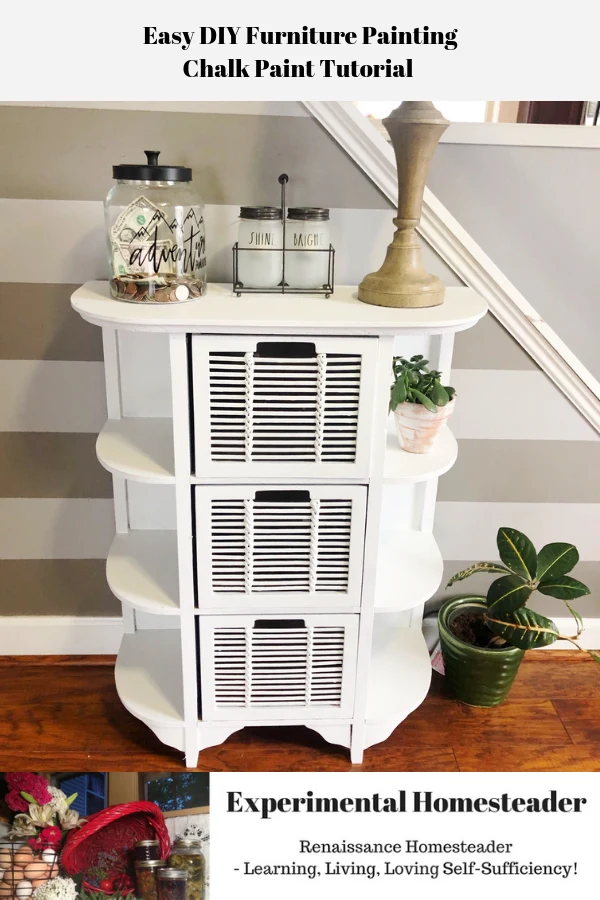
Use the buttons on the right side to share this article with friends or family who might find it useful. Pin the picture below to your pinboard on Pinterest for future reference.

