Valentine’s Day is the perfect time to combine creativity, learning, and a little homestead charm.
Whether you’re a homeschooling family looking for an engaging art project or simply someone who loves crafting, these Cricut card ideas are a fantastic way to make personalized gifts while teaching useful skills.
Bonus: these cards make a fun, budget-friendly Valentine’s activity!
For homesteaders, every resource counts, and these DIY cards allow you to create something meaningful while repurposing materials like leftover cardstock.
Customize your cards with farm-inspired messages such as “Bee My Valentine!” or “You’re Udderly Amazing!” and include cute designs like animals or flowers.
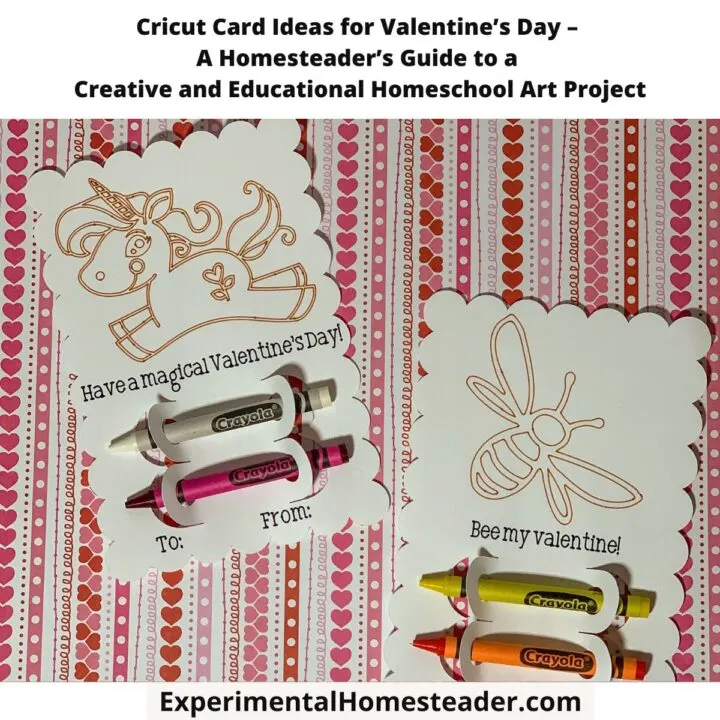
Making these cards is easy: use Design Space to personalize your templates, let your Cricut draw and cut the designs, and attach two crayons to each card for a playful touch.
These handmade cards are sure to bring smiles this Valentine’s Day while showcasing your homestead creativity!
Why This Project is Perfect for Homesteaders and Homeschoolers
Valentine’s Day is a time to celebrate love and thoughtfulness, and what better way to do that than with handmade cards that reflect your homestead lifestyle?
This project offers more than just an afternoon of fun—it’s a chance to teach practical skills, promote creativity, and connect with your values of sustainability and resourcefulness.
Whether you’re making these cards as part of a homeschool lesson or simply for the joy of crafting, it’s a rewarding activity that brings purpose and personalization to the holiday.
- Teaches Valuable Skills: Homesteading is all about self-sufficiency, and crafting your own Valentine’s cards teaches practical design skills using modern tools like the Cricut Maker. Plus, kids learn how to follow multi-step instructions and practice problem-solving.
- Cost-Effective and Sustainable: Instead of buying generic cards, you can use materials you already have (or that can be reused) to create heartfelt designs. Add crayons to make the cards interactive and more meaningful!
- Encourages Creativity: This project lets kids (and adults!) personalize their cards. From farm animals to flowers, you can add designs that reflect your homestead lifestyle.
- Connects Art and Education: Homeschoolers can integrate this project into lessons about art, design, and even Valentine’s Day history.
These Cricut card ideas are more than just a Valentine’s Day craft—they’re a chance to teach life skills, inspire creativity, and create something meaningful on your homestead.
Whether you’re using them as part of a homeschool curriculum or just crafting for fun, these cards are sure to bring smiles to everyone who receives them.
So grab your Cricut supplies, repurpose that leftover cardstock, and start creating Valentine’s magic!
With just a few materials and a little imagination, you’ll have a set of cards that are as fun to make as they are to give.
Ready to get started?
Follow these simple steps to design your very own custom Valentine’s cards!
Farm-Inspired Message Ideas
Make your cards extra special with homestead-themed messages. Here are a few ideas to spark your creativity:
- “You’re Egg-ceptional!” (with a cute egg design)
- “You Make My Heart Skip a Beet!” (paired with a beet illustration)
- “You’re Udderly Amazing!” (featuring a cow)
- “I’m Hogging All My Love for You!” (with a pig graphic)
- “Bee My Valentine!” (with a bee and flower design)
These playful sayings add a personal touch and bring a little farm fun to your Valentine’s cards!
Materials Overview
Using the right materials ensures your cards come out beautifully and makes the process smooth.
Here’s a closer look at why each item is essential:
- Cricut Light Grip Mat: This mat is perfect for delicate materials like cardstock. It holds the paper firmly in place without causing tears or damage when you remove your designs.
- Fine Point Pen: This pen allows you to draw crisp, professional-looking designs on the cards. Switching between colors, like Black and Tawny, adds depth and personality to your creations.
- Fine Point Blade: The precision of this blade ensures clean cuts, making your cards look polished and neat.
- Repurposed Cardstock: Using 12 x 12 sheets allows you to maximize your cutting space and make multiple cards from each sheet. If you have leftover pieces from previous projects, those work perfectly too.
- Cricut Spatula: This tool prevents your cards from bending or tearing when removing them from the mat. It’s a lifesaver for keeping everything neat and flat.
If you don’t have all the Cricut tools, don’t worry—many designs can also be adapted with scissors and stencils. However, the Cricut simplifies the process and takes your cards to the next level.
Cricut Card Ideas for Valentine’s Day
Create adorable DIY Valentine’s Day cards with these step-by-step instructions. From Cricut card ideas to homestead-inspired designs, this guide will help you craft unique, heartfelt cards that are perfect for kids, homeschool projects, or gift-giving.
Materials
- 4 sheets of 12 x 12 white cardstock (this will create 8 cards)
- Crayons (2 per card—choose colors that match your designs)
Tools
- Circuit Maker (or any Circuit Machine you prefer)
- circuit light grip mat
- fine point pen
- fine point blade
- Cricut spatula
Instructions
1. Open Cricut Design Space
Start by opening the Cricut Design Space app. Go to the "Projects" tab and search for the “Valentine Cricut Card Set.” This is a pre-made template that saves you time, but you can fully customize it to suit your homestead theme.
2. Customize the Cards
Duplicate the Template: Right-click on one of the pre-made cards in Design Space, select "Duplicate," and drag the new card template to an empty spot on your workspace.
Edit the Text: Double-click on the text boxes to change the messages. Add fun, farm-themed sayings like:
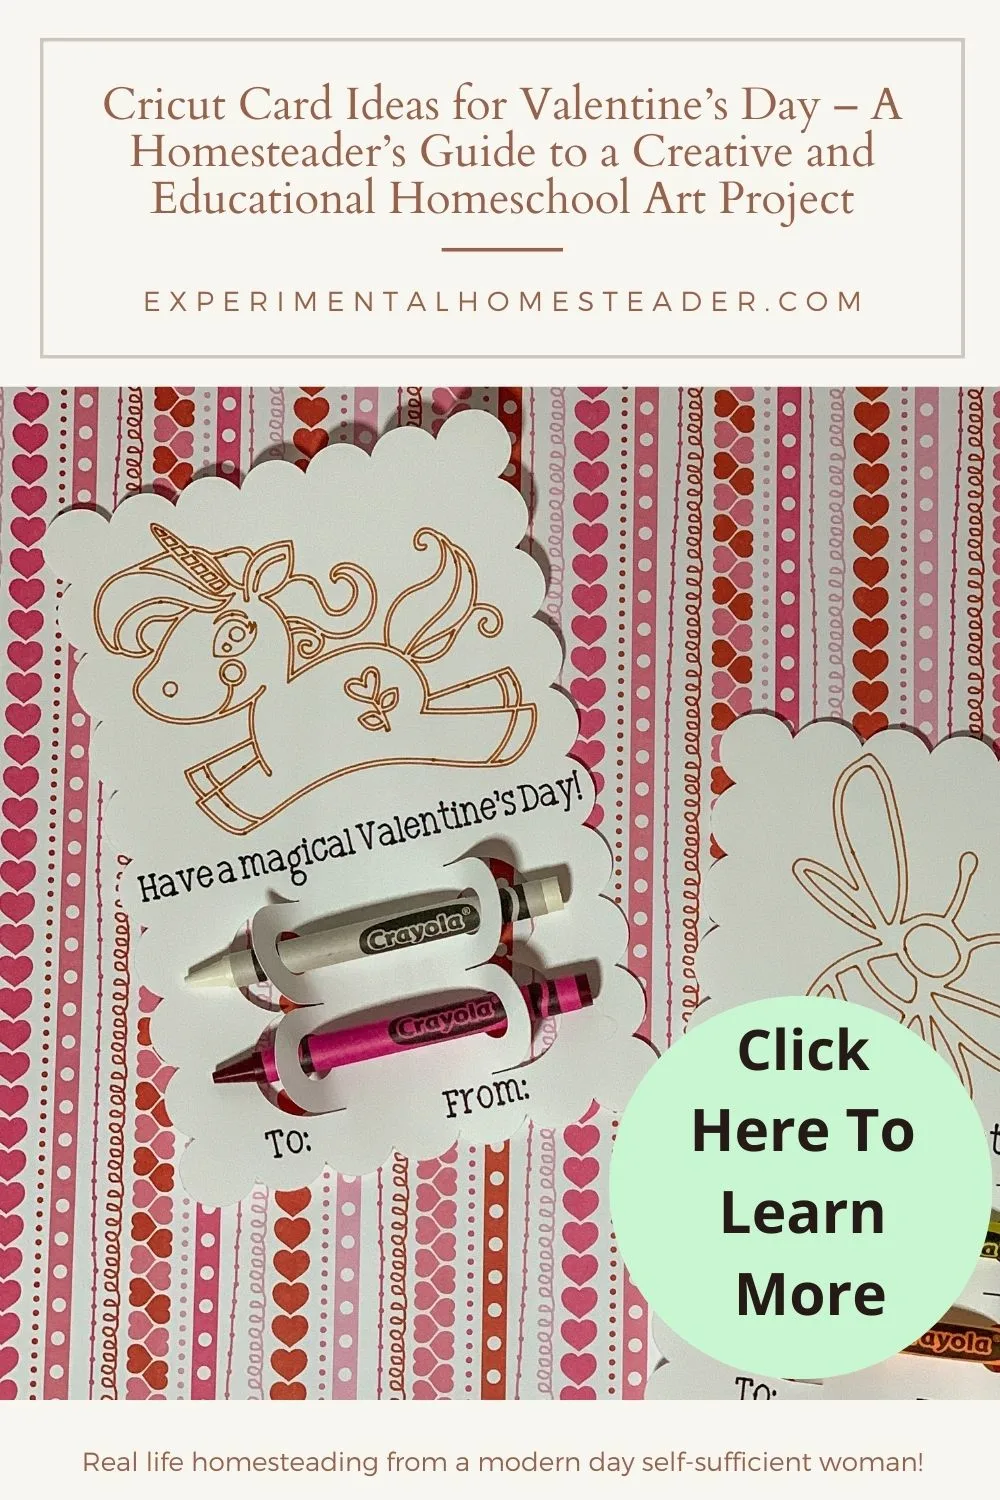
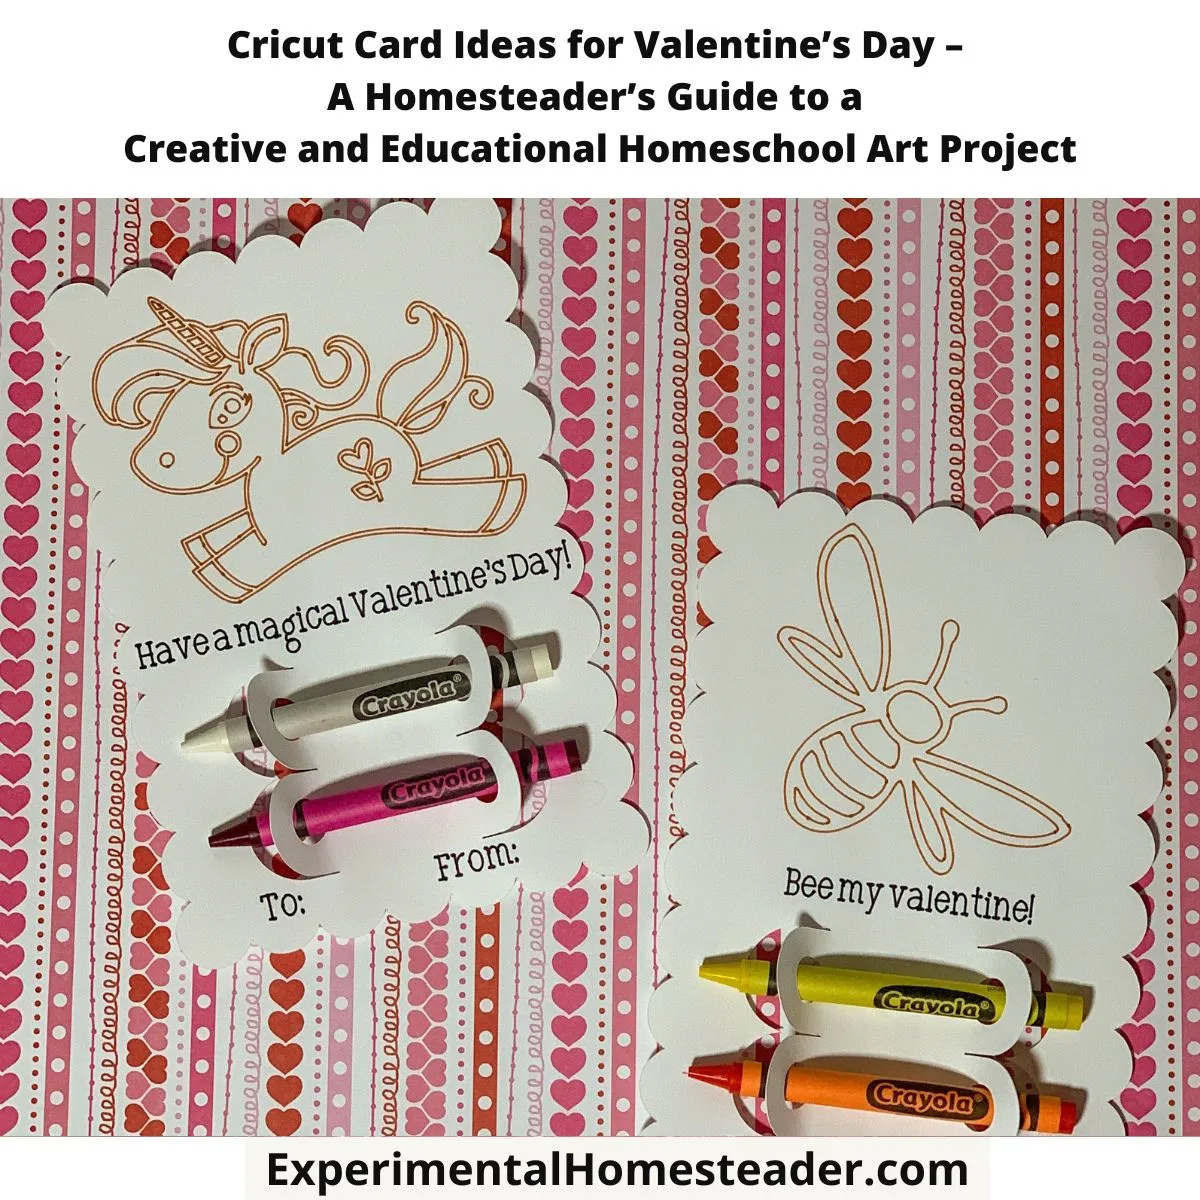
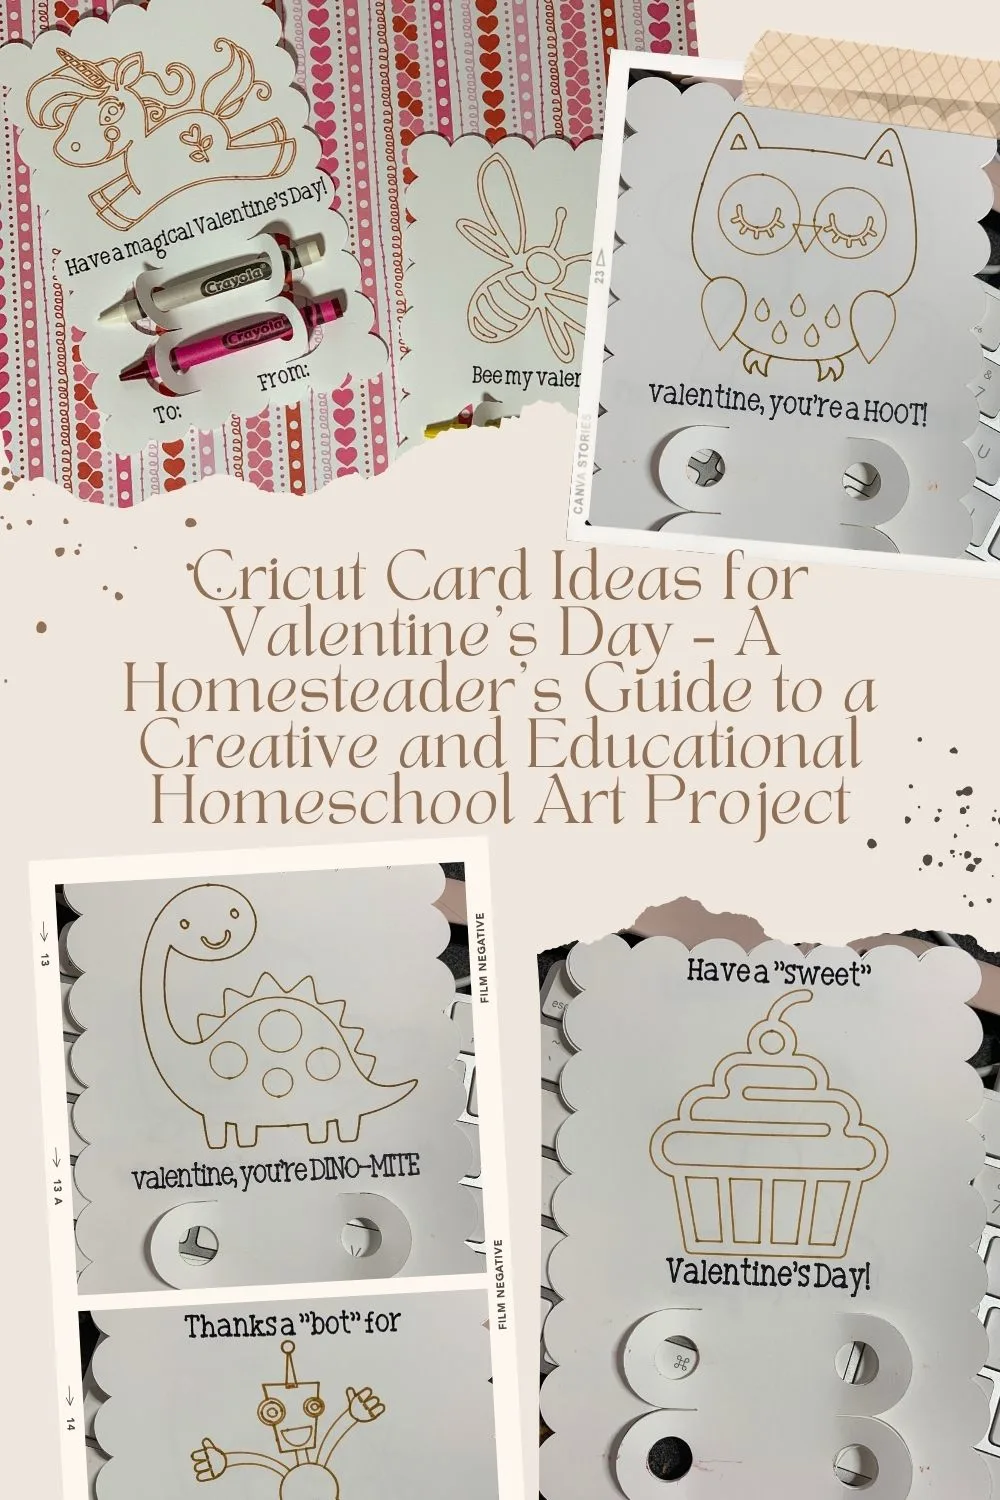
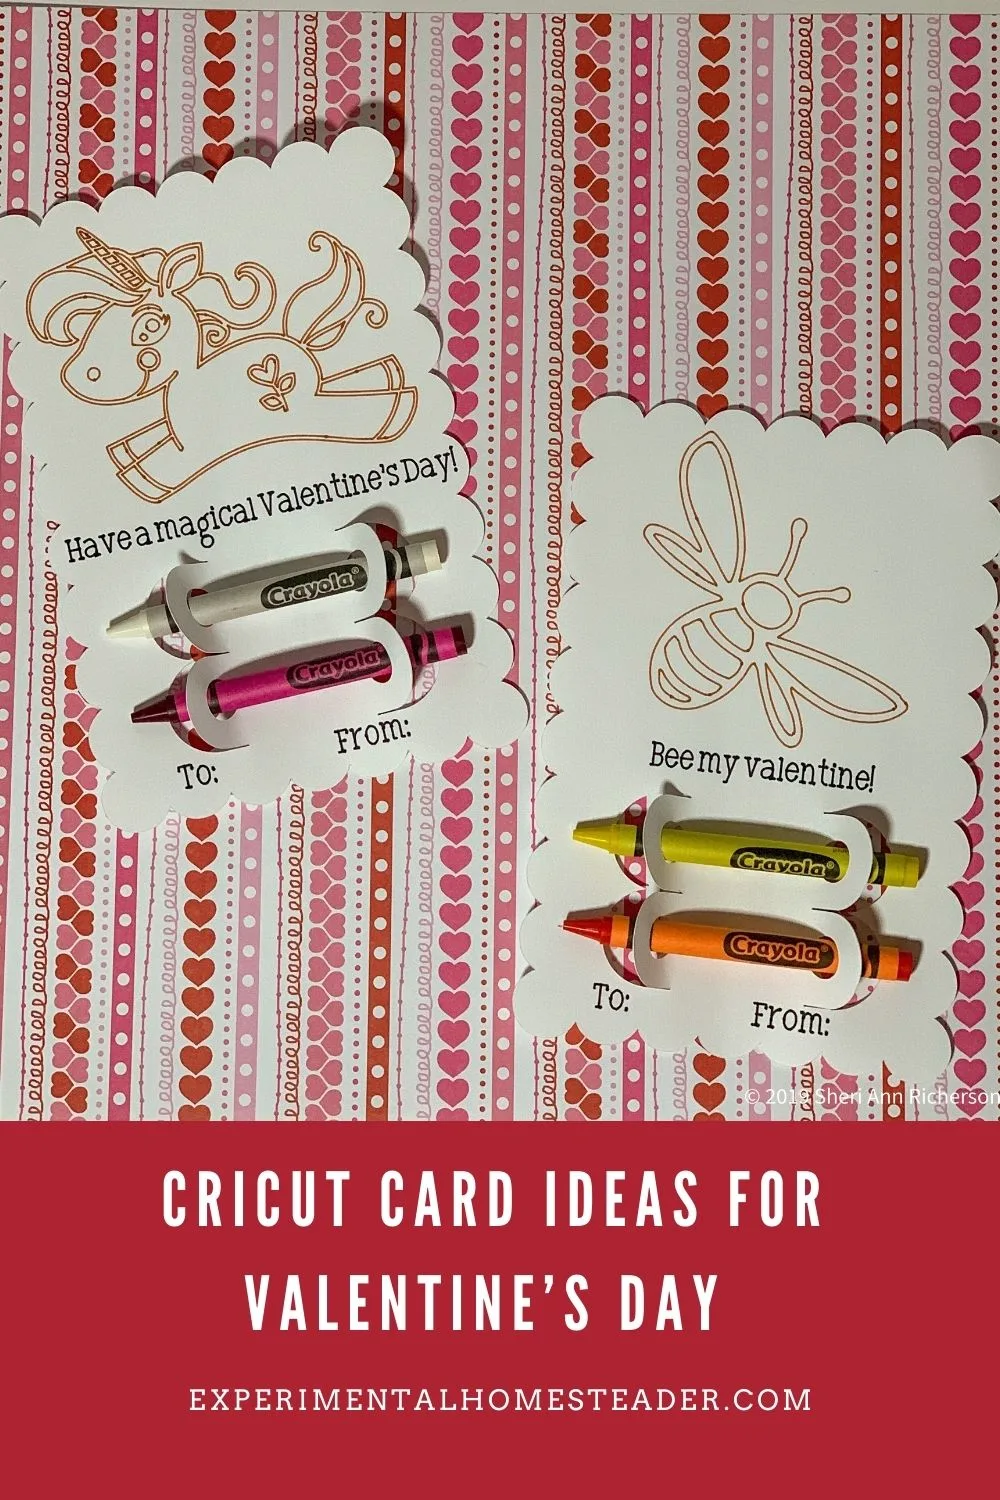
“Bee My Valentine!” with a cute bee drawing.
“You’re Udderly Amazing!” with a cow design.
“Have a Magical Valentine’s Day” with a whimsical farm unicorn.
Add Your Design: Click the “Image” button in Design Space to browse Cricut’s library of images. Choose something that matches your theme, and adjust the placement on your card.
3. Set Up the Drawing and Cutting Options
Highlight the image and text, then go to the “Linetype” menu at the top of the screen. Change the Linetype from “Cut” to “Draw.” This tells the Cricut to draw your design instead of cutting it.
Once everything is placed correctly, select all layers of the card (text, images, and card template), and click the “Attach” button at the bottom right. This ensures the design stays together when cutting and drawing.
4. Save and Prep Your Materials
Save your project with a custom name, like “Homestead Valentine’s Cards.” Load a sheet of 12 x 12 cardstock onto the Cricut Light Grip Mat, and make sure it’s securely in place.

5. Draw and Cut
Follow the on-screen prompts to load the Cricut Pen into Clamp A and the Fine Point Blade into Clamp B.
Select the cardstock weight (choose 60 lb or 80 lb, depending on what you’re using).
Press the blinking “C” button on your Cricut machine to start. The machine will draw the design first and then cut it.
Optional: Switch to a second pen color when prompted to make the design even more colorful and detailed.

6. Assemble the Cards
Once the machine finishes, unload the mat and carefully use the Cricut Spatula to remove the designs. This helps prevent bending or tearing.
Attach two crayons to each card using glue dots, tape, or a small rubber band. This makes the card interactive and fun for kids to use.
Tips for Success
- Involve the Kids
Let your kids take the lead in choosing designs, colors, and messages for the cards. They’ll love being part of the creative process and will feel proud of their finished products. This is a wonderful opportunity to teach valuable skills like decision-making, problem-solving, and working with tools like the Cricut Maker. Younger kids can help with simple tasks like picking colors or images, while older children can handle more advanced steps like editing text and assembling layers in Design Space. - Farm-Themed Fun
Bring your homestead to life through your cards by adding farm-inspired designs. Think chickens with heart shapes, goats with playful messages like “You’re Udderly Amazing,” or even pigs in Valentine’s poses. You can also incorporate garden-themed elements, such as flowers, bees, or carrots, to reflect your lifestyle. These personal touches will make your cards extra special and unique. - Repurpose Materials
Sustainability is key for homesteaders, and this project is a great opportunity to repurpose materials you already have. Use leftover cardstock, crafting paper, or scraps from previous projects to make your cards. Add embellishments like old buttons, fabric scraps, or twine for a creative, rustic vibe. Not only does this reduce waste, but it also adds a resourceful, personal touch to your Valentine’s creations.
A Mini Homeschool Lesson
This Cricut card project isn’t just a fun craft—it’s also a fantastic way to weave learning into a hands-on activity.
By integrating design principles, history, and math, you can turn Valentine’s card-making into a well-rounded homeschool lesson.
Here are some ideas to guide your teaching:
Symmetry and Balance
Designing cards is a perfect opportunity to teach kids about symmetry and balance, two key elements of art and design.
Start by having them fold a blank piece of paper or cardstock in half.
Ask them to create symmetrical designs, such as hearts, flowers, or even animals, where both sides mirror each other.
Discuss how symmetry creates a sense of harmony in design.
You can also explore balance by arranging text and images on the card, teaching them how to distribute elements evenly for an appealing look.
For older kids, introduce asymmetry and challenge them to design cards that feel balanced even when the elements aren’t identical.
This encourages them to think creatively and develop a more advanced understanding of visual composition.
Valentine’s Day History
Take a moment to dive into the origins of Valentine’s Day.
Share the story of Saint Valentine and how this holiday began as a way to celebrate love and kindness.
Explain how it evolved over time, from exchanging handwritten notes in the Middle Ages to the modern-day tradition of cards and gifts.
You can tie this history lesson into your homestead values by discussing the importance of expressing love and gratitude through meaningful, handmade gifts rather than store-bought items.
For younger kids, read a simple story about Valentine’s Day, and for older ones, you could assign a short research project about the holiday’s traditions in different cultures.
Math Skills
Card-making is a surprisingly effective way to practice math!
Use the following ideas to teach practical math skills:
- Measuring Cardstock: Show your kids how to measure the cardstock dimensions and calculate how many cards they can make from one sheet.
- Dividing Supplies: If you’re making cards for multiple recipients, have them divide the available crayons, pens, or embellishments evenly across all cards.
- Estimating Costs: For older kids, this project is a great way to teach budgeting. Have them calculate the cost of the materials used for each card compared to buying store-bought ones.
- Geometry in Design: Incorporate geometry by having them use shapes like circles, triangles, and rectangles to create patterns or card layouts.
By incorporating math into the activity, you’ll not only keep it educational but also give kids real-world skills they can apply in future projects.
Why This Works
This approach helps kids develop a range of skills in an enjoyable, hands-on way.
They’ll learn art principles, gain historical knowledge, and sharpen their math abilities—all while working on a creative project that lets them express themselves.
Plus, tying these lessons into a tangible outcome like a handmade card makes the learning feel meaningful and memorable.
Customizing for Different Skill Levels
This project can be tailored to fit all ages and abilities:
- For Younger Kids: Keep it simple with bold designs and minimal text. Let them color the designs with crayons or markers after the Cricut draws them.
- For Older Kids and Adults: Add layers, intricate details, and custom text. Encourage experimenting with different fonts, shapes, and designs for a polished look.
This flexibility makes the project accessible for everyone while allowing more experienced crafters to challenge themselves.
Common Cricut Troubleshooting Tips
Crafting isn’t always perfect, and that’s okay!
Here are a few troubleshooting tips to make the process easier:
- Cricut Pen Issues: If the pen isn’t clicking into place, check that it’s fully inserted. Listen for the “click” before starting the machine. If the pen runs dry, consider keeping spares or using a different color to finish the design.
- Uneven Cuts: Ensure your blade is clean and sharp. A dull blade can cause jagged edges. If this happens, replace the blade and try again.
- Paper Lifting from the Mat: If your cardstock lifts during cutting, make sure the Light Grip Mat is clean. Wash it with warm water and mild soap, let it dry, and it’ll regain its stickiness. You can also use small pieces of tape to tape the edges, especially the corners of the paper, to the mat.
These tips can save you time and frustration, ensuring your cards turn out perfectly every time.
Alternative Uses for the Cards
These cards aren’t just for Valentine’s Day! Get creative with how you use them:
- Gift Tags: Attach them to jars of homemade jam, bread, or other farm-fresh treats for a thoughtful touch.
- Bookmarks: Punch a hole at the top, add ribbon, and use them as bookmarks.
- Homestead Events: If you host homestead potlucks or gatherings, these cards can double as invitations or thank-you notes.
Think outside the box, and these cards can serve multiple purposes around your homestead.
Share the Love
Once the cards are ready, let your kids fill out the “To” and “From” sections.
These make thoughtful gifts for family, friends, or even your local community.
If you homeschool, you could also organize a Valentine’s Day card exchange with other homeschool families!
These Cricut card ideas are more than just a holiday craft—they’re an opportunity to teach self-sufficiency, creativity, and design skills, all while celebrating Valentine’s Day in a meaningful way.
Whether you’re crafting on your own or turning this into a homeschool art project, these cards are sure to bring smiles to everyone who receives them.
Be sure to encourage your kids to proudly share their finished cards.
Here are some ways they can share them:
- Homeschool Valentine Exchange: Host a card swap with other homeschool families in your area.
- Social Media: Snap a picture of your creations and share them online with a hashtag like #HomesteadValentines to inspire others.
- Local Community: Deliver the cards to neighbors, nursing homes, or even as thank-you notes for farm customers.
Sharing their work teaches kids the joy of giving while connecting with others in meaningful ways.
So, what are you waiting for?
Grab your Cricut supplies and start creating!
Cricut Projects & Tips for the Homestead
Discover creative, practical ways to use your Cricut on the homestead. From handmade cards and custom labels to gift ideas and market-ready crafts, these projects help you save money, add a personal touch to everything you make, and even create new income streams. Whether you’re looking for step-by-step tutorials or time-saving tips, you’ll find plenty of inspiration to keep your Cricut working year-round.
Cricut Cutting Mat Tips
Don't throw your Cricut Cutting Mat away when it loses its stickiness! Learn how to care for it as well as get ideas on repurposing it.


