The best cherry pie recipe from scratch doesn’t come from a fancy bakery—it comes from my own homestead, where I grow tart cherries right in my backyard.
Every summer, I climb the ladder with a woven basket, dodging bees and brushing off the occasional spider, to handpick those juicy red gems before the birds beat me to them.

There’s something magical about knowing exactly where your food comes from, in my humble opinion.
This isn’t just any cherry pie.
It’s the one I’ve been baking for years—perfected through trial, error, and a whole lot of love.
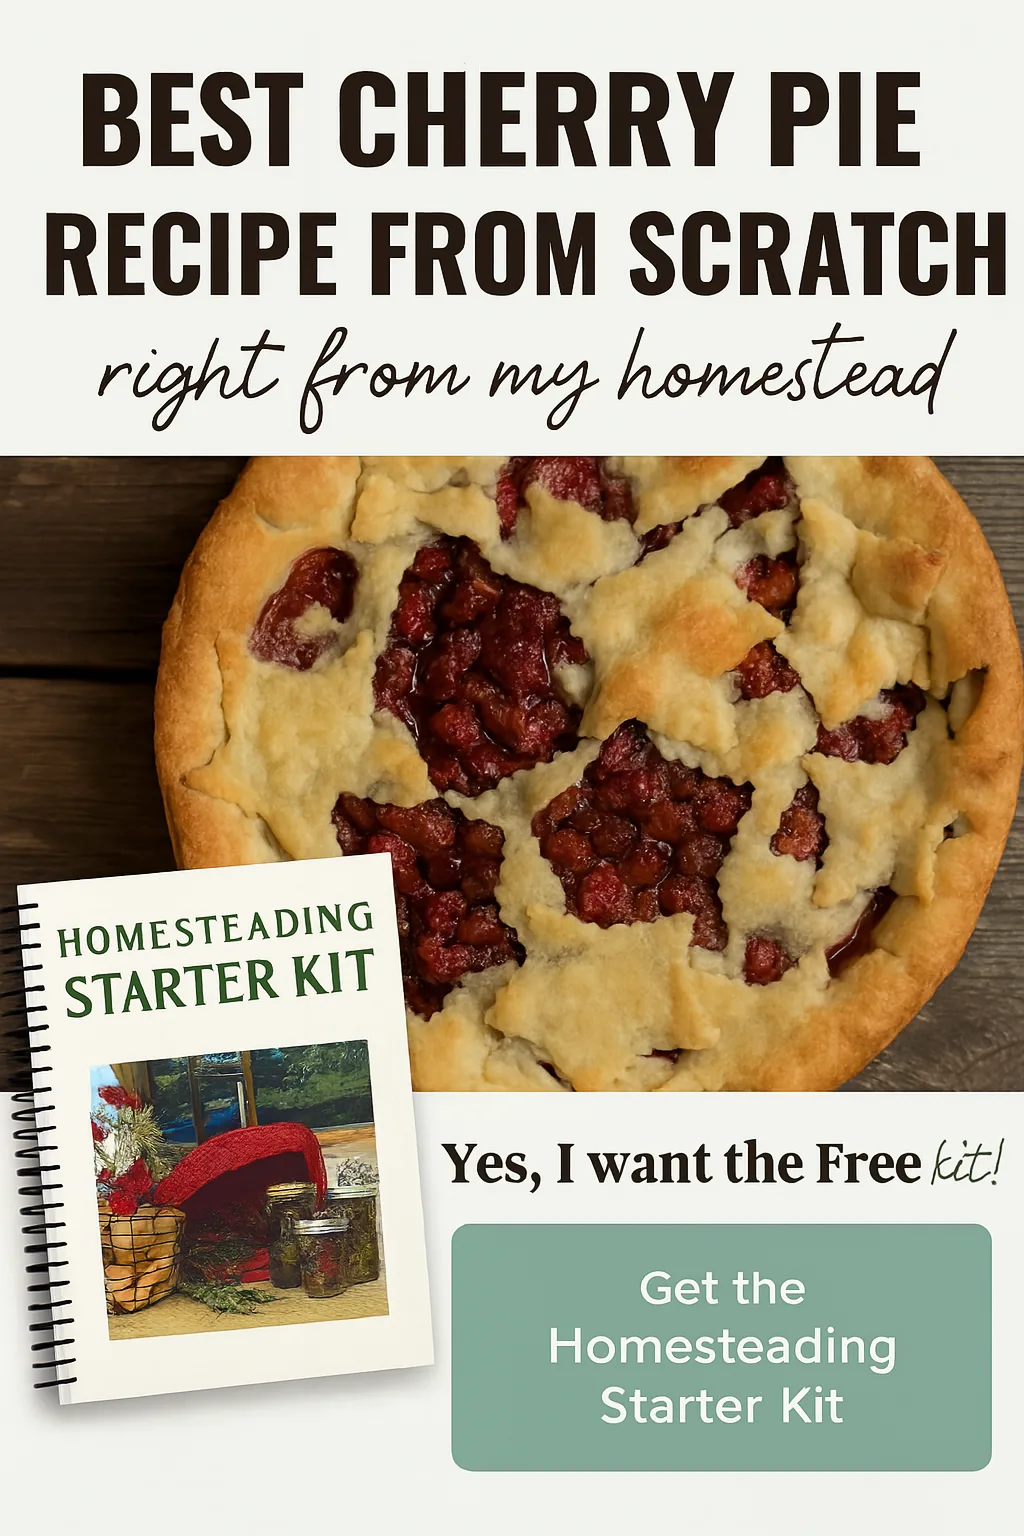
The filling balances sweet and tart just right, and the crust?
Buttery, flaky, and golden brown.
Whether you’re an experienced homesteader or just beginning your journey into baking from scratch, this pie will have your kitchen smelling like a country fair and your heart full of pride.


Why This Pie Is So Special
First off, the flavor.
If you've only ever used canned cherry filling, you’re in for a treat.
Fresh or home-frozen cherries burst with real cherry essence that’s miles above anything store-bought.
I grow Montmorency tart cherries here, but any pie cherry will work beautifully.
Second, this pie is truly made from scratch—no shortcuts, no cans, and definitely no corn syrup.
It’s a simple, wholesome recipe that celebrates everything we love about summer, sustainability, and homesteading.

🍒 Grab Your FREE Homesteading Starter Kit!
Want to learn how to grow, preserve, and bake even more like this?
Sign up below and I’ll send you my Homesteading Starter Kit completely free! You’ll get tips, printables, and tools to help you on your homesteading journey.


Best Cherry Pie Recipe From Scratch
This is the best cherry pie recipe from scratch you’ll ever try—straight from my homestead kitchen to yours. Made with juicy, homegrown cherries and a buttery, flaky crust, this pie is the perfect blend of tart and sweet. Whether you're baking for a family gathering, a summer picnic, or just because you harvested a big batch of cherries, this recipe is easy to follow and full of old-fashioned flavor. Scroll down for the full printable recipe, step-by-step instructions, and a few homestead tips I’ve picked up over the years.
- Total Time: 1 hour 10 minutes
Ingredients
Instructions
- Preheat the oven to 425 degrees Fahrenheit.
- Combine all of the ingredients in a large mixing bowl and stir to coat the cherries with the mixture.
- Place a pie crust into the pie pan and pour the cherries on top of it.
- Lay the second pie crust out and use a star shaped cookie cutter to cut out the designs.
- Lay the large piece of the pie crust on top of the cherries.
- Slightly dampen the cut out pastry stars and place them around the edges of the pie crust as desired.
- Put the pie on top of a cookie sheet lined in aluminium foil and then use strips of aluminium foil to cover the edges of the pie crust.
- Place the pie in the oven and bake at 425 degrees Fahrenheit for 25 minutes.
- Lower the temperature of the oven to 350 degrees Fahrenheit and bake for an additional 25 minutes, removing the aluminium foil during the last five minutes to brown the pie crust.
- Allow the pie to cool for at least 10 minutes, cut and serve.
Notes
I always recommend baking this pie the day before a gathering if you can. Letting it rest overnight (covered and on the counter) helps the filling firm up, making those slices picture-perfect when served. I’ve even taken this pie to potlucks and community bake sales—there’s rarely a crumb left. If you’re gifting it, wrap it in parchment and tie it with twine for a sweet, rustic touch.
- Prep Time: 20 minutes
- Cook Time: 50 minutes
- Category: Desserts
- Method: Bake


Homestead Tip: Freeze Or Can Extra Cherries
Every summer, I freeze or can extra cherries so I can enjoy this pie all year long.
Just pit them, spread them on a tray to freeze, then bag them up.
It’s a homesteader’s version of fast food—just from the freezer to the oven, your way.
If you don’t grow your own cherries yet, that’s okay too.
Check your local farmers market or orchard for freshly picked options in season—June through early July is peak here in Indiana.
Be sure to ask if the cherries are pie or sweet varieties.
Pie cherries are more tart and give that classic flavor balance, while sweet cherries may need extra lemon juice or a little less sugar in this recipe.
🍒 Grab Your FREE Homesteading Starter Kit!
Want to learn how to grow, preserve, and bake even more like this?
Sign up below and I’ll send you my Homesteading Starter Kit completely free! You’ll get tips, printables, and tools to help you on your homesteading journey.
Why I Still Bake This Pie Every Year
For me, this pie is a reminder of everything I’ve built with my two hands, from the cherry tree saplings I planted years ago to the pie cooling on the window sill today.
It’s not just about dessert.
It’s about family, tradition, and the slow beauty of living close to the land.
If you’re overwhelmed or just learning to homestead, start here.
Bake something from scratch.
Let the process center you.
And don’t be afraid to try, because I promise, making this cherry pie is easier than you think.
I know baking from scratch can feel intimidating, especially if you’re new to the homesteading lifestyle.
But trust me—once you bake your first cherry pie with ingredients you sourced yourself, you’ll feel like you can conquer anything.
It’s more than just dessert.
It’s a powerful reminder that you’re capable of doing hard, beautiful things.
And when you cut into that pie and hear the crust crackle?
Pure satisfaction.
Let’s Connect
Share your pie pics with me!
I’d love to see your homestead pies!
Tag me on Instagram @sheriannricherson or share in our Facebook group.
Got a tip or twist on the recipe?
Drop it in the comments.
I always love learning from fellow homesteaders!


Cherry Pie FAQ
Q. Can I use frozen cherries for this pie recipe?
A. Yes! You can absolutely use frozen cherries if fresh ones aren’t in season. Just be sure to thaw and drain them first to prevent excess moisture, which can make your pie too runny.
Q. How do I prevent a soggy bottom crust?
A. To avoid that dreaded soggy bottom, bake your pie on the lower oven rack and place it on a preheated baking sheet. You can also brush the bottom crust with a thin layer of egg white before adding the filling—this helps seal it and keep it crisp.
Q. Can I prep this cherry pie ahead of time?
A. Yes, and it’s a great idea! You can assemble the pie and refrigerate it unbaked for up to 24 hours. Or freeze it unbaked and bake straight from frozen—just add about 15–20 extra minutes to the bake time.
Q. What kind of cherries work best in this recipe?
A. Tart cherries like Montmorency or Balaton are ideal for cherry pie. They have the perfect balance of sweet and sour. If you’re using sweet cherries, reduce the sugar slightly and add a splash of lemon juice for that classic tang.
Q. Can I make this cherry pie gluten-free?
A. Absolutely! Just swap in a 1:1 gluten-free flour blend in the crust. Make sure it includes xanthan gum (or add your own) to help bind the dough and keep the crust from crumbling.
I highly recommend the following articles:
- How To Make A Cherry Oat Crisp Casserole
- How To Dehydrate Cherries
- How To Make Maraschino Cherries
- Maple Vanilla Bourbon Cherry Pie From Scratch