Disclaimer: This is not a sponsored post. I was not paid to mention Jo-Ann Fabric and Craft Store. I did buy the materials at a discount because they were on clearance sale. I also did use some lights that I received for free in exchange for my honest review. I was not asked to mention anyone in this article. All opinions are my own. There are also links below to products I recommend from companies I have an affiliate relationship with. I will be compensated if you make a purchase after clicking on my links.
I love changing out my milk can floral arrangement to match the season.
Choosing Plant Material
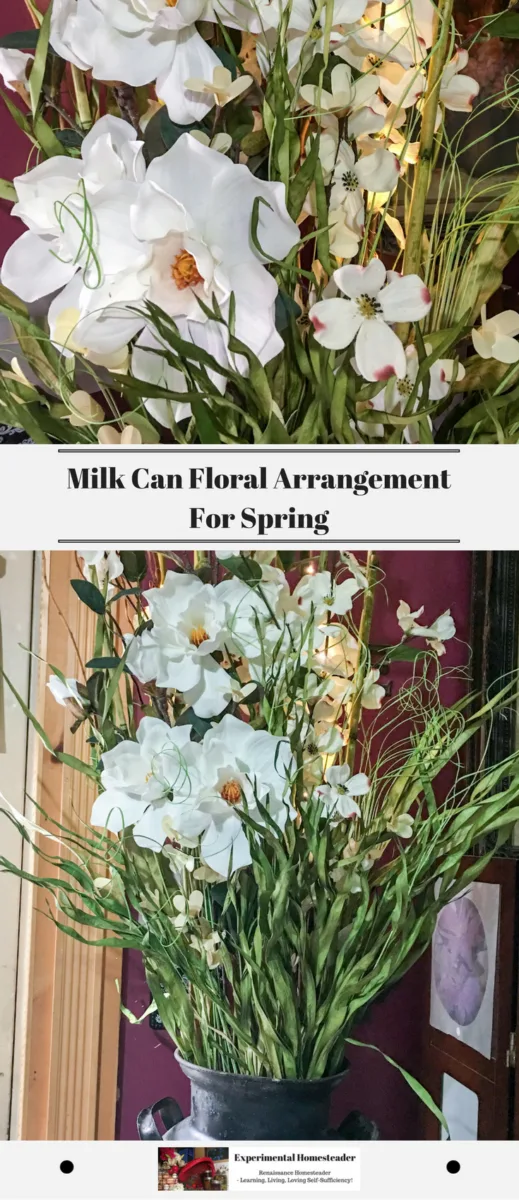
For spring I wanted something bright and cheery - but of course, the flowers I chose had to be in bloom in spring.
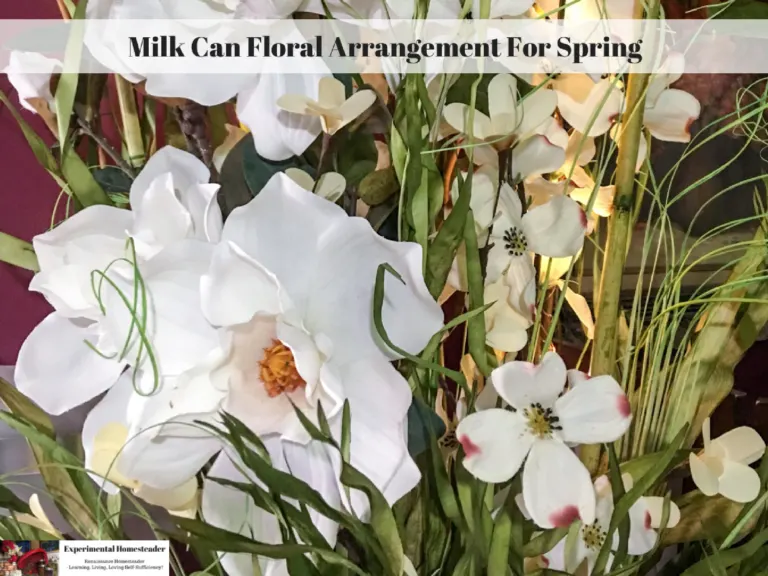
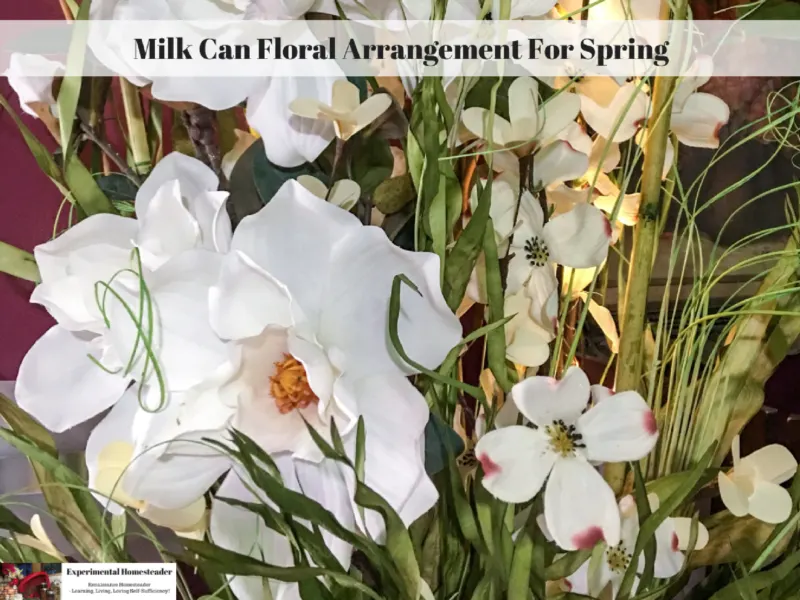
That is why I chose dogwood and Magnolia flowers.
For the greenery, I went with something more natural in a bright spring green.
For those with large flower gardens, feel free to use natural plant material.
I chose to go with something I could keep and use again next spring.
I picked up everything I needed - in the way of floral material at Jo-Ann Fabric and Craft Store in Marion, Indiana.
This floral arrangement is a great way to welcome spring, make use of an old milk can or simply spruce up the look of your country decor!
Here is a list of the materials I used and step-by-step instructions on how to make this milk can floral arrangement for spring.

Milk Can Floral Arrangement For Spring
Ingredients
- 2 sets of a Petal Bamboo Reed Bouquet
- 2 Dogwood Flower Stems
- 2 Magnolia Flower Stems
- 1 bunch of dried twigs such as curly willow
- Skewers
- Floral tape
- String lights
- Floral foam
- Antique milk can - lid removed
Instructions
- Stuff the milk can full of crumpled newspaper, plastic bags or other filler material to save on the cost of floral foam.
- Press floral foam in the neck area of the milk can. Cut some small pieces to make sure you get good coverage. I chose to re-use the floral foam from my Easy DIY Antique Milk Can Fall Floral Flower Arrangements as well as the dried twigs and string lights. I typically re-use my floral foam until it no longer is strong enough to support the floral stems I put into it.
- Begin by attaching string lights to the twigs, then putting the lighted twigs into the floral foam.
- Then push the Magnolia flower stems into the floral foam.
- Once you are happy with where the Magnolia flower stems are located, position the Dogwood flower stems around the Magnolia flowers.
- Next add the flowers that are in the Petal Bamboo Reed Bouquet to the floral arrangement.
- Now position the bamboo pieces from the Petal Bamboo Reed Bouquet in the back of the floral arrangement. Be sure to position them at varying heights.
- Finally add the "grass." to the bouquet to disguise the mechanics and make it have a full appearance. To do this wrap five or six pieces of the dried plant material around a skewer, then use floral tape to secure them to the skewer.
- Once you are satisfied with how the plant material on the skewer looks, press the skewer into the floral foam. Repeat this process several times.
- Then position some of the leftover plant material between the edge of the milk can and the edge of the floral foam.
- Once you are satisfied with the fullness of the arrangement the only thing left to do is enjoy it.
Notes
Storage Tips: Using a combination of silk and dried flowers make it easy to save them from year to year by simply removing them, rolling them in newspaper to keep them from breaking and storing in a plastic tote.
Be sure nothing heavy is laid on top of them and that the tote does not get crushed.
Final Cost
I was able to make this arrangement for under $25.
I did have some supplies already - like the milk can.
I reviewed the lights for free or at a reduced price for review.
The other items were 60% off plus I had a coupon for an additional 25%.
This could be done for even less if you dry your own botanical material.
I do suggest waxing the leaves if you do to prevent breakage if you choose to dry your own botanicals.
I highly recommend the following articles:
Use the buttons on the right side to share this article with friends or family who might find it useful. Pin the picture below to your pinboard on Pinterest for future reference.


