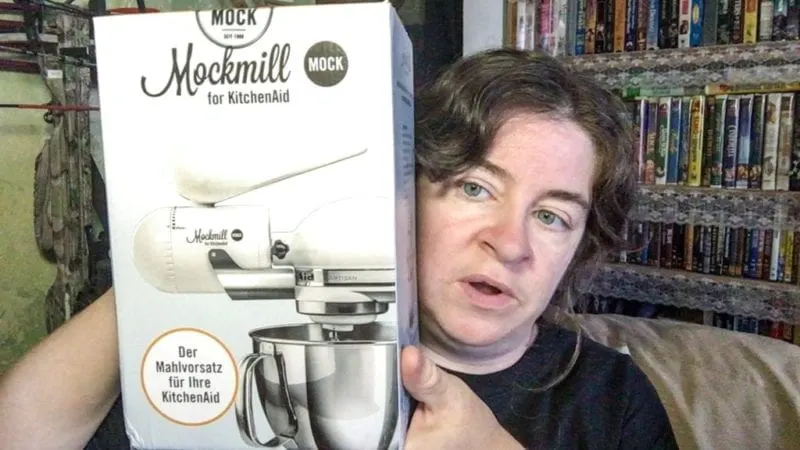
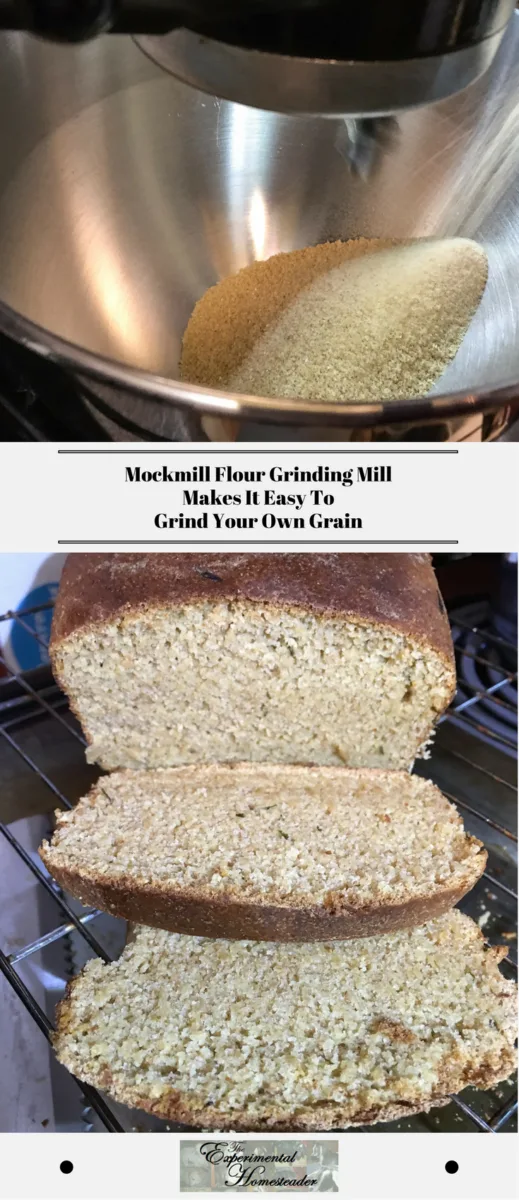
Disclaimer: This is a sponsored post. I did receive the Mockmill Electric Grain Grinder for free in exchange for my honest opinion. All opinions are my own. There are links below to products I recommend that I have an affiliate relationship with. I will be compensated if you make a purchase after clicking on my links.
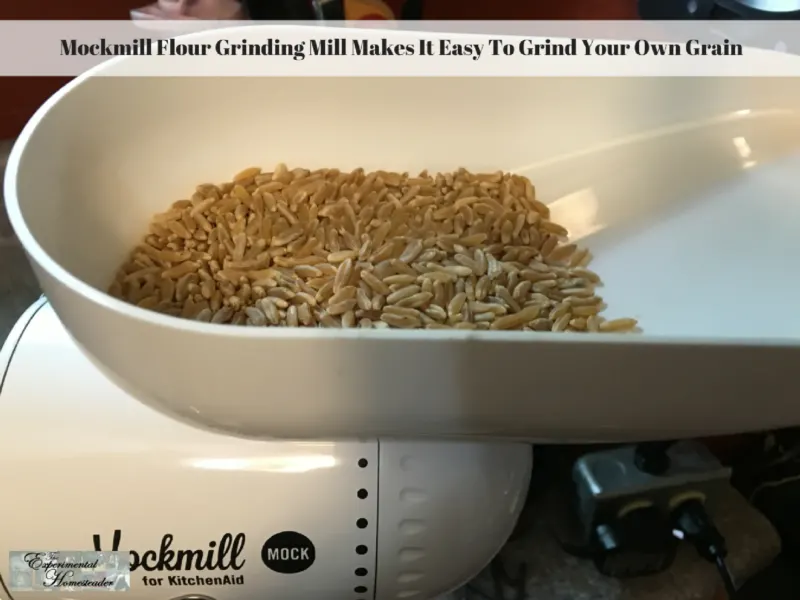
The Mockmill flour grinding grill has made it so easy for me to grind the grains I grow!
What Is Your Reason For Wanting A Flour Grinding Mill?
Do you grow your own wheat or other grains?
Maybe you buy your grains whole instead of growing them.
One of the biggest problems I encountered with whole wheat berries or other wool grains was getting them ground correctly.
Thanks to the Mockmill flour grinding mill, this is no longer a problem.
My Grain Grinding Experience And Needs
I have been grinding my own grain since around 2005 - and doing it the old-fashioned way using a hand crank grinder since that was all I could find that was completely metal.
I sure did not want plastic.
It was a lot of work and while I was able to grind enough flour at once for a single recipe, I seldom ground more.
It was time consuming, tiring and left my arms and hands sore.
However, I continued to use my grinder as often as possible, but still kept an eye out for an electric flour grinding mill - such as the MockMill - that met my needs.
The Mockmill Is A Well Made Flour Grinding Mill
I have done a lot of research and found that most grain grinders were plastic inside.
For those of you who know anything about grinding grains you know plastic won't last long.
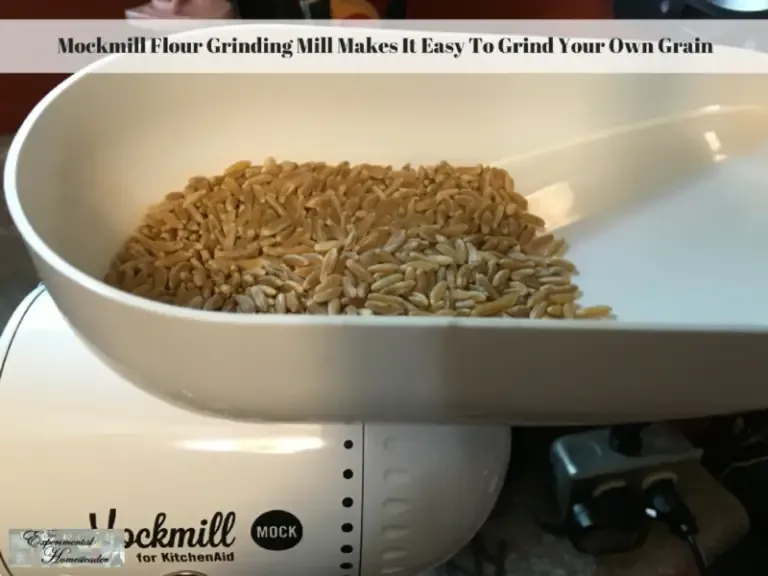
Then I heard about the MockMill Stone Milling Attachment For Stand Mixers.
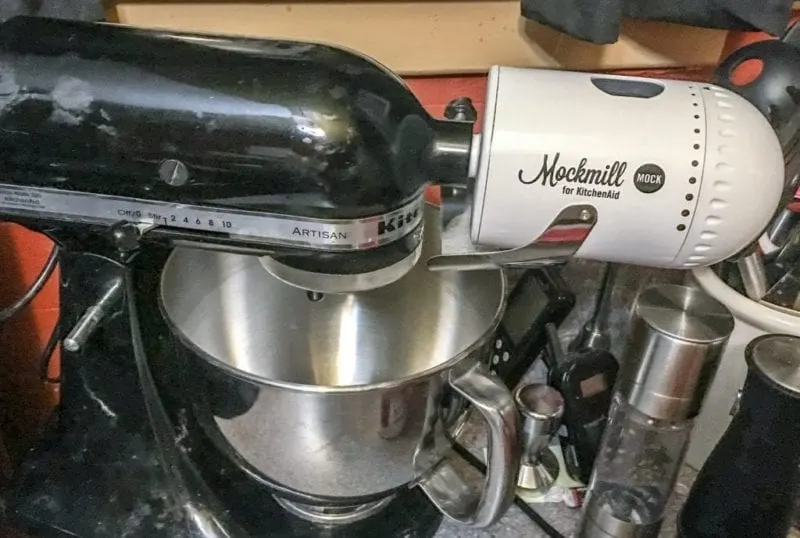
It attaches right to the front of my KitchenAid.
However the best part is that the MockMill grinder is made of all metal except for the Corundum ceramic grinding stones and the hopper which is made of plastic - but that is ok since it only holds the grains.
For those who do not have a stand mixer, or do not want a flour grain grinder that works that way, there is also a standalone 200 Stone Grain Mill by Wolfgang Mock.
A Flour Grinding Mill Is Essential For Making Freshly Milled Flour At Home
I enjoy growing my own organic, non-GMO heirloom grains - and the only way I was going to be able to use what I grow was to grind them myself.
My favorite use for my freshly milled flours is homemade bread.
I enjoy mixing different types of flour together to make artisan bread recipes that are versatile and nutritious.
Most people cannot tell that I added flax, amaranth or quinoa into my breads.
In fact, they never even ask what type of flour I use.
They just eat the bread - and ask for more.
In the Honey Wheat Bread recipe below I use two common types of flour - but do feel free to experiment and add in other types of flours.
I simply wanted to make this recipe easy and use wheat berries that were readily available in case you don't grow your own.
Honey Wheat Bread Recipe
This is my all-time favorite go-to bread recipe. Even people who turn their nose up at wheat bread seem to like this bread once they try it. It is really easy to make - and now that I have the MockMill to grind my grains with, it is even easier. I throughly enjoyed grinding the grains for this recipe in the MockMill - and I am now considering making more bread because it sure did not last long. Best of all with the MockMill my grains were evenly ground so there was no surprise hard bits in my bread! This recipe makes a 1 ½ pound loaf of bread.
- Total Time: 3 hours 10 minutes
- Yield: 1 ½ pound loaf 1x
Ingredients
Instructions
- Make sure the water you use is warm, but not hot, then stir the yeast into the water and set it aside.
- Combine the salt, the two flours and the dry milk.
- Mix well.
- Add the fresh shredded basil to the flour mixture and mix it in so it is well distributed.
- Add the honey, Extra Virgin Olive Oil and the yeast mixture.
- Stir until the the dough is moistened and all the ingredients combined.
- Sprinkle a light coating of flour on your hands and onto the area you intend to knead the dough on.
- Place the dough onto the floured area. The dough should be sticky.
- Knead the dough for 10 to 12 minutes. The dough should feel soft like a baby's bottom and easily form into a ball shape.
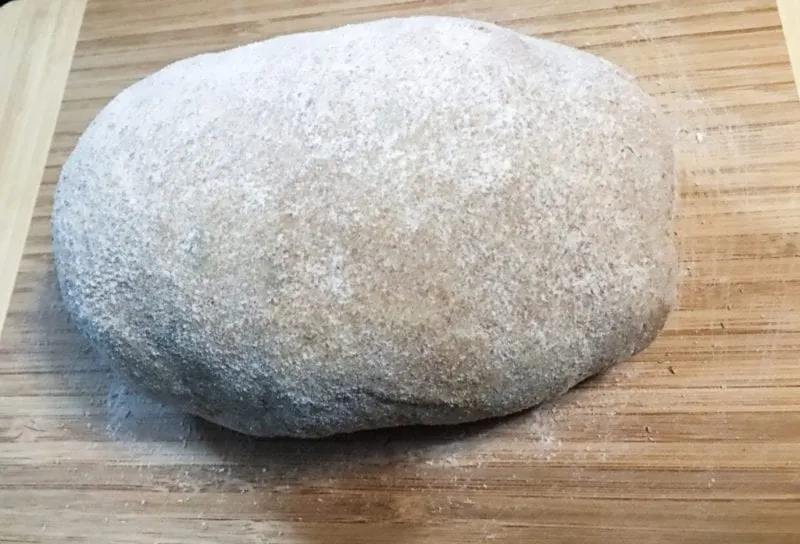
- Sit the dough aside to rise for about an hour - or until it is double in size.
- Punch the dough down in the center and then shape it into whatever shape you want. I typically make it look like a log so I can place it into a glass bread pan to bake it.
- Allow the shaped dough to rise for another hour - or until double in size.
- Bake at 400 degrees Fahrenheit for 30 minutes.
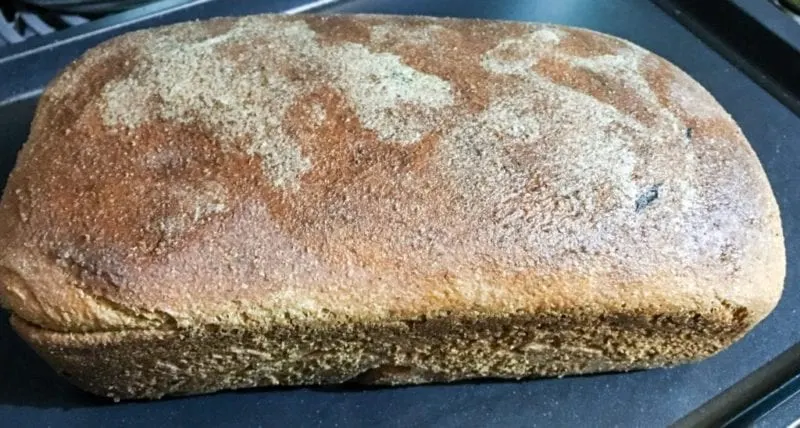
- Slather butter on top to soften the crust, remove from the pan and allow to cool slightly before serving.
Notes
Bread Machine Users - combine all ingredients and follow the instructions on your bread machine.
- Prep Time: 2 hours 40 minutes
- Cook Time: 30 minutes
- Category: Breads
- Method: Bake
About MockMill Flour Grinding Mill
The MockMill was ivented by Wolfgang Mock, a pioneer in the field of whole grain nutrition.
He started grinding grains in the 1970's after observing how whole-grain based diets helped autistic kids by eliminating their frequently manifested eating disorders and also because he loved the taste of bread made from fresh ground berries that a friend shared with him.
Even back then there was no way to buy bread that came even close to tasting the same.
This holds true today.
Interestingly, just like me, Wolfgang started out with a hand cranked grinder - and grew tired of doing it that way.
He also found that he could not find an electric grinder that suited his needs, so he decided to construct his own mill.
From there some of his friends asked him to build them a mill and by the late 1970's he had his own business building mills.
Last June (2015) the Wolfgang Mock Company was re-launced.
Fittingly the first new product was the MockMill. By may 2016, the mother company Wolfgang Mock GmbH located in Otzberg-Lengfeld, Germany (near Frankfurt/Main) founded Wolfgang Mock, Inc.
This became a wholly-owned subsidiary located in Wilmington, DE that was designed to to serve American consumers - and I have to say I am thrilled that they did this because that enabled me to easily obtain a #MockMill.
Here is what I noticed was so different about the MockMill besides what I mentioned above.
First of all, the MockMill is visually pleasing and compact.
While it does have some weight to it, the MockMill is not so heavy that it is cumbersome to attach or remove after use. It is easy to attach and easy to clean (more on this later).
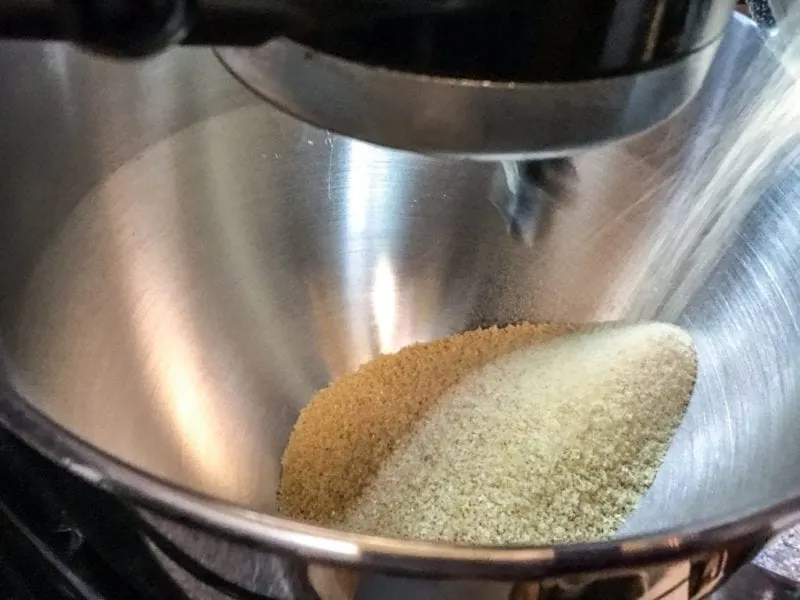
It does produce a very fine flour - although I admit I did grind the Kamut wheat berries twice to get the flour as fine as I wanted it.
I love that they have a commitment to the product and hope to put a #MockMill in every kitchen.
I can get behind that because I know the difference grinding your own grains makes - and I know we all need to eat home made food that is not only delicious but also have more nutritional value than its store bought counterpart.
Grains You Can Grind With The Mockmill Flour Grinding Mill
There are a number of grains you can grind - and easily grow yourself!
Hard Red Wheat might be the one you are most familiar with.
It grows in the winter in cold climates but it tends to have a bitter taste.
A more palatable when is soft or hard white wheat.
There are also some heirloom varieties such as einkorn, spelt, emmer and kamut which is one of the grains the one I chose for my honey wheat bread recipe below.
You could also grind oat groats on a coarse setting and have your own oatmeal.
Oats are not hard to grow either.
For those looking to cut their gluten intake, try buckwheat, corn, amaranth or teff.
An option for teff is to roast it over medium heat before you grind it.
Be sure to keep the teff moving by pushing it around with a spatula or shaking the pan so it does not burn.
This gives teff a nutty, nougat-like aroma that works well in many types of dough.
About Freshly Milled Flour
Did you know that white flour is only made up of the endosperm?
It is true!
The most nutritious parts of the wheat berry are discarded!
Those are the bran and the germ.
These parts contain the fiber, minerals, vitamins and unsaturated fats.
The only thing the endosperm contains is the protein.
What this means is grains that are milled at home are much more nutritious because they contain all three parts of the wheat berry.
Don't let the color of the bread or flour fool you either.
Just because it looks brown does not mean it contains all the parts of the wheat berry.
Most commercially processed brown breads and whole wheat flours are still mostly white flour with just a hint of the bran put in them to make you think you are getting something that you really are not.
The only way to know for sure what is in your flour is to mill it yourself!
Now while the government does have mandatory enrichment programs in place putting nutrients back into our food is not the same.
There is still a considerable loss of insoluble fiber.
In my own opinion you simply cannot replace what is taken out that was created in nature with something that is man-made and expect the same results.
This is why I firmly believe in milling my own grain that I grow myself.
I am so happy to share the MockMill with you because it truly is the best mill I have tried!
How To Care For Your MockMill Flour Grinding Grill
Before you begin using your new MockMill be sure to throughly read the user manual.
The first grain you grind gets tossed.
They suggest using rice - but not parboiled.
Rice is a lot cheaper than many grains unless you grow your own.
The reason you toss the first two cups of grain that you grind is because this removes any excess mineral residue that might be left on the virgin stones.
You certainly would not want that in any grain you were using!
It is suggested that you start at a middle setting and then adjust the grinder on down to the smallest setting you might use.
I did mine at the smallest setting.
You will notice some black specks in the grain you grind - and this is ok at this point - this shows you that the mineral residue is being removed.
From this point on you the stones do have grain residue on them which is fine.
Now some grains won't grind right - or may even refuse to grind - if the setting you choose is too small.
The reason behind this is that a film forms over the stones and brings production to a halt.
This too is normal.
To fix the problem turn the adjustment knob back one dot at a time until the flour production resumes.
Once you have the grains ground once if they are not fine enough you can grind the powered grains again.
This is exactly what I did.
When it comes to cleaning your #MockMill, just wipe the outside down with a damp cloth.
To get rid of any excess bits of grain or flour that may be in the mill, simply remove it from the KitchenAid making sure to remove the hopper first, turn it upside down and give it a slight tap on the side facing upward.
You can use a tiny brush to remove any bits of flour that are left in the stones.
I don't worry about every little piece and just aim for removing the larger stuff that easily comes out.
There are instructions on how to take it apart for a through cleaning inside the box.
I highly recommend the following articles:
- Artisan Bread Making Tips For The Beginner
- Easy Homemade Swerve Dinner Rolls Recipe
- Delicious Cast Iron Pot Recipes Your Family Will Love
- Chocolate Raspberry Cake With Cheesecake In The Center
Use the buttons on the right hand side of the page to share this article with friends or family who might find it useful. Pin the picture below to your pinboard on Pinterest for future reference.


