Disclaimer: This is a sponsored post. I purchased the Cricut Explore Air from JoAnn Fabrics. It was on sale so I did get it at a discounted price. I am also a beta tester for Cricut. There was no monetary compensation for purchasing the Cricut Explore Air or for being a Cricut beta tester. This is simply a project that I chose to make and wanted to share with my readers because I felt others would enjoy making it as well. All opinions are my own. There are also links to products I recommend from companies I have a referral relationship with. I will be compensated if you make a purchase after clicking on my links.
Most moms love anything their kids make or that remind them of their kids.
That's why making easy handmade birthday cards for mom is such a great idea!
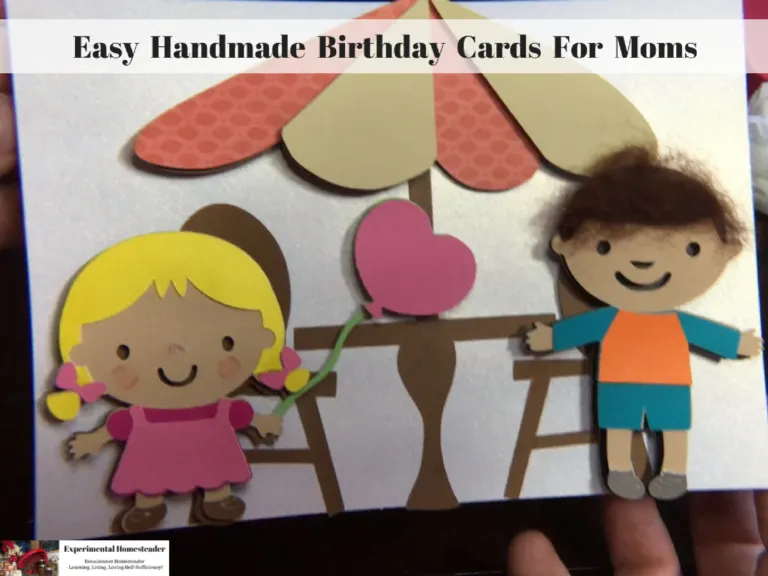
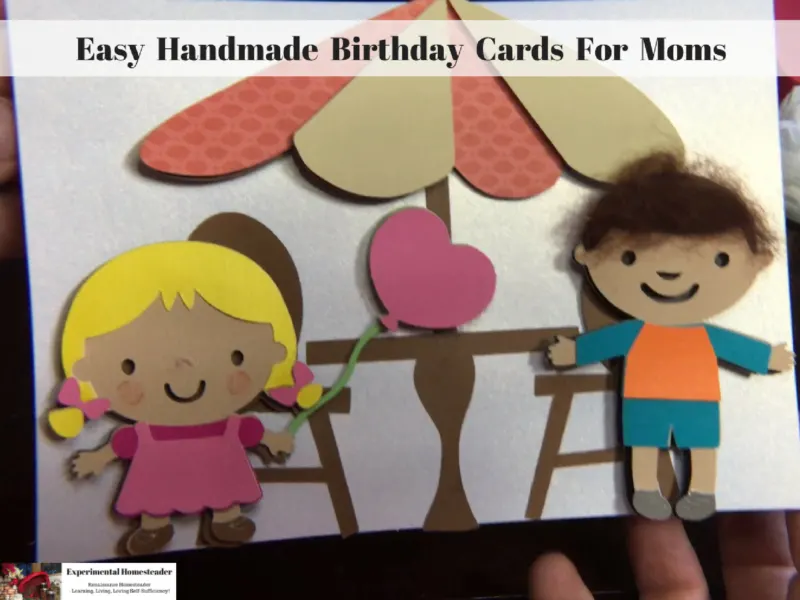
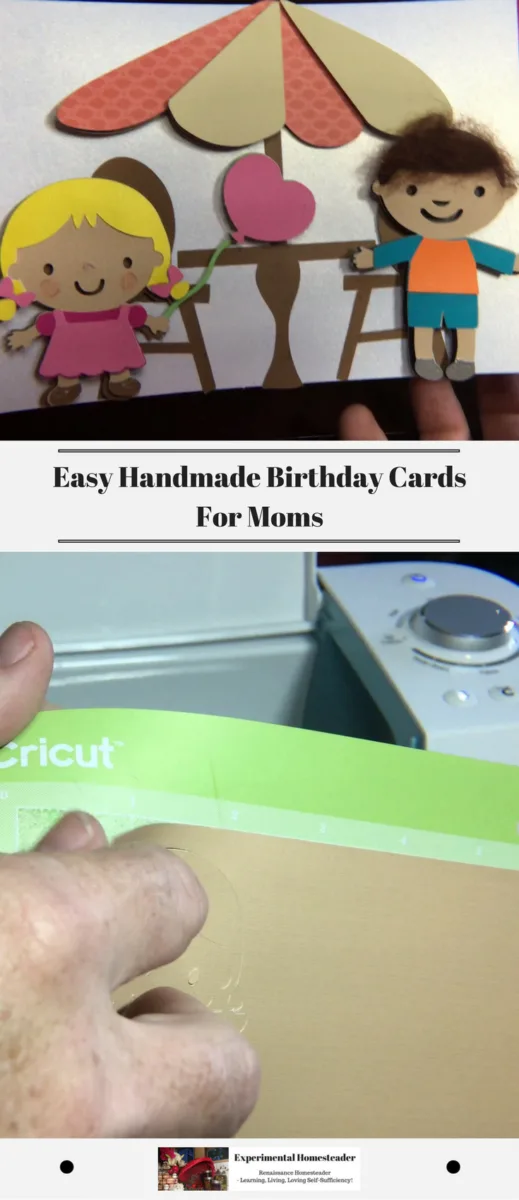
This happy birthday cafe card I created using Cricut Design Space is easy to customize and best of all the kids can help assemble the card once it is cut.
I used my Cricut Explore Air to cut all the pieces out, then assembled the pieces and embellished the card to add my own unique touch.
I shared this project on the Project Primrose site that Cricut set up.
The site is really cool because you can share projects you have created with other users - and see what they are creating.
You do have to request a profile before you can start to share projects but if you are super creative or spend a lot of time working with your Cricut, I do recommend checking into the site.
All of my images for this project came from the Cricut Access Image Library.
I do pay a monthly fee to access the images and I do feel it is well worth it since I do not have to buy individual cartridges everytime I want a new image.
Print
Happy Birthday Cafe Card
Ingredients
- 1 sheet brown cardstock
- 1 sheet light brown cardstock
- 1 sheet dark pink cardstock
- 1 sheet light pink cardstock
- 1 sheet cream cardstock
- 1 sheet orange patterned cardstock
- 1 sheet green cardstock
- 1 sheet yellow cardstock
- 1 sheet black cardstock
- 1 sheet turquoise cardstock
- 1 sheet orange cardstock
- Pre-made blank card and envelope
- 3D Adhesive Tabs (optional)
- Wool (for hair - optional)
- Glue
Instructions
- I set the design up in the Cricut Design Space then opened the app on my iPad.
- Click here for the design template.
- I connected the iPad to the bluetooth connection on the Cricut Explore Air.
- I then cut the images, switching out the colors of the paper as needed.
- Once all the pieces of the design are cut out, glue them together embellishing them as you please and then glue the design to the front of the pre-made card.
- Allow to throughly dry.
- Now the card is ready to sign, place in the envelope and give.
- Check out what's new at Cricut
Notes
Note: I used 12 x 12 sheets for all the paper but 5 x 7 sheets are plenty large. You can - of course - use any color cardstock you wish. This are just the colors I chose.
I highly recommend the following articles:
- How To Make A Birthday Card Using Cricut
- Valentine Crafts: Cute DIY Tabletop Photo Holder
- How To Make Birthday Safari Theme Decorations
- Easy Handmade Cards For Halloween
Use the buttons on the right hand side of the screen to share this article with friends or family who might find it useful. Pin the picture below to your pinboard on Pinterest for future reference.


