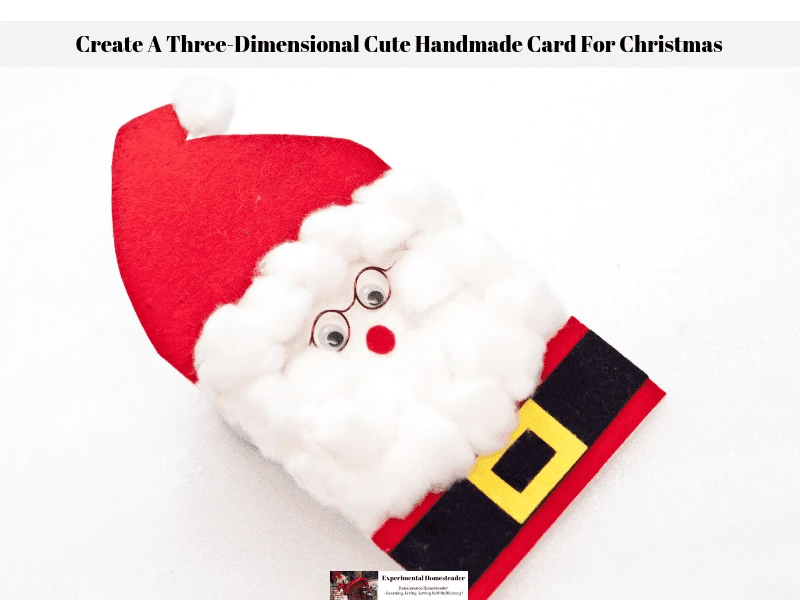
Are you the type of person who loves to give people you know a cute handmade card during the holiday season?
Do you want to stand out this coming holiday season and impress the ones you love by giving them a unique and cute handmade card?
Or maybe you are a crafter who wants to showcase your talents by giving cute handmade cards to your friends and family members?
If you answered yes to any - or all - of the questions above, then this tutorial is for you!
The Story Of Santa Claus
Santa Claus is an iconic personality during the Christmas season that both kids and the kids at heart love.
As the story goes, Santa Claus along with his his team of reindeer, deliver gifts to good boys and girls on Christmas Eve.
Santa is portrayed an older heavyset man with a white beard who carries a big red bag of gifts and has a team of elves working in his own toy factory at the North Pole.
A Cute Handmade Card Is A Heartwarming Gesture
Although technology has invaded our daily lives, giving cute handmade cards during the holiday season is still a tradition that is still practiced by many people.
The time and the effort it takes to write a personal note or make your own holiday cards is such a heartwarming gesture that many people who receive the notes or cute handmade cards truly appreciate.
While it is easy to buy a package of Holiday cards at the store, these are mass produced and commonly stereotyped.
Many people want to give cards that are unique, which is why I am sharing this cute handmade card tutorial with you.
A cute handmade card is the best holiday card that you can give to your friends and family, so let's start making one now!
The tutorial is below.
Print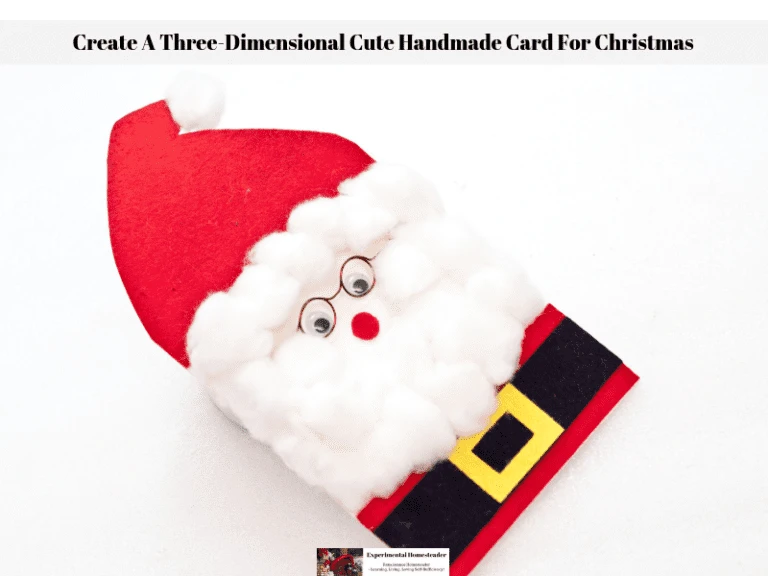
Create A Three-Dimensional Cute Handmade Card For Christmas
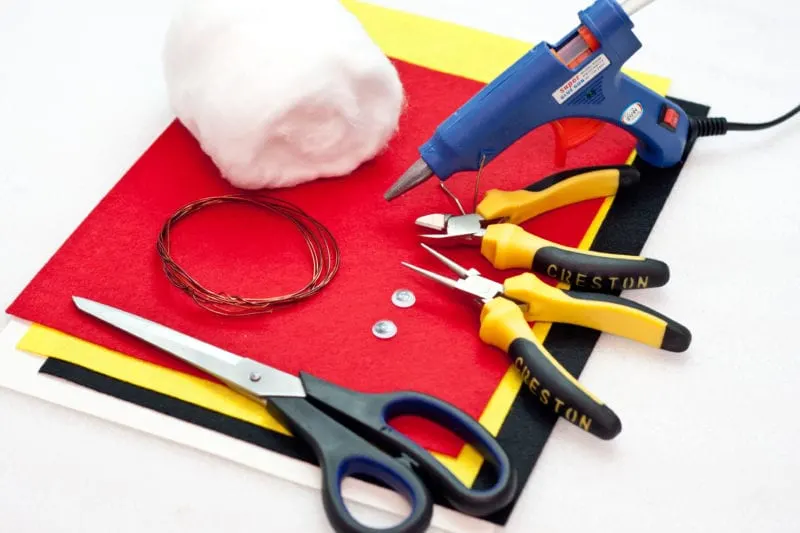
Ingredients
- a piece of white card stock
- crafting felt (red, black and yellow)
- 2 pcs googly eyes
- copper wire
- cotton or cotton balls
- round nose micro pliers
- diagonal cutting pliers
- a pair of scissors
- hot glue
Instructions
- Gather all of the materials needed before you begin.
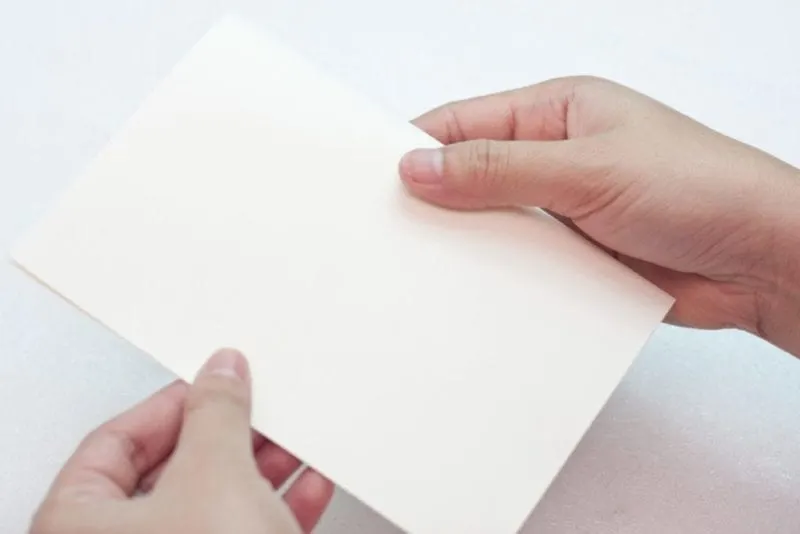
- Fold the card stock into two equal parts. This holiday Santa card is going to be made in portrait orientation. The folded card stock is the the card’s main body.
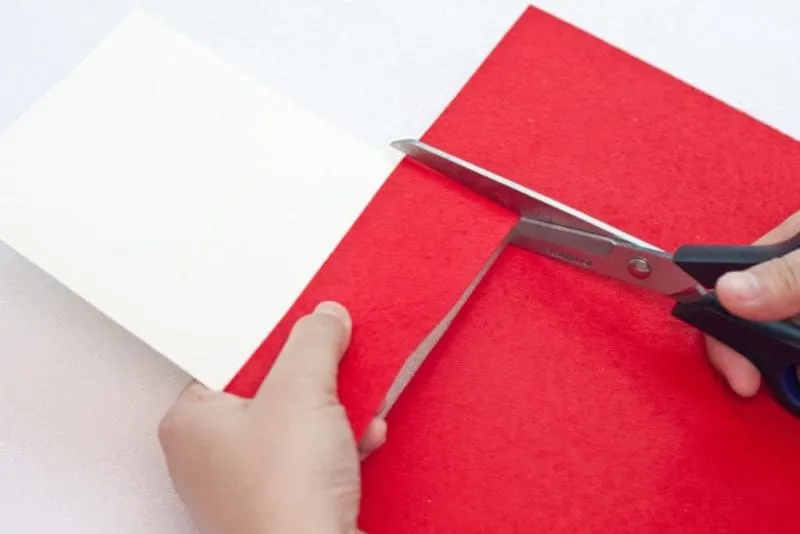
- Cut a strip of red felt that is 1 ½ inches long. The length depends on the width of the cover of the folded card stock. This is for Santa's clothes.
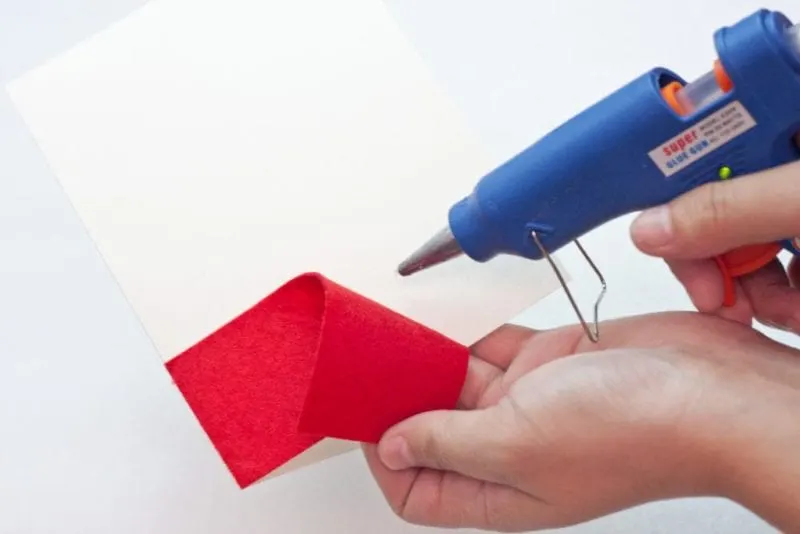
- Hot glue the red felt strip on the bottom of the card stock cover and cut off any felt that hangs over the edge of the card stock.
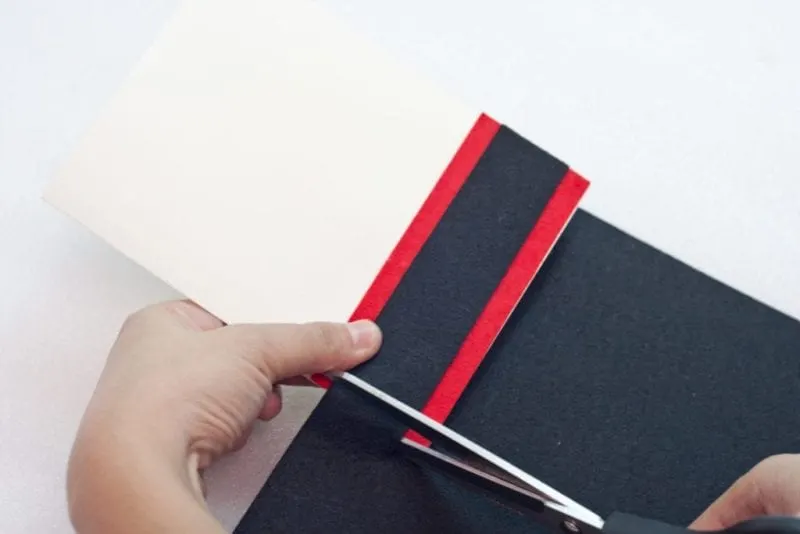
- Cut a strip of black crafting felt that is 1 ½ inches long. The length would be the same as the width of the card’s cover. This will serve as the belt of Santa Claus.
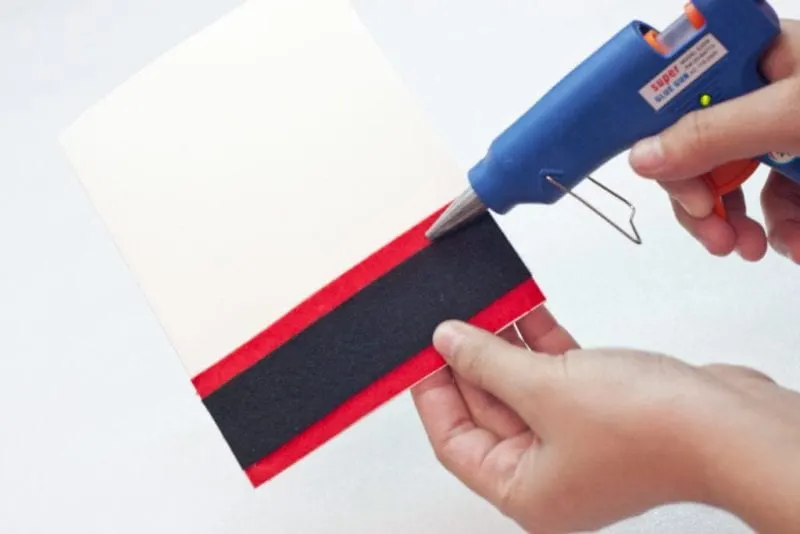
- Place the belt in the middle of the red strip and hot glue it on the red body, again cutting off any extra felt that hangs over the edge of the cardboard.
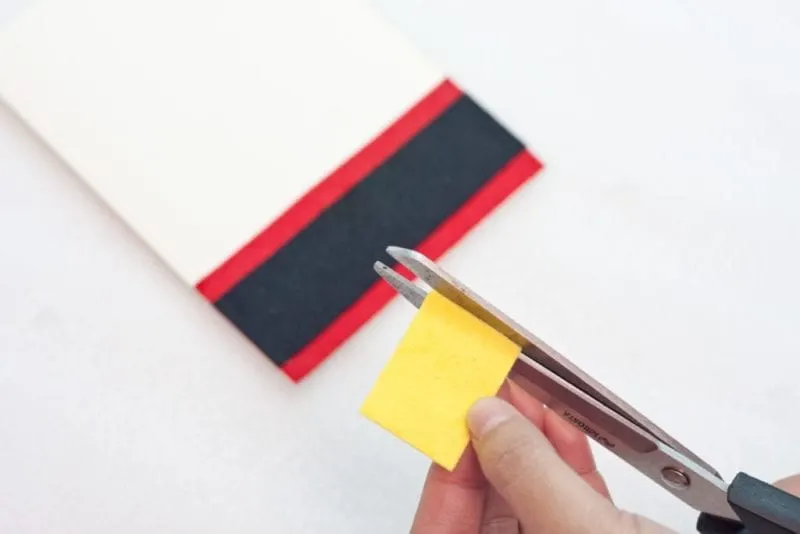
- Cut a small square from the yellow crafting felt that has the same dimensions as the width of the belt. This is the belt buckle. Fold the yellow felt in half and cut a smaller square in the middle of the belt buckle to create a center opening.
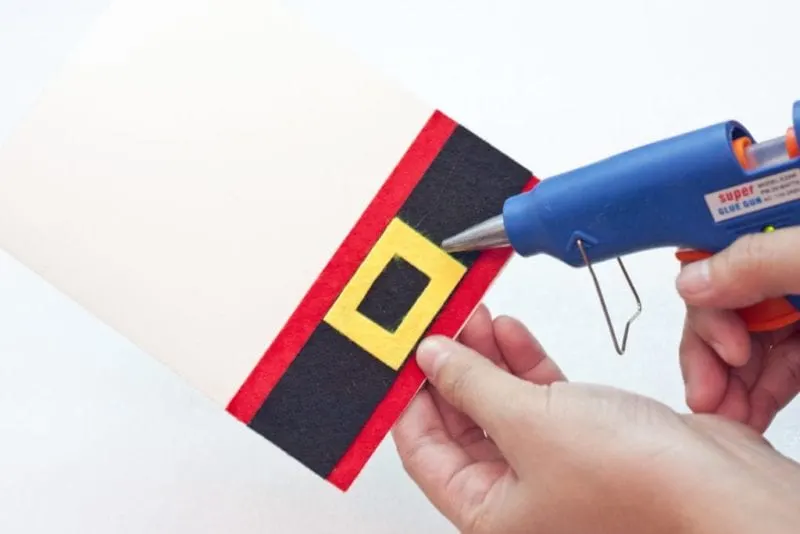
- Hot glue the buckle of the belt in the middle of the belt.
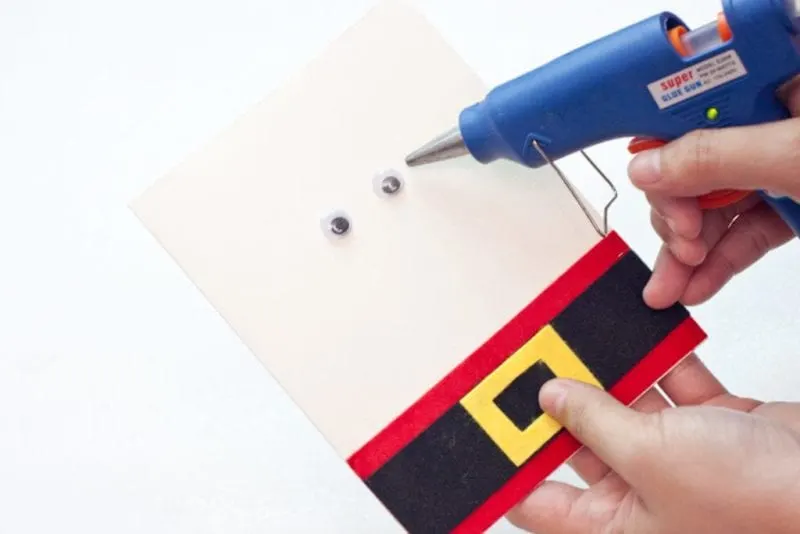
- Hot glue a pair of eyes in the middle of the card stock just near the top on top of Santa’s clothing. The eyes should be placed on the the upper third of the card, near the top.
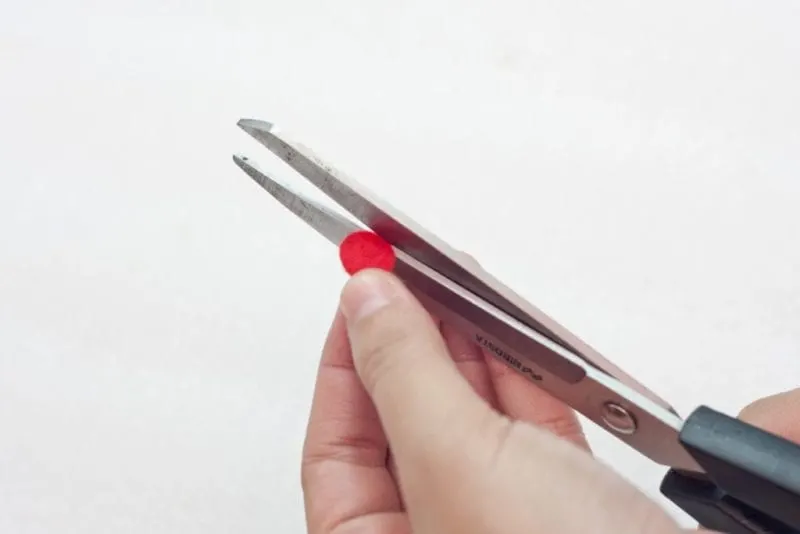
- Cut a small round piece of red felt for Santa's nose.
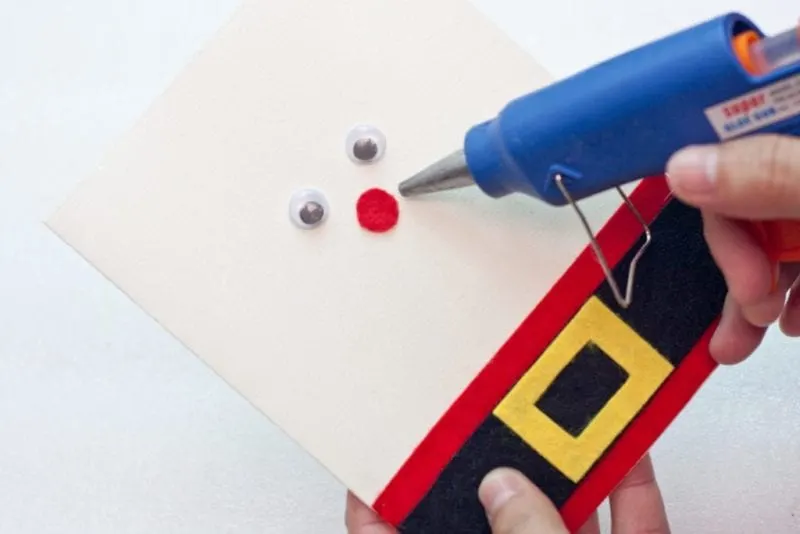
- Hot glue the nose just below the eyes.
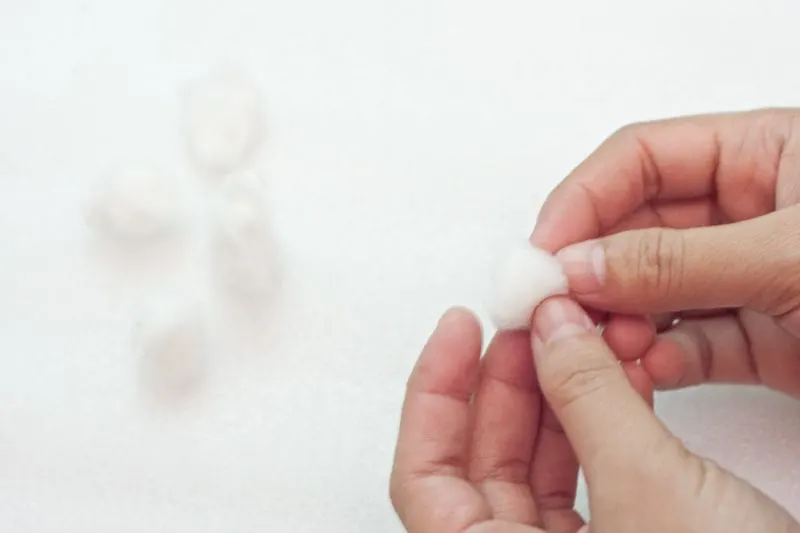
- Roll several pieces of cotton in the palm of your hands. If you are using cotton balls, then you can skip this step.
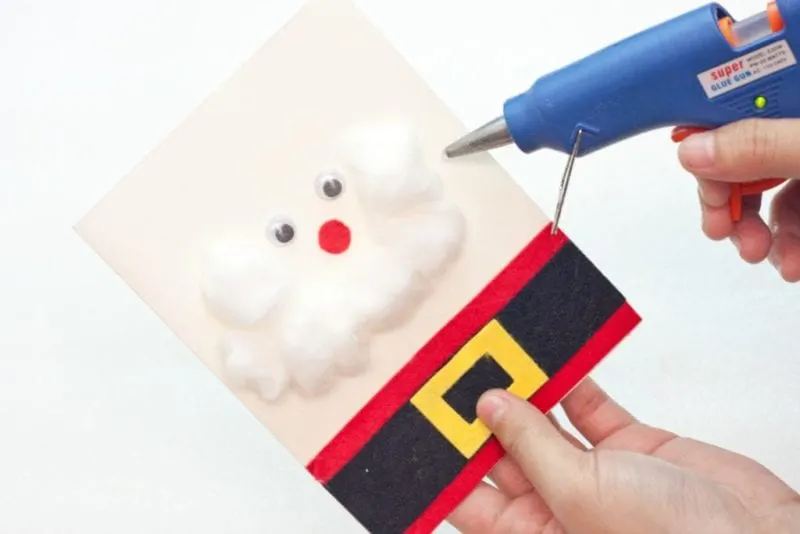
- Cover the sides of Santa’s face with cotton balls to make the beard.
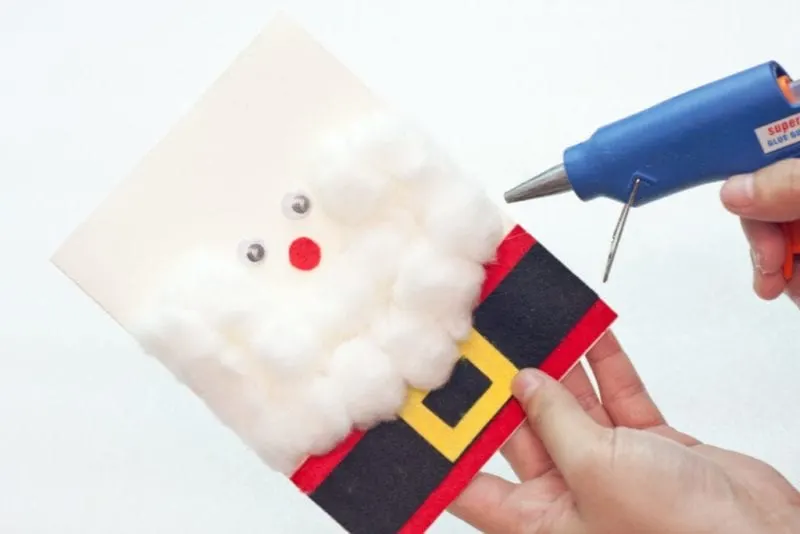
- Glue the cotton balls on the sides and the bottom of the neck part of the Santa on the card to create a thick, long white beard.
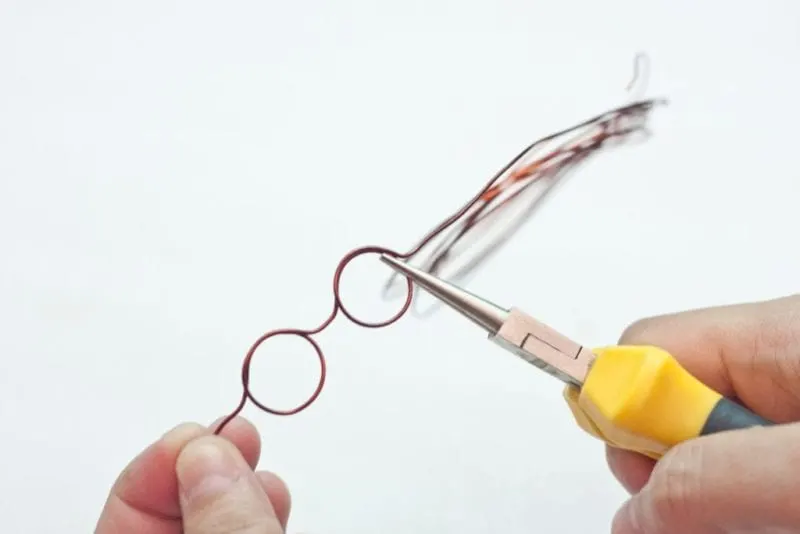
- Create a pair of glasses from the copper wire using the rounded long nose pliers. Cut off the excess wire.
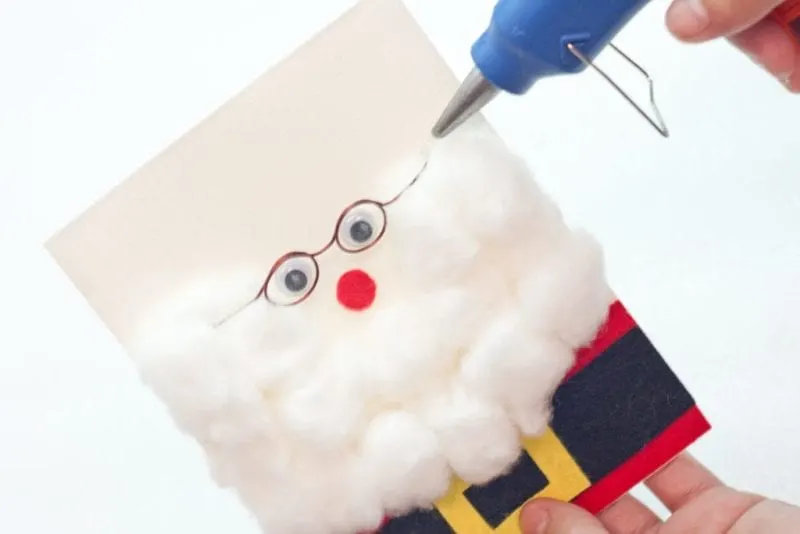
- Hot glue the glasses just in front of Santa’s eyes. Make sure to place them in a leaning position towards the nose of Santa. Hold these in place until the glue dries so the glasses do not end up laying flat.
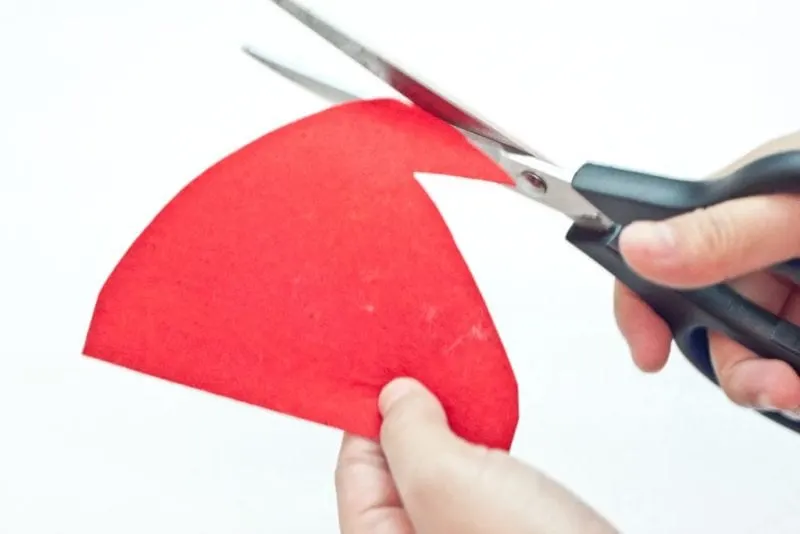
- Cut a Santa cap from the red crafting felt.
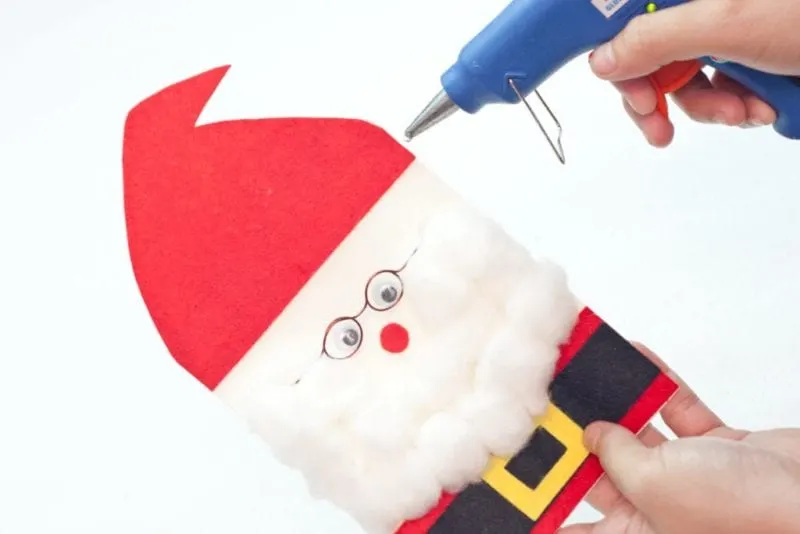
- Hot glue the red cap on the top of the card above Santa's eyes. Make sure to leave a some space in between the Santa's face and the cap so these is room to give Santa some hair.
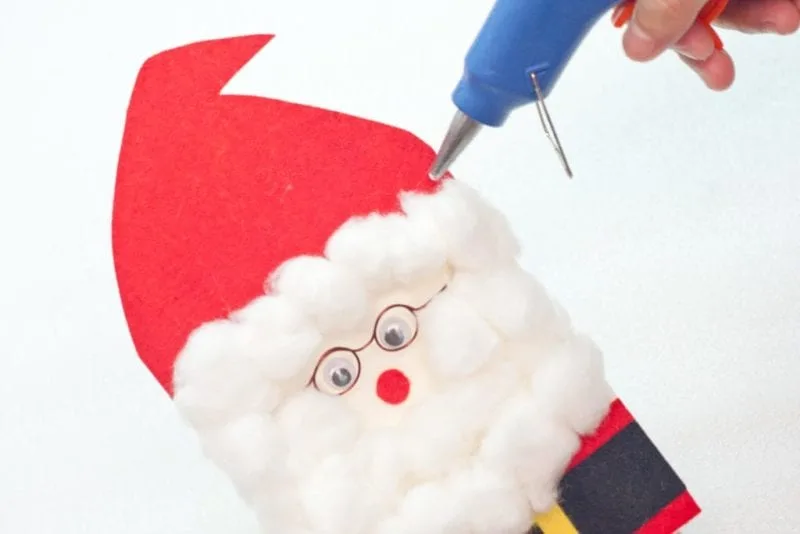
- Add more cotton balls in the space between the cap and his eyes. This is Santa’s hair.
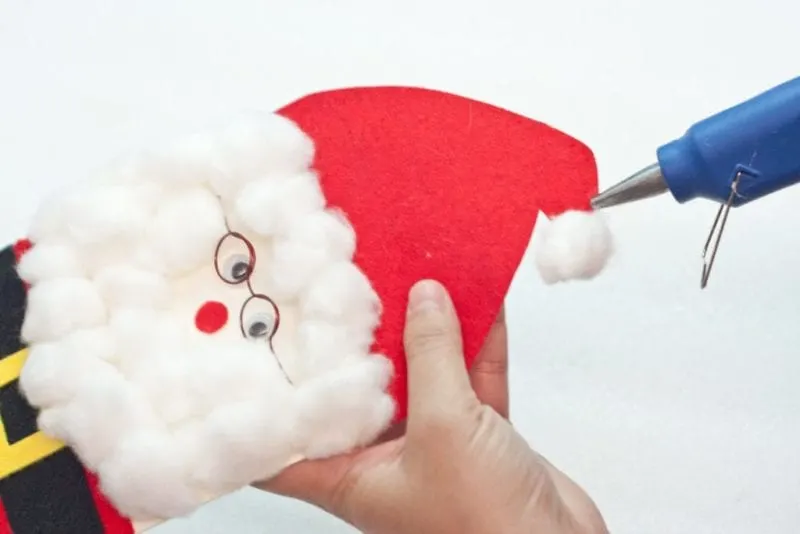
- Hot glue a cotton ball on the tip of Santa’s hat.
- Write a personal holiday greeting inside the card and if there is not enough room, write a separate note and attach it with a pretty sticker or a piece of tape.
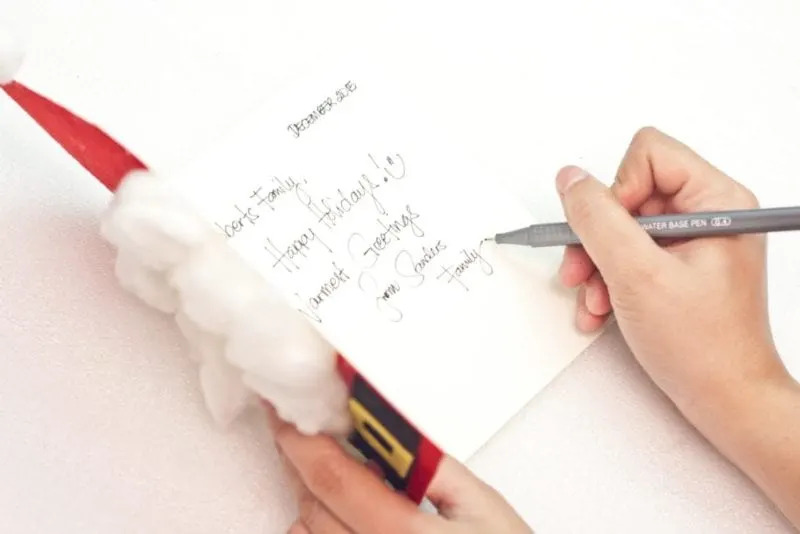
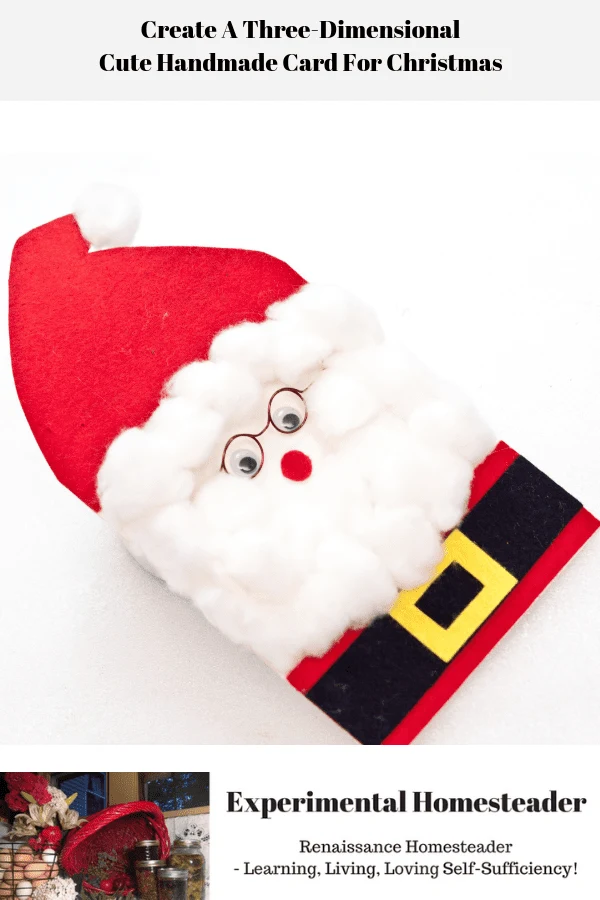
- Allow the card to dry throughly and then this charming Three-Dimensional Santa greeting card can be given to a friend or a family member!
Final Thoughts On Creating A Cute Handmade Card For Christmas
This is a unique and cute handmade card that is sure to capture the attention of the person who receives it.
The effort put forth to make this charming three-dimensional card is priceless.
I am sure the person who receives this cute handmade card will know how much they mean to you.
This is also a great handmade card to give to kids - or even let your kids help you make to give to their friends.
I hope you enjoyed this tutorial.
Feel free to leave your comments below.
I highly recommend the following articles:
- Christmas Recipes And DIY Ideas
- Easy Handmade Card For Christmas
- Polymer Clay Christmas Glass Butterfly Ornaments
- Creative Handmade Greeting Cards For All Occasions
- How To Make A Christmas Themed Fairy Garden
Use the buttons on the right-hand side of the screen to share this article with friends or family who might find it useful. Pin the picture below to your pinboard on Pinterest for future reference.

