DIY Burlap Chair Cushions Give Dining Room Chairs A New Look
Disclaimer: I did receive the burlap fabric for this project from BurlapFabric.com in exchange for my honest, unbiased review. All opinions are my own.

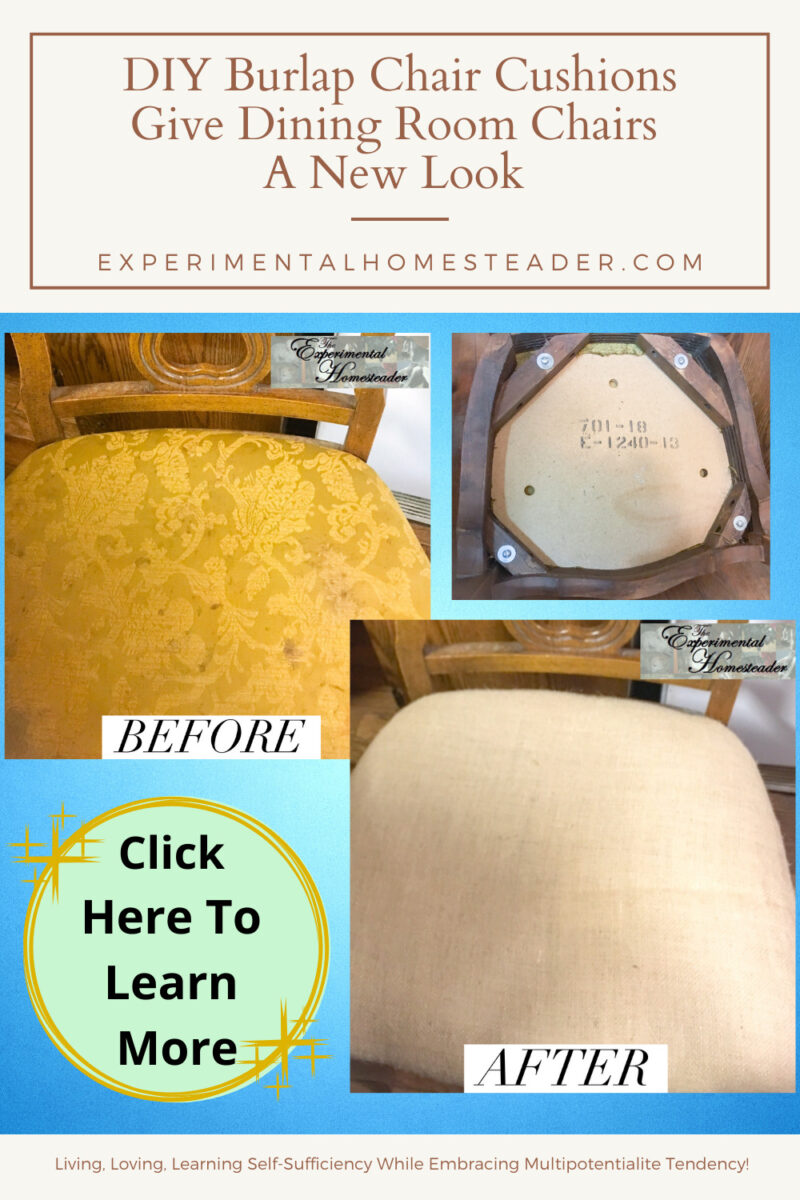
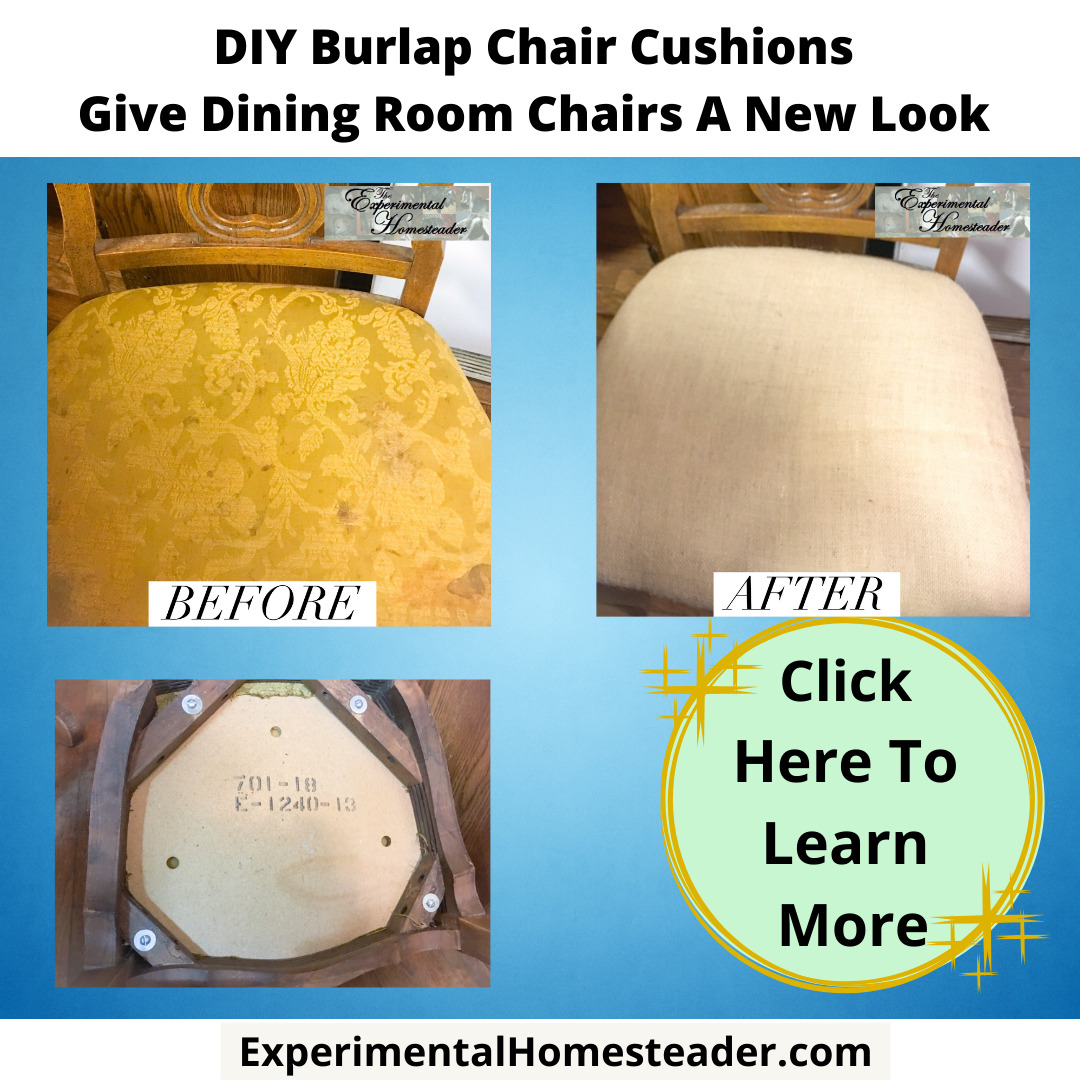
Give your old worn out dining room chairs a new look with these DIY burlap chair cushions!
DIY Burlap Chair Cushions Solves Several Problems
Let's face it, no matter how much we love our dining rooms chairs, fabric gets dirty and wears out.
Sometimes a new look is needed to update the overall appearance of the room.
For me, it was a combination of those issues.
I saw some chairs I absolutely loved at one of our local craft stores - but the price was way out of my budget.
I had received two rolls of burlaps fabric in both gold and burnt sienna that I had intended to use for another project that had not worked out.
I decided I would use the Gold to recover my dining room chairs.
Remove The Old Fabric First
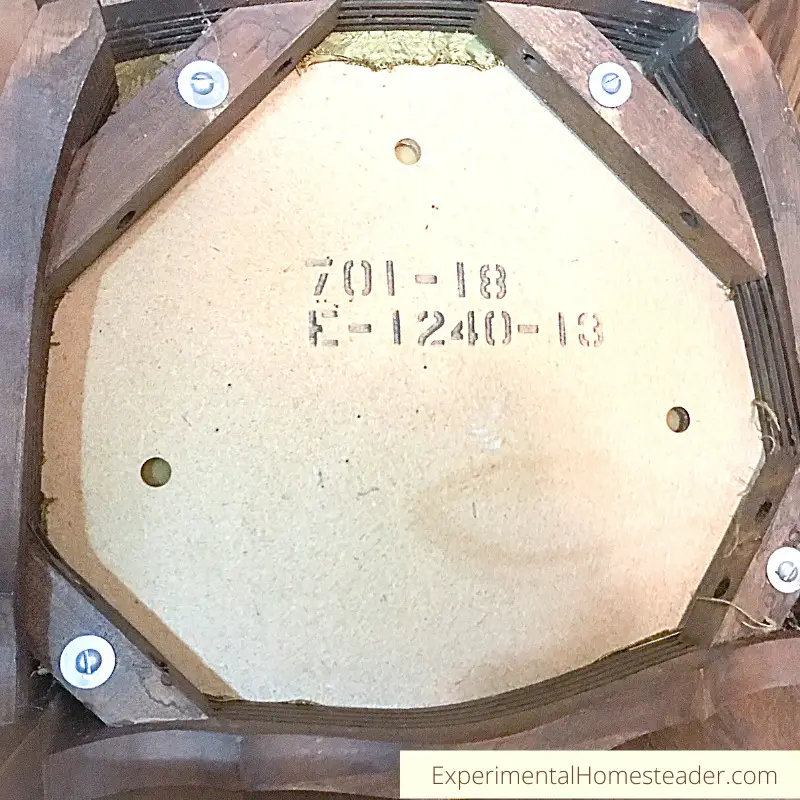
The first step was to turn the chairs over and remove the bolts that held the seat area in place on the chairs. I used a hand screwdriver as mine were pretty easy to remove and there was no need for an electric screwdriver. Then I laid the removed seat on top of my fabric to make sure I had enough fabric to cut the number of square sections I needed. Thank goodness I did, but I pretty much used up all the gold burlap fabric I received from BurlapFabric.com.
Attach The New Fabric
Once the fabric was cut, the next step was to use a staple gun to secure the fabric to the bottom of the chair. I did not bother to remove the old fabric, but you can if you wish to. Before you secure the fabric on the seat, you have to make sure you pull the fabric as tight as you can, hold it securely in place and then put the staple in. I did this by myself, but working with someone who makes sure the fabric stays tight while you secure it does make it a little easier. I did one chair at a time, making sure to put the seat back on the chair as soon as I finished securing the fabric.
Depending on how many chairs you have - and how fast you work, this project could take a couple of hours to a couple of days. I recovered five chairs and did it over the course of two days. Yes, I could have had it all done in one day, but I took my time. This is a great time to repair any damage on your chairs, give them a good cleaning or a through waxing. Another option is to paint them, but I preferred the wood look mine have.
As for the burlap fabric from BurlapFabric.com, it has a tight weave, it was very easy to work with - not super flimsy and not so starchy that it was hard to bend. It cut easily and so far I have not had any frays showing on the top of my chairs. I only secured the fabric with staples, I did not sew the edges at all. I like the feel of the material too - not super rough, but it does feel like burlap. I love that they have an array of colors and shipping was quick. I defiantly recommend looking at this site and ordering from them.