Crafty Creations
TRENDING PROJECTS

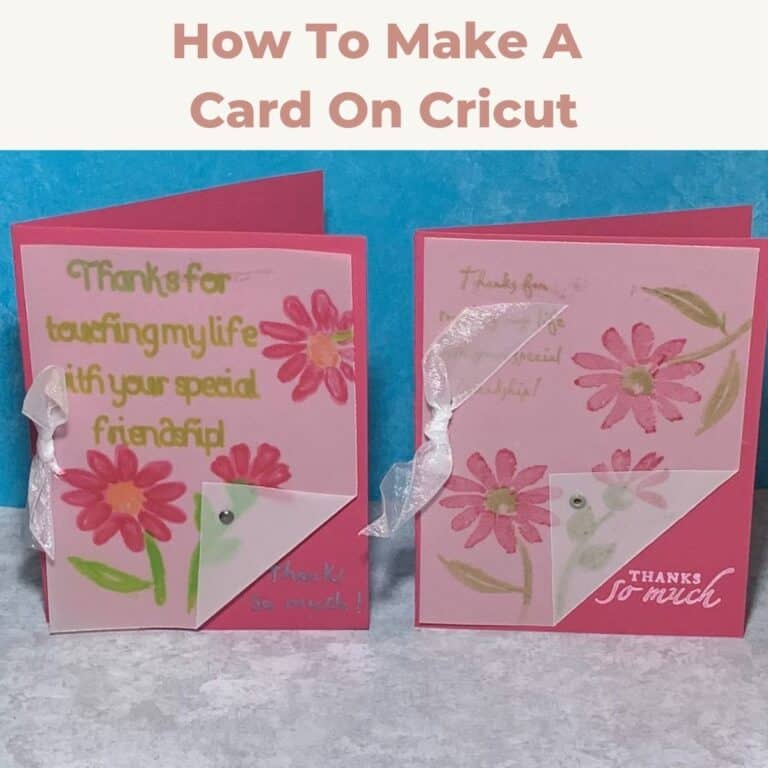
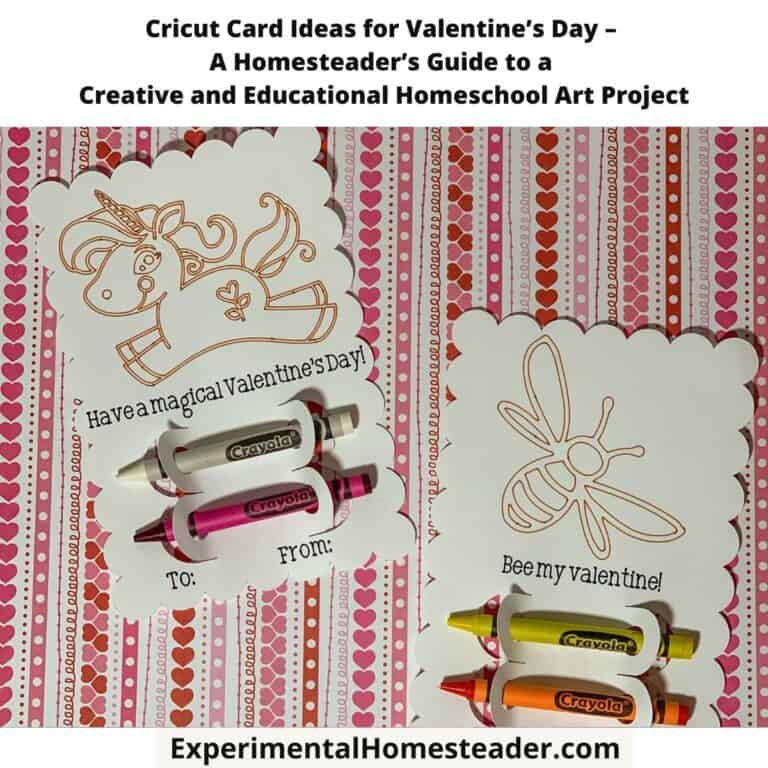
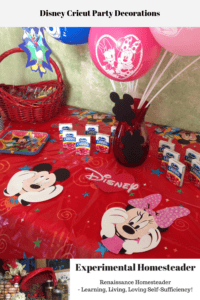
Cricut Crafts
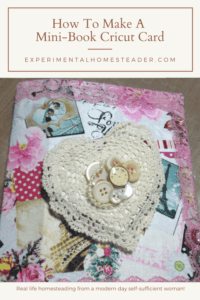
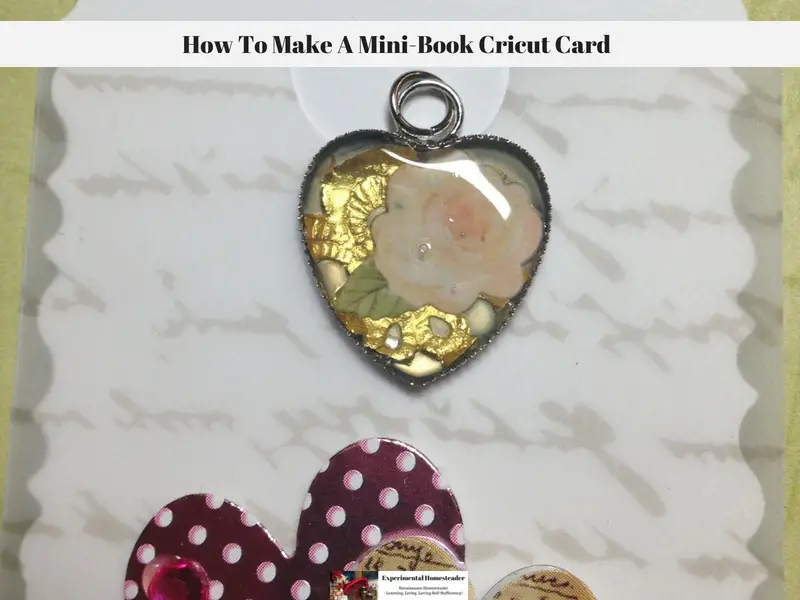
- How To Make A Mini-Book Cricut Card
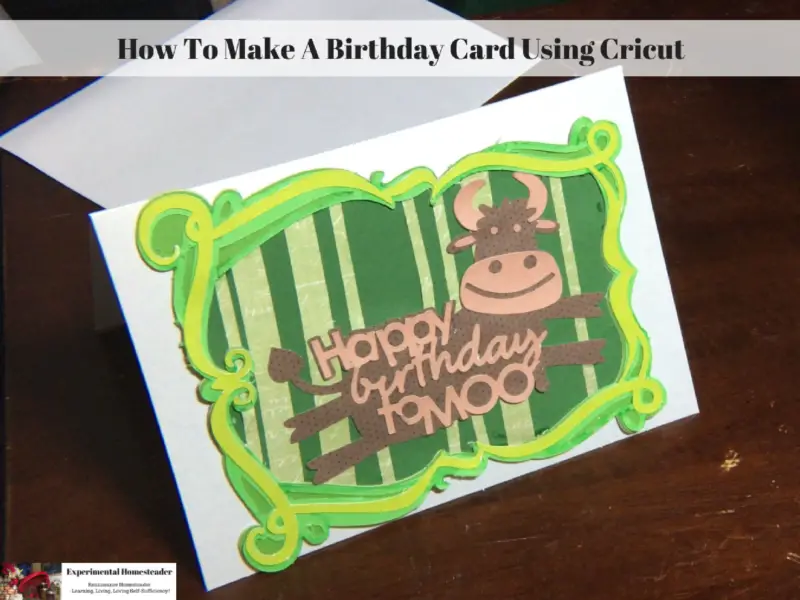
- How To Make A Birthday Card Using Cricut
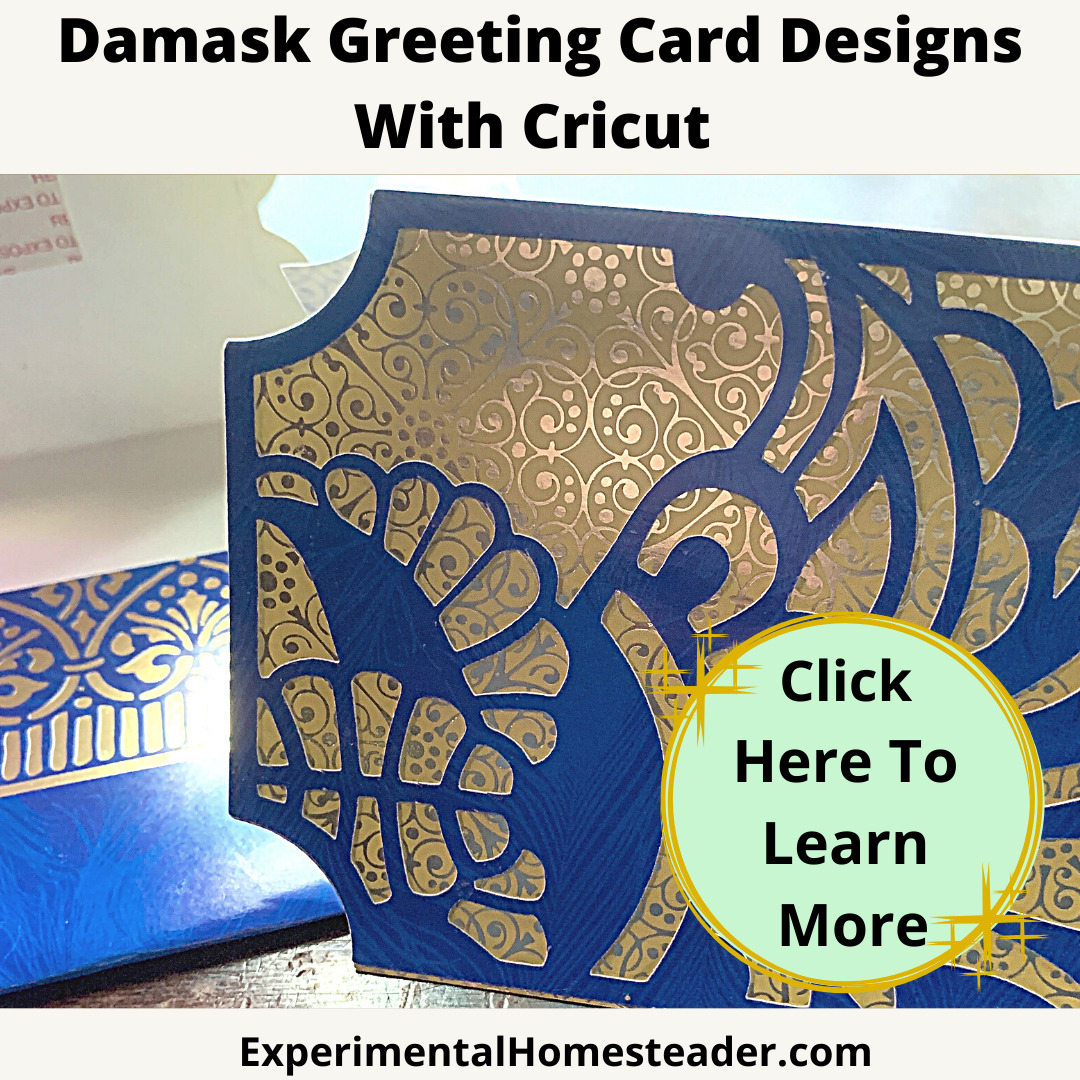
- Damask Greeting Card Designs With Cricut
See more Cricut Crafts →

Hey, I'm Sheri Ann Richerson!
Welcome - I'm glad you're here.
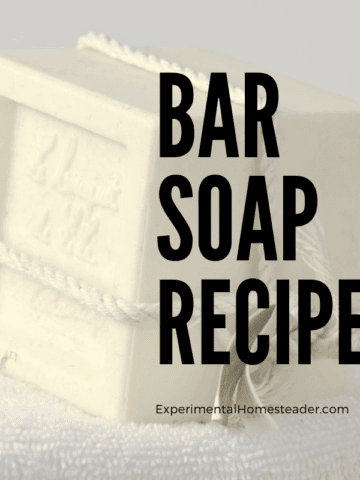
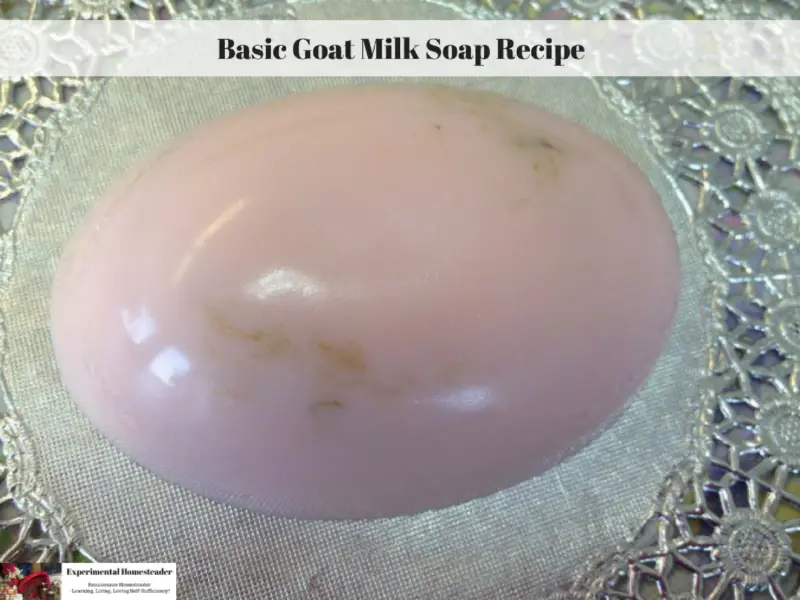
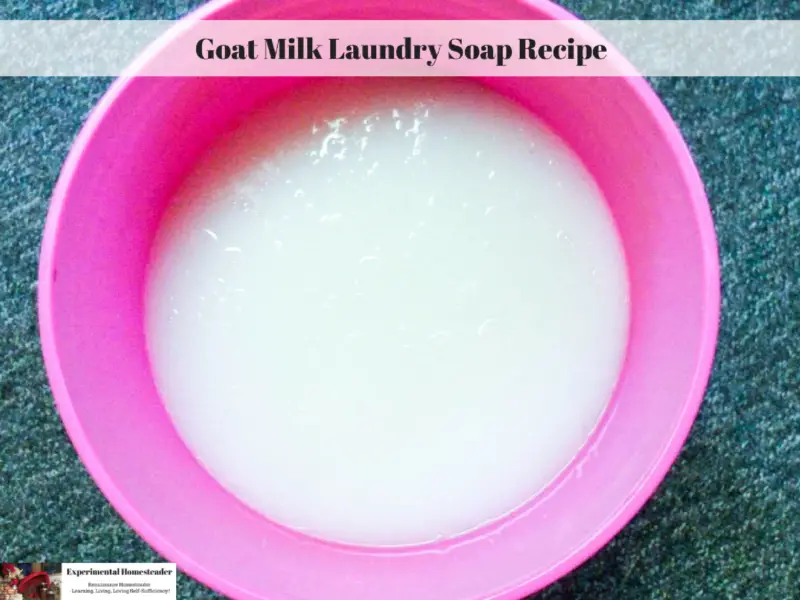
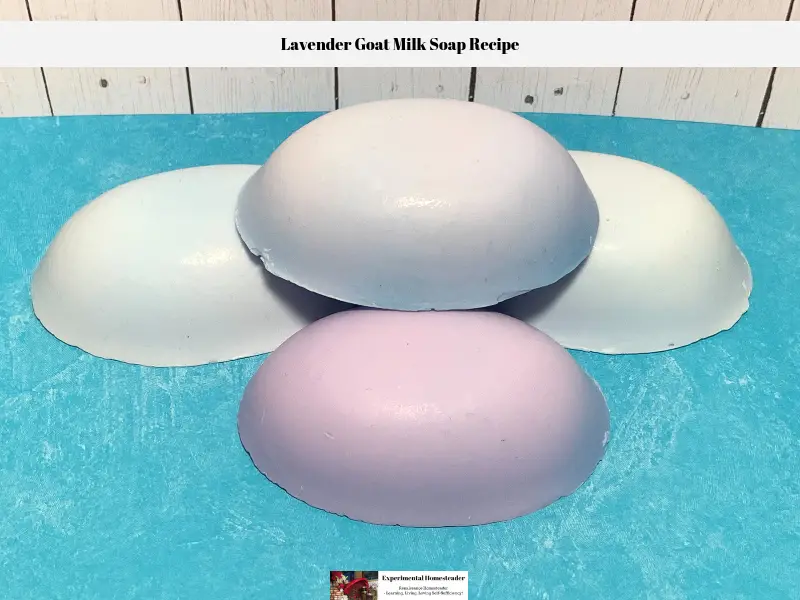
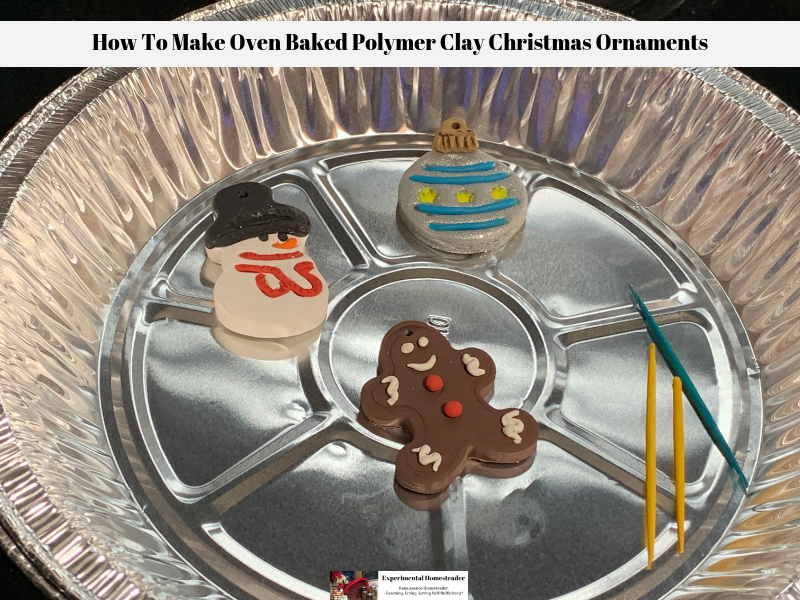
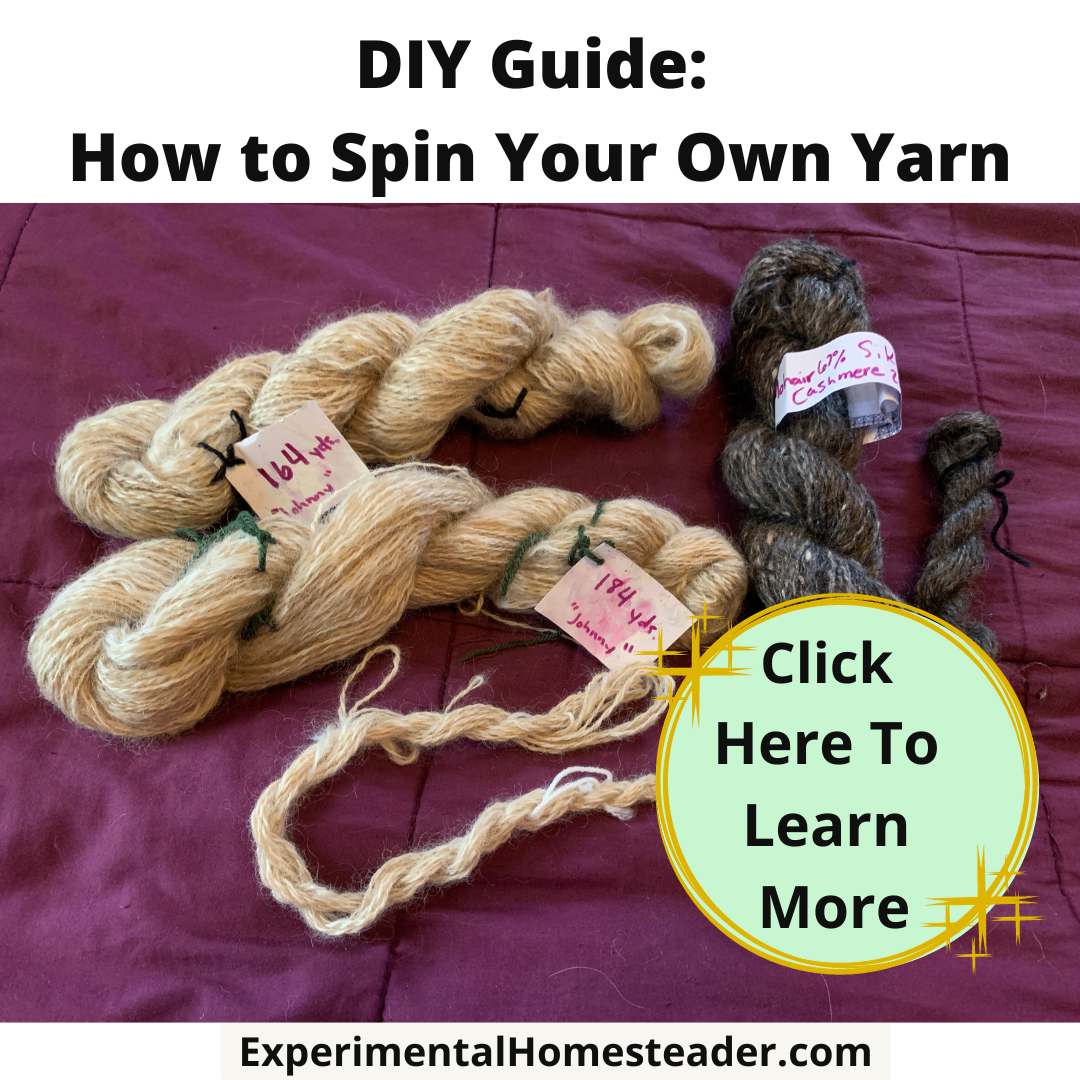
Crafty Creations is all about hands-on, homestead-inspired crafts, from handmade soaps and fiber arts to practical projects made with intention. These are simple, satisfying crafts designed to be useful, beautiful, and doable.
These ideas are meant to feel achievable, even on busy days. No perfection required - just curiosity, creativity, and a willingness to experiment.
TOP PROJECTS
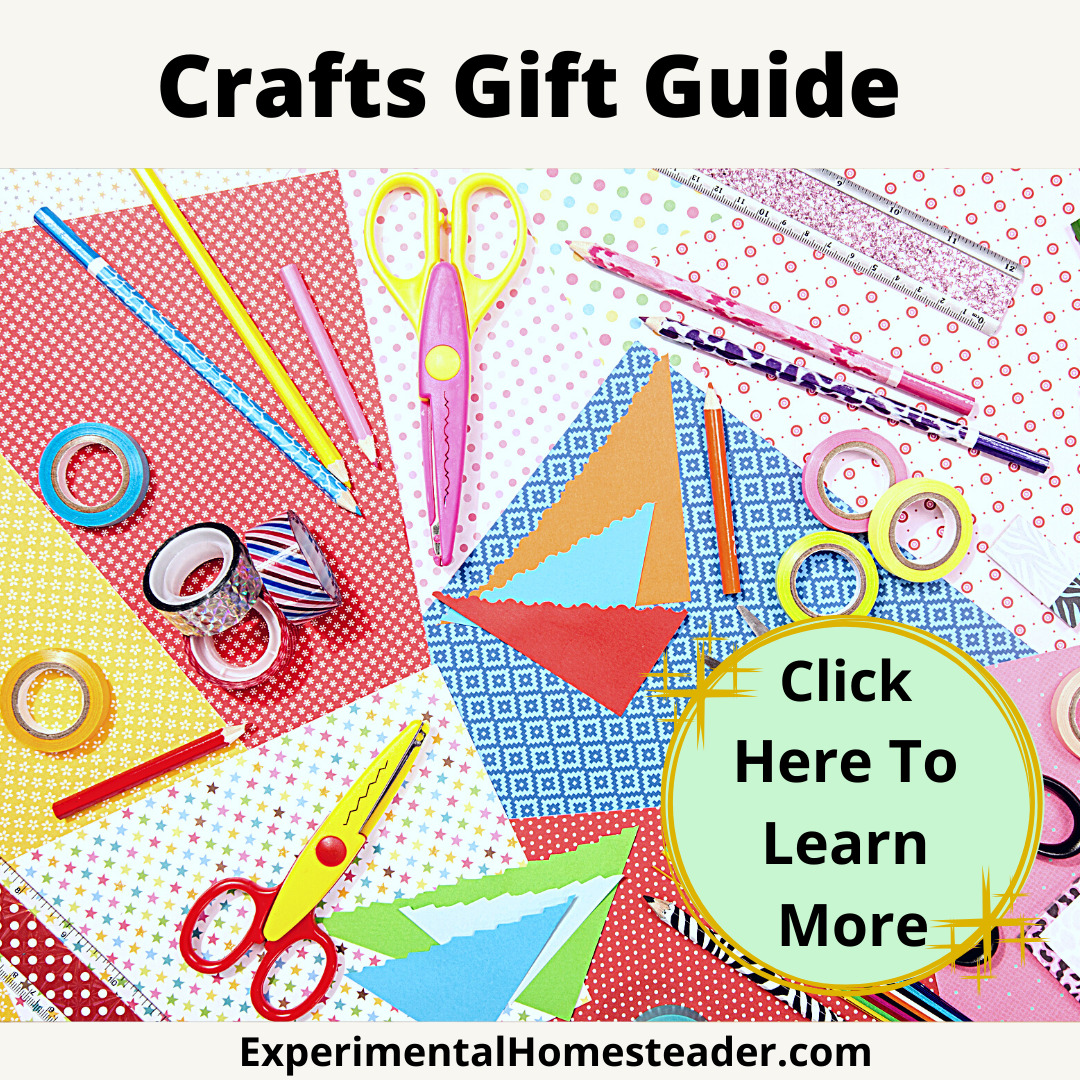
Crafts our readers have made & loved!

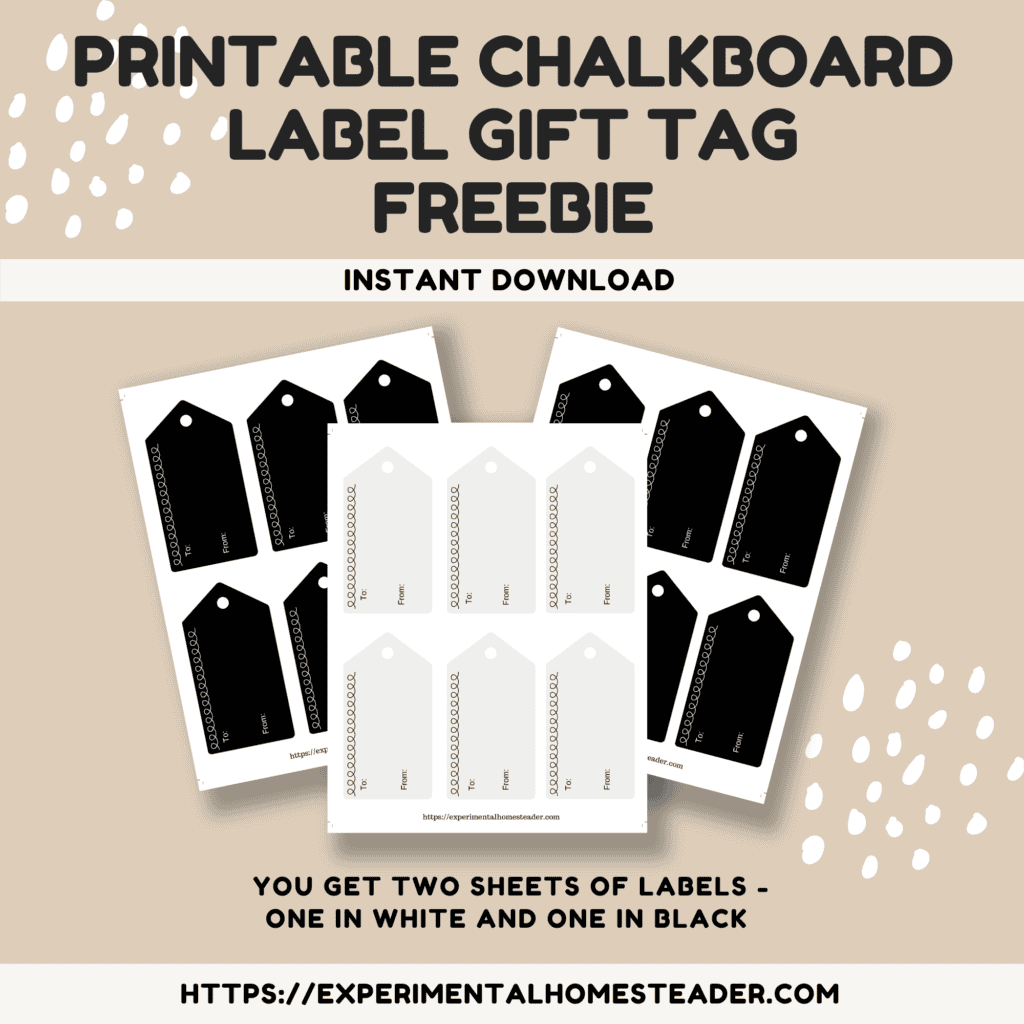
freebie!
Get my FREE printable chalkboard label gift tag!
Subscribe to receive the chalkboard label gift tag and my FREE homesteading eCourse.