How to Make Yarn from Animal Fiber: Carding, Dyeing, and Spinning
Have you ever wondered how to make yarn from animal fiber, turning a handful of freshly collected wool or mohair into something you can actually knit, crochet, or weave with? It takes several steps, but each one makes sense once you understand what it does. And when the fiber comes from animals you know, the finished yarn has a story that goes far beyond anything you can buy at a craft store.
I have raised Angora goats for mohair, cashmere goats for their soft undercoat, Angora rabbits for angora fiber, and Leicester Longwool sheep for wool. I have also bought specialty fibers, including cashmere and alpaca or llama fiber, to experiment with different blends. Just as often, people who kept fiber animals but had no plans to use the fleece gave it to me. There is real satisfaction in taking something someone else might have discarded and finding a way to make it useful.
On our homestead, yarn making has meant learning what each fiber feels like, cleaning and sorting it, deciding whether to blend or dye it, and working it through carders and a spinning wheel until it becomes yarn. Some of those experiments produced rustic, thick-and-thin yarn; others produced surprisingly soft combinations. This guide walks through the process from beginning to end so you can try it, even if you do not own a single fiber animal.
In This Article
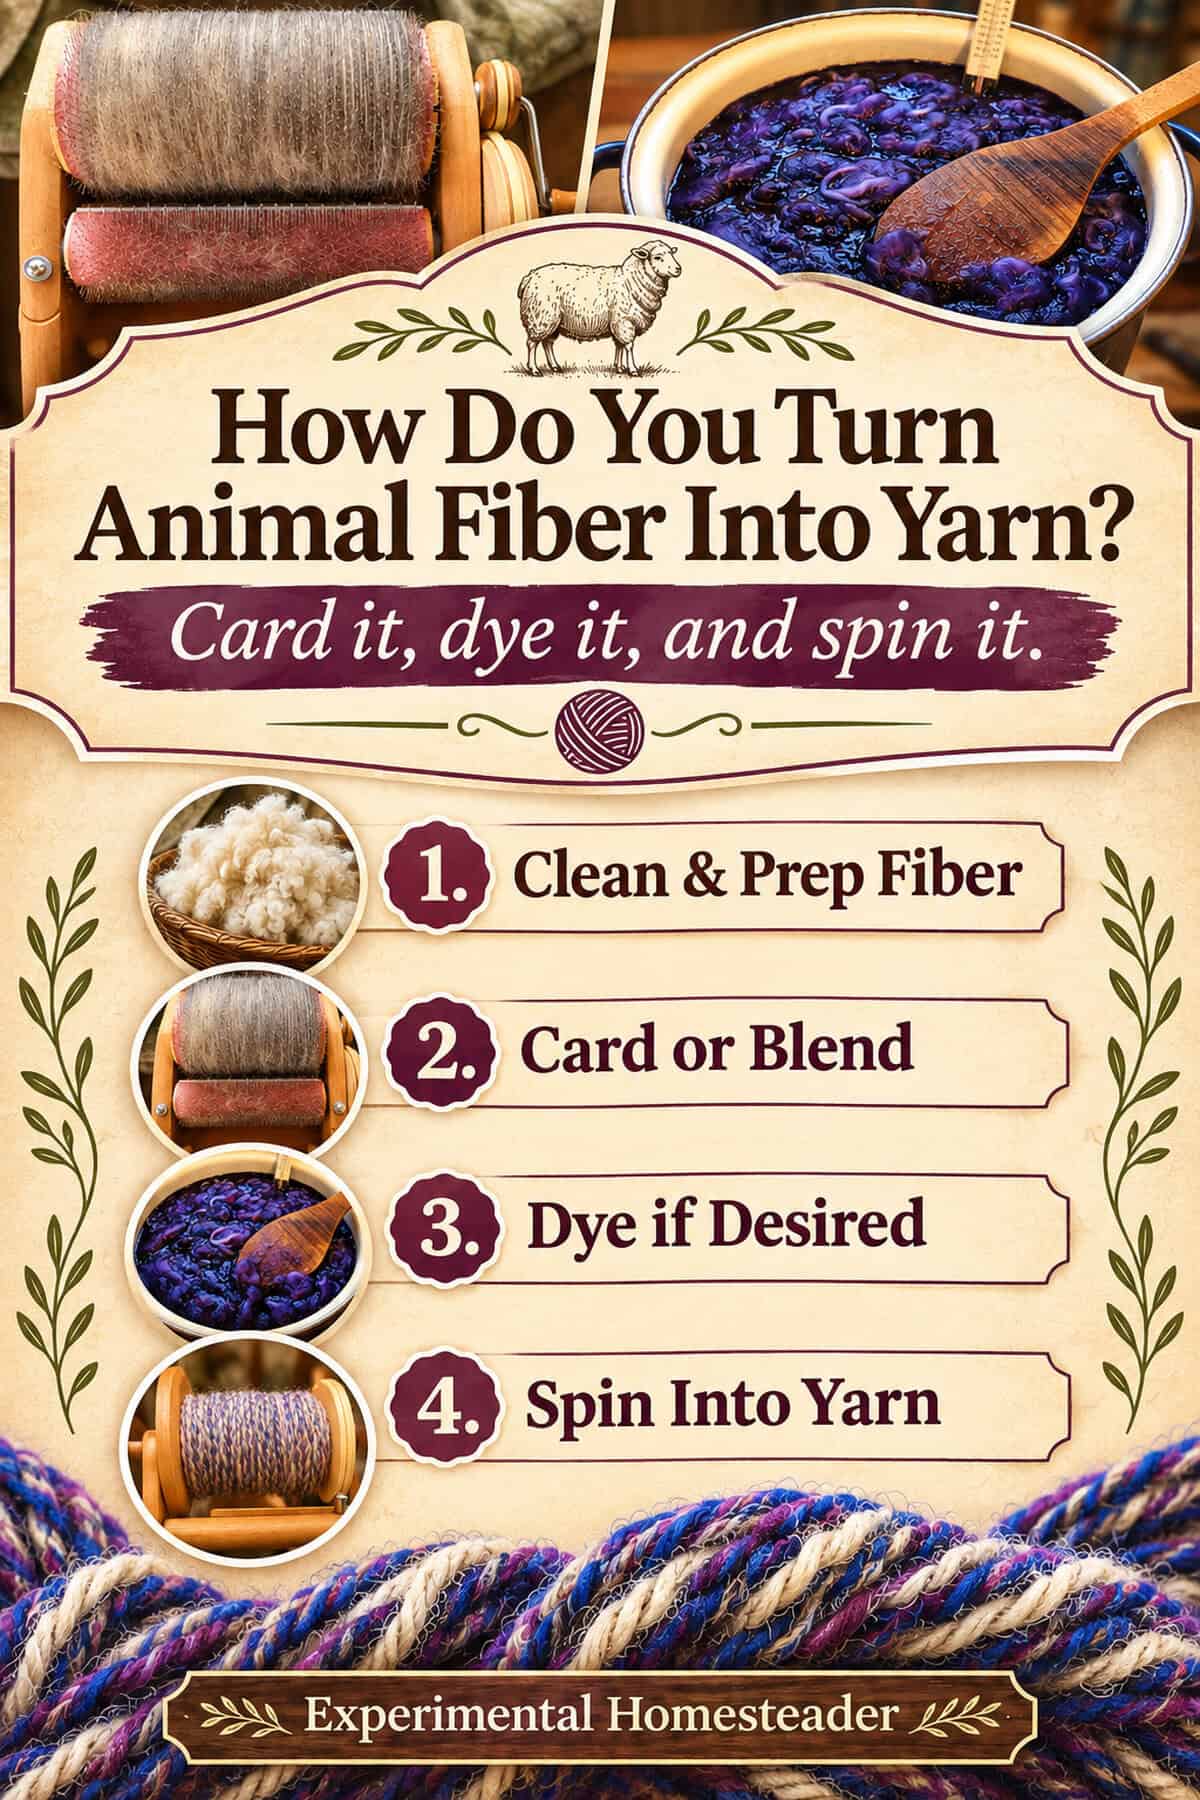
How Do You Turn Animal Fiber Into Yarn?
The short answer: collect or buy suitable fiber, remove debris, wash and dry it when necessary, prepare the fibers by carding or combing, gently draft them, and add twist with a spindle or spinning wheel. You can dye the fiber before spinning or dye the finished yarn afterward. Most yarns benefit from plying and wet finishing before they are wound into a usable skein or ball.
Who Can Make Their Own Yarn-and Why Would You Want To?
You do not need a farm, a sheep, or an expensive spinning wheel to start. A beginner can practice with a small amount of clean, prepared sheep's wool and an inexpensive drop spindle. Raising your own animals adds a wonderful connection to the finished project, but buying prepared fiber from a fiber farm, attending a local spinning gathering, or accepting clean fiber from someone who does not spin can work just as well.
For me, making yarn is one more way of using what our animals provide. It can also help preserve traditional fiber arts skills, reduce waste, let you experiment with color and texture, and give you control over what goes into a handmade project. It is not always the fastest or cheapest way to obtain yarn. The reward is learning the process and making something with your own hands.
Which Animals Provide Spinnable Fiber?
The word wool is often used loosely, but different animals produce fibers with different qualities. Knowing which is which matters when you wash, blend, and spin them.
| Animal or source | Fiber | What to expect |
|---|---|---|
| Leicester Longwool sheep and other wool breeds | Sheep's wool | Crimp and elasticity help the fibers hold together. Longwool locks can be lustrous and well suited to a smooth, strong yarn. |
| Angora goat | Mohair | Long, shiny, often slippery fiber with beautiful luster. It can be spun alone or blended with wool for added grip and body. |
| Cashmere goat | Cashmere | Fine, soft undercoat separated from coarser guard hair. Usually collected as the undercoat loosens during seasonal shedding. |
| Angora rabbit | Angora | Exceptionally soft, fluffy fiber with a halo. Often blended with wool to make drafting and spinning easier. |
| Alpaca | Alpaca fiber | Soft, warm, and often less elastic than sheep's wool. Blending can add bounce. |
| Llama | Llama fiber | Texture varies; sorting and removing coarse guard hairs may make a softer yarn. |
| Silk and decorative commercial yarns | Silk, chenille, and other additions | These may be incorporated for shine, strength, color, or texture. Check the content of purchased chenille rather than assuming it is a natural animal fiber. |
A common point of confusion: Angora goats produce mohair; Angora rabbits produce angora. They are two different animals and two different fibers. Cashmere comes from the fine undercoat of cashmere goats, not from Angora goats.
Johnny, our Leicester Longwool ram, provided wool for several of my yarn-making experiments. The yarn I am spinning in the video below is a 50/50 blend of Johnny's wool and mohair from Leonardo, our Angora buck, both from Exotic Gardening Farms & Wildlife Habitat. That is one particular blend-not the fiber content of every photograph or every yarn I have made.
Cashmere goats have been part of my fiber-animal experience too. Their fine down is different from the long, lustrous fleece of an Angora goat. You may find both useful in a spinning project, but they need to be prepared with their different staple lengths and textures in mind.
When and Where Does Yarn Making Begin?
Yarn begins long before someone sits down at a spinning wheel. It begins with a healthy fiber-producing animal or with a carefully chosen bag of fiber. Sheep are typically shorn on a management schedule suited to their breed, climate, and fleece growth. Angora goats are commonly shorn twice a year. Cashmere undercoat is often combed or collected when it starts to loosen during shedding season. Angora rabbits require regular grooming, and the appropriate way to collect fiber depends on the rabbit and its coat.
Always work according to the needs of the particular animal rather than treating the fleece as the only goal. Once collected, fiber can be processed in a barn, workroom, porch, utility area, or a well-organized corner indoors. Clean fiber needs a dry, pest-resistant place to wait until you are ready for the next step. I like the idea of treating small amounts first: it is easier to learn what a fiber wants to do when you are not overwhelmed by an entire fleece.
What Equipment Do You Need to Make Yarn?
To learn spinning right away, the simplest setup is a few ounces of already washed and prepared wool, a drop spindle, and somewhere to wind the yarn. That lets you practice drafting and controlling twist before buying equipment to process raw fleece.
To go from raw animal fiber all the way to finished yarn, useful equipment includes sorting bags or baskets; a table for skirting; a tub or sink; wool wash or a suitable gentle cleaning product; mesh bags or baskets for handling loose locks; drying racks and towels; hand carders or a drum carder; an optional wool comb for long locks; and a drop spindle or spinning wheel. A yarn swift, niddy noddy, ball winder, or lazy kate can make later steps easier, but you can improvise some of those jobs when you are getting started.
My photographs show both a drum carder and a spinning wheel, while my original account described preparing fiber with hand carders. These are different ways to prepare fiber, and you do not need both types of carder to begin.
Step 1: Collect, Identify, and Sort the Raw Fiber
When a fleece comes off an animal, it does not look like the neat bundles of spinning fiber in a store. There may be bits of hay, seeds, straw, dirt, loose second cuts from shearing, or heavily soiled portions. The first job is called skirting: spread the fleece on a clean surface and remove the pieces you do not want to process.
- Keep one animal's fiber separate from another until you have identified and inspected each batch. If a bag was given to you, label it with whatever you actually know about its source.
- Pick out hay, twigs, burrs, and other obvious vegetable matter. Remove unusably dirty sections and areas contaminated with manure rather than trying to turn everything into yarn.
- Check for very short second cuts and weak or broken fibers. Short bits create lumps and shed out of the finished yarn.
- Pull a few locks gently to get a feel for the staple length, softness, and strength. Sort especially fine or long locks separately if you want to spin them differently.
- Set aside only the fiber you intend to wash. Store the rest dry and protected until you can work with it.
If someone gives you a bag of fleece: being free does not automatically make it a good spinning bargain. Look for dampness, pests, excessive matting, and brittleness before bringing it into the rest of your fiber supply. Some gifted fiber is wonderful; some takes much more preparation than it is worth. I have received plenty of fiber from people who simply did not use what their animals produced, and those gifts opened the door to all sorts of blending experiments.
Step 2: Wash the Fleece Without Felting It
Sheep's wool can contain dirt, dried sweat residue, and lanolin. Mohair, cashmere, and rabbit angora may need somewhat different handling because they do not all contain the same amount of grease and are not equally prone to matting. Work in small batches while learning.
- Fill a tub or sink with water appropriate for your fiber and the fiber-wash product you are using. Greasy sheep fleece usually needs a hotter washing bath than relatively clean rabbit angora or already-degreased fiber.
- Add the cleaner according to its directions. Lower the fiber into the water gently; do not rub or vigorously swish it.
- Allow it to soak so the water and cleaner can do their work. For greasy wool, a short soak of roughly 10-15 minutes per bath is a useful starting point, although especially greasy fleece may need repeated washes.
- Lift the fiber carefully and let it drain. Move it into clean rinse water of a similar temperature. Avoid abrupt temperature changes and agitation, which can encourage wool to felt.
- Repeat only as needed, then press out water using towels rather than wringing and twisting the locks.
- Spread the fiber in a thin layer on a clean mesh rack or dry towel with good airflow. Let it dry completely before packing or carding.
One mistake beginners make is trying to work too much fiber at once. If you pack fleece tightly into a wash tub, water cannot reach it evenly. Another is fussing with it while it soaks. Give the water time to work and save the vigorous handling for another craft.
You may also encounter alternative methods of washing wool, including the fermented suint method, which relies on a different process from a conventional scour. Those methods are their own subjects; if you are new to fiber preparation, a controlled small-batch wash is an easier first experiment.
Step 3: Decide Whether to Dye the Fiber
Dyeing is an optional step. Natural gray, cream, brown, and white animal fibers can make beautiful yarn without any added color. But dyeing is also where your project can become completely your own. Some of my fiber photographs show rich purple and blue tones, including dyed wool incorporated into blends.
You can dye clean loose locks before carding, dye a prepared batt or roving, or spin the fiber first and dye a finished skein. The order changes the look. Dyeing separate colors of loose fiber and then carding them together gives a blended or heathered effect; dyeing finished yarn tends to emphasize the finished strands instead. If dyeing makes the loose fiber compact, let it dry and gently open it up again before spinning.
- Wash the fiber first so grease and dirt do not interfere with even color.
- Choose a dye designed for the particular material. Wool, mohair, angora, cashmere, and silk are protein fibers; acid dyes are a common choice for them. Follow the dye manufacturer's instructions for water, acid, temperature, and timing.
- Measure and record how much fiber you are dyeing. Start with a small sample before committing an entire batch.
- Submerge the fiber carefully and heat or hold it as directed by the product instructions, with as little unnecessary movement as possible.
- Allow the fiber to cool, rinse as directed, and dry it fully before moving to the next stage.
Keep dyeing equipment dedicated to crafts rather than returning it to food preparation, and follow the product's handling guidance. Different dye products and fibers behave differently, so the dye package directions take precedence over a one-size-fits-all temperature or recipe.
There is no rule that says every strand in a project needs to match. I enjoy seeing how a handful of one color changes when it is blended with another. Those unexpected shades and bits of texture are part of the appeal of making yarn by hand.
Step 4: Card or Comb the Clean, Dry Fiber
Once the fiber is clean and dry, it needs to be opened and prepared so it can draft smoothly. Carding separates clumps and distributes fibers into a loose, airy preparation. It does not necessarily make every strand perfectly parallel. Combing is a different technique, usually used with suitable longer fibers, that can align them more closely and remove some shorter pieces.
How to Use Hand Carders
- Place a small, loose amount of clean fiber across the teeth of one carder. A thin layer works better than a packed mound.
- Use the second carder in gentle passes to transfer and open the fibers. Avoid pressing the teeth hard into one another.
- Transfer the fiber between cards until the locks open and mix evenly enough for the yarn you want.
- Lift the carded fiber off the carder. You can roll it loosely into a rolag-a soft cylinder of fiber ready for drafting.
When I originally described this process, I explained that a rolag looked a little like a cardboard toilet-paper tube, only without the hollow center. That is still an easy way to picture the shape.
How to Use a Drum Carder
- Make sure the clean fiber is opened enough to feed without heavy clumps, then add small wisps through the feed area while turning the handle according to the carder's design.
- Let the carder pick up and distribute the fibers rather than forcing a thick handful through at once.
- To blend colors or different fibers more evenly, remove the batt, divide it into manageable pieces, and run it through again if needed.
- When the drum is full enough, release the fiber carefully with the carder's doffer tool, lifting off a sheet called a batt.
The preparation changes with the equipment: hand carders often produce rolags, while a drum carder commonly produces batts. Either can be divided into workable amounts for spinning. Fine rabbit angora and cashmere are easy to overload or lose in a larger mass of wool, so small test blends are useful.
Step 5: Blend Fibers to Get the Feel and Appearance You Want
Not every yarn has to be made from a single type of fiber. In fact, blending is one of my favorite parts of the process. Wool often supplies elasticity and grip; mohair from an Angora goat adds strength and shine; rabbit angora contributes softness and a fluffy halo; cashmere can add softness; and silk contributes smoothness and luster. Alpaca or llama fiber can change the warmth, weight, and drape. Decorative additions, including some store-bought yarns such as chenille, create still more texture.
As an example you can actually follow, begin with two ounces of clean wool and two ounces of clean mohair for a 50/50 blend by weight. Open the fibers and alternate small layers on the carder. Remove and divide the batt, then pass it through again if you want more consistent mixing. If the mohair slips through your fingers or the yarn comes apart, try a wool-heavier blend for your next sample.
That example is inspired by the wool-and-mohair mix from Johnny and Leonardo in my video. Other photographs in my collection document different combinations, including Angora rabbit fiber with Johnny's dyed wool, a wool-and-mohair yarn, and a decorative combination of wool, silk, cashmere, and store-bought chenille. These are separate fiber projects and should not all be identified as the Leonardo-and-Johnny blend.
Keep a small sample of each blend so you remember how it felt while carding and spinning. A little experimenting with a few ounces teaches more than blending a whole fleece before you know whether you like the result.
Step 6: Learn to Draft Before You Spin
Drafting is simply pulling a small number of fibers out from a larger supply so they can receive twist. The thinner you draft, the finer the strand can become; the thicker you leave it, the bulkier it will be. Fiber length, crimp, grip, and elasticity all affect how easy this feels.
Practice without a spinning tool first. Hold a small bit of rolag or prepared fiber loosely in one hand. With the other hand, gently draw a few fibers away. Do not pull from a tight grip or the fibers will not slide. Notice how a smaller pinch gives you a narrower strand. If it suddenly becomes too thin, allow more fiber into the draft; if it becomes thick, slow down and draw out a smaller portion.
At first, consistency is less important than learning how the fibers move. When you can pull out an even-ish strand without fighting it, you are ready to add twist.
Step 7: Spin Yarn with a Drop Spindle or Spinning Wheel
For Beginners: Try the Park-and-Draft Method
A drop spindle is an affordable way to understand spinning. For a broader look at choosing fibers and learning the craft, see my guide to spinning your own yarn. Attach a leader yarn to the spindle, guide it around the shaft or hook as appropriate, and join a small amount of prepared fiber to the leader. Turn the spindle to add twist, then park it by holding it still between your knees or against a surface. Draft another short section of fiber, allow twist to travel into that section, and wind the new yarn onto the spindle. Repeat. This breaks spinning into manageable actions before you try drafting and turning the spindle at the same time.
If the yarn keeps breaking, you may be drafting too thin for the twist you are adding. If it twists back on itself into hard little curls, you may be adding twist faster than you are drafting and winding. Both are normal beginner problems and both become easier to recognize with practice.
Spinning on a Wheel
With a spinning wheel, your feet provide the motion while your hands control the fiber. Most flyer wheels use the flyer and bobbin to add twist and take up the newly formed yarn. Different wheels have different drive and tension systems, so adjust your particular wheel according to its instructions.
- Thread a leader through the appropriate flyer guides and orifice and secure it to the bobbin.
- Join prepared fiber to the leader by overlapping the fibers, then allow twist to secure the join.
- Treadle slowly and practice keeping the wheel moving in the intended direction.
- Draft a little fiber while controlling where the twist enters it. Let the twisted strand wind onto the bobbin.
- Work through your rolag, batt strips, or other preparation, stopping as needed to untwist tangles or correct a thick area.
- Move the yarn between the flyer hooks or guides as your bobbin fills so the yarn does not build up in one place.
Try to learn one motion at a time. Beginners often treadle too quickly because they are concentrating on their feet, but slower movement gives your hands time to learn. A smooth longwool such as Leicester Longwool or a slick mohair blend may need different tension and twist from a springy medium wool. Test a short sample before spinning the whole batch.
The Leonardo and Johnny Wool-and-Mohair Spinning Video
In this video I am working with yarn made from 50% mohair from Leonardo, our Angora buck, and 50% wool from Johnny, our Leicester Longwool ram. It offers a look at the spinning stage using fibers from animals we raised ourselves.
Do not worry about making your first handspun yarn perfectly even. I have always liked the character of artisan yarn: a thicker spot here, a finer section there, and a texture that shows someone's hands were involved. There is a difference between a beautiful intentional variation and a strand too weak to hold together, but perfection is not a requirement for getting started.
Step 8: Ply the Yarn for a More Balanced Strand
A single is the strand you first spin. You can use singles for some projects, but plying two or more singles often creates a stronger, more balanced yarn. For a basic two-ply yarn, spin two singles in the same direction, then bring them together and twist them in the opposite direction. Many spinners call clockwise singles Z twist and counterclockwise plying S twist, although the important thing is that the directions oppose each other.
- Wind or keep two spun singles on separate bobbins or another setup that lets them unwind without tangling.
- Join the two ends and feed them together with light, steady tension.
- Turn the spindle or wheel in the opposite direction from the direction used for the singles.
- Let enough twist enter to hold the strands together without making the yarn hard and kinked.
- Wind the completed plied yarn onto the spindle or bobbin and continue until the singles are used.
If you do not have two bobbins, you can wind a single into a center-pull ball and use its inside and outside ends to practice plying. Just take your time; tangles can develop if the ball shifts around.
Step 9: Wind a Skein and Set the Twist
When you finish spinning or plying, wind the yarn into a loose looped skein using a niddy noddy, a yarn swift, or a suitable pair of chair backs. Tie the skein in several places with loose figure-eight ties so it stays organized while washing. Remove it from the tool before soaking.
For many wool and wool-blend yarns, a gentle warm-water soak helps the fibers relax and the twist settle. Use a little suitable wool wash if needed, do not scrub, and remove excess water by pressing the skein in a towel. Hang it where air can circulate until it is completely dry. Different fibers and textured novelty yarns may require different finishing methods; a small sample is a good test.
Do not judge the finished yarn solely by how it looks on the bobbin. The skein may relax, bloom, and change texture once it has been washed and dried. This is one of the most satisfying reveals in the whole process.
Step 10: Wind the Finished Yarn into Balls or Cakes
Once the skein is dry, unwind it carefully and wind it into a ball or center-pull cake. A ball winder makes the work quicker, but winding by hand is perfectly fine. Keep the winding tension moderate; very tight winding can stretch or flatten some yarns while they are stored.
Now you have yarn you can actually use for knitting, crochet, weaving, or another fiber project. If you want to estimate how much yarn you made, measure the circumference of your niddy noddy or skein-winding tool and multiply by the number of wraps. For example, a tool that creates a two-yard loop and has 50 wraps holds approximately 100 yards. Measuring before you unwind the skein makes future projects much easier to plan.
What Can You Make with Handspun Animal-Fiber Yarn?
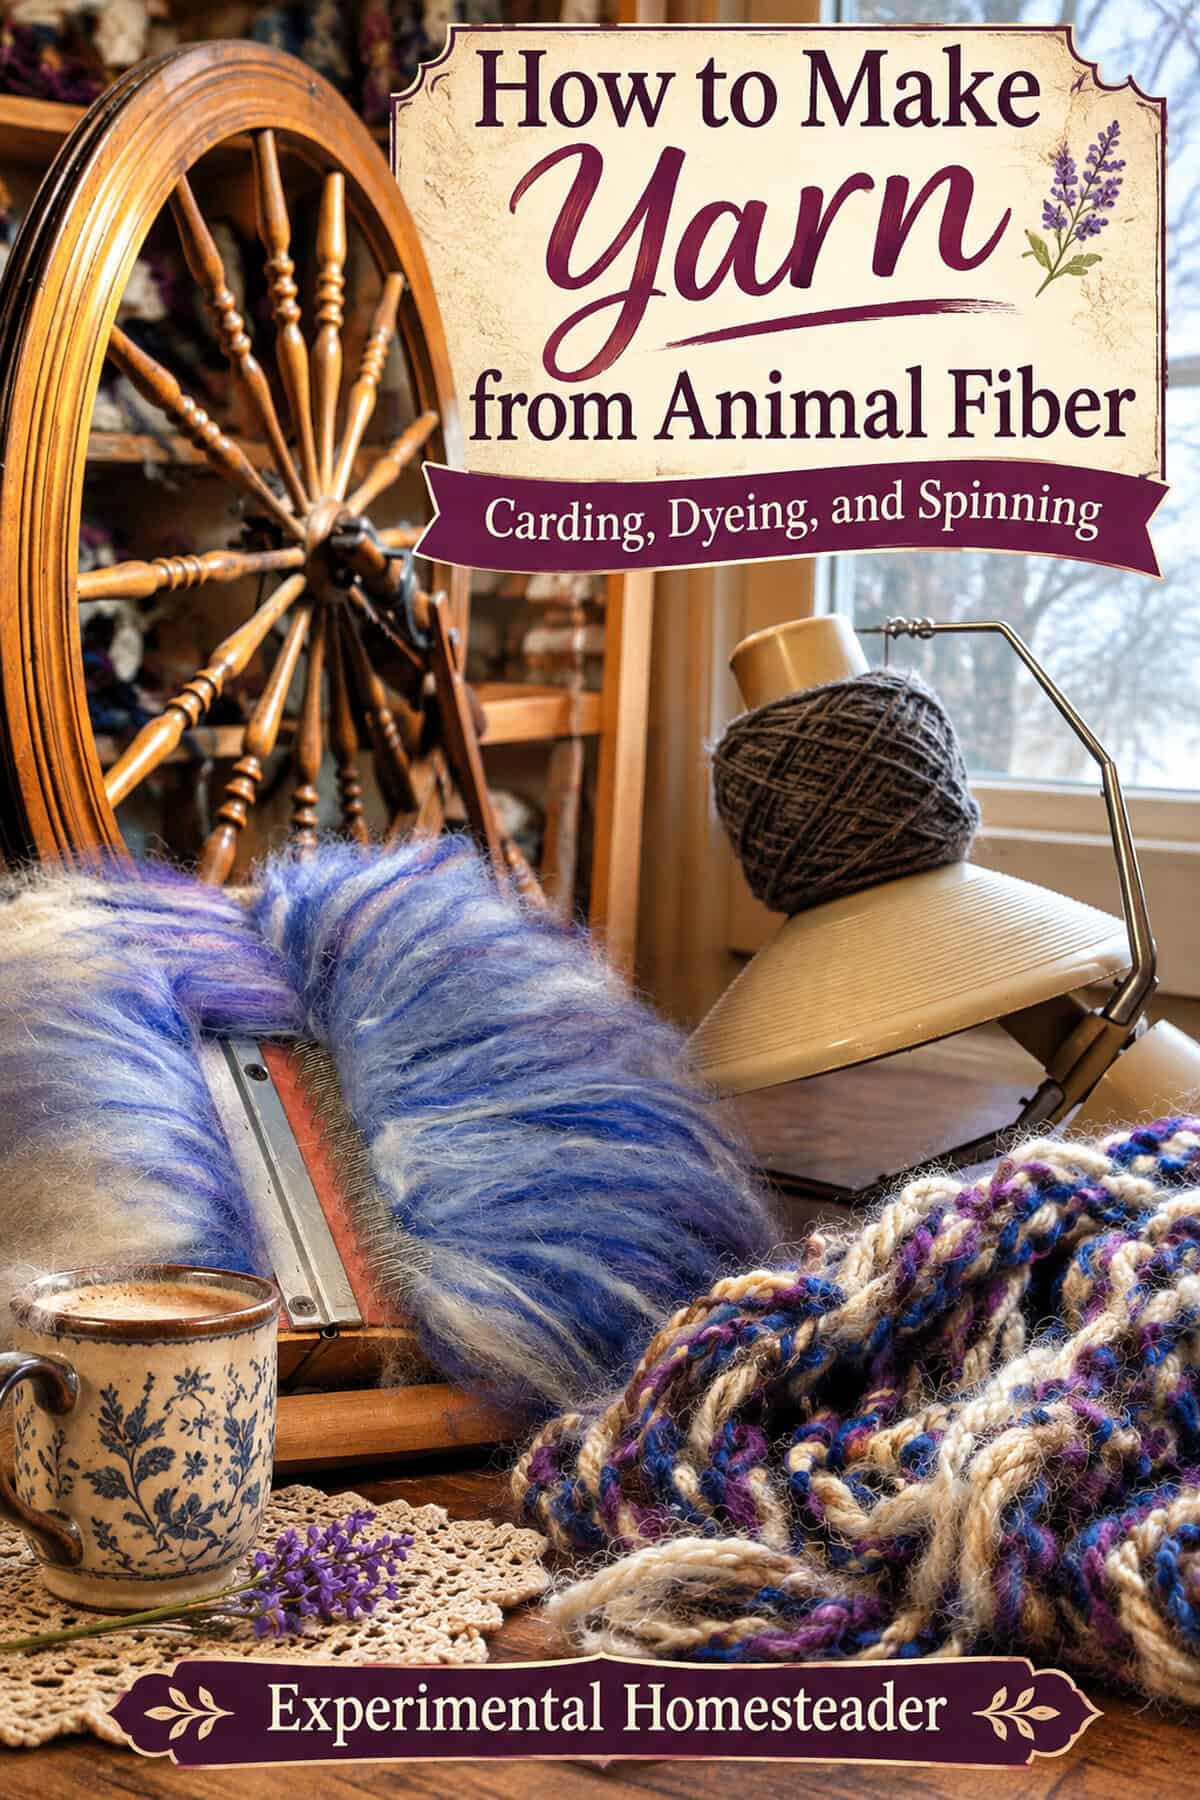
It depends on the fiber, the thickness of the yarn, and how firmly it is spun. A balanced wool yarn may work well for a scarf, hat, mittens, or woven fabric. A mohair-rich yarn can add sheen and a fuzzy halo. Soft angora or cashmere blends may be lovely in items that sit against the skin, while sturdier longwool blends can suit textured work. Novelty yarn with silk, chenille, or varied-thickness sections can become a feature of a decorative piece.
Start with a small project that lets you enjoy the texture rather than one that requires a large, exact yardage. This is especially useful with a one-of-a-kind batch from a specific animal: when the yarn is gone, you may not be able to recreate it exactly.
Common Yarn-Making Problems and How to Fix Them
| Problem | Likely cause | What to try |
|---|---|---|
| Fiber clumps while carding | Too much fiber, poorly opened locks, or residue | Use smaller amounts and tease apart locks; check that the fiber is clean and dry. |
| The fiber mats during washing | Excessive handling, agitation, or temperature shock | Use gentler baths and consistent temperatures; test a smaller batch next time. |
| Yarn keeps breaking | Too little twist, weak fiber, or an overly thin draft | Allow more twist, draft thicker, or blend a difficult fiber with wool. |
| Yarn is hard and rope-like | Too much twist for the fiber and intended yarn | Slow down and let the strand wind on sooner; adjust wheel take-up if needed. |
| Mohair or angora slips away | Smooth or very fine fibers are harder to control | Start with a wool blend and practice on short samples. |
| Colors look muddy | Too many carding passes or closely mixed contrasting colors | Keep layers more distinct or use fewer blending passes. |
| Finished skein twists around itself | Unbalanced twist | Review spinning and plying direction and amount of twist; test a short skein. |
| Finished yarn sheds or pills | Short fibers, weakly twisted yarn, or an unsuitable blend | Remove very short bits during preparation and adjust the twist or blend. |
A Simple First Project: Make a Small Skein from Prepared Wool
Want to try yarn making without shearing a sheep, washing a fleece, and buying a drum carder all at once? Start with about four ounces of clean, beginner-friendly prepared wool and a drop spindle. Practice the park-and-draft method until you can spin a length of single yarn. Wind it off, spin a second strand, and ply them together in the opposite direction. Make a small tied skein, gently wash and dry it, then wind it into a ball.
That one project teaches the central skill-using draft and twist to make a continuous strand-without the extra challenge of raw fleece. Later, add one new skill at a time: carding, dyeing, or blending. When you do begin working from raw fleece, return to the earlier steps in this guide and bring what you have learned back to the spindle or wheel.
Frequently Asked Questions About Making Yarn
Can you make yarn from goat hair?
Yes. Angora goats produce mohair, and cashmere goats produce soft cashmere undercoat. Both can be spun, though their different fiber properties affect preparation and drafting. Not every coarse guard hair from a goat is suitable for a soft next-to-skin yarn.
Is mohair the same as angora?
No. Mohair comes from Angora goats; angora comes from Angora rabbits. Their similar-sounding names are a common source of confusion.
Do you have to dye wool before spinning it?
No. Dyeing is entirely optional. You can spin natural-colored fleece, dye washed loose fiber before carding, or dye the finished yarn afterward.
Do you have to own a drum carder?
No. Hand carders are a common way to prepare small amounts of wool, and prepared roving or top can be spun without you carding it at all. Some long-staple fibers can also be spun from properly prepared locks.
What is the difference between a rolag, a batt, and roving?
A rolag is a loose, fluffy roll often made with hand carders. A batt is a sheet of fiber commonly removed from a drum carder. Roving is a long, continuous strand of prepared fiber. They are different preparations, not different kinds of animal.
How long does it take to make yarn?
There is no single answer. A small skein from ready-to-spin wool might be a short practice project; processing raw fleece means allowing time for sorting, washing, drying, carding, spinning, plying, and finishing. Your speed and the quantity of fiber matter as much as the equipment.
Can you blend wool with rabbit angora, mohair, cashmere, or alpaca?
Yes. Blending is a practical way to change softness, shine, warmth, structure, and the way fiber spins. Start with small measured samples to learn what each combination does.
Why does my handspun yarn have thick and thin places?
The amount of fiber entering the twist changes as you draft. Irregularity is common while you learn and can be a beautiful intentional feature later. Aim first for yarn strong enough to hold together; evenness will improve with practice.
From Our Animals to a Finished Ball of Yarn
I love that a ball of yarn can trace back to a particular animal on our farm. I remember Leonardo and Johnny not simply as sources of fiber but as animals we raised and cared for. I have also enjoyed the freedom of working with fiber from Angora rabbits, cashmere goats, and all those purchased or gifted materials that let me experiment with unfamiliar textures.
The important thing to remember is that this is a series of learnable skills. You do not have to master washing, dyeing, carding, blending, spinning, and plying in one weekend. Begin with a few ounces of clean wool. Watch how the fibers behave. Make a little yarn, even if it is lumpy. Then try the next step.
Have you ever spun your own yarn, raised a fiber animal, or been given a bag of wool you were not sure what to do with? I would love to hear which fibers you have tried and what you made from them. Tell me about your experience in the comments.