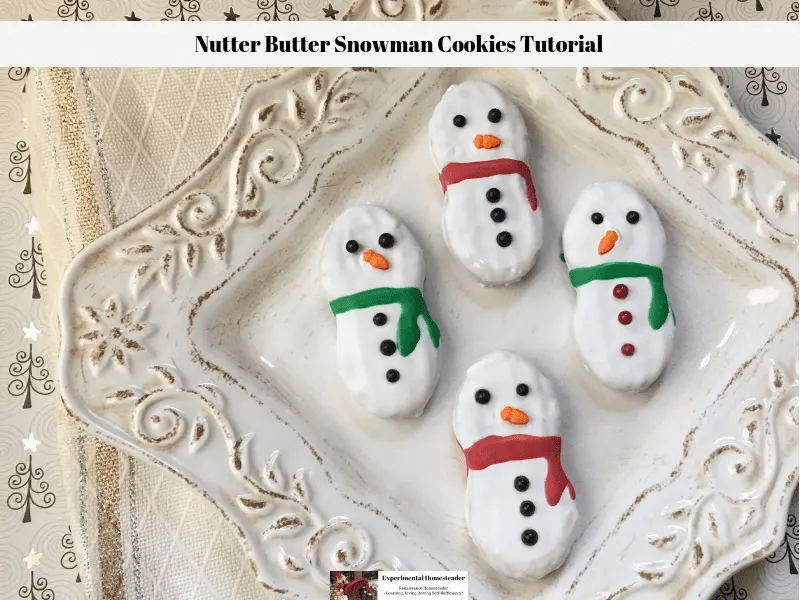
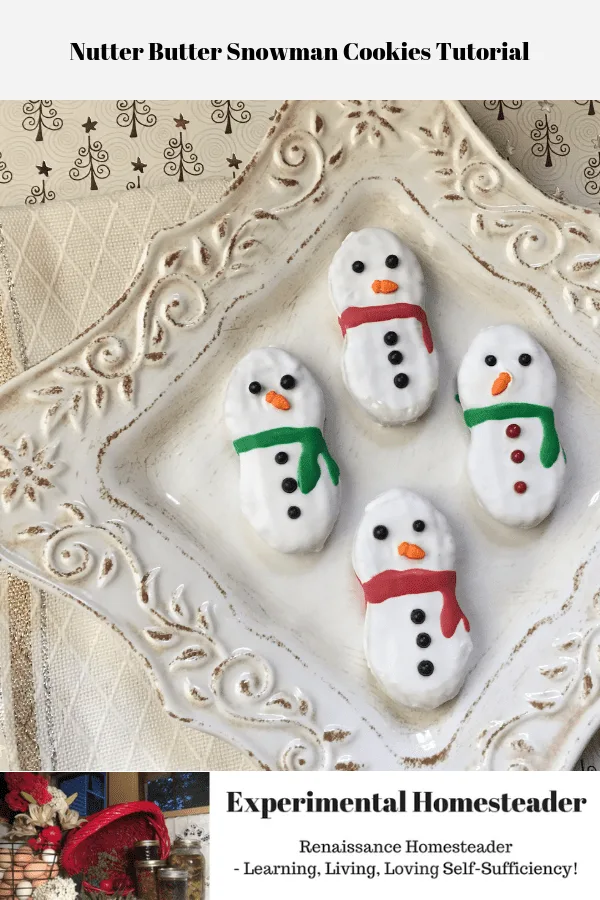
These Nutter Butter Snowman Cookies are super easy to make because all you are doing is decorating them with some icing and pre-made candy decorations.
Nutter Butter Snowman Cookies Are Fun To Make
These Nutter Butter Snowman Cookies are fun to make because they are so simple.
Decorating cookies is something that almost everyone from toddlers to senior citizens can do and it is a great way to spend some quality time together.
These cookies also make great gifts for friends, family or even to take to nursing homes or local food pantries if they accept homemade gifts.
They also make a great gift idea for your child to make and take to their teacher to show how much they appreciate them.
Here is how to make these Nutter Butter Snowman Cookies.
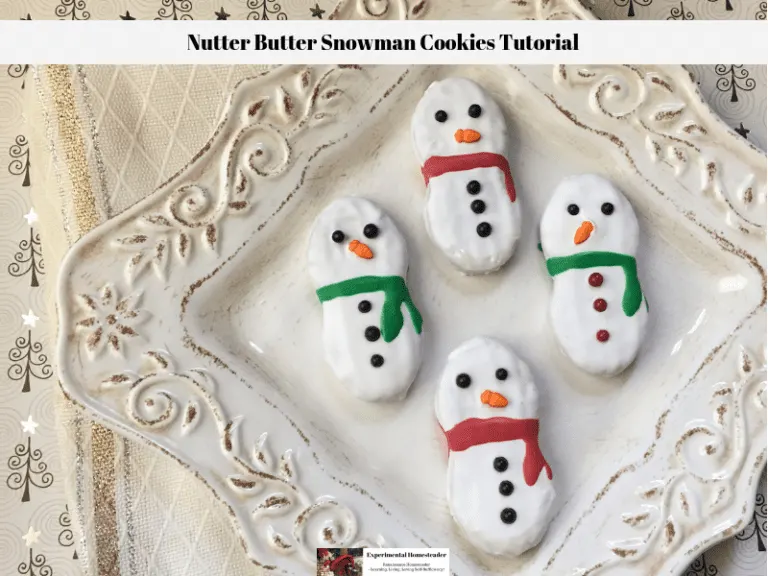
Nutter Butter Snowman Cookies Tutorial
- Total Time: 30 minutes
- Yield: 12 cookies 1x
Ingredients
- Nutter Butter Cookies
- Wilton Cookie Icing in white
- Wilton Cookie Icing in red
- Wilton Cookie Icing in green
- Wilton Sparkle Gel in white (optional)
- Wilton Sparkle Gel in white
- Wilton Snowman Cookie Ball Decorations
- Wilton Reindeer Cookie Ball Decorations
Instructions
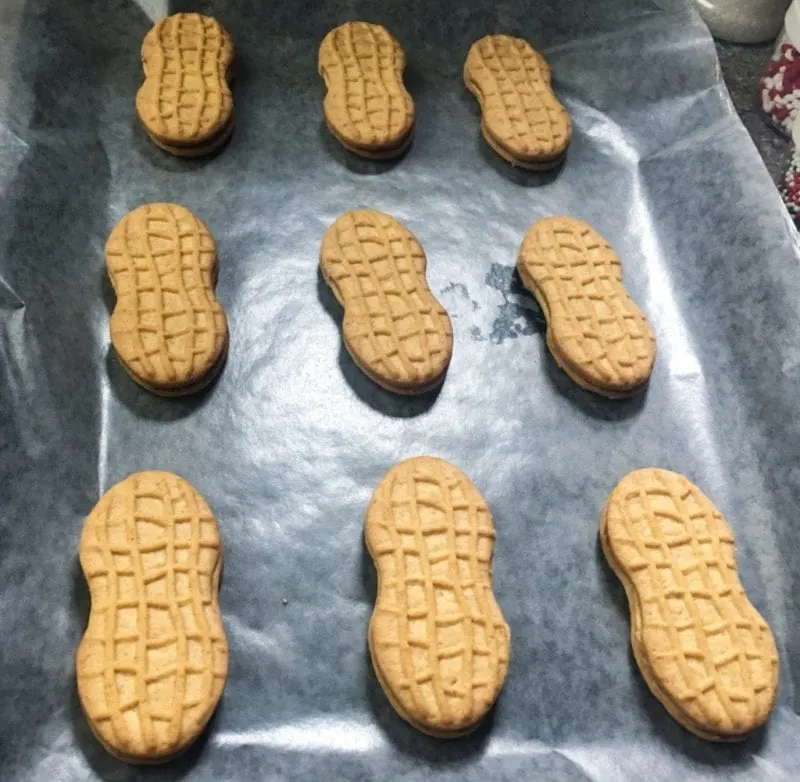
- Lay the Nutter Butter Cookies on wax paper.
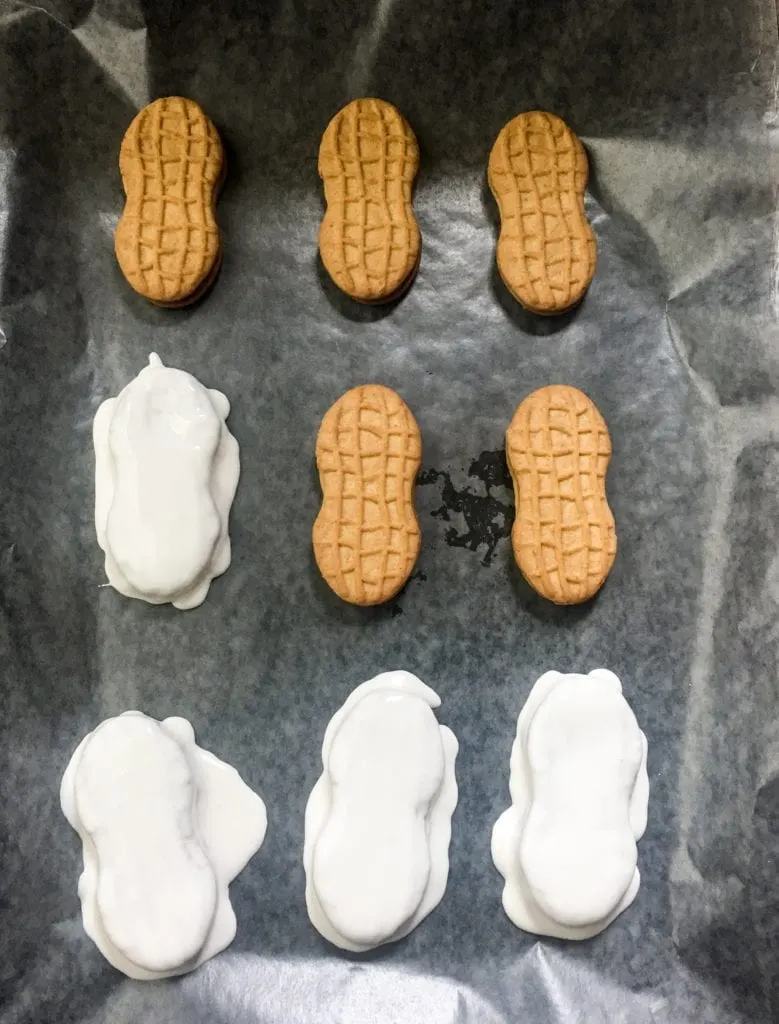
- Squeeze the white cookie icing on Nutter Butter Cookies and let it run down the sides.
- Add more icing to the top edge and let it run down the sides to cover them.
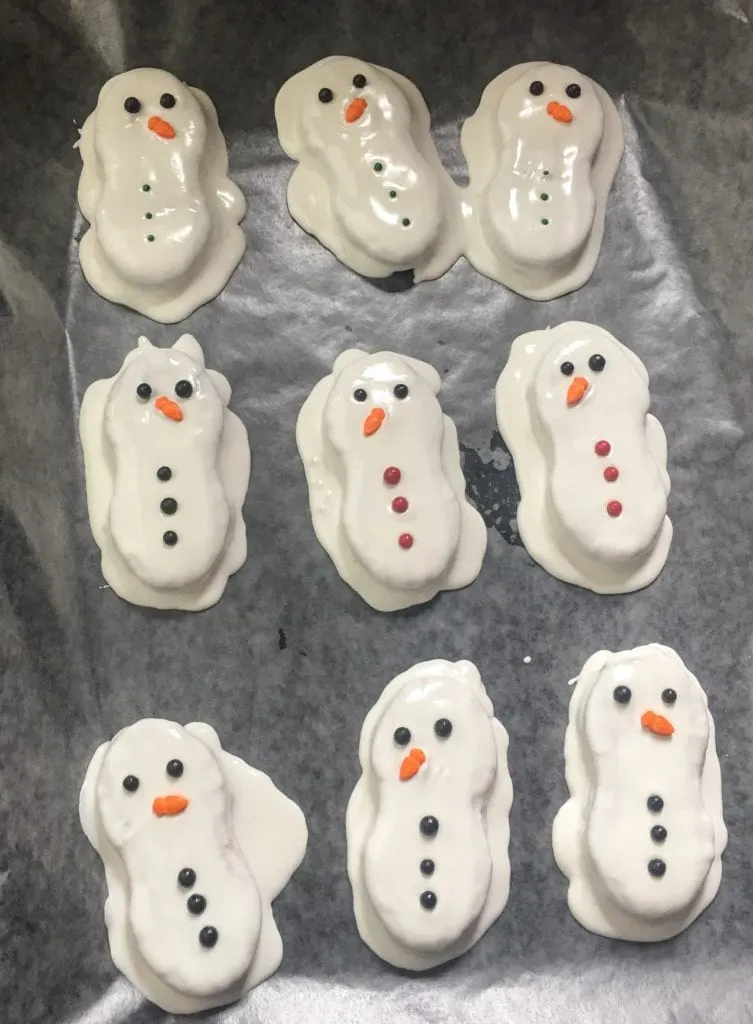
- Position the eyes, nose and buttons on the snowman’s jacket. Take your time because it can be a bit tricky getting them positioned just right.
- Let the cookies sit for a few minutes so the icing begins to dry and holds the decorations in place.
- Lift up cookies using a spatula once the icing begins to harden but before the icing is completely dry and move them to a clean sheet of wax paper. You may have to do this a couple of times until the icing quits pooling on the wax paper.
- Let the icing dry completely which can take a little while.

- Use the red or green cookie icing to make a scarf around the snowman’s neck. If the white icing is not dry enough, the colored icing will mix with it and the scarf won't have clean lines.
- Follow steps 5 and 6 again.
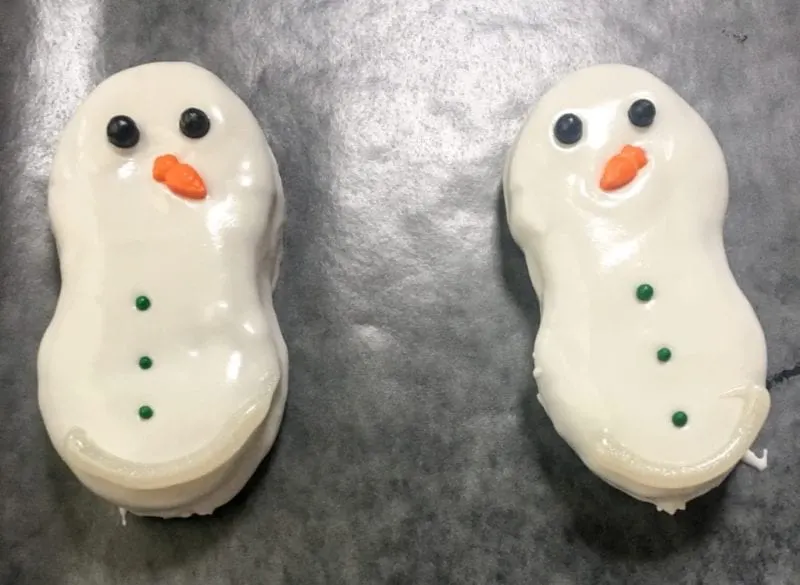
- Add some of the Wilton Sparkle Gel to the bottom of the cookies and spread it around with a butter knife so it spills over the edge of the cookie if you want the cookie to have some sparkle. If not, skip this step.
- Let the icing dry overnight.
- Once the icing is completely dry, position the cookies on the cookie platter and serve. If you are giving them as gifts, go ahead and package them up.
- Prep Time: 30 minutes
- Category: Desserts
- Method: No Bake
Final Thoughts About The Nutter Butter Snowman Cookies
Both sets of cookie ball decorations were found at our local Wal-Mart.
However, if you can't find them, feel free to get creative with how these are decorated.
There are no set-in-stone rules!
This is a project that should be fun for the entire family and help create memories that will last a lifetime.
Questions or comments?
Leave them in the comment section below!

