How to Marble Paper with Shaving Cream and Acrylic Paint
There is something satisfying about taking a few ordinary supplies from the craft room and making something beautiful enough to tie onto a homemade gift. I first tried marbling paper with shaving cream and acrylic paint because I wanted gift tags in colors I could not find locally. For another way to turn paper into a personal gift detail, see my quilled baby gift tag tutorial. I had paint on hand, I had paper, and I was curious whether a can of foamy shaving cream could help turn them into something special.
It did, although my first experiments taught me that how much you swirl the colors, when you add glitter and how carefully you scrape away the foam make all the difference. I ended up with more than pretty tags. I found a simple way to decorate paper for the handmade gifts and little projects that are part of everyday homestead life.

In This Article
Tips for Better Shaving Cream Marbling
- Start with a few colors. Two or three coordinated colors make it easier to see the marbled pattern.
- Don't overmix. A few deliberate swirls usually look better than stirring until the colors blend.
- Clean the scraper between passes. This keeps the marbling more defined instead of spreading paint over the entire sheet.
- Try glitter paint first. Mixing it into the shaving cream before the other paints worked better in my experiment.
- Choose your paper thoughtfully. Heavier paper and cardstock generally stand up better to the moisture than very thin paper. Test a scrap before working on an important piece.
- Use a larger tray for larger projects. I found my original mini bread pan limiting once I started experimenting.
If you enjoy handmade paper projects, explore more ideas in my DIY Homestead & Handmade Living collection, including how to make a quilled gift tag.
Making Something Useful from Ordinary Supplies
A homestead is not only about what grows in the garden or what comes out of the kitchen. It is also about making things with your hands and finding another use for supplies already on the shelf. I began experimenting with shaving cream marbling because I wanted handmade gift tags in colors I could not find in the stamp pads sold locally. Instead of buying another specialty craft supply, I reached for acrylic paints I already had.
A plain tag becomes something personal when you add a swirl of color. Tie it to a basket of homemade gifts, a jar of preserves or a simple brown-paper package, and it looks as though someone took time to make the whole gift special. Keep the painted paper on the outside of packaging, away from direct food contact.
Why the Shaving Cream Method Works
The foam holds drops of paint on its surface while you draw the colors into ribbons with a skewer. Pressing paper lightly onto those ribbons transfers the pattern. Scraping away the foam reveals the print. This is a simple craft method, not the same process as traditional marbling on a prepared liquid bath.
The secret is knowing when to stop swirling. I found that a few deliberate passes produced more distinct ribbons. Stir too long and the colors blend into a softer wash. That can be pretty, too, but it is a different look.
Choosing Paper and a Pan
I started with a disposable mini bread pan because I was making small gift tags. It worked, but I soon wanted more room to swirl the paint, so I switched to a plastic craft glitter catcher. For larger sheets, use a shallow tray wide enough that the paper can lie flat without folding.
Try cardstock or another heavier paper before using thin printer sheets. The paper gets damp during printing and may curl. Make a test print with a scrap, and set aside a protected flat surface where your finished work can dry.
What My Glitter Experiment Taught Me
I tried adding glitter paint in dots alongside the other acrylic colors, but I was disappointed by the result. The next time I mixed the glitter paint into the shaving cream first, then added the other colors. The sparkle spread more evenly and was less likely to rub off when I scraped away the foam.
I also learned to wipe the scraper clean between passes when I wanted sharply defined marbling. Carrying paint from one stroke into the next gave the paper a softer overall tint. Both effects can be attractive, and it is worth trying each one.
More Homestead Uses for Marbled Paper
Gift tags are only the beginning. You can use the dry paper for handmade greeting cards, bookmarks, scrapbook accents, covers for a garden journal, decorative labels and the outside of seed-swap envelopes. A few sheets made on a rainy afternoon can become a little stash of special paper for future projects.
Think about the seasons when choosing colors. Fresh greens and yellows suit spring gifts, while autumn oranges and deep reds look lovely on harvest baskets. A plain notebook or box of keepsakes can become something worth displaying with one carefully chosen marbled panel.
Troubleshooting Your Marbled Paper
Muddy colors: Use fewer paints and stop swirling before the ribbons disappear. Start over with fresh foam when the tray becomes too mixed.
Curling paper: Use heavier paper, allow it to dry completely and flatten it afterward between protective sheets under a heavy book.
Smeared patterns: Wipe your plastic scraper between strokes. A sharp craft knife is unnecessary for removing the foam.
Crafting with children: This can be a supervised homeschool art activity when the materials are appropriate for the children's ages. Follow product safety instructions and protect the work surface.
A Small Skill Worth Keeping
I love crafts that leave room for discovery. The first tag may have bold, sweeping ribbons, while the next looks softer and more delicate, even though both came from the same colors. That unpredictability is one of the reasons I enjoyed this experiment.
What began as a way to make a few gift tags turned into a technique I could use for cards, journals and all sorts of little handmade touches around the house. That is the kind of useful creativity I always enjoy coming back to.
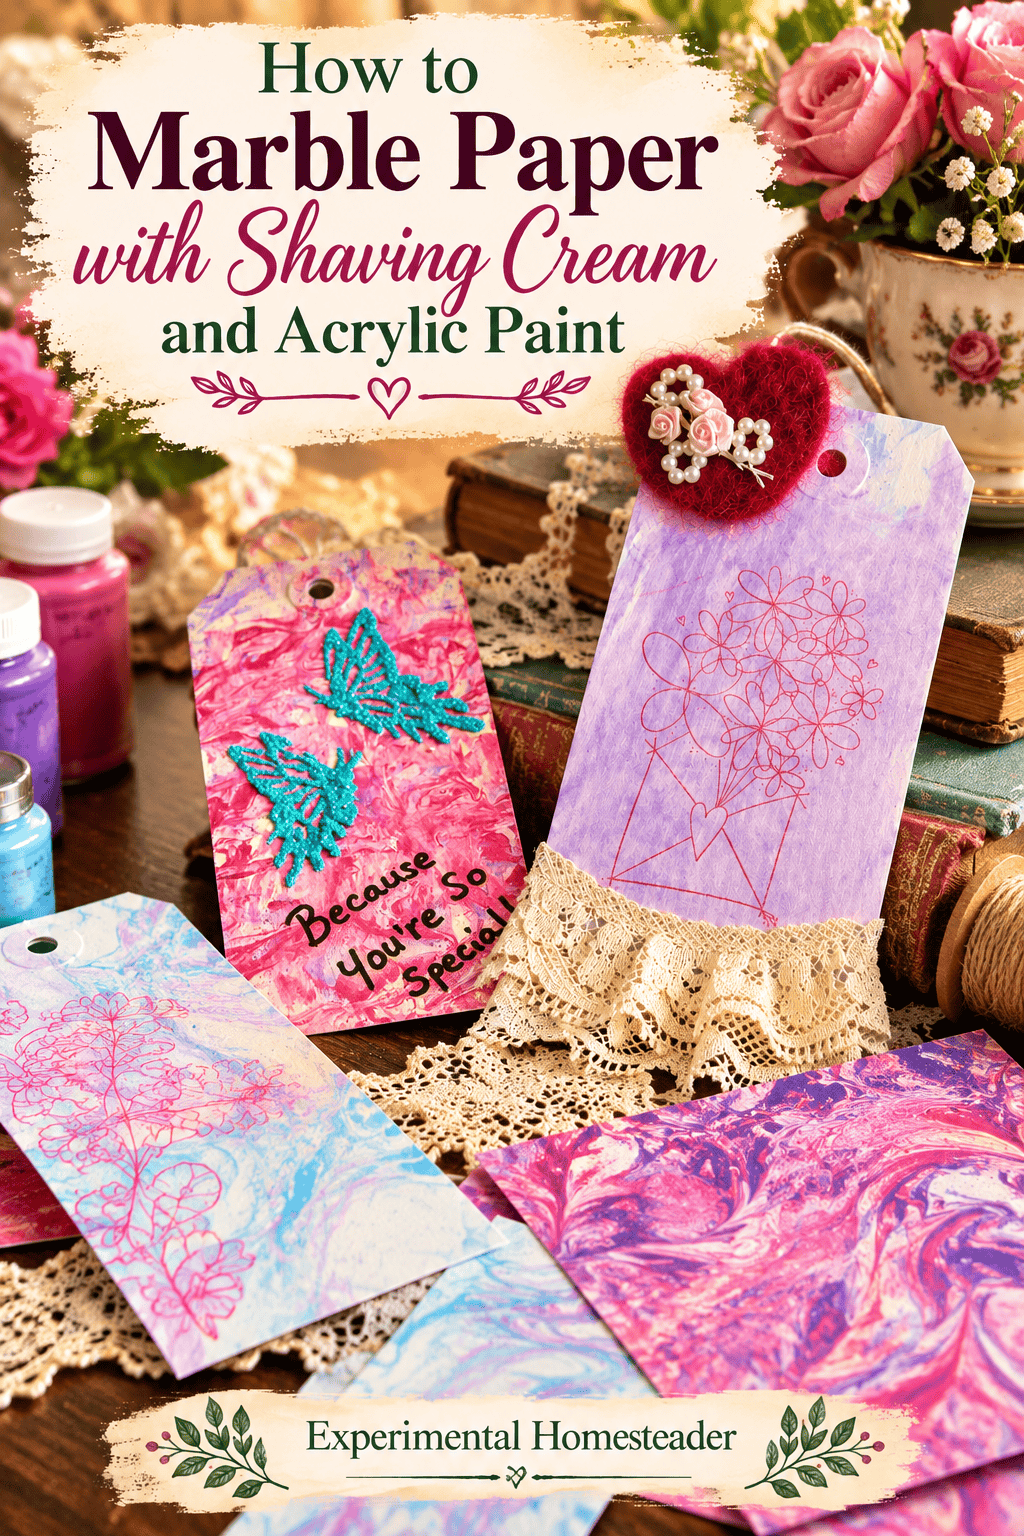

How to Marble Paper with Shaving Cream and Acrylic Paint
Make beautiful marbled paper and handmade gift tags using foamy shaving cream and acrylic craft paints, with tips for swirls, glitter and crisp prints.
Materials
- Plain white shaving cream - the foamy kind rather than gel
- Acrylic craft paints in your favorite colors
- Optional glitter craft paint
- Paper, cardstock or blank gift tags
Tools
- A shallow tray or pan large enough for the paper
- A toothpick, skewer or similar tool for swirling the paint
- A straight-edged scraper or old plastic card
- Paper towels and a protected work surface
Instructions
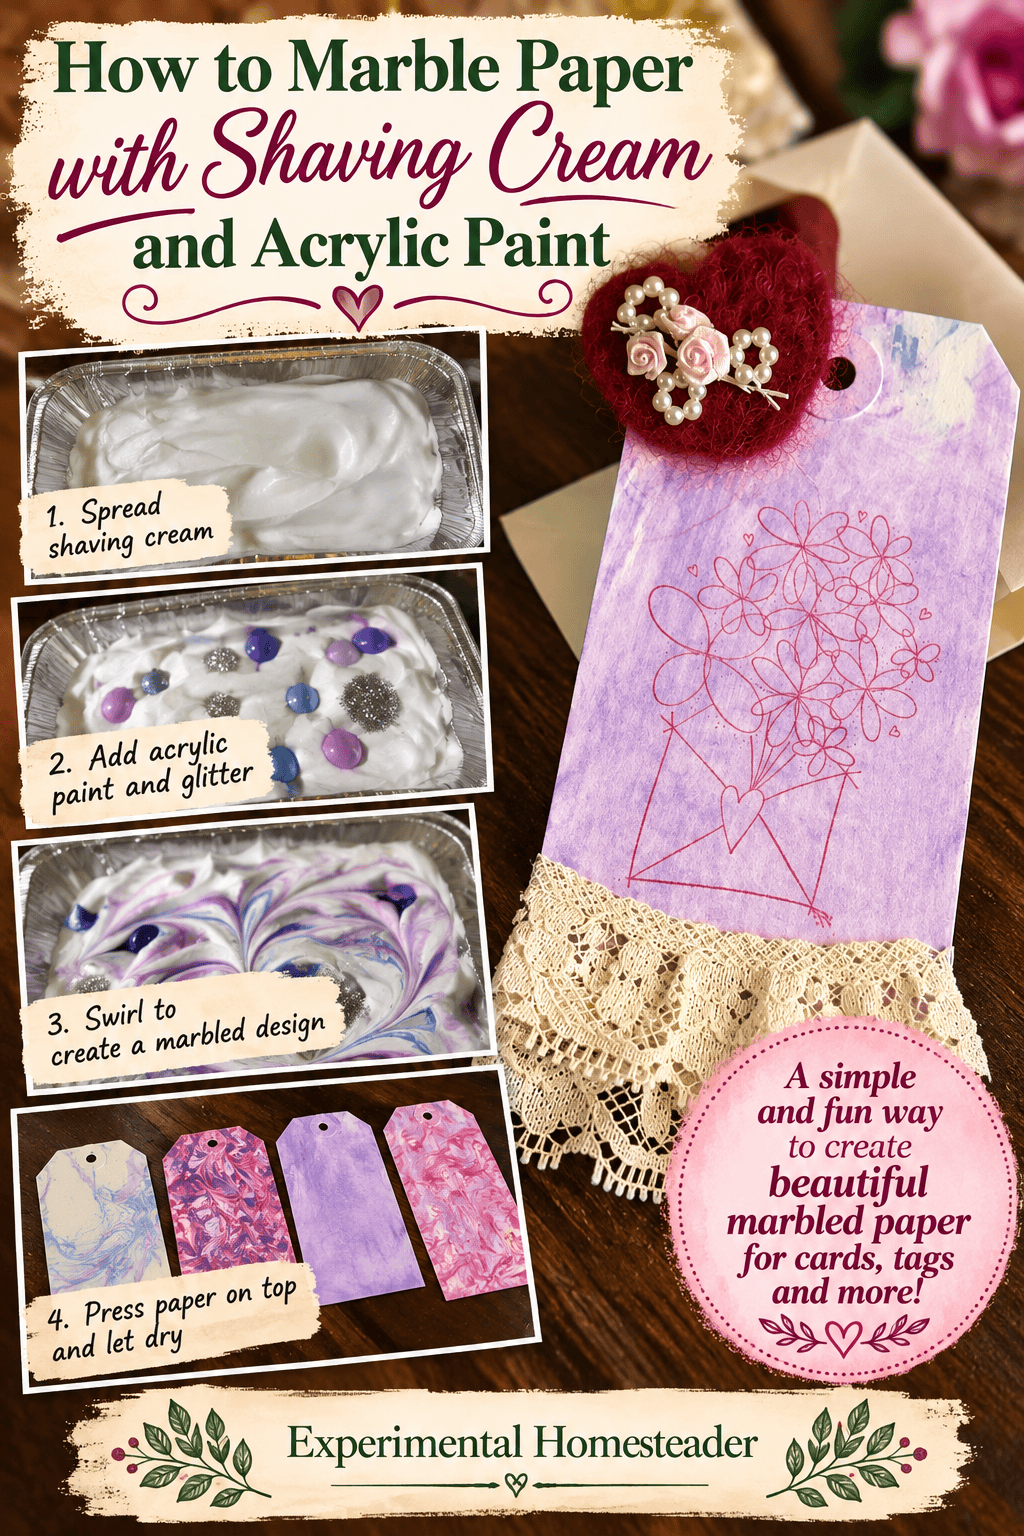
- Spread an even layer of foamy shaving cream in a shallow pan.
- Drop acrylic craft paints onto the surface, choosing two or three colors to start.
- Use a toothpick or skewer to pull the colors into loose swirls without overmixing.
- If using glitter paint, experiment with mixing it into the foam before adding the other colors.
- Lay the paper or gift tag gently onto the paint-covered foam and press lightly to make contact.
- Lift the paper carefully and scrape away the shaving cream with an old plastic card, cleaning the edge between passes for sharper patterns.
- Place the print on a protected flat surface and allow it to dry completely before cutting, folding or using it.
Notes
I started with a disposable mini bread pan and later switched to my plastic craft glitter catcher because it gave me more room to work. A larger tray is especially helpful if you want to marble whole sheets rather than small tags.
Want more ways to add texture and detail to handmade paper projects? See my Fiskars Fuse and Cuttlebug die-cutting experiment.