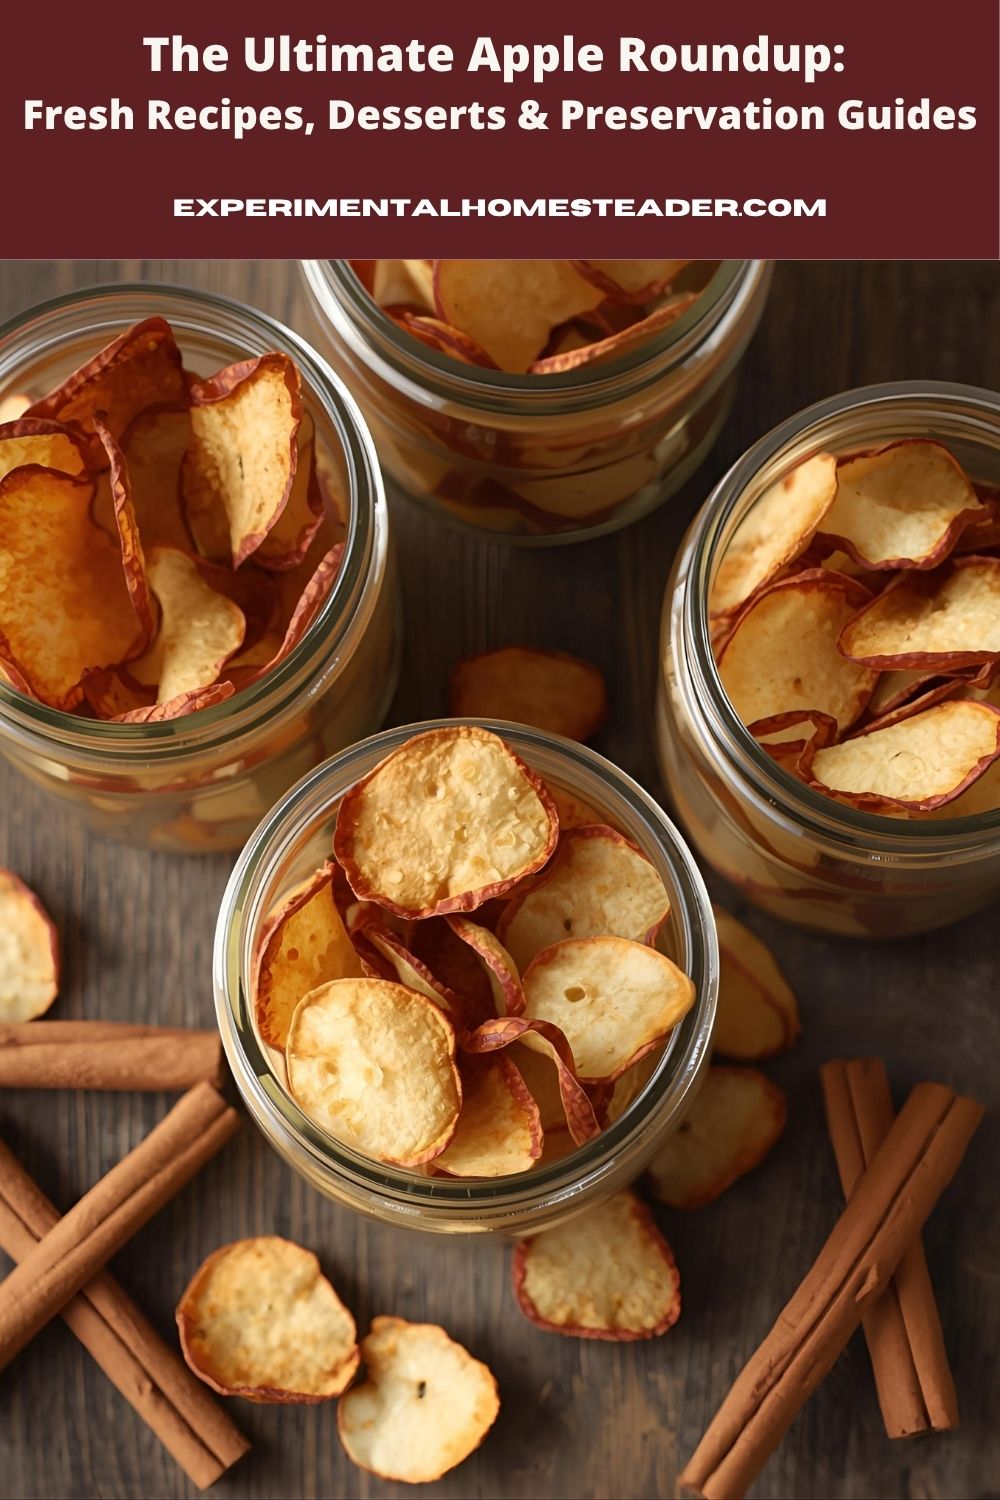
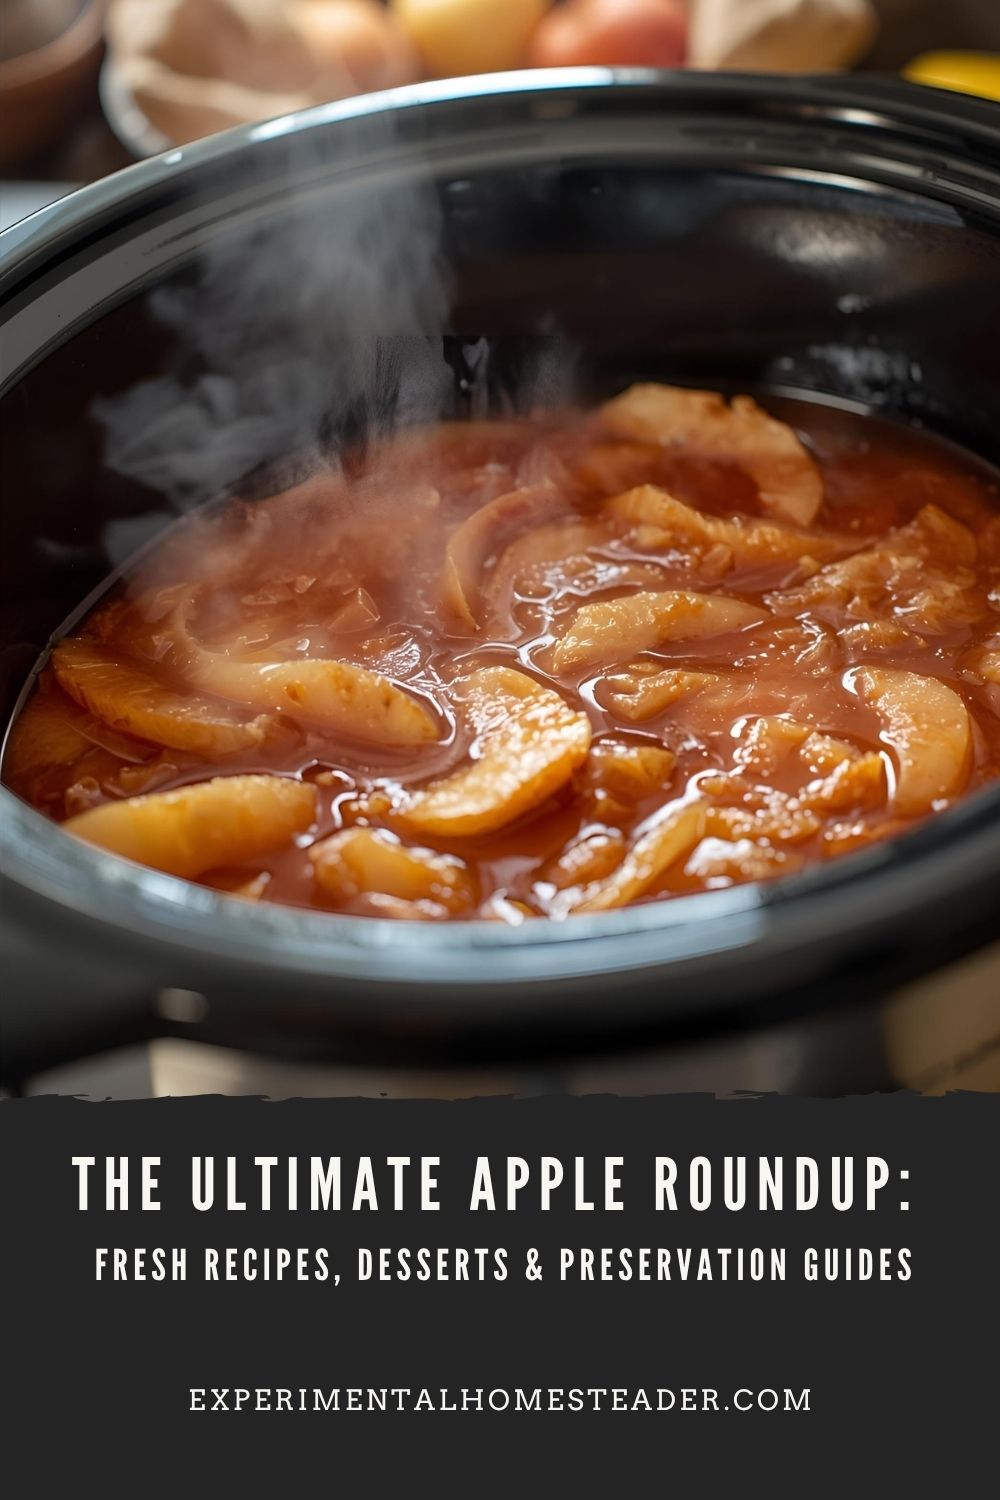
The Ultimate Apple Roundup: Fresh Recipes, Desserts & Preservation Guides
Apples and the crisp fall days of October just belong together - it's that magical time of year when the air smells sweet, the orchards glow with color, and the harvest baskets overflow.

Whether you're wandering a local U-pick orchard or collecting apples from your own trees, now's the perfect time to turn your bounty into something special.
In this apple recipes and preservation roundup, I've gathered all my favorite apple recipes, preservation guides, and homestead kitchen tips right here in one place.
From old-fashioned fried apples and Dutch oven crisps to step-by-step canning, dehydrating, and freezing methods - this is your one-stop guide for turning your fall harvest into comfort food you can enjoy all year long.
Quick Answer:
You can preserve fall apples without canning by freezing, dehydrating, or making apple butter in a slow cooker. Apples also keep beautifully in a cool root cellar when stored properly.
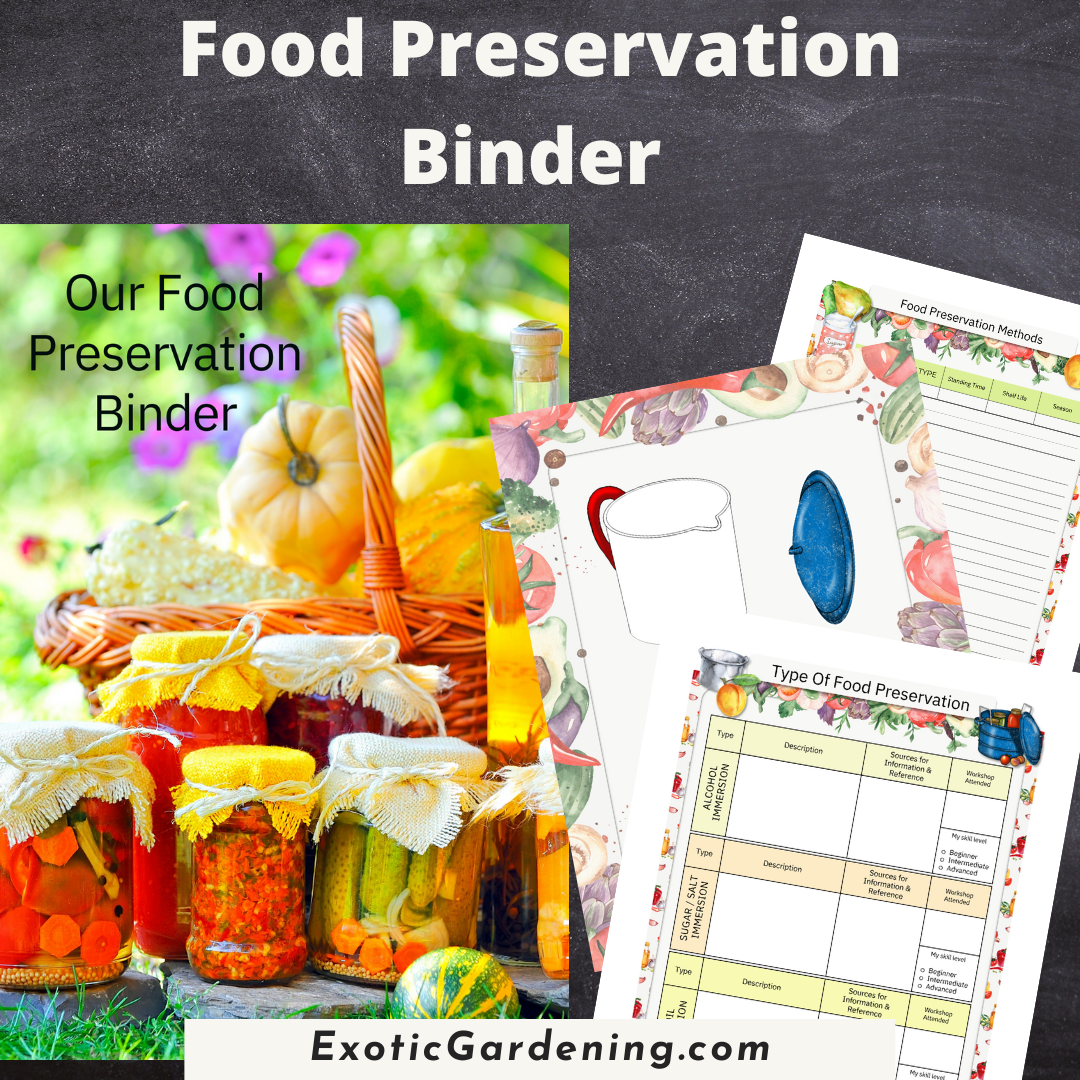
And if you love keeping your pantry organized through harvest season, don't miss my Food Preservation Binder.
It includes printable logs, inventory sheets, and cute stickers that make tracking your apples (and everything else) a breeze!
Health Benefits of Fresh Apples
It's easy to see why apples are one of the most popular fall fruits - they're not only delicious but packed with nutrients your body needs this time of year.
Fresh apples are high in antioxidants, phytonutrients, vitamins A, C, and E, and important minerals like potassium and calcium.
These nutrients help strengthen your immune system, support heart health, and give your skin that healthy glow after a long summer in the garden.
The key is freshness.
The moment apples are picked, their vitamin and antioxidant levels slowly begin to drop, which is why fruit from your own trees or a local orchard is so much better than apples that have traveled for weeks to the grocery store.
Whenever you can, enjoy them right after harvest - crisp, juicy, and full of flavor.
Then, preserve what you can't eat fresh through freezing, drying, or canning so you can keep those health benefits (and that taste of fall) all winter long.
Did You Know? Apple Nutrition Facts
- One medium apple contains around 95 calories and 4 grams of fiber - great for digestion and heart health.
- Apples are rich in polyphenols and quercetin, powerful antioxidants that may help reduce inflammation and protect cells.
- Most of an apple's nutrients - including antioxidants - are found in the peel, so skip peeling when you can.
- Eating apples regularly can help support healthy cholesterol levels and may lower the risk of certain chronic diseases.

Favorite Fresh Apple Recipes
Classic Homemade Apple Pie
Everyone loves apple pie - and nothing compares to one made from scratch.
This is my go-to version, loaded with fresh apples, nutmeg, and cinnamon.
It's a fall classic that fills your kitchen with that sweet, spicy scent of home.
Ingredients:
- 6 cups apples (use a mix of varieties for richer flavor)
- ¾ cup sugar
- 2 tablespoon flour
- 1 teaspoon cinnamon (I use my own homemade liquid cinnamon)
- Dash nutmeg
- Dash sea salt
- 2 tablespoon real butter
Instructions:
- Peel and slice apples. Simmer with sugar until softened, about 5-10 minutes.
- Stir in flour, cinnamon, nutmeg, and salt.
- Pour into your pie crust, dot with butter, and sprinkle a bit of cinnamon on top.
- Cover edges of crust with foil to prevent burning.
- Bake at 400°F for 55-60 minutes until golden and bubbly.
💡 Preserver's Tip: Make double batches of filling and can the extra for quick holiday pies - it's a lifesaver when company drops by unexpectedly!
Old-Fashioned Apple Crisp
If you love the flavor of apple pie but want something simpler, this crisp delivers that same comfort in half the time.
The buttery, nutty topping turns golden and crunchy - perfect with a scoop of ice cream.
Topping Ingredients:
- ½ cup maple or brown sugar
- ¼ cup flour
- ½ teaspoon sea salt
- 4 tablespoon butter
- ½ cup chopped walnuts or pecans
Mix until crumbly and sprinkle over your apple filling. Bake until golden brown and bubbly.
Farmhouse Fried Apples
This simple skillet recipe fills your kitchen with the smell of caramelized apples, brown sugar, and cinnamon.
It's one of my favorite fall side dishes - especially with pork chops or over warm biscuits.
Ingredients:
- 1 tablespoon butter
- 9 apples, peeled, cored, and sliced
- ½ teaspoon cinnamon (or more to taste)
- 1 tablespoon brown sugar
Instructions:
- Melt butter and brown sugar in a skillet.
- Add cinnamon and apples, stirring constantly.
- Bring to a boil, then reduce heat and cover.
- Simmer for 30 minutes, stirring occasionally, until tender and caramelized.
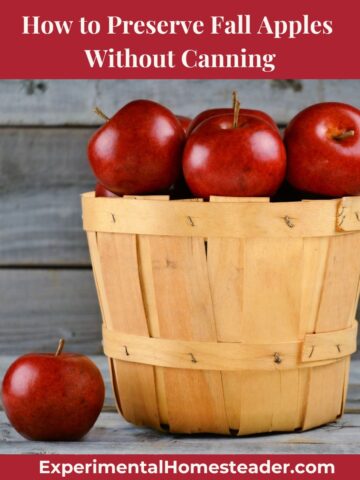
Storing & Preserving Apples
Storing Apples in a Root Cellar
If you're lucky enough to have a root cellar, apples will store beautifully for months.
-
Keep them whole and unwashed.
-
Pack in straw or shredded paper at about 31°F.
-
Always remove any bruised fruit - one bad apple really does spoil the bunch.
Learn More About Root Cellar Storage
Want to take your food storage setup to the next level? Check out these helpful guides for keeping your produce fresh longer:
- Building Root Cellars That Work - insulation, layout, and temperature-control tips for long-term success.
- Bakery Trays for Produce Storage - lightweight, stackable trays that make organizing your harvest easy.
How to Can Apples
Canning takes more time up front, but the reward is jars of sweet apple goodness ready for pies, crisps, and cobblers anytime.
Light Syrup Recipe:
-
2¼ cups cane sugar
-
5 cups water
Boil until sugar dissolves, then pour hot syrup over apple quarters in sterilized jars, leaving ½ inch headspace. Process pints or quarts in a boiling water bath for 20 minutes. Cool overnight and store in a cool, dark place.
More Apple Canning Inspiration
If you're ready to try different canning variations, don't miss my full collection of tested and true recipes. Each one adds a unique twist to your pantry shelves and makes great holiday gifts, too!
How to Dehydrate Apples
Dehydrated apple slices make a perfect grab-and-go snack or cereal topping.
-
Wash, peel, and core apples.
-
Slice into ¼-inch rounds.
-
Dip slices in a citric acid solution to prevent browning.
-
Dry at 150°F for 2 to 3 hours, or until slices snap easily.
Once cool, store in airtight jars or vacuum-sealed bags.
Learn More About Dehydrating Apples
If you're ready to master drying fruit for long-term storage, check out my in-depth guide to dehydrating apples. You'll find temperature charts, storage tips, and troubleshooting advice for perfectly crisp or chewy results every time.
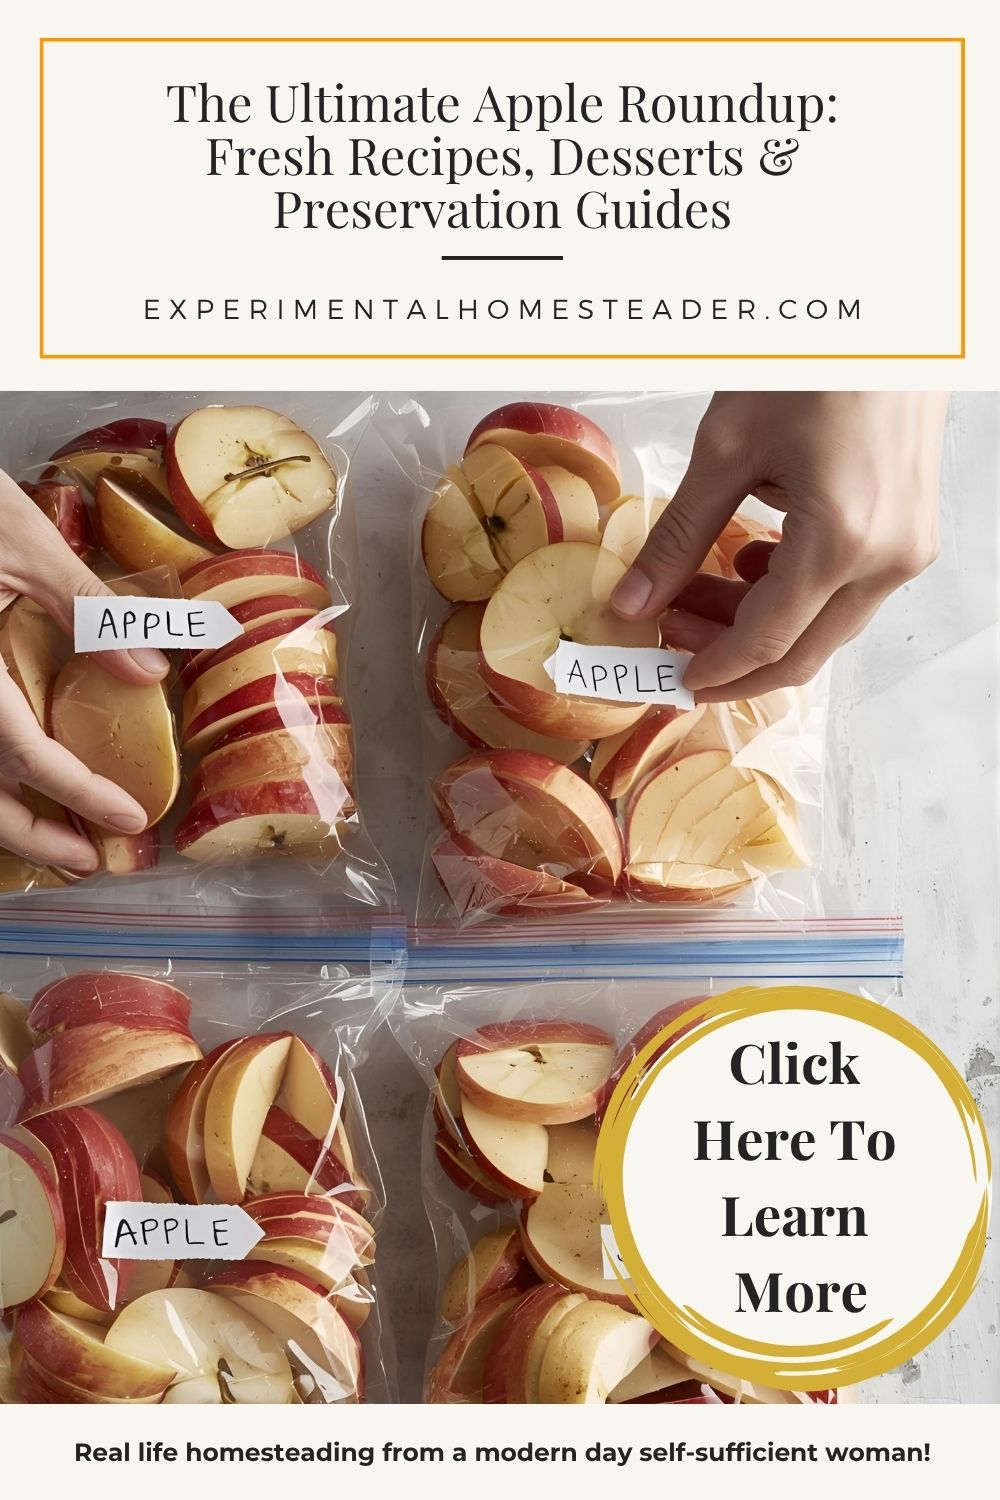
How to Freeze Apples
Freezing is fast and convenient - perfect for baking later.
-
Wash, core, and quarter apples.
-
Dip in citric acid or lemon water.
-
Blanch for 2 minutes, then chill in ice water.
-
Drain, pat dry, and freeze in single layers before bagging.
Label, date, and store flat to save freezer space.
Learn More About Freezing Apples
Want to stock your freezer with fresh apple flavor for months to come? My step-by-step freezing guide walks you through blanching, cooling, and packaging your apples to preserve their color and taste perfectly.
Explore More Apple Inspiration
Here are even more apple recipes and preservation guides you might love:
Start Here: My Favorite Apple Recipes & Guides
Discover every apple recipe and apple preserving guide from Experimental Homesteader in one place! From freezing and dehydrating apples to canning pie fillings, making apple butter, baking crisps, and sipping homemade cider - these hand-picked recipes celebrate the flavor of fall. Perfect for homesteaders, bakers, and anyone who loves turning orchard-fresh apples into cozy kitchen favorites.

Freezing Apples Recipe
The no-stress way to stock your freezer with pie-ready slices; I show you the exact prep, pretreat, and pack steps.
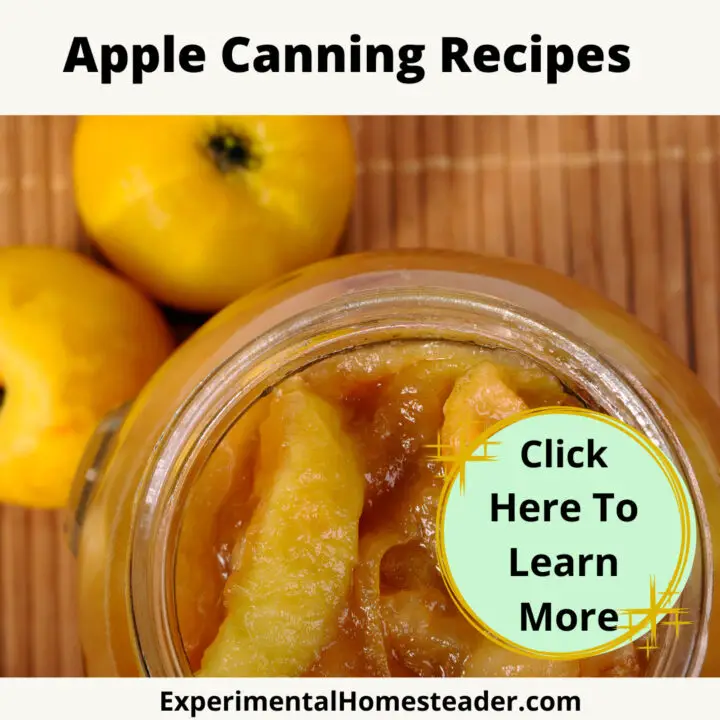
Apple Canning Recipes
A handpicked collection of safe, delicious apple canning ideas you can batch on a weekend and enjoy all year.
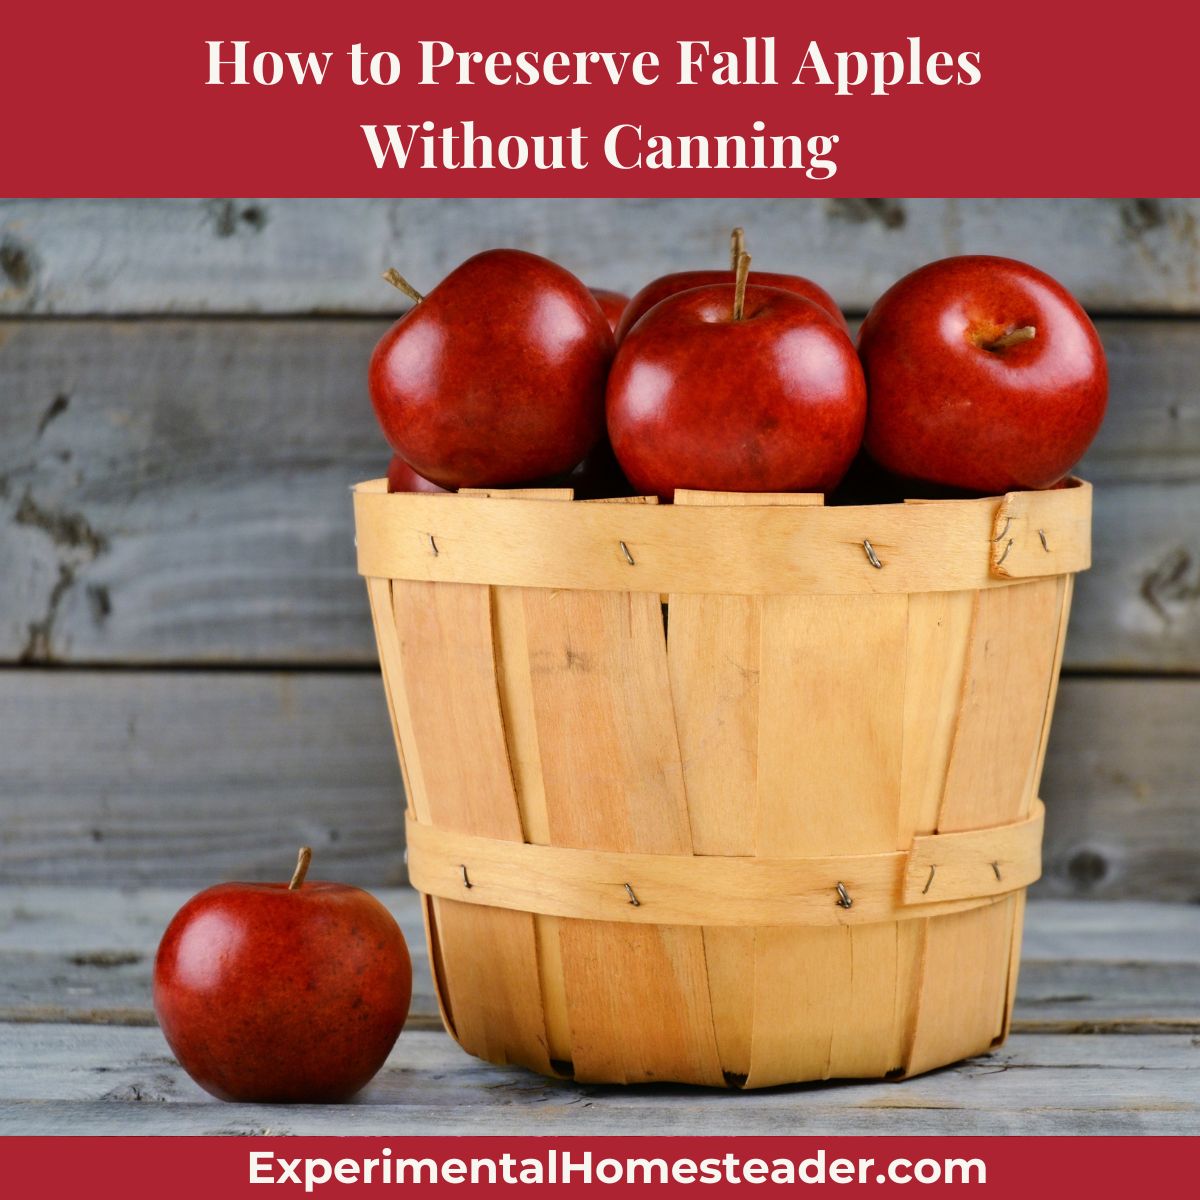
How to Preserve Fall Apples Without Canning
Easy ways to preserve fall apples without canning - freeze, dry, or make apple butter to enjoy the harvest year-round.
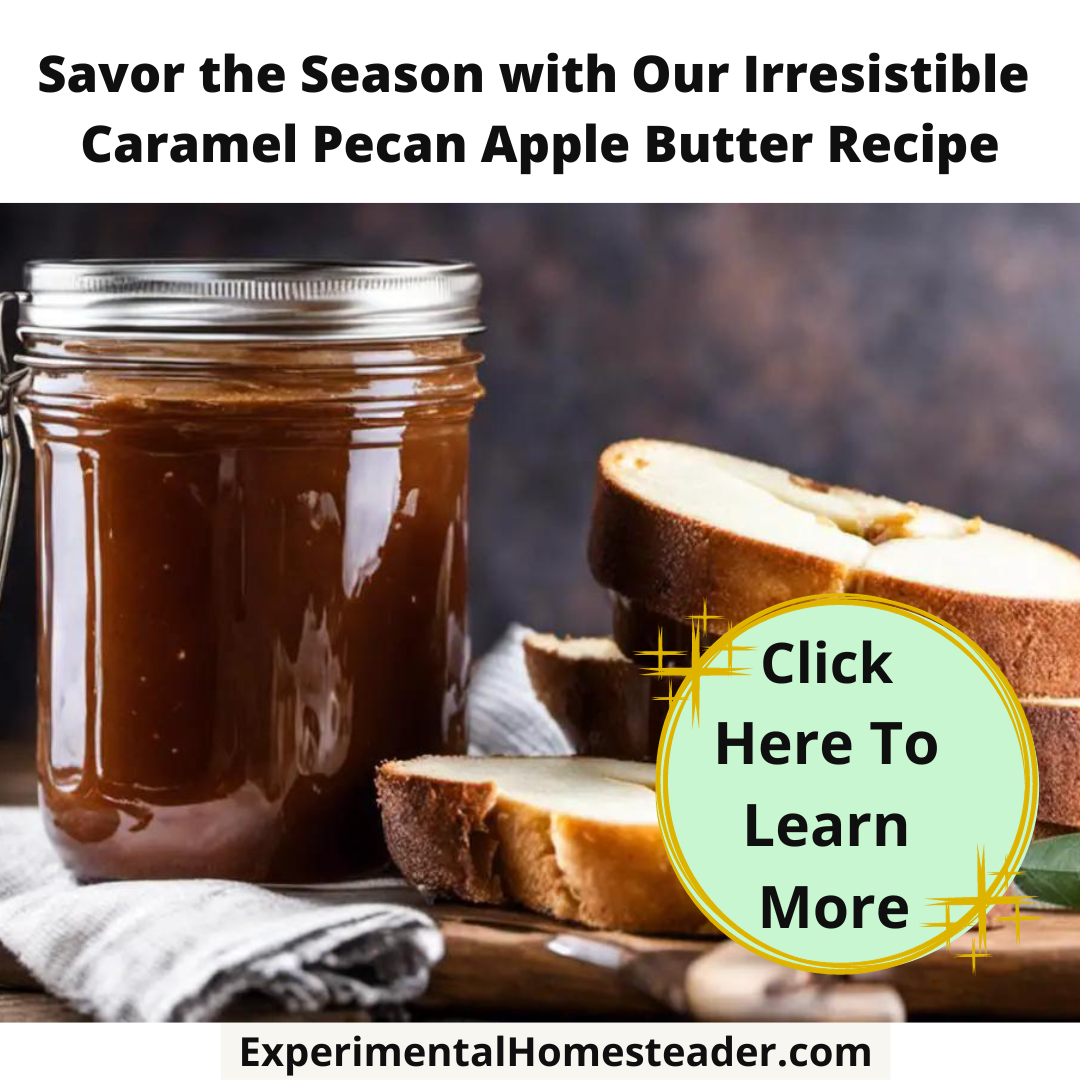
Savor the Season with Our Irresistible Caramel Pecan Apple Butter Recipe
Slow-cooked, deeply flavored, and worthy of gifting - or hoarding.
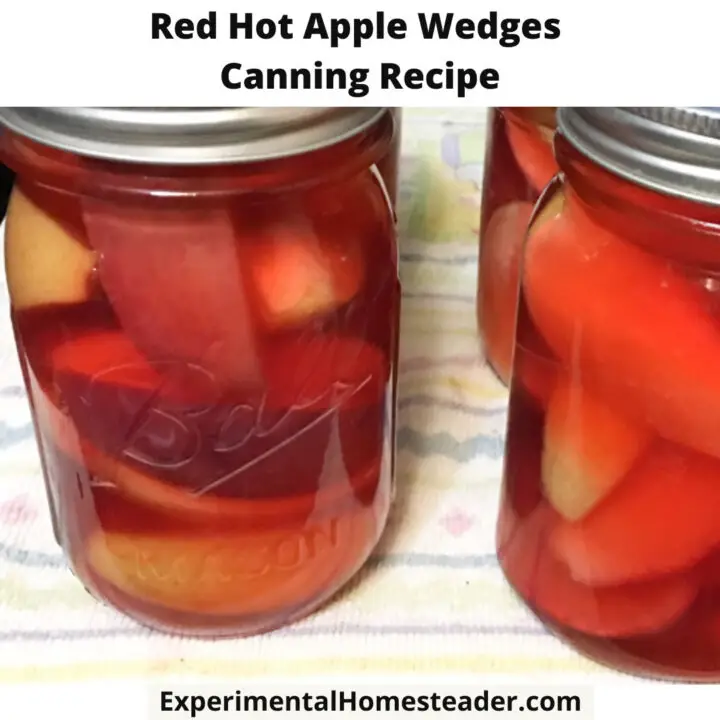
Red Hot Apple Wedges Canning Recipe
A retro favorite with a cinnamon kick - gorgeous in jars and on charcuterie boards.
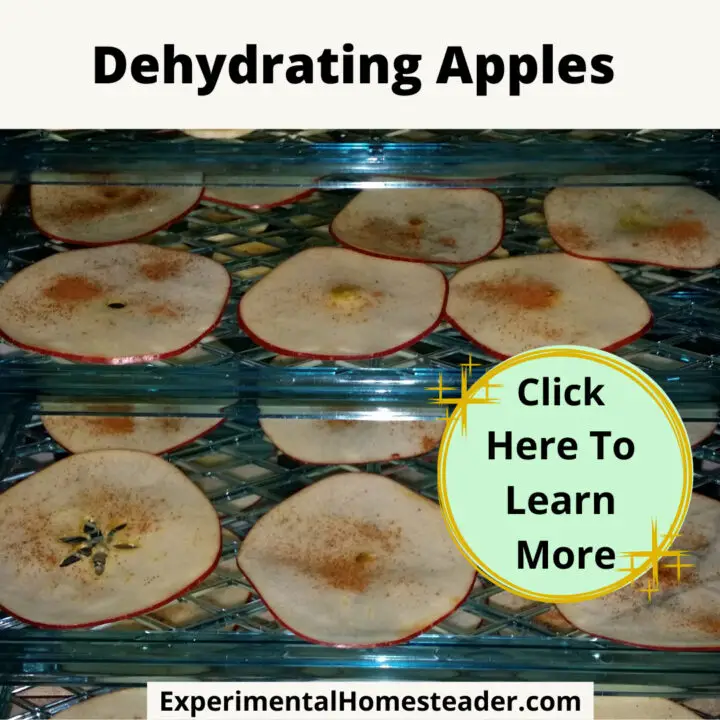
The Ultimate Beginners Guide To Dehydrating Apples
Chewy chips or crisp rings, step-by-step temps, and storage tips that actually keep them crunchy.
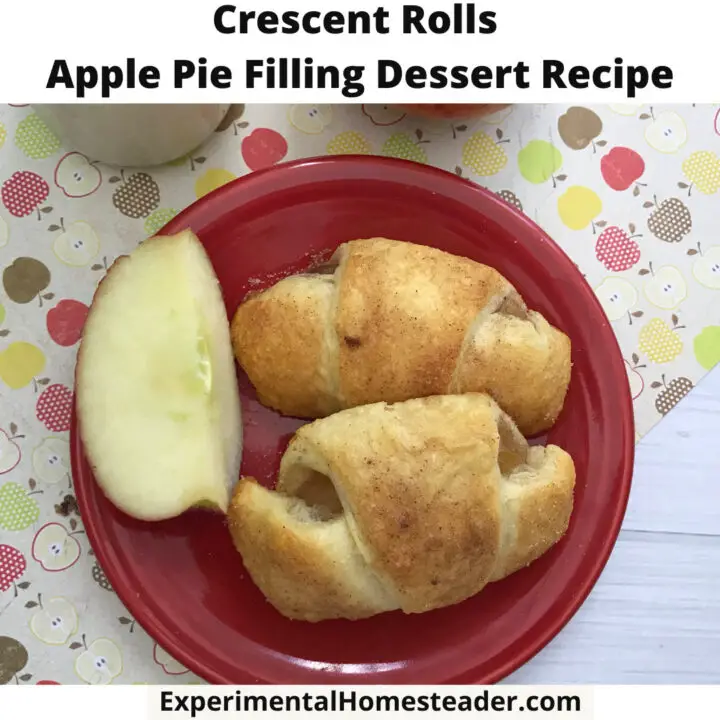
Crescent Rolls Apple Pie Filling Dessert Recipe
Weeknight-easy pastry meets cozy apple filling - minimal prep, maximum comfort.
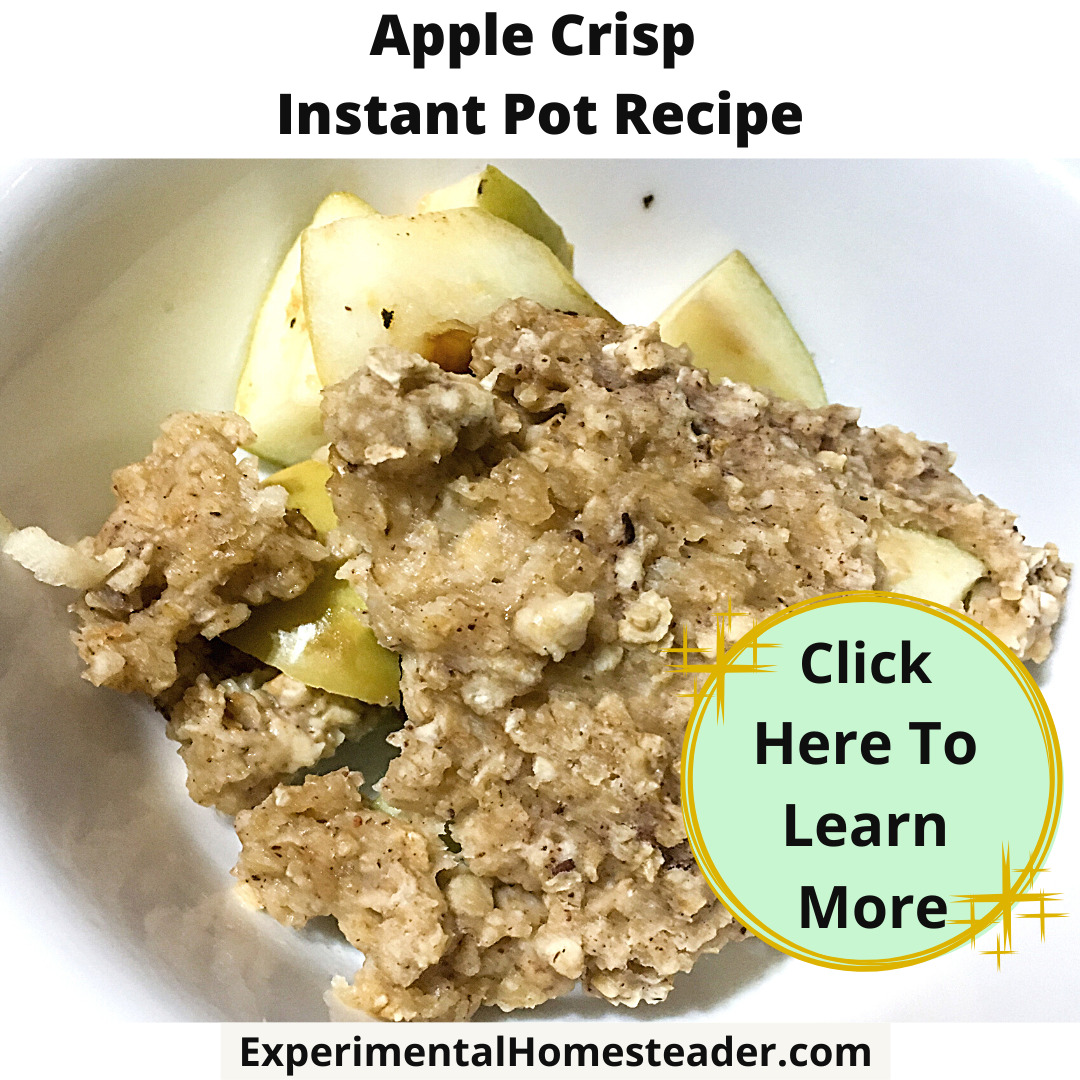
Apple Crisp Instant Pot Recipe
Fast, foolproof crisp for when dessert needs to happen now.
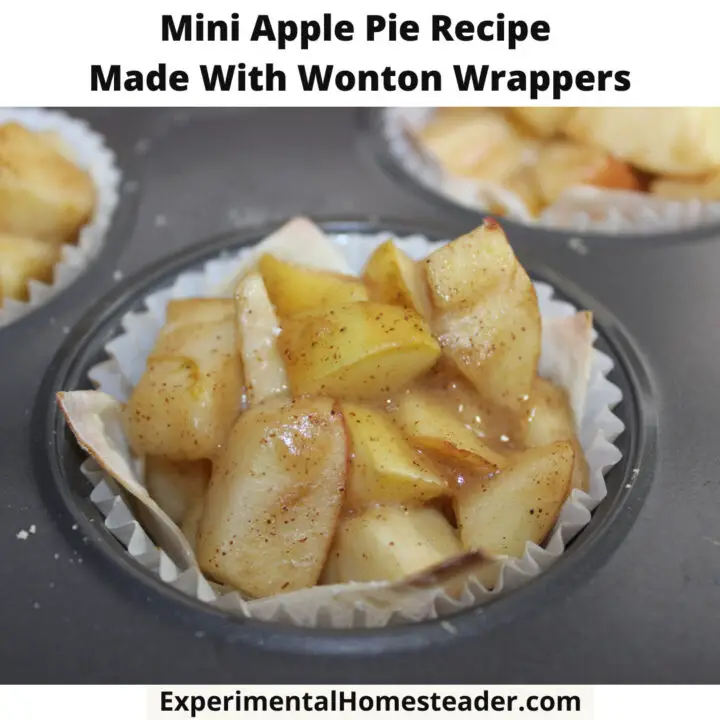
Mini Apple Pie Recipe Made With Wonton Wrappers
Bite-size pies with shatter-crisp wrappers; perfect for parties and kid helpers.

Apple Pie For Diabetics
A kinder-to-blood-sugar version with all the classic pie feels.

Make This Delicious Homemade Apple Cider Recipe
From orchard to mug; simple steps for fragrant, sippable cider.
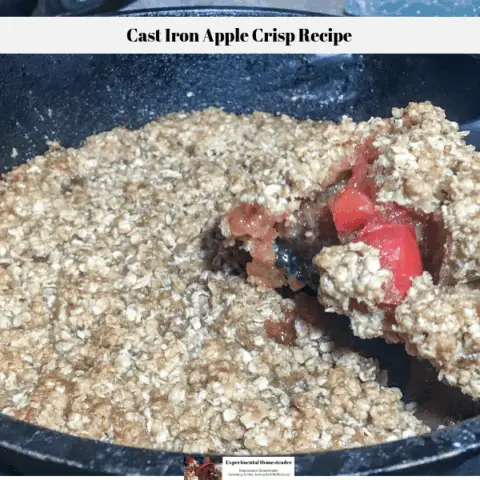
Cast Iron Apple Crisp Recipe
Crisp topping, tender apples, and that magical cast-iron texture.
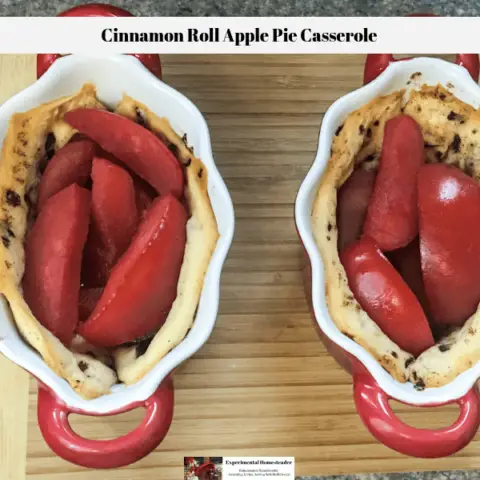
Cinnamon Roll Apple Pie Casserole
Crowd-pleasing, gooey, and shockingly simple - a fun twist on classic pie.
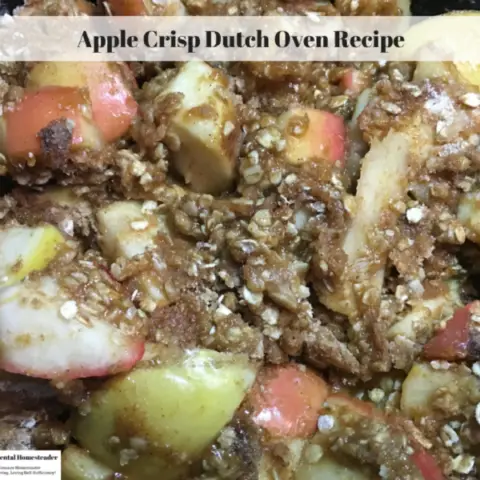
Apple Crisp Dutch Oven Recipe
Fireside vibes: a bubbly, cinnamon-kissed crisp built for cast iron and cool evenings.
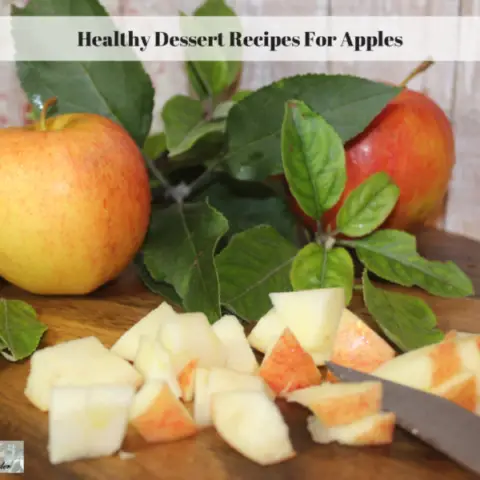
Healthy Dessert Recipes For Apples
Lighter apple treats when you want sweet without the sugar crash.

Banana Bread Made With Applesauce
Moist, tender, and a smart way to use pantry applesauce.
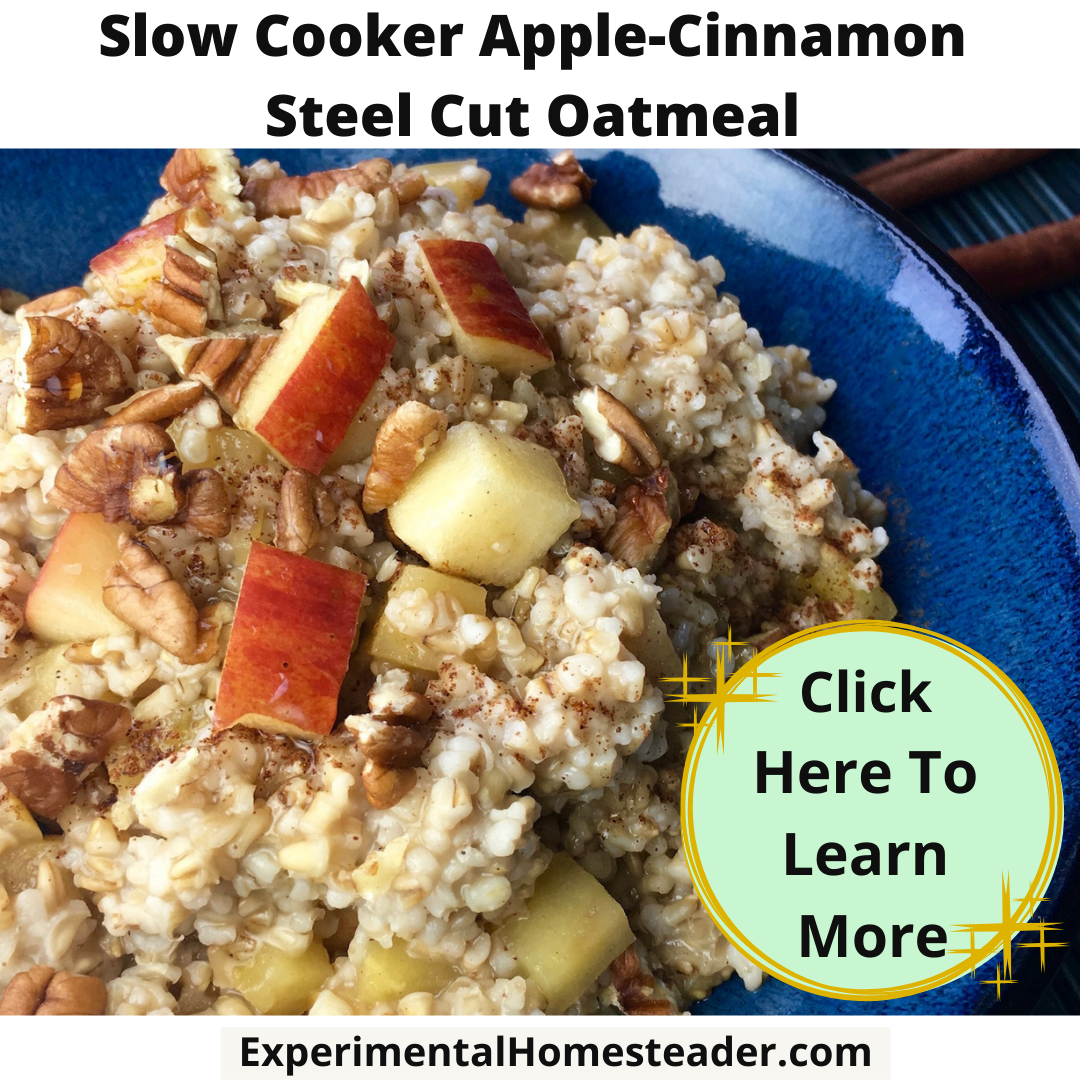
Homesteaders' Delight: Slow Cooker Apple-Cinnamon Steel Cut Oatmeal
Cozy, hands-off breakfasts with tender apples and warm spice.
…and more coming soon!
Bookmark this page and check back each fall as I add new apple favorites straight from my homestead kitchen.
Keep Your Preservation Projects Organized All Season Long
Homesteading life moves fast - especially when the harvest rolls in. My Food Preservation Binder is designed to keep you on track so nothing goes to waste.
Inside, you'll find printable checklists, recipe pages, and logs for canning, freezing, dehydrating, fermenting, and more. Whether you're freezing apple slices today or planning next week's batch of sauerkraut, this binder helps you stay organized, efficient, and confident in your kitchen.
✨ What's Included:
- 5 Printable Types of Food Preservation Planning Sheets
- 2 Printable Equipment Checklists
- 2 Printable Food Preservation Methods Planning Sheets
- 4 Printable Recipe Sheets
- 2 Printable Logs Each for: Canning, Dehydrating, Pickling, Fermenting, and Freezing
- 2 Food Preservation Inventory Sheets
- 2 Food Storage Logs
- 9 Sheets of Print-Then-Cut Food Preservation Stickers
Organize Your Fall Food Preservation
Make this your easiest apple season yet with my Food Preservation Binder - it includes:
-
Logs for canning, freezing, and dehydrating
-
Equipment checklists
-
Seasonal inventory sheets
-
Cute printable labels and stickers
Perfect for anyone putting up apples, pumpkins, pears, or garden produce this fall!
Apple Preservation & Storage FAQs
Q. What apples are best for baking?
A. Firm, slightly tart apples hold up best when baked. Try mixing varieties like Granny Smith, Jonathan, and Honeycrisp for balanced flavor and texture. Mixing sweet and tart apples gives pies and crisps that irresistible depth of flavor.
Q. Can I freeze apple desserts after baking?
A. Yes! Cool baked desserts completely, then wrap tightly in plastic wrap or foil and place in a freezer bag. Label with the date and freeze for up to three months. To reheat, thaw overnight in the refrigerator and warm in the oven, covered, to keep the topping crisp.
Q. How long do dehydrated apples last?
A. Properly dried apples stored in airtight containers will last 6 to 12 months in a cool, dark pantry. For longer storage, vacuum-seal the slices or keep them in the freezer to preserve flavor and texture.
Q. Do I need a dehydrator to dry apples?
A. No, you can use your oven! Arrange apple slices on a parchment-lined baking sheet, set the oven to its lowest temperature (around 150°F), and prop the door open slightly to let moisture escape. Dry until leathery or crisp, depending on your preference.
Q. How do I keep frozen apples from turning brown?
A. Dip apple slices in a solution of 1 Tablespoon lemon juice or ½ teaspoon citric acid per quart of water before freezing. This keeps their color bright and natural without affecting taste.
Q. Can I freeze apples without blanching them first?
A. Yes, but blanching helps preserve color and texture. If you skip it, just be sure to toss the slices in lemon water and use them within six months for best results.
Q. What’s the easiest way to preserve apples without canning?
A. The simplest methods are freezing and dehydrating. Both retain the apple's flavor and nutrients with minimal effort, and neither requires specialized canning equipment.
Q. How can I tell if my apples are still good for storage?
A. Check for bruising, soft spots, or an overly sweet smell - these are early signs of spoilage. Firm, blemish-free apples stored at around 31°F can last several months in a root cellar or refrigerator drawer.
Q. Can I dehydrate apple peels?
A. Absolutely! Apple peels make excellent snacks or tea additives. Dry them the same way you would apple slices and store in airtight jars. You can also grind them into apple peel powder for baking or smoothies.
Q. What’s the best way to rehydrate dried apples?
A. Soak the slices in warm water or apple juice for 10 to 15 minutes until soft. They're perfect for baking, oatmeal, or even homemade applesauce.
Q. Can I make apple butter without sugar?
A. Yes! Use sweet apple varieties like Fuji or Gala and add a splash of apple juice for moisture. Slow-cook until thick and caramelized - the natural sweetness intensifies beautifully without added sugar.
Q. How do I prevent “one bad apple” from spoiling the bunch?
A. When storing fresh apples, inspect them regularly and remove any that show signs of rot or bruising. A single spoiled apple releases ethylene gas that speeds up ripening (and spoiling) in others.
Bringing It All Together
Fall just wouldn't be fall without apples - from the smell of a fresh pie baking in the oven to jars of apple butter cooling on the counter.
Whether you preserve your harvest or savor it fresh, these recipes and guides make it easy to fill your home with the cozy comfort of the season.