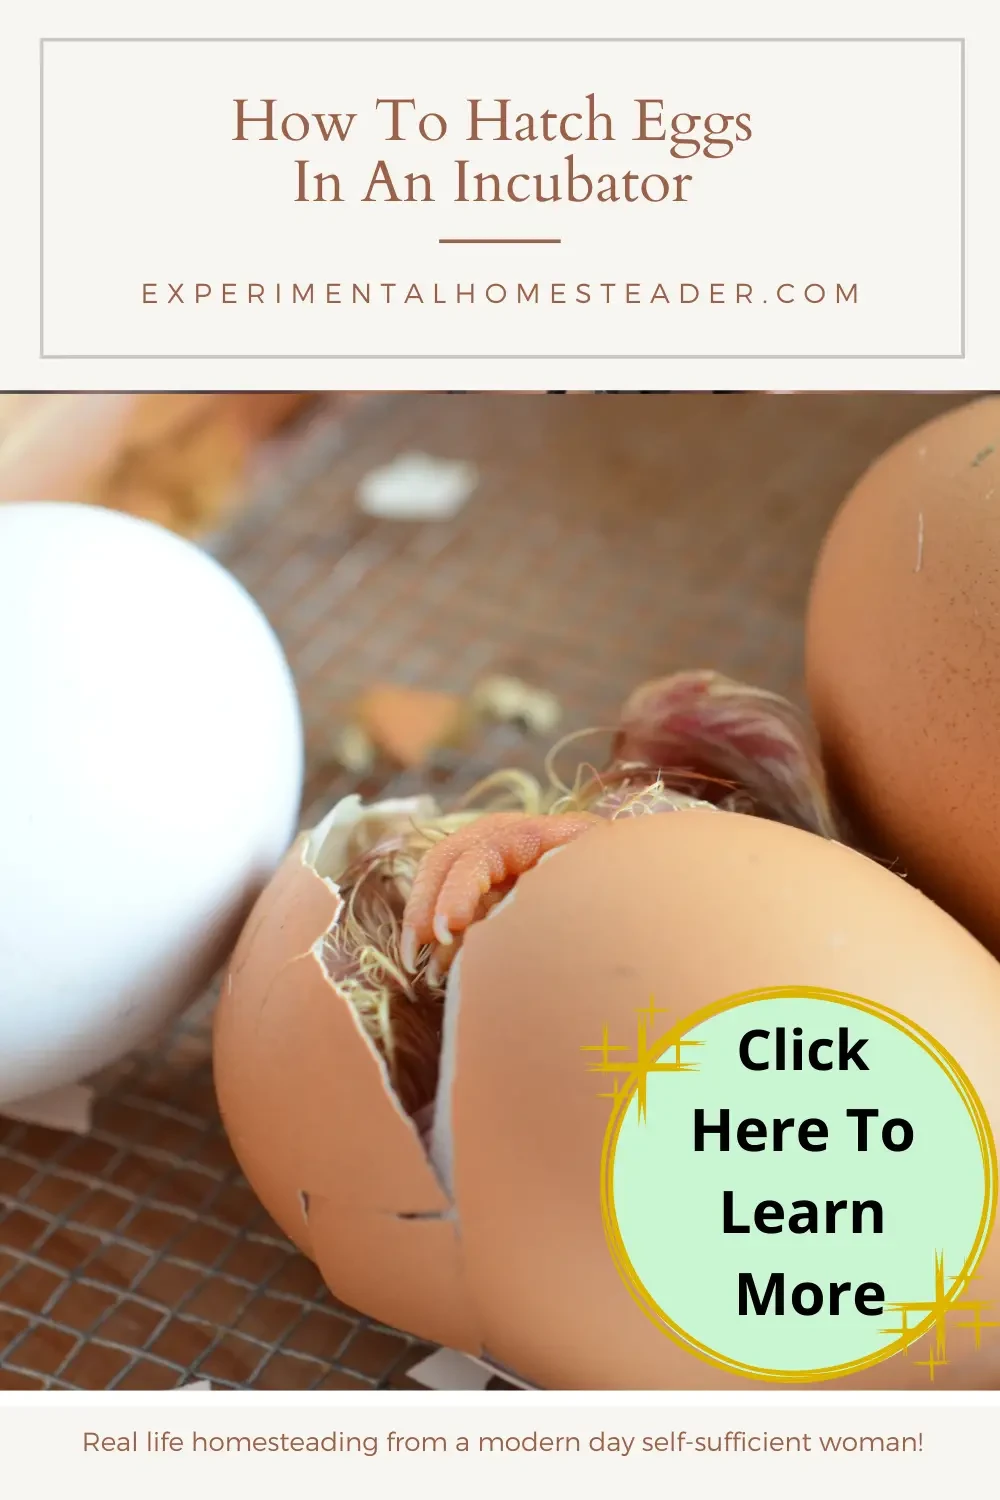
Have you ever wondered how to hatch eggs in an incubator?
Then read on and be sure to get my FREE downloadable infographic with the step by step instructions!
Hatching Eggs Requires Dedication
Hatching eggs in an incubator - rather they are your eggs from your own poultry or eggs from someone else's - is a fun experience, but it is also requires dedication.
Ideally the eggs need turned three times a day - and it can take 28 days to hatch a batch of eggs.
The length of time depends on what type of eggs you are hatching.
I have successfully hatched chicken, duck and guinea eggs.
I have not tried other types of eggs yet simply because I have not had access to them.
Cleanliness Is Important
It is important that you begin your hatch with a clean incubator.
This way you do not take a chance of spreading germs to your newborn poultry.
It is important that the baby poultry begin life in a clean environment so they grow up healthy.
The healthier the poultry the better they will produce eggs and meat.
If you intend to show your poutry or sell them you don't want sick birds either.
It is best to clean your incubator after each hatch - and if you feel the need, again before each hatch especially if you store your incubator from season to season.
Some people raise batch after batch of eggs and in this case simply cleaning the incubator after the last hatch is all that is necessary.
If you have borrowed an incubator it is best to clean it before you use it.
Prepare For Your Hatch
Once you are sure your incubator is clean and sterile, you can begin preparing it for your hatch.
It is a good idea to set up your incubator at least 24 hours before you intend to begin your hatch.
Here Is What You Need To Do For A Successful Hatch
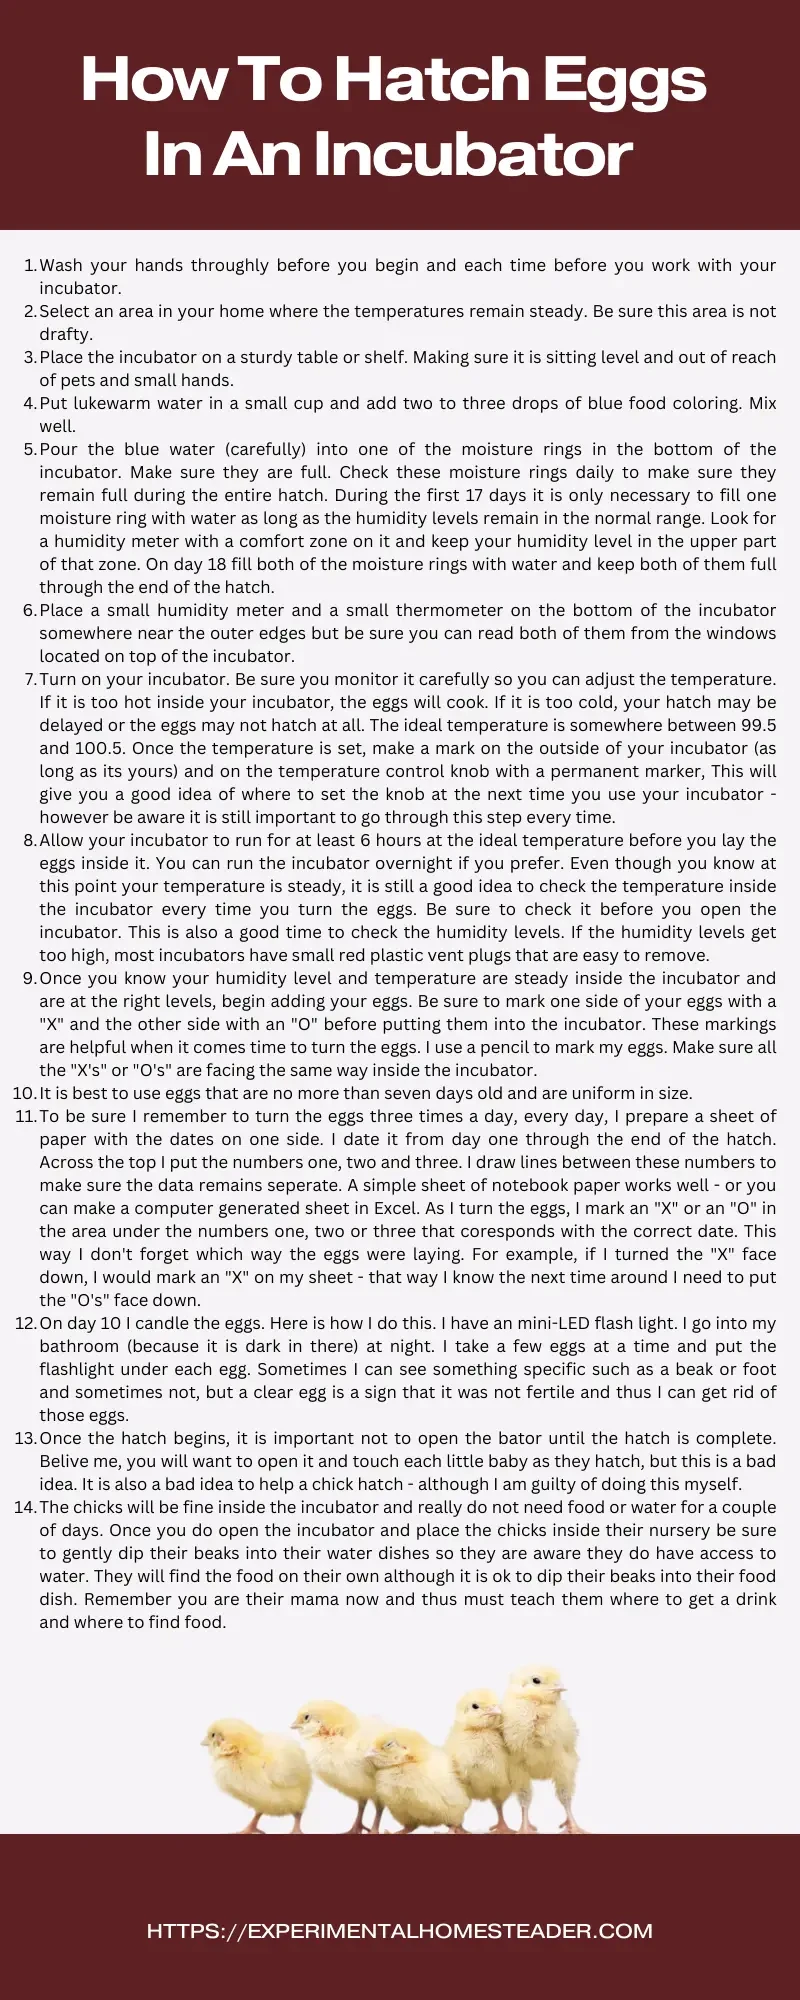
- Wash your hands throughly before you begin and each time before you work with your incubator.
- Select an area in your home where the temperatures remain steady. Be sure this area is not drafty.
- Place the incubator on a sturdy table or shelf. Making sure it is sitting level and out of reach of pets and small hands.
- Put lukewarm water in a small cup and add two to three drops of blue food coloring. Mix well.
- Pour the blue water (carefully) into one of the moisture rings in the bottom of the incubator. Make sure they are full. Check these moisture rings daily to make sure they remain full during the entire hatch. During the first 17 days it is only necessary to fill one moisture ring with water as long as the humidity levels remain in the normal range. Look for a humidity meter with a comfort zone on it and keep your humidity level in the upper part of that zone. On day 18 fill both of the moisture rings with water and keep both of them full through the end of the hatch.
- Place a small humidity meter and a small thermometer on the bottom of the incubator somewhere near the outer edges but be sure you can read both of them from the windows located on top of the incubator.
- Turn on your incubator. Be sure you monitor it carefully so you can adjust the temperature. If it is too hot inside your incubator, the eggs will cook. If it is too cold, your hatch may be delayed or the eggs may not hatch at all. The ideal temperature is somewhere between 99.5 and 100.5. Once the temperature is set, make a mark on the outside of your incubator (as long as its yours) and on the temperature control knob with a permanent marker, This will give you a good idea of where to set the knob at the next time you use your incubator - however be aware it is still important to go through this step every time.
- Allow your incubator to run for at least 6 hours at the ideal temperature before you lay the eggs inside it. You can run the incubator overnight if you prefer. Even though you know at this point your temperature is steady, it is still a good idea to check the temperature inside the incubator every time you turn the eggs. Be sure to check it before you open the incubator. This is also a good time to check the humidity levels. If the humidity levels get too high, most incubators have small red plastic vent plugs that are easy to remove.
- Once you know your humidity level and temperature are steady inside the incubator and are at the right levels, begin adding your eggs. Be sure to mark one side of your eggs with a "X" and the other side with an "O" before putting them into the incubator. These markings are helpful when it comes time to turn the eggs. I use a pencil to mark my eggs. Make sure all the "X's" or "O's" are facing the same way inside the incubator.
- It is best to use eggs that are no more than seven days old and are uniform in size.
- To be sure I remember to turn the eggs three times a day, every day, I prepare a sheet of paper with the dates on one side. I date it from day one through the end of the hatch. Across the top I put the numbers one, two and three. I draw lines between these numbers to make sure the data remains seperate. A simple sheet of notebook paper works well - or you can make a computer generated sheet in Excel. As I turn the eggs, I mark an "X" or an "O" in the area under the numbers one, two or three that coresponds with the correct date. This way I don't forget which way the eggs were laying. For example, if I turned the "X" face down, I would mark an "X" on my sheet - that way I know the next time around I need to put the "O's" face down.
- On day 10 I candle the eggs. Here is how I do this. I have an mini-LED flash light. I go into my bathroom (because it is dark in there) at night. I take a few eggs at a time and put the flashlight under each egg. Sometimes I can see something specific such as a beak or foot and sometimes not, but a clear egg is a sign that it was not fertile and thus I can get rid of those eggs.
- Once the hatch begins, it is important not to open the bator until the hatch is complete. Belive me, you will want to open it and touch each little baby as they hatch, but this is a bad idea. It is also a bad idea to help a chick hatch - although I am guilty of doing this myself.
- The chicks will be fine inside the incubator and really do not need food or water for a couple of days. Once you do open the incubator and place the chicks inside their nursery be sure to gently dip their beaks into their water dishes so they are aware they do have access to water. They will find the food on their own although it is ok to dip their beaks into their food dish. Remember you are their mama now and thus must teach them where to get a drink and where to find food.
All About Raising Chicks
The Difference Six Weeks Makes: What Raising Cornish Cross Chickens Taught Me About Homesteading—and Letting Go
Raising Cornish Cross chickens changed how I see homesteading. In just six weeks, everything transforms—your birds, your freezer, your heart. This post shares my journey through loss, learning, and the deep responsibility that comes with raising animals for food.
How to Raise Baby Chicks | A Simple Guide For Raising Baby Chicks
From Homestead Wishing
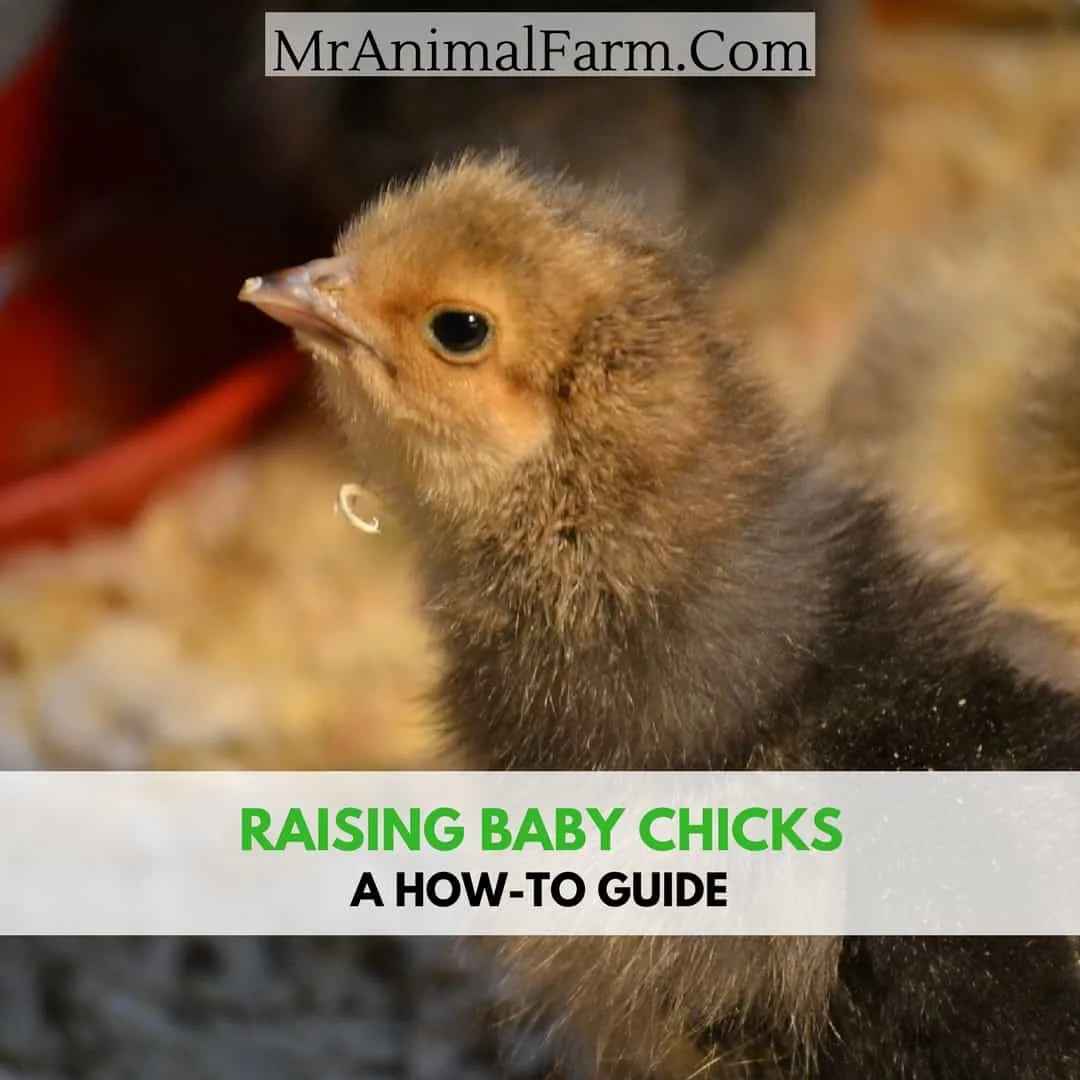
Raising Baby Chicks - A How-To Guide For The Homesteader
From MRAnimal Farm
raising day old baby chicks
From Better Hens And Gardens Of Bramblestone Farm


