How to Preserve Fall Apples Without Canning
There is something wonderful about fall apple season, especially when you have more apples than you can possibly eat fresh. The possibilities start running through my mind almost immediately: homemade applesauce, warm apple pie, dried apple chips, apple butter and bags of prepared apples tucked into the freezer for baking later. I don't look at a basket of apples and see just fruit. I see all the delicious things those apples can become and how much easier they can make cooking throughout the winter, and knowing that the harvest will be part of our meals long after the season has passed.
I love the smell of apples cooking in the kitchen, but I also know that not every harvest calls for a day spent standing over a canner. Sometimes I have a few pounds of apples that need attention right away, or I want to put fruit away for pies, oatmeal and snacks without turning the entire kitchen into a canning project. That is when freezing, dehydrating and making small batches of apple butter become especially useful.
When a pile of fresh apples lands in my kitchen, I start thinking about all the things I can make with them. Some are destined for pies and crisps, some become homemade applesauce, and others are cooked slowly into rich apple butter. I also freeze apples for baking, dehydrate them for chewy snacks, and freeze-dry them when I want something light and crisp that is easy to store. I do not need to drag out a canner to make good use of the harvest. What matters is choosing the right preservation method for the way I actually plan to use those apples, then storing the finished food safely.
There is no reason to make a canning project out of every basket of apples. A few hours of preparation can turn fresh fruit into conveniently portioned pie filling ingredients, lunchbox snacks or small containers of homemade apple butter. The important part is matching the preparation and storage method to the food, rather than assuming that everything kept in a jar is safe to store in the pantry.
Before you start, decide whether you want apples ready for baking, a spoonable sauce, a spread for toast, or something crisp to snack on. That decision determines how you cut the fruit, what equipment you need and how the finished apples must be stored.
In this post, I'll share my favorite no-canning apple preservation methods, plus a few pro tips to keep your apples fresh and flavorful well into winter. And if you're ready to organize your seasonal preserving projects, be sure to grab my Food Preservation Planner - it'll make your kitchen planning a breeze.
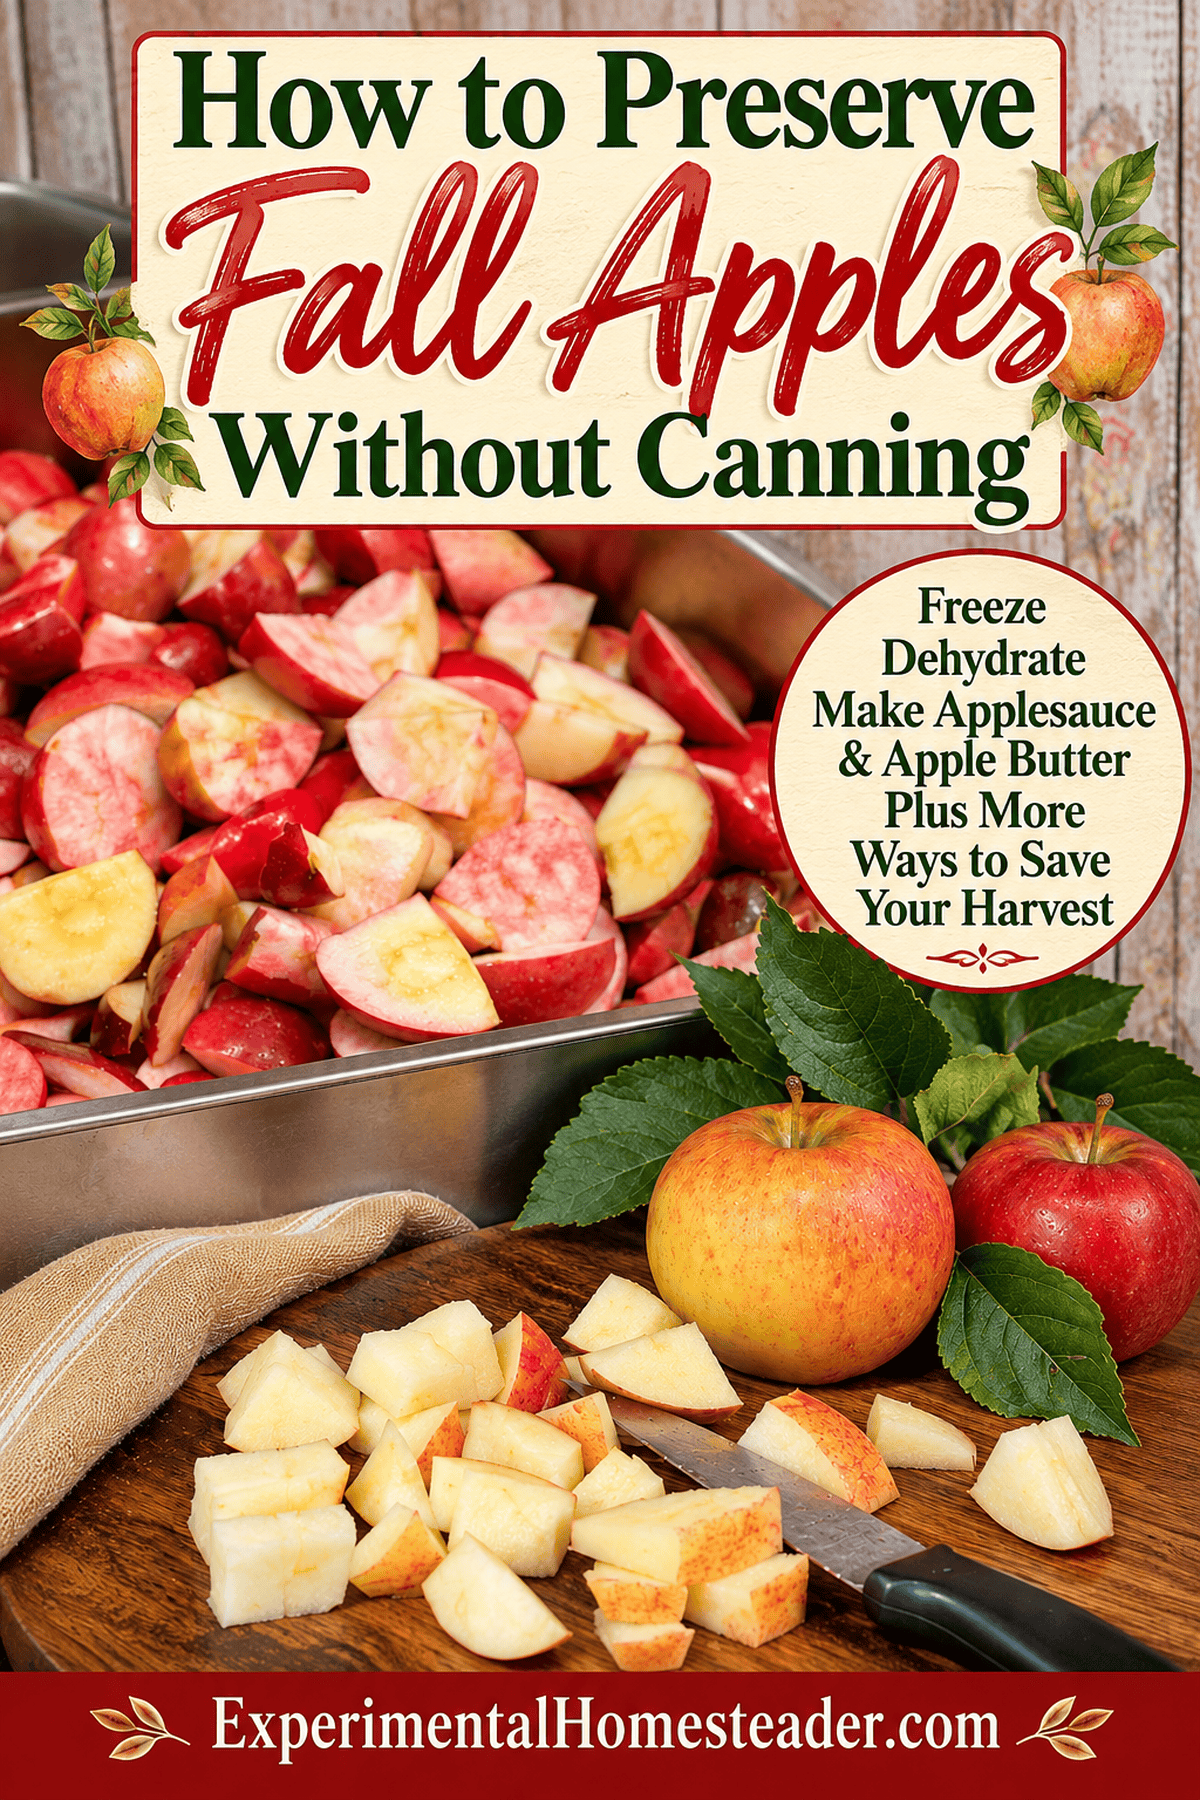
You can preserve fall apples without canning by freezing, drying, or turning them into apple butter or applesauce to store in the refrigerator or freezer. Freeze sliced apples in single layers to prevent sticking, dehydrate them into chewy apple chips for shelf storage, or make slow-cooked apple butter that freezes beautifully for long-term use. Each of these methods keeps the flavor of fall apples fresh and delicious without the need for a canner.
In This Article
Why Skip the Canner?
Now, don't get me wrong - I love a good canning session when I have the time. But sometimes life on the homestead gets busy, and the thought of washing, sterilizing and canning jars of food for hours just isn't appealing.
If you've ever been there, you'll appreciate these reasons to go no-can:
- Less work, less cleanup. You can preserve smaller batches whenever you have time without committing to a full canning day.
- Choose equipment that fits your method. Freezing requires a freezer, dehydrating requires suitable drying equipment, and freeze-drying requires a dedicated freeze dryer. Applesauce and apple butter can be prepared with ordinary cooking equipment.
- Start with a manageable batch. A few pounds of apples are enough to learn the method, assess the finished texture and decide what you want to preserve next.
- Better texture for certain uses. Frozen or dried apples often hold their flavor and shape better than canned ones in baking.
So if you've been putting off apple preservation because of the canner, this is your sign to try something different.
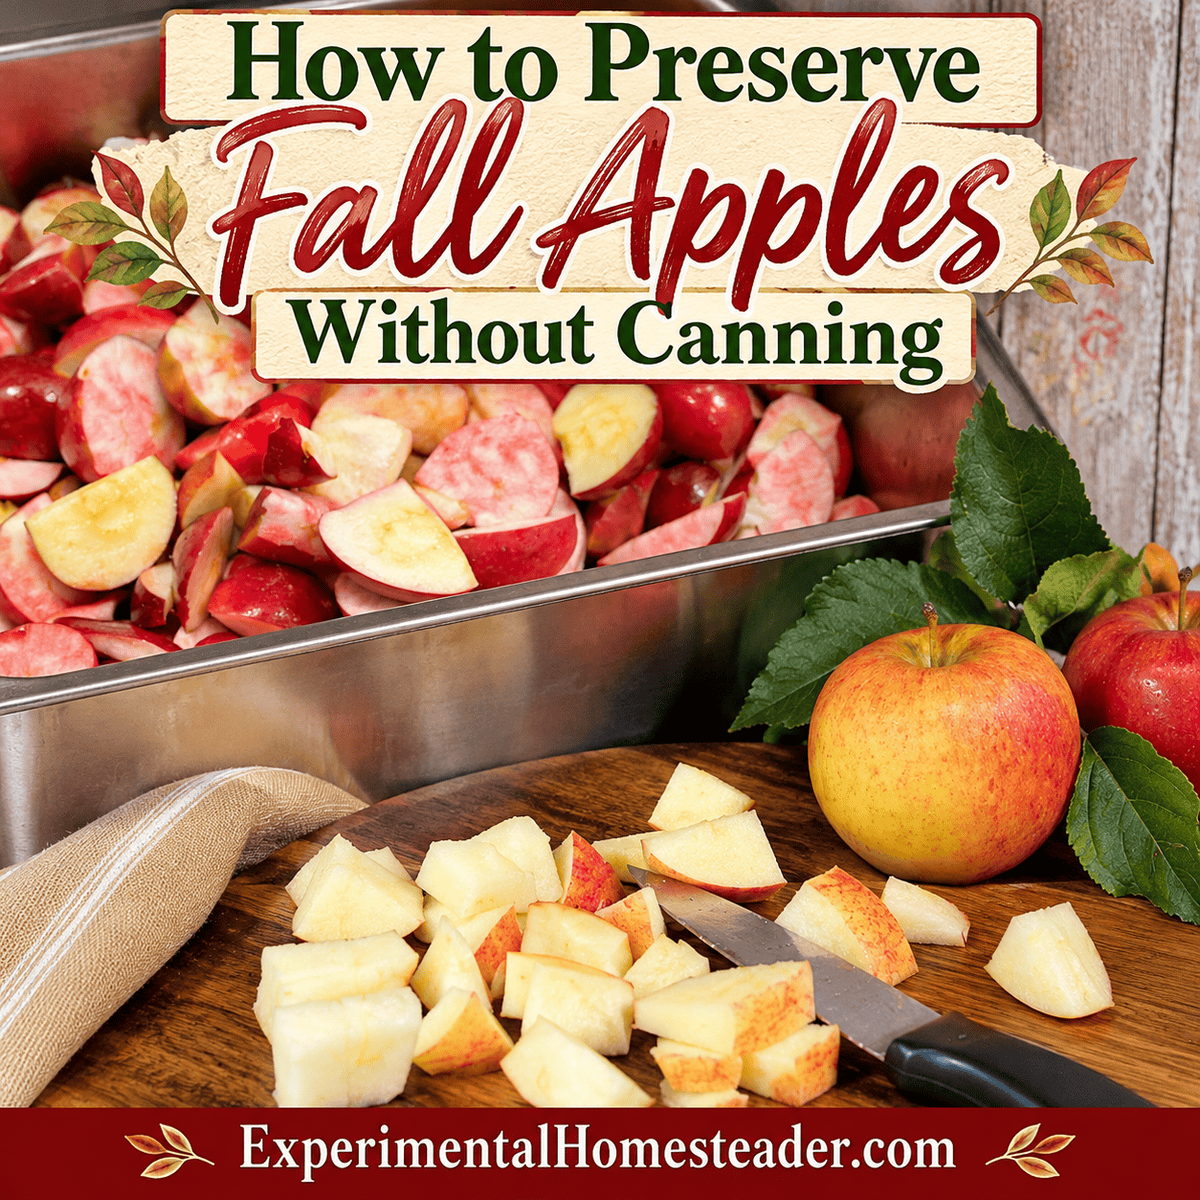
1. Freezing Apples - The Easiest Way to Preserve Fall Apples
If I had to pick one method for convenience, freezing apples wins every time. It works beautifully for both fresh eating and baking later.
How To Freeze Apple Slices
- Choose firm apples. Crisp, tart varieties like Granny Smith, Honeycrisp, or Jonathan hold up best.
- Wash, peel, and slice. You can leave the peels on if you like them - they'll soften during cooking later.
- Prevent browning. Soak the slices for a few minutes in a mix of 1 tablespoon lemon juice to 2 cups water.
- Flash freeze. Spread the slices in a single layer on a parchment-lined baking sheet and freeze until solid.
- Package and label. Transfer to freezer bags, squeeze out extra air, label with the date and apple type, and freeze.
Frozen apples are perfect for pies, crisps, pancakes, and even smoothies. I've also frozen chunky applesauce or apple butter in small containers - just remember to leave about an inch of headspace because liquids expand when they freeze.
Storage life: Up to 10 months when kept at 0°F or below.
2. Drying Apples - Sweet, Chewy, and Shelf-Stable
There's something magical about the smell of apples drying - it fills the whole kitchen with warm, cinnamon-spiced fall air. Dehydrating is one of my favorite ways to preserve apples because it doesn't take up freezer space and makes a healthy, shelf-stable snack.
How To Make Dried Apple Rings or Chips
- Wash and slice evenly. Aim for slices about ⅛ to ¼ inch thick.
- Optional: soak in lemon water. Soak for 5-10 minutes to reduce browning.
- Arrange in a single layer. Use dehydrator trays or baking sheets if using your oven.
- Dry slowly. Follow the dehydrator manufacturer's fruit-drying instructions, commonly around 135°F for apples, and check frequently toward the end. Drying time depends on slice thickness, humidity, load size and equipment. An oven may be used only if it can maintain a suitable low drying temperature with adequate airflow; do not leave an oven door propped open if the manufacturer warns against it.
- Check for doneness. They're ready when pliable but not sticky - or crisp if you prefer apple chips.
- Condition and store. Cool the dried apples completely before packing them loosely into clean, dry jars. For seven to ten days, shake the jars daily to redistribute remaining moisture and check for condensation. If moisture appears, return the fruit to the dehydrator for further drying. Once evenly dry, package in moisture-resistant airtight containers and keep in a cool, dark, dry location. Discard any batch that develops mold.
Dried apples keep for up to a year and are great for snacking, trail mix, or topping oatmeal. I've even ground them into powder to use in spice blends or homemade apple-cinnamon sugar. It's a fun way to stretch your harvest.
3. Making Apple Butter Without Canning
Slow-cooker apple butter is a useful way to turn apples that are too soft for attractive slices into a rich, spreadable fruit butter. The apples soften slowly as moisture evaporates, concentrating their flavor. Stir occasionally, especially as the mixture thickens, and follow your slow cooker's instructions rather than leaving it unattended indefinitely. Because this version is not processed using a tested canning recipe, transfer it to clean, shallow containers, cool it promptly, and refrigerate or freeze it. A lid and a sealed jar alone do not make apple butter shelf-stable.
The best part? You don't need to can it. You can simply refrigerate or freeze it.
My Lazy Day Apple Butter Method
- Fill your slow cooker with chopped apples. Leave the peels on - they add flavor and natural pectin.
- Add a splash of water or cider. About half a cup is plenty to prevent sticking.
- Season it up. I like cinnamon, cloves, and a touch of nutmeg. Add sugar or honey if you prefer sweeter butter.
- Cook low and slow. Let it simmer for 8 to 10 hours, stirring every so often.
- Blend smooth. Use an immersion blender right in the crock.
- Cool and store. Spoon into jars, cool completely, then refrigerate or freeze.
This method makes thick, deeply flavored apple butter without using a canner, but it is a refrigerator or freezer product, not a pantry preserve. Refrigerate promptly and use within a short period, or freeze in appropriately sized freezer-safe containers for longer storage. Label each container with its contents and preparation date so nothing gets forgotten at the back of the freezer.
If you want to turn some of those fresh apples into something a little more indulgent, try my Caramel Pecan Apple Butter Recipe. It combines apples, warm fall spices, caramel and pecans and can be stored in the refrigerator or freezer.
Keep Your Preservation Projects Organized All Season Long
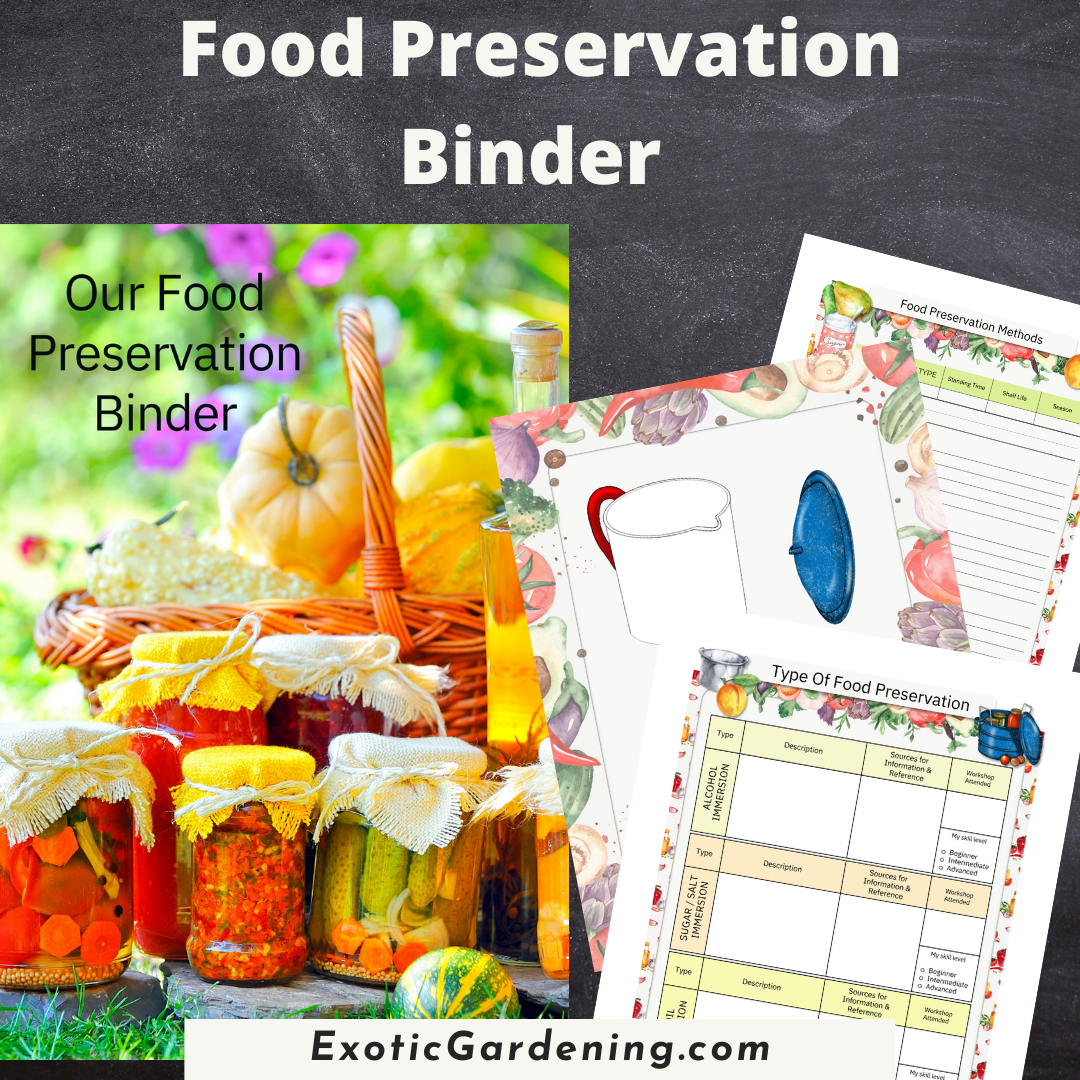
Homesteading life moves fast - especially when the harvest rolls in. My Food Preservation Binder is designed to keep you on track so nothing goes to waste.
Inside, you'll find printable checklists, recipe pages, and logs for canning, freezing, dehydrating, fermenting, and more. Whether you're freezing apple slices today or planning next week's batch of sauerkraut, this binder helps you stay organized, efficient, and confident in your kitchen.
✨ What's Included:
- 5 Printable Types of Food Preservation Planning Sheets
- 2 Printable Equipment Checklists
- 2 Printable Food Preservation Methods Planning Sheets
- 4 Printable Recipe Sheets
- 2 Printable Logs Each for: Canning, Dehydrating, Pickling, Fermenting, and Freezing
- 2 Food Preservation Inventory Sheets
- 2 Food Storage Logs
- 9 Sheets of Print-Then-Cut Food Preservation Stickers
Choosing Apples and Getting Them Ready
I start by sorting the apples before I decide what to make. Firm, sound apples are wonderful for pies, crisps and freezer bags because they hold their shape better. Softer apples are perfectly useful for applesauce and apple butter, provided they are still wholesome. I cut away bruised spots, discard anything moldy or rotten, wash the fruit under running water and remove the cores. There is no sense putting a questionable apple into a batch that took time and effort to prepare. A mixture of sweet and tart apples often makes a more interesting sauce than one variety alone, and tasting the fruit first helps me decide whether it needs any sweetener at all.
If I am working through a large harvest, I keep the cut fruit from browning with an ascorbic acid treatment according to the package directions. Lemon juice can help, but it is less reliable than measured ascorbic acid. I also keep batches manageable. Apples left in a bowl for hours while I do something else lose quality, so I prepare only what I can process promptly.
Making Homemade Applesauce for the Refrigerator or Freezer
Homemade applesauce is one of my favorite ways to use apples that are not quite pretty enough for a pie. I wash, core and chop them, leaving the peels on if I plan to run the cooked fruit through a food mill or blend it smooth. In a heavy pot I add just enough water or apple juice to prevent scorching, cover and cook gently, stirring occasionally, until the pieces soften and fall apart. Depending on the variety and size of the pieces, that might take 15 to 30 minutes or longer. Then I mash for a chunky sauce or puree for a smoother one. Cinnamon is optional, and I taste before adding sugar because many apples are sweet enough already.
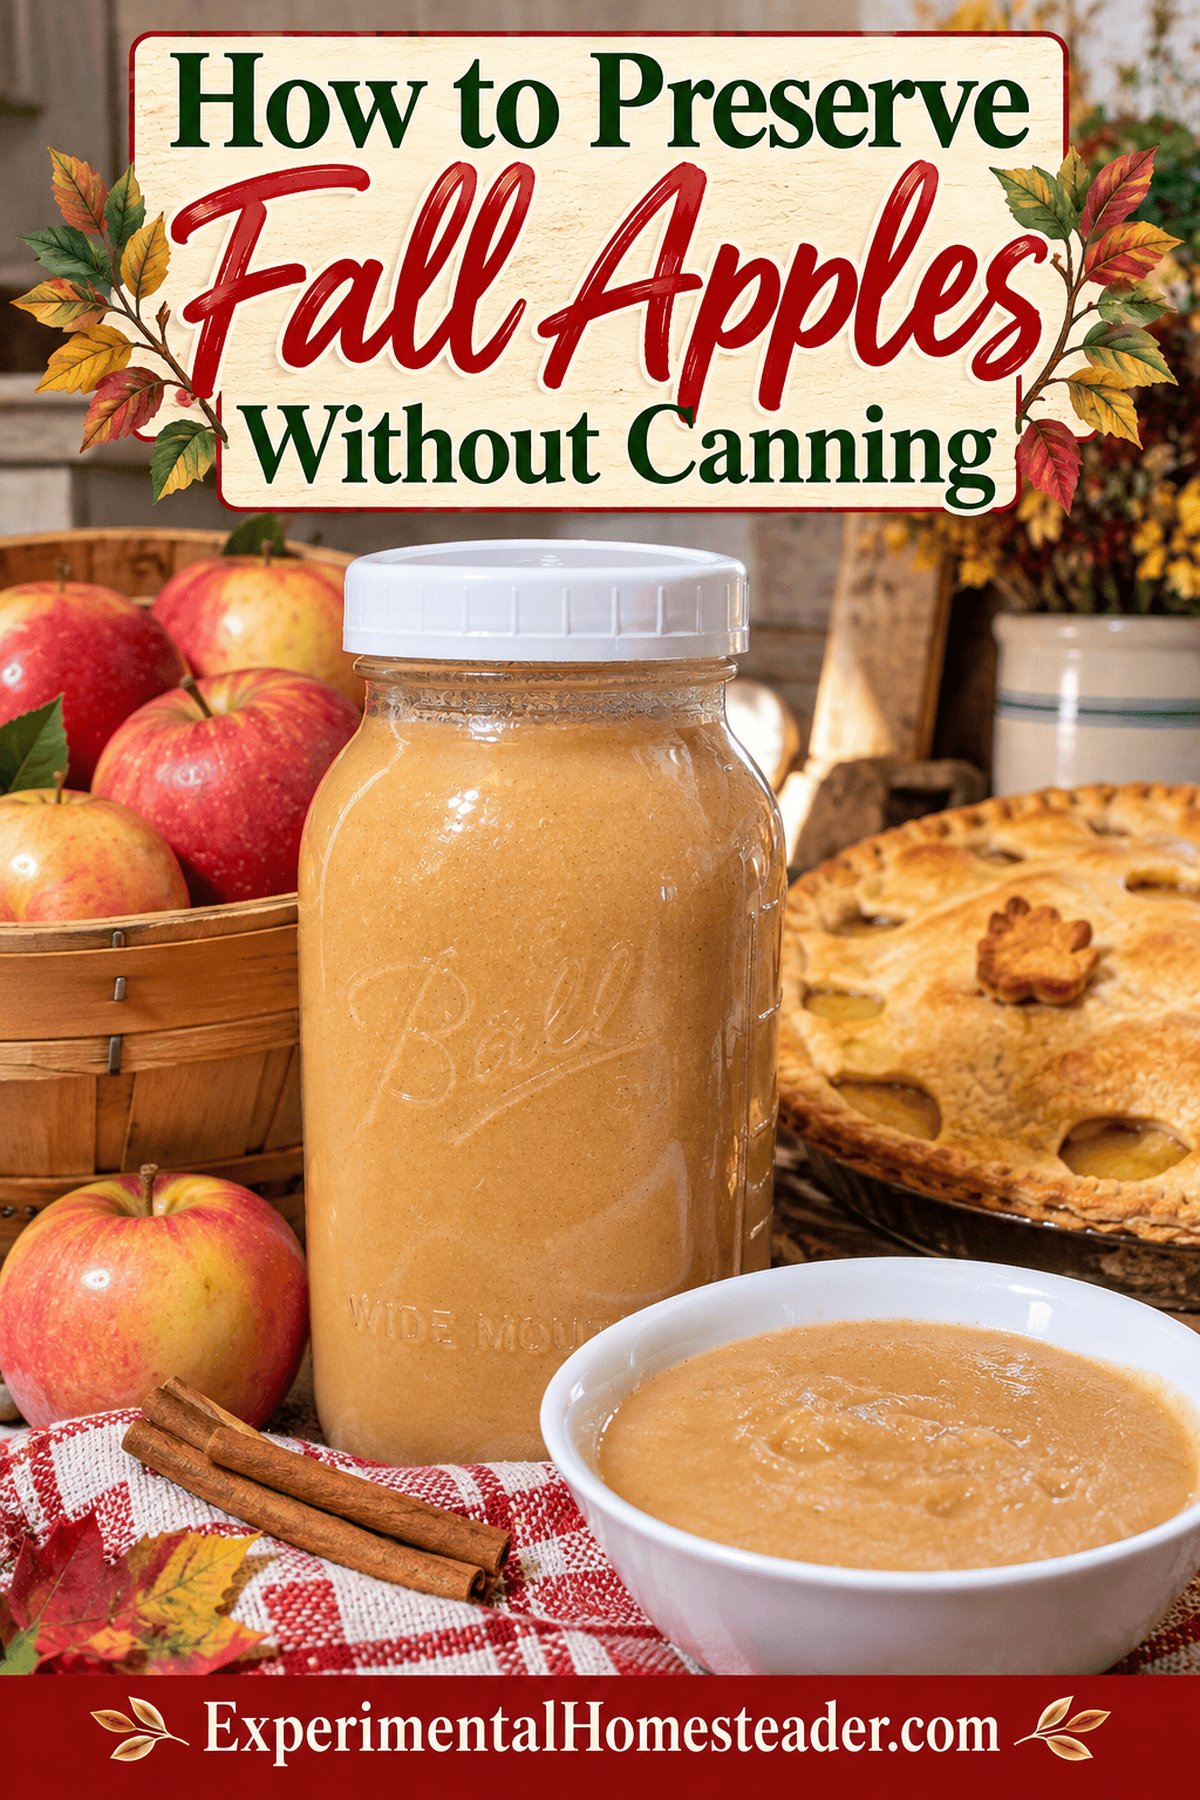
Once the applesauce is cooked, I transfer it into shallow containers so it cools quickly, then refrigerate it promptly. The half-gallon jar in my photograph holds homemade applesauce in my refrigerator. It is not a home-canned jar and it is not meant for pantry storage. For refrigerator applesauce, I plan to use it within about 3 to 4 days. When I make more than we will eat in that time, I freeze portions in freezer-safe containers, leaving expansion space. Frozen applesauce is best used within about 8 to 12 months for quality. After thawing in the refrigerator, a quick stir usually brings the texture back together.
Freeze-Drying Apples for Lightweight, Long-Term Storage
Freeze-drying gives apples an entirely different texture from dehydrating. Properly freeze-dried pieces are light, airy and crisp, while dehydrated apples are usually pliable or chewy. I wash, core and cut the fruit into evenly sized pieces or thin slices, treat for browning if desired, and spread it in a single layer on the freeze-dryer trays. I use the machine's fruit settings and check the thickest pieces at the end of the cycle. They must be completely dry all the way through, with no cold, damp or gummy center. If I find moisture, I extend the dry time rather than guessing.
Once the apples are fully dry, I package them promptly in clean, dry moisture-barrier packaging suitable for freeze-dried foods. For longer storage, that generally means sealed Mylar bags with appropriate oxygen absorbers, stored in a cool, dry, dark place. A jar that is repeatedly opened is better suited to short-term snacking because freeze-dried fruit absorbs humidity quickly. The shelf life depends on complete drying, packaging and storage conditions, so I do not promise a universal number of years. Freeze-dried apple pieces are convenient for snacks, oatmeal, baking and rehydrating, but they do not behave exactly like fresh apples in every recipe.
Which Preservation Method Works Best for Cooking?
When I want a pie in the middle of winter, I reach for frozen apple slices or prepared pie portions. I freeze the apples on a tray first, then pack them into labeled freezer bags so I can take out what I need. I usually bake them from frozen or only partially thawed, adjusting the thickener because frozen apples release extra juice. For quick snacks, dried apple rings are hard to beat. For stirring into oatmeal, spreading on toast or serving alongside a meal, I prefer applesauce or apple butter. Freeze-dried apples are especially useful when storage space and weight matter.
This is why I rarely preserve an entire harvest just one way. I think about the recipes I actually cook, how much freezer room I have, and whether the food needs to be shelf-stable. Freezing depends on a working freezer. Dehydrated apples need to be thoroughly dried, conditioned and stored airtight. Refrigerated applesauce and apple butter are perishable. Freeze-dried apples need careful moisture-proof packaging. Each method solves a different kitchen problem.
Cooling, Packaging and Storage Safety
A clean jar with a lid does not make food shelf-stable. Applesauce and apple butter prepared without a tested canning process belong in the refrigerator or freezer, even if the lid appears to seal as the food cools. I never store those jars on a pantry shelf. I also avoid putting a large, piping-hot batch directly into a deep container in the refrigerator. Instead I divide it into shallow containers, cool it promptly and refrigerate it within two hours. When freezing, I choose freezer-safe jars or containers and leave adequate headspace for expansion; ordinary glass jars can break if filled too full.
For dehydrated apples, I let the pieces cool before packaging and condition them in loosely filled jars for about a week, shaking daily and checking for condensation. If moisture appears, they need more drying. Any dried food showing mold must be discarded. I label every package with the contents and date, and I rotate older batches forward. These little habits make the difference between simply putting food away and actually having useful ingredients when I need them.
4. Other Creative No-Canning Ideas
Freezing, dehydrating, freeze-drying and making apple butter or applesauce aren't your only options. Sometimes the best preservation method is simply turning those apples into something you'll actually use. Make freezer applesauce. Cook peeled or unpeeled apples until soft, mash or blend them to your preferred consistency, let the applesauce cool and freeze it in freezer-safe containers. I like freezing foods in portions that make sense for how I'll use them later. Smaller containers are handy when you only need enough applesauce for a meal, baking project or snack.
Freeze pie-ready apples. If apple pie, crisp or cobbler is usually where your apples end up anyway, prepare sliced apples ahead of time and freeze them in recipe-sized portions. When you're ready to bake, much of the prep work is already done.
Make apple puree. Unsweetened apple puree can be frozen and later used in baked goods, sauces and other recipes.
Turn dried apples into powder. Once your apples are thoroughly dried, grind them into powder. Apple powder is an easy way to add concentrated apple flavor to oatmeal, spice blends, baked goods and homemade apple-cinnamon sugar.
And don't overlook simply freezing chopped apples in smaller portions. Having apples already washed, chopped and waiting in the freezer can make everyday cooking much easier.
Pro Tips for Success
No matter which no-canning preservation method you choose, a few simple habits can make a big difference. Start with good-quality apples. Preserve firm, sound fruit whenever possible. Cut away bruised or damaged areas rather than expecting preservation to improve them.
Choose your method based on how you'll use the apples. If you bake frequently, frozen slices may be the most useful. If you want grab-and-go snacks, dehydrate them. If you love toast, oatmeal or biscuits with apple butter, get that slow cooker going.
Label everything. Write down what it is and when you preserved it. If you're freezing several apple varieties, adding the variety to the label can also help you remember which ones you liked best for different recipes.
Preserve manageable amounts. You don't have to process an entire bushel in one exhausting day. One of the nicest things about these methods is that you can work in smaller batches.
Use the oldest food first. Rotate your preserved foods so the oldest packages and jars are used before the newer ones.
Common Questions About Preserving Apples Without Canning
Can you preserve apples without a canner?
Absolutely. Freezing and dehydrating are two of the easiest options, and you can also make foods such as applesauce and apple butter for refrigerator or freezer storage. The important thing is to follow storage directions for the preservation method you're actually using rather than treating a refrigerator or freezer recipe as shelf-stable.
Do apples need to be peeled before freezing?
No. I often leave the peel on depending on what I plan to make later. The peel softens during cooking, so whether you remove it is largely a matter of how you intend to use the apples and what texture you prefer.
How do you keep apple slices from turning brown?
A short soak in lemon water helps slow browning. For my frozen apple slices, I use about 1 tablespoon of lemon juice for every 2 cups of water.
Are dehydrated apples supposed to be crispy?
They can be, but they don't have to be. You can dry apples until they're pliable for chewy dried apple rings or continue drying them until they're crisp if you prefer apple chips.
Can homemade apple butter be frozen?
Yes. That's one of my favorite alternatives to canning it. Let the apple butter cool, package it in freezer-safe containers with adequate headspace, label it and freeze it.
Dehydrating Apples in Detail
If you want to go deeper into drying times, slicing and the finished texture, I have a separate beginner's guide to dehydrating apples that walks through the process. My guide to keeping dehydrated food fresh explains how to protect those finished batches from moisture.
More Recipes for Your Preserved Apples
Once the apples are put away, the fun part is deciding what to cook. My collection of apple recipes and preservation ideas is a good place to start. For a homemade dessert, try my apple pie with Swerve or the apple pie crescent rolls. If you love a flavored spread, take a look at my caramel pecan apple butter and follow its storage directions carefully.
Building a Practical Food Preservation Pantry
Apples are only one part of preserving the harvest. I also explain the tradeoffs among methods in home food preservation options, and I share additional guidance for packaged freeze-dried foods in my freeze-drying storage tips. Knowing which food belongs in the refrigerator, freezer or pantry makes planning much easier.
Enjoying Your Fall Apple Harvest All Year Long
You don't need a marathon canning session to keep a beautiful fall apple harvest from going to waste. Freeze a few bags of slices for winter baking. Fill the dehydrator with apple rings for snacks. Let a batch of apple butter simmer in the slow cooker while you're doing something else around the house. That's what I love about these methods. You can preserve what you have in a way that fits your time, your kitchen and the way your family actually eats. Even a small batch matters. And months from now, when you pull a bag of apples from the freezer or open a jar of dried apple rings, you get a little taste of fall all over again.
Explore More Apple Inspiration
Keep the apple goodness going! Whether you're craving dessert, breakfast comfort, or new preservation ideas, these related recipes and guides are perfect for your fall kitchen:
- Apple Canning Recipes
- Homesteaders' Delight: Slow Cooker Apple-Cinnamon Steel Cut Oatmeal
- Freezing Apples Recipe
- Healthy Dessert Recipes for Apples
- Apple Crisp Dutch Oven Recipe
- Cinnamon Roll Apple Pie Casserole
- Mini Apple Pie Recipe Made with Wonton Wrappers
- The Ultimate Beginner's Guide to Dehydrating Apples
- Red Hot Apple Wedges Canning Recipe
- Crescent Roll Apple Pie Filling Dessert Recipe
- Apple Crisp Instant Pot Recipe
- Apple Pie for Diabetics
- Caramel Pecan Apple Butter Recipe
- Homemade Apple Cider Recipe
- Cast Iron Apple Crisp Recipe
- Banana Bread Made with Applesauce