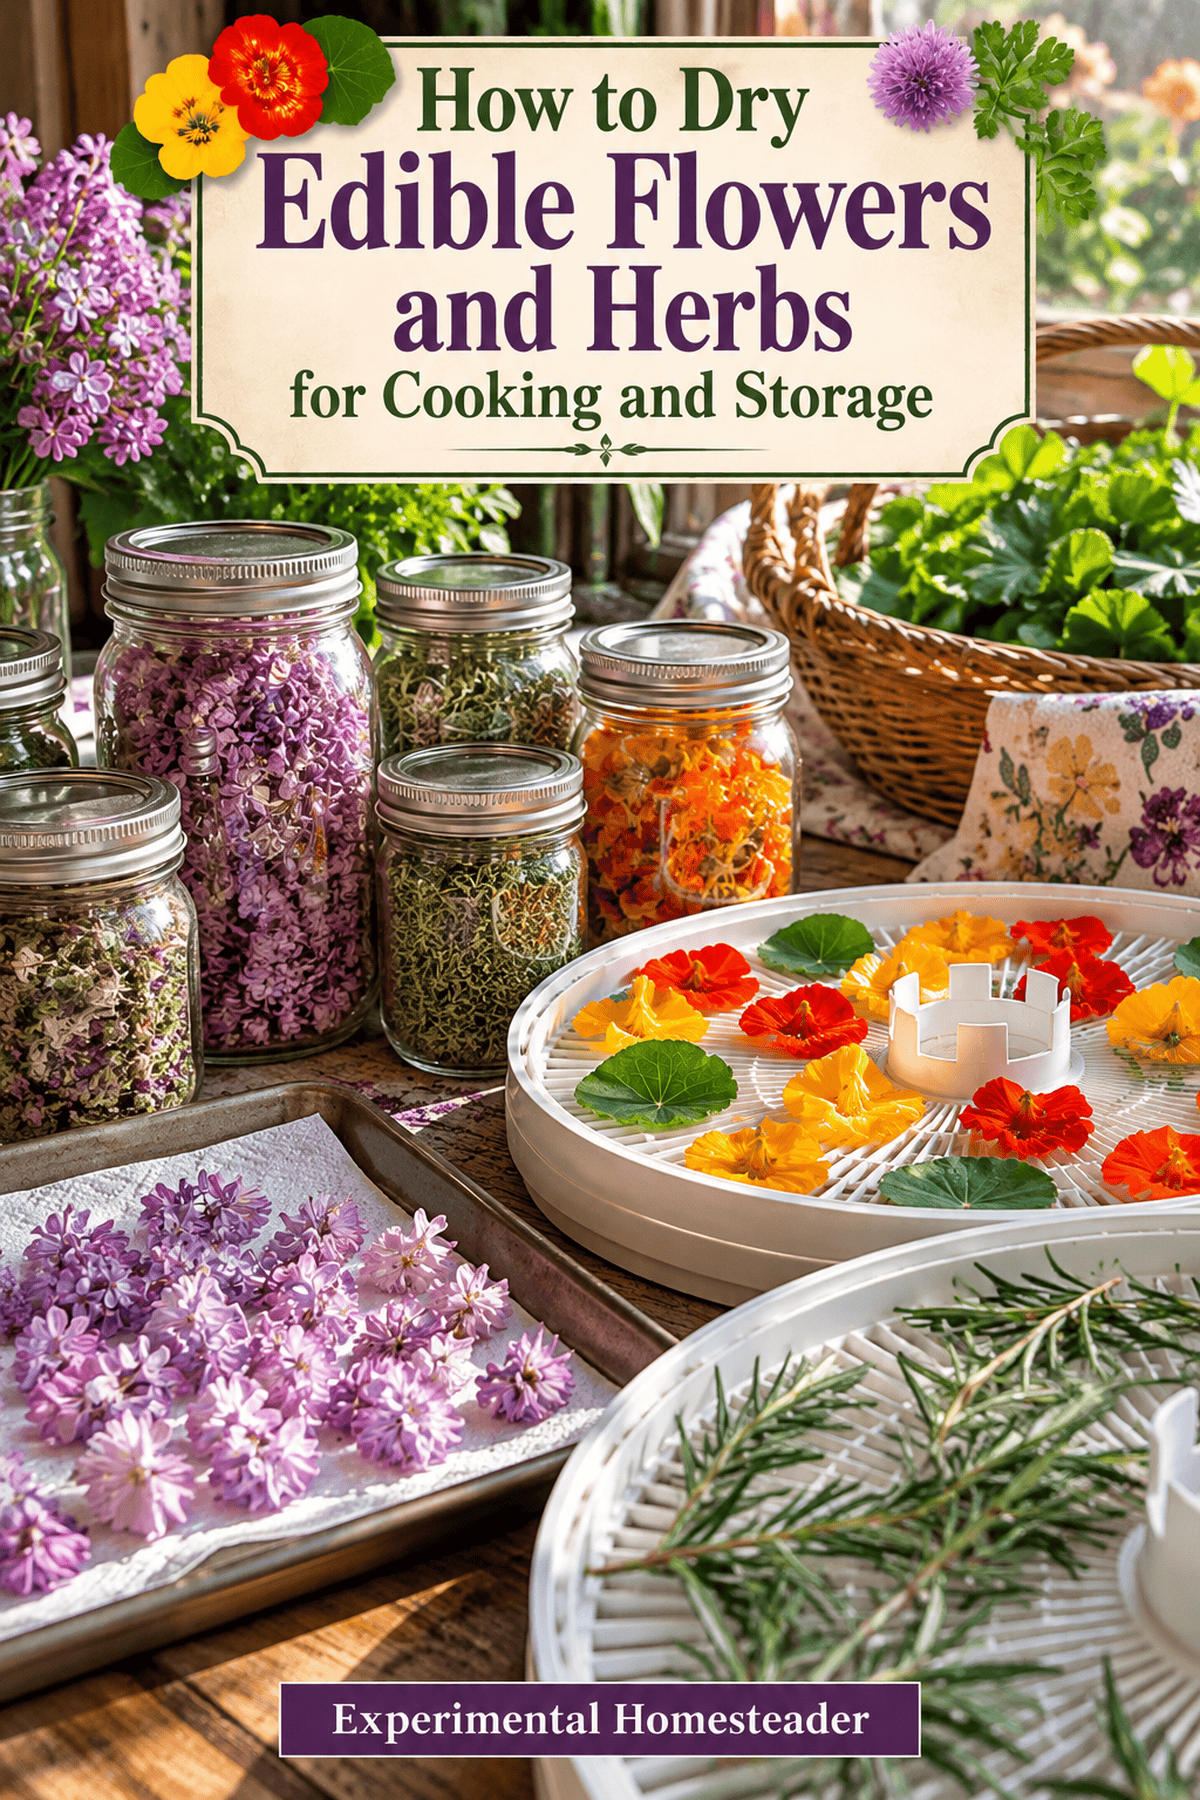
How to Dry Edible Flowers and Herbs for Cooking and Storage
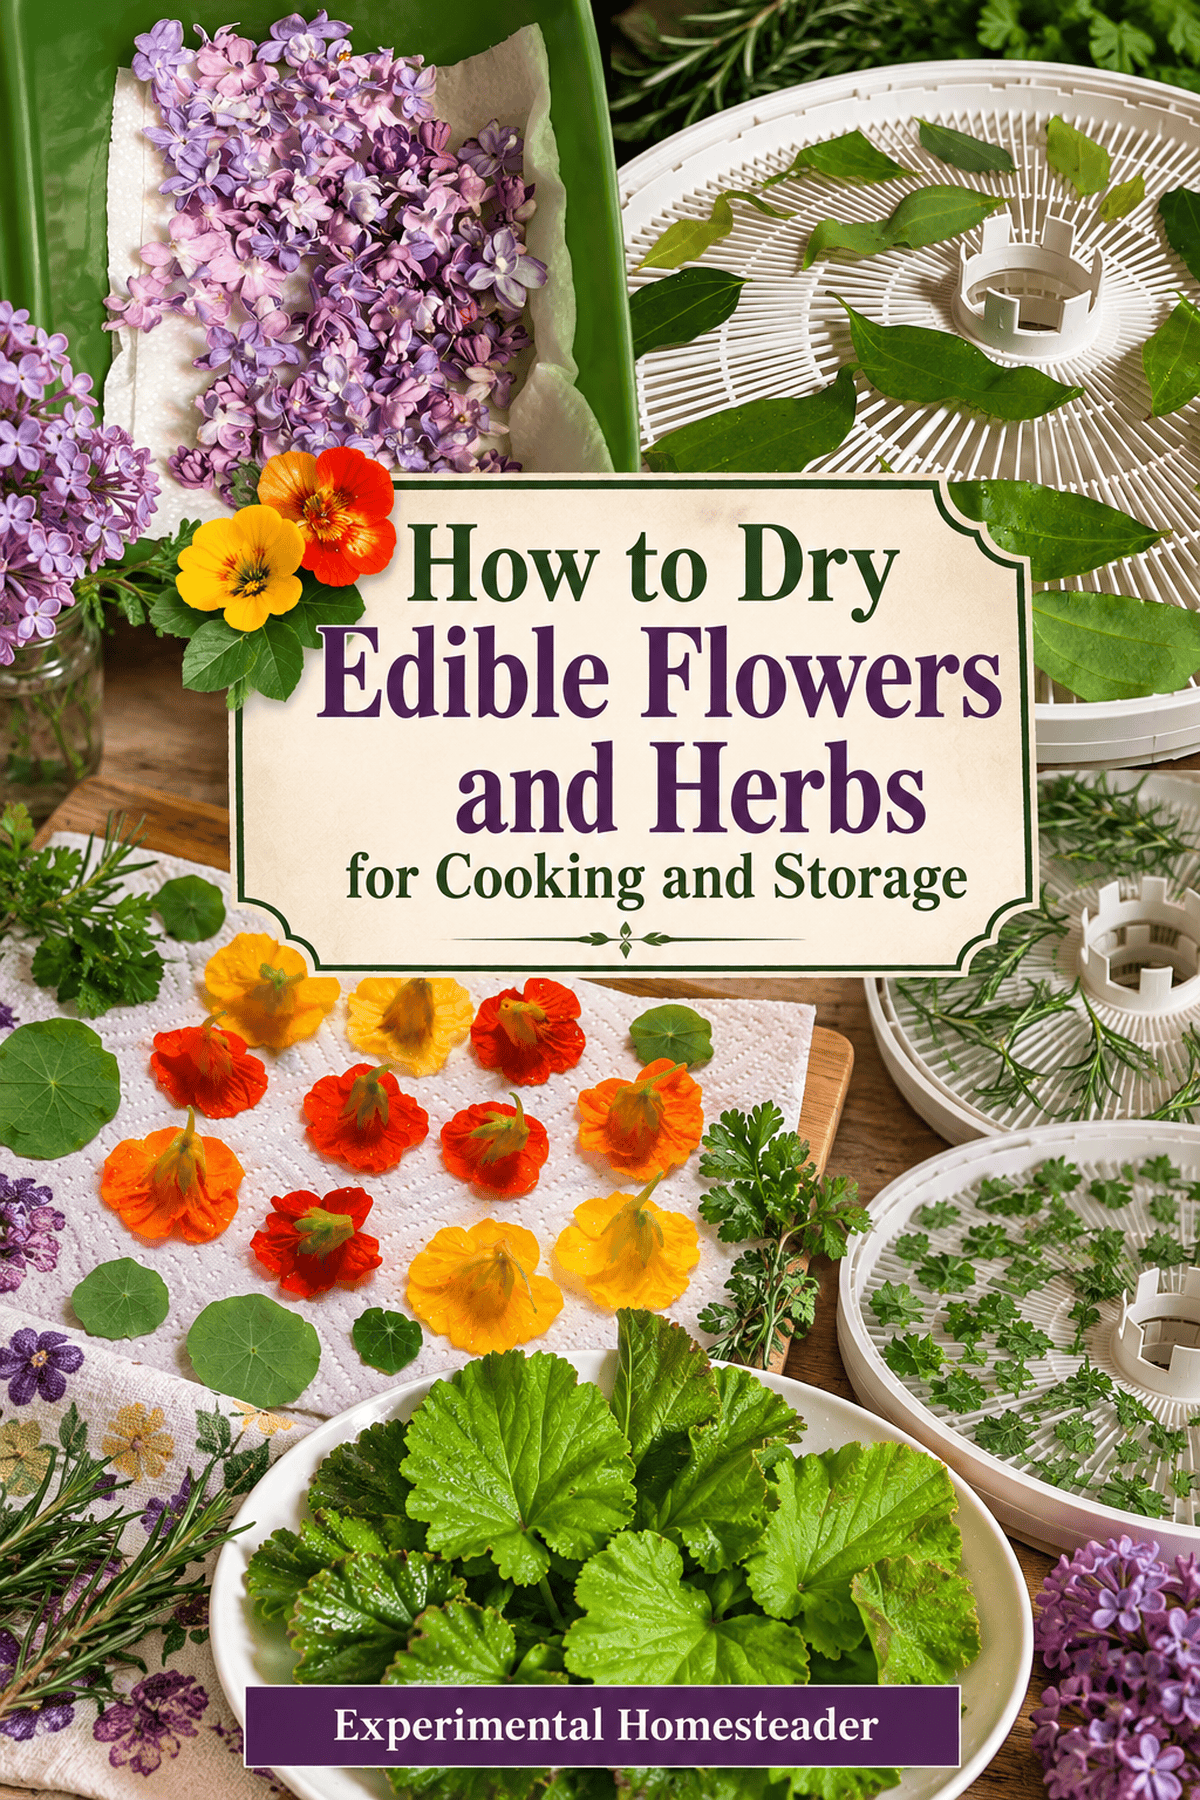
There is something satisfying about walking out into the garden, gathering a handful of fragrant herbs and edible flowers, and knowing that some of that harvest can flavor supper long after the growing season is over. I love the idea of opening a jar of thyme for roast chicken, rosemary for potatoes or carefully dried petals for a special dessert when the garden outside is resting.
But a beautiful harvest can become a disappointing jar of brown, musty petals if it is dried or stored incorrectly. The secret is not complicated equipment. It is understanding what you are drying, giving it enough airflow and knowing when it is truly ready for storage.
Drying lets you save part of the harvest for tea blends, seasoning mixes and selected recipes, but not every blossom keeps its color or flavor. This guide explains how to choose suitable ingredients, prepare them, compare drying methods, recognize when they are truly dry and store them without trapping moisture.
In This Article
Which Flowers and Herbs Should You Dry?
When I look at a basket of flowers and herbs, I begin by thinking about what I actually cook. Thyme and rosemary will go into roast chicken, beef, potatoes and gravy. Sage is useful with pork, and mint has a place in drinks and selected desserts. Rose petals and culinary lavender call for more specific plans because their flavors can be quite different from the savory herbs.
If you are new to drying, choose just one familiar herb and one edible flower rather than filling every tray with something different. You will learn much more by watching how those two ingredients behave than by trying to manage a dozen unknowns at once.
Let's make this practical. Set two shallow dishes on the counter, label one with the name of your herb and the other with the name of your flower, and sort your harvest into them. Check that you know the exact plant and which part is suitable for eating. Keep stems, petals and leaves separate when their drying needs differ. If you have a blossom that is bruised, diseased or past its best, leave it out. Drying is a way to preserve a good harvest, not a way to rescue a poor one.
When and Where to Harvest
Picture the difference between cutting flowers on a cool morning and leaving them in a damp heap on the kitchen counter until evening. The first gives you a good start; the second can leave you with petals that are already deteriorating before you begin. I like to plan the harvest around the time I can actually process it.
Bring a clean basket into the garden after the dew has dried, take only the blossoms and herbs you have room to dry, and carry them indoors without crushing them under heavier vegetables.
If you are gathering several varieties, place them in separate containers right away. It is surprisingly easy to forget which petals came from which plant once everything has been pulled apart and spread on trays.
Write the plant name and harvest date on a piece of paper before you start. That little step becomes especially valuable months later when you reach for a jar to season supper or make a cup of tea.
How to Prepare the Harvest
Give yourself a clear work area before you start. Put a clean towel or food-safe drying tray on the counter, bring over your labeled harvest and inspect each handful. Look for insects hiding inside blossoms, damaged petals, thick stems you do not intend to use and anything that does not belong in food. Prepare the edible portion according to the plant you are drying. Some flowers are best separated into petals, while some herbs can remain on their stems until the leaves are dry.
If you rinse an ingredient, allow surface water to drain and dry carefully before putting it into a dehydrator or onto a screen. Wet petals clump together and slow the process, which is the last thing you want when you are trying to remove moisture. Spread everything out rather than making little piles. You should be able to see the tray or screen between most pieces. When the preparation is done, you are ready to choose a drying method based on the plant, your equipment and the humidity in your house.
Air-Drying Herbs in Small Bundles
If you have never dried herbs before, begin with a small bundle of a sturdy culinary herb. Gather a few stems, remove damaged leaves, and tie the stems loosely enough that air can move around them. Hang the bundle in a clean, shaded place with good circulation, away from the steam of cooking and the moisture of a bathroom or laundry area. You are not trying to make a giant decorative bunch. A smaller bundle gives the leaves in the center a better chance of drying before they deteriorate.
Check the bundle every day. Feel a leaf near the center, not just one hanging on the outside, and notice whether it is becoming brittle. If the inner leaves stay soft while the outer leaves dry, the bundle may be too thick or the room too humid. Divide it into smaller bunches or move to a more controlled method. Once the leaves are thoroughly dry, remove them from the stems and place them in a labeled container. That is your first jar of home-dried herbs, ready for the next pot of soup or pan of roasted potatoes.
Drying Delicate Flowers on Screens
Delicate petals need a gentler approach than a bundle of rosemary. Spread them in a single layer on a clean food-safe screen or drying tray, leaving enough space for air to circulate. Keep the tray out of direct sunlight, where colors can fade, and away from damp areas of the house. If you have ever lifted a wet handful of petals and watched them cling together, you know why spacing matters. Separate those pieces now rather than hoping they will dry evenly in a clump.
Start with a small tray so you can learn what your chosen flower looks and feels like as it dries. Look at the petals each day, repositioning them gently if needed. Some will curl, shrink or change color even when everything goes well. What matters is whether they dry cleanly and retain a pleasant aroma without developing damp patches or an off smell. If the weather is humid and progress stalls, move the harvest to a suitable food dehydrator instead of leaving it on a screen indefinitely.
Using a Food Dehydrator
A dehydrator is useful when you have a larger harvest or the air in the house is too humid for reliable screen drying. Arrange one kind of flower or herb on a tray in a single layer, leaving space between pieces rather than piling them together. Use a food-safe mesh liner designed for your machine if small petals would otherwise fall through. If you are new to dehydrating, my food dehydration tutorial explains the larger process of drying and storing a harvest.
Delicate flowers and sturdy herbs need different attention. Spread rose petals, lilac blossoms or other small edible flower parts thinly so they do not overlap, and start with the gentlest appropriate setting your dehydrator recommends. Their thin petals can become brittle sooner than thick leaves or stems, and excessive heat can cost you color and fragrance. Rosemary, thyme and other sturdier culinary herbs may need longer because moisture can remain in thicker leaves and stems even after the outside looks dry. Keep varieties on separate trays, label them and check the flowers earlier and more often rather than trusting a single timer for everything.
Here is how I would approach a first batch. Start with a modest quantity, note the temperature you selected, and check a sample before you think it is finished. Let the sample cool, then try to crumble it between your fingers. If it still bends or feels cool and damp, it needs more drying.
If some trays finish sooner than others, remove the dry material and allow the rest to continue. Once your flowers and herbs are dry, you can use them in the kitchen in the ways I explore in Cooking with Edible Flowers and Herbs, including flavoring meals and making the most of your harvest. Keep notes about the setting, drying time and result. Next time, you will already have a starting point for that particular flower or herb.
Recommended Dehydrator Temperatures and Drying Times
Use this chart as a starting point for small batches of edible flowers and culinary herbs. These are approximate times, not guarantees. The moisture in the harvest, room humidity, tray loading and your particular dehydrator all affect how long drying takes. Follow your machine's instructions and check the material itself before deciding it is finished.
| Flower or herb | Dehydrator temperature | Approximate drying time |
|---|---|---|
| Rose petals | 95–105°F | 2–6 hours |
| Lilac blossoms | 95–105°F | 2–6 hours |
| Calendula petals | 95–105°F | 3–8 hours |
| Lavender flowers | 95–105°F | 2–6 hours |
| Mint leaves | 95–115°F | 2–6 hours |
| Basil leaves | 95–105°F | 4–8 hours |
| Thyme | 95–115°F | 2–6 hours |
| Rosemary | 95–115°F | 4–8 hours |
| Sage leaves | 95–115°F | 4–8 hours |
Delicate flower petals can finish before thicker herb leaves and stems. Check petals early, keep different plants on separate trays when possible and remove each tray as its contents finish. If you are drying several varieties at once, do not leave already-brittle petals in the dehydrator simply because the rosemary or sage still needs more time.
Let samples cool before testing them. Fully dried petals should feel papery or brittle, while dry herb leaves should crumble rather than bend. Pay particular attention to thicker bases and stems, which can hold moisture after the thinner portions seem finished. Never pack warm or partly damp plant material into an airtight jar. Let everything cool completely, check for remaining moisture and store only when thoroughly dry.
Can You Dry Edible Flowers in the Oven?
It can be tempting to reach for the oven because it is already in the kitchen, but ovens are not always gentle enough for delicate petals. Even the lowest setting may be warmer than you want, and the heat can damage fragrance and color before the moisture is gone.
If you decide to try oven drying, first check that your appliance can operate at a suitably low temperature for the ingredient and follow its safe-use instructions. Use an appropriate oven-safe tray or rack and stay nearby to check progress.
For a beginner, I would test a small amount rather than spreading an entire harvest across baking sheets. Compare the finished color and aroma with a few petals dried on a screen or in a dehydrator. If the oven batch scorches or browns, you have learned that the method is not the best choice for that plant. There is no reason to sacrifice the rest of your flowers just to make the oven work.
How Do You Know the Harvest Is Completely Dry?
This is the point where patience matters most. A petal can look dry on the outside while holding moisture near its base, and a jar of partly dried flowers can develop problems after you put it away. Take a few pieces from different areas of the tray, especially the thickest ones, and let them cool before checking.
Dry leaves should crumble readily, while delicate petals should feel dry rather than sticky, leathery or cool with moisture. Inspect the centers of blossoms as well as the edges.
Do not rush from the dehydrator straight into a sealed jar. Allow the finished material to cool, then place a small amount in a clean, dry container and watch for any sign of condensation or softening. If moisture appears, remove the material and reassess the drying process rather than leaving it sealed. If there is mold or a musty odor, discard it. A beautiful harvest is never worth keeping when the stored ingredient has spoiled.
Containers, Labels and Storage
Once everything is fully dry and cool, choose clean, dry, airtight food-safe jars or containers. I prefer keeping each plant separate until I know exactly what I want to make. A jar of thyme can season chicken, potatoes and soup, while a jar of rose petals may be reserved for a particular dessert or tea blend.
Label the exact plant name, edible part and date. If you dried several batches using different methods, add that detail to the label or your garden notebook so you can compare results later.
Store the jars away from direct sunlight, the heat of the stove and the steam that gathers around a kettle. Open them only with clean, dry hands or utensils, and check the contents periodically. Damp clumps, condensation, mold or an unpleasant odor mean the contents should not be used.
You worked too hard growing and harvesting those flowers to lose them through careless storage, so make checking the jars part of your normal pantry routine.
How Much Dried Herb Replaces Fresh?
Imagine making your usual roast chicken and reaching for dried thyme because the garden is resting for winter. Dried herbs are often more concentrated than fresh, so you generally need less. For many familiar culinary herbs, a useful starting point is one teaspoon dried in place of one tablespoon fresh. It is only a starting point, though. A freshly dried batch from your own garden may taste stronger than a jar that has been sitting in the cupboard for a long time, and different herbs behave differently in cooking.
Begin with a smaller amount, give the dish time to develop its flavor and taste before adding more. In soup or gravy, you can adjust gradually. With edible flowers, I would be even more cautious. A spoonful of dried lavender or rose petals is not automatically equivalent to the same amount of fresh flowers. Follow a recipe designed for the dried ingredient, or test a very small amount in a single serving before changing a full batch.
Turn Your Edible Flowers Into Something Delicious
Looking for more ways to use your edible flower harvest? Explore my Spicing Up Your Food With Edible Flowers Quick Guide for practical kitchen inspiration.
What Can You Make with the Dried Harvest?
Now comes the part that makes the drying worthwhile. Think about a winter supper with roast chicken, potatoes, gravy and vegetables. You can season the chicken with dried thyme and rosemary, stir a pinch of sage into the gravy and finish roasted carrots with a little dried parsley or another herb that suits the dish. The flowers may have a quieter role, perhaps in a special dessert or a blend made for a particular drink. Not every jar needs to go into the same meal. The satisfaction comes from opening something you grew and preserved and knowing exactly why you saved it.
If you want to try a homemade seasoning blend, start small. Mix two teaspoons of dried thyme with one teaspoon of dried rosemary and a half teaspoon of dried sage, then crush or crumble them together and label the jar. Use a small pinch on roasted potatoes or chicken, taste the finished dish and adjust the next batch to suit your family. You can also experiment with dried culinary flowers in recipes developed for them, such as a suitable floral tea or dessert. Keep the first experiments simple so you can recognize which flavor is doing the work.
Troubleshooting Drying Problems
Suppose your rose petals turn brown, the mint leaves stay limp or the lavender loses its fragrance. Before giving up on drying, think through what happened. Did the tray sit in direct sun? Was the temperature too high? Were the pieces piled together? Was the air unusually humid? Change one factor at a time on the next small batch so you can see whether it improves the result. Flowers will not always look exactly as they did in the garden, but they should dry without spoilage and remain suitable for the food you intend to make.
If the dried material develops a musty odor, visible mold or damp clumps in storage, discard it rather than trying to dry it again for eating. For ordinary quality problems such as faded color or weak aroma, note the method and try a gentler approach with the next harvest. You are learning a practical preservation skill, and every batch teaches you something about the plants you grow and the conditions in your home.
Let's Dry Your First Small Batch Together
For your first batch, choose a small handful of thyme from a plant you know is suitable for cooking. Harvest it when the foliage is dry, remove damaged or discolored leaves and inspect the stems for insects. If you need to rinse it, gently shake off the water and let the surface moisture dry before you begin. Put a piece of tape on your tray or a separate note beside your work area with the plant name and the date. Keeping track of one small harvest is much easier than trying to remember what you put on several trays.
Next, choose one drying method. For the dehydrator, spread the thyme loosely in a single layer and follow the herb setting recommended for your machine. For air-drying, tie only a few stems into a loose bundle and hang them somewhere clean, shaded, dry and well ventilated. Check the batch regularly instead of assuming it will finish at a particular hour. If you use a dehydrator, move any already-dry pieces off the tray while the thicker ones continue drying.
When the leaves seem ready, take samples from several stems, let them cool completely and test them with your fingers. Fully dried thyme leaves should crumble easily instead of folding or feeling soft. If a stem or thick leaf still feels flexible or damp, keep drying that material. Once the entire batch is dry and cool, strip the leaves from the stems if desired, place them in a clean, completely dry airtight jar and label it with the plant name and drying date. Check the jar for condensation during the first days of storage. If you notice moisture, remove the herbs and dry them further; discard anything moldy or musty.
Use a little of your home-dried thyme on roasted potatoes, chicken or in a pot of soup, then compare its flavor with the herbs you usually buy. Make a note of what worked and what you would change. After one successful batch, try a small tray of edible petals and pay closer attention to their delicate texture and color. For other ways to preserve a harvest, my home food preservation methods guide compares drying with freezing, canning and other options.
Frequently Asked Questions About Drying Edible Flowers and Herbs
Can I dry edible flowers and herbs together?
Separate trays are usually easier for beginners. Delicate petals may finish before sturdy leaves, and strongly scented herbs can affect nearby flowers. Keep each variety labeled and remove it as soon as it is completely dry.
Why did my dried flowers turn brown?
Some color change is normal, but sunlight, excessive heat, bruising and slow drying in humid air can make it worse. Try a small batch on a shaded screen or at a suitable low dehydrator setting and compare the results.
How long does it take to dry edible flowers?
There is no single time that works for every flower. Petal thickness, humidity, airflow and equipment all affect drying. Let a sample cool, then check the thickest part. If it is damp, sticky or pliable, it needs more time.
Should I crumble herbs before storing them?
For many culinary herbs, keeping the dried leaves relatively whole helps preserve their aroma. Crumble a little when you season chicken, potatoes, soup or gravy, and return the rest to a clean, dry, airtight container.
Can I replace fresh flowers with dried flowers in a recipe?
Sometimes, but drying changes both flavor and texture. Use a recipe intended for dried edible flowers when possible, and test a small amount first. Dried petals that suit tea or baking may not be pleasant as a fresh-style garnish.
What should I do if a stored jar develops mold or condensation?
Do not use moldy or musty material in food. Discard spoiled ingredients, clean and thoroughly dry the container, and review the drying and cooling steps before your next batch. Check jars periodically so problems do not go unnoticed.
A Little of the Garden for Winter Supper
You do not need to dry every flower in the garden to make this worthwhile. Start with one herb you already use, learn how to preserve it well and build your collection a jar at a time. Thyme for roast chicken, rosemary for potatoes and sage for pork or gravy can bring the growing season into your kitchen long after the garden has quieted down. Save your edible flowers for dishes that suit their flavors, whether that is a special dessert, a drink or a carefully chosen tea blend. For more inspiration, see my different ways to use edible flowers in food, drinks and desserts and my guide to eating nasturtium flowers and leaves. What will you dry first? I would love to hear what you are putting away for the colder months.