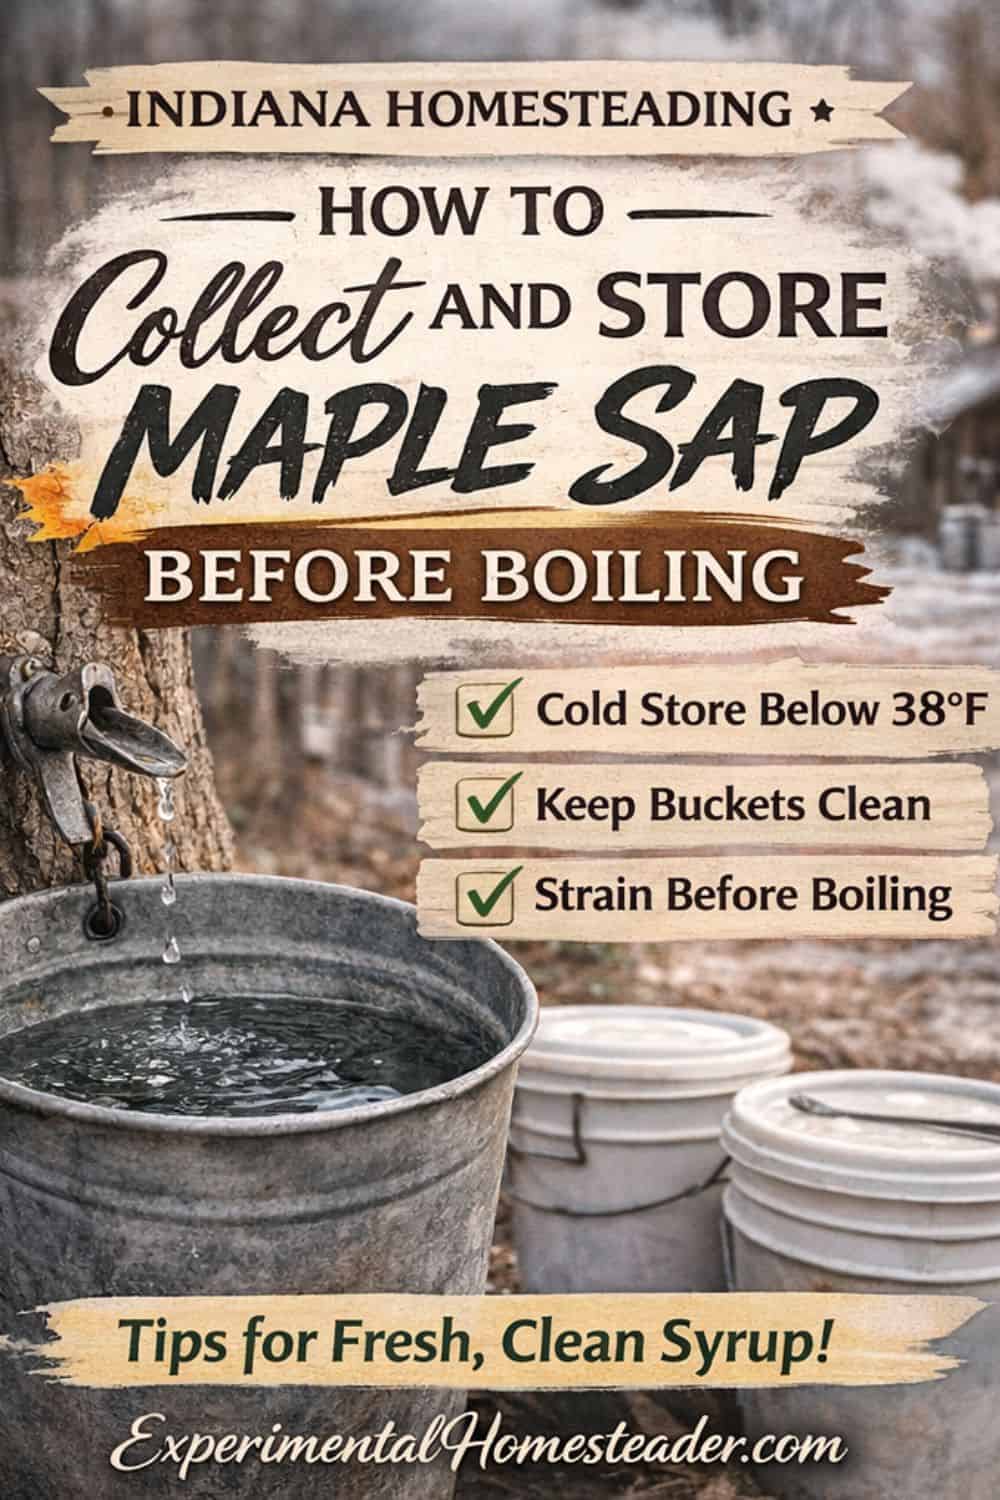
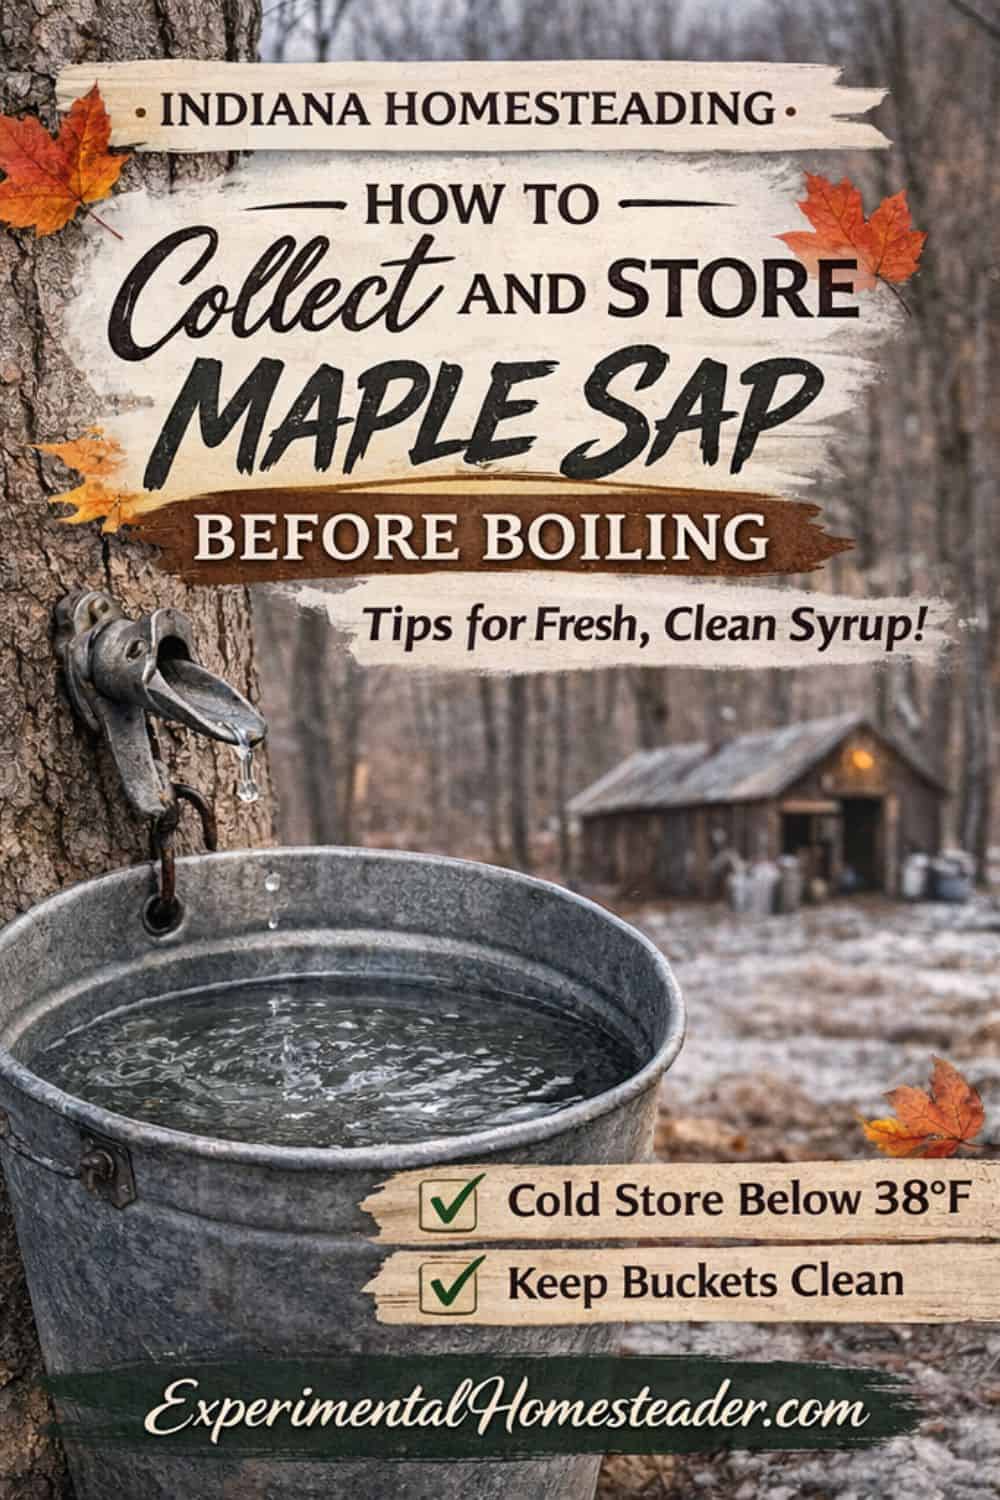
How to Collect and Store Maple Sap Before Boiling
Learning how to collect maple sap properly is one of the most important skills in a successful syrup season.

On our Indiana homestead, tapping the trees is only the beginning. Once the sap starts running, the real work begins - checking buckets several times daily, watching temperatures, and making sure every gallon stays clean and cold. Sap may look like water, but it's filled with natural sugars that can spoil quickly if mishandled.
Most syrup problems don't start at the tree - they start after you collect maple sap. How you store it, how long it sits, and how clean your equipment is will directly affect the flavor, clarity, and safety of your finished syrup.
If you're new to maple season or refining your process this year, here's exactly how we collect maple sap and handle it before boiling so nothing goes to waste.
How to Collect Maple Sap Properly (Beginner-Friendly Guide)
Once your taps are in the tree, collecting sap is surprisingly simple - but it does require consistency.
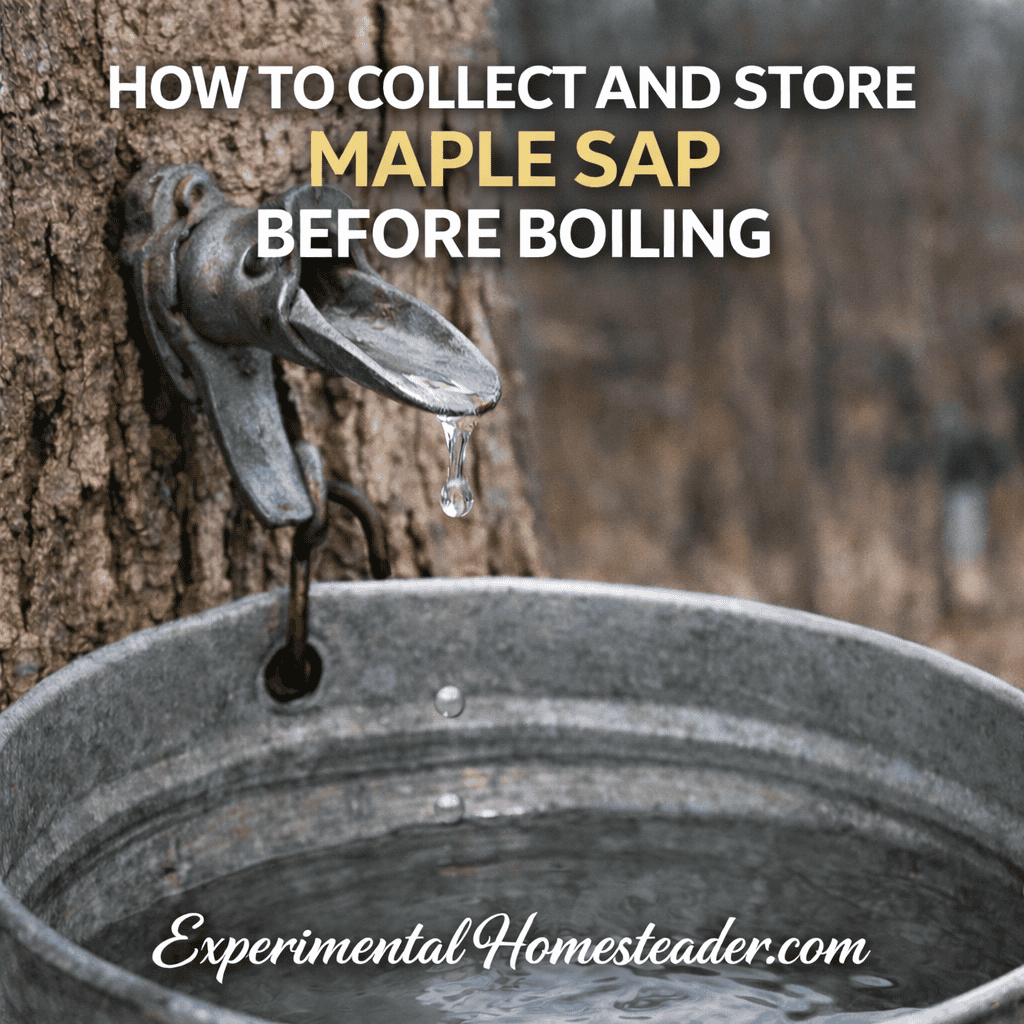
Place a clean, food-grade bucket with a lid directly under each tap, or connect tubing from the tap into a larger covered container sitting on the ground. As temperatures rise above freezing during the day and drop below freezing at night, sap will begin to drip - sometimes slowly, sometimes steadily.
During strong freeze-thaw cycles, buckets can fill faster than you expect. On a good run, I've checked a tree in the morning to find very little sap, then again at noon and been surprised at how much sap collected in just a few hours.
Simple Rules for Collecting Maple Sap
• Only use clean, food-grade buckets or containers
• Always keep lids on to keep out rain, bark, insects, and debris
• Secure buckets so wind or curious animals don't tip them
• Check and empty containers daily during active flow
• Don't let buckets overflow - that's lost syrup
Fresh sap should look like clear water. If it turns cloudy, smells sour, or looks milky, it has begun to spoil and should be discarded. When in doubt, trust your nose - fresh sap has almost no smell at all.
Collecting maple sap isn't complicated, but staying attentive makes all the difference between a smooth syrup season and a frustrating one.
How to Store Maple Sap Before Boiling (So It Doesn’t Spoil)
Once you collect maple sap, the clock starts ticking.
Sap looks like water, but it contains natural sugars - and sugar invites bacteria. If sap warms up too much or sits too long, it will begin to ferment. That fermentation doesn't just affect flavor - it can ruin your entire batch.
On our homestead, storage depends completely on the weather. Some years we can let sap sit outside in covered containers because temperatures stay below freezing. Other years, we have to move quickly.
Here's how to store maple sap safely before boiling:
Keep It Cold - As Cold As Possible
• Store sap below 38°F whenever possible
• Use a refrigerator if you have space
• A freezer can be used temporarily to hold sap until you're ready to boil
• A cold room or root cellar works well if it stays consistently cold
• Outside storage only works if temperatures remain below freezing
If you're using a freezer, don't let the sap freeze solid unless you're intentionally freeze concentrating it. Light freezing won't hurt it - in fact, some people skim off ice to slightly increase sugar concentration - but long-term frozen storage isn't ideal.
If you have a root cellar or cold storage room (sometimes called a cold room), that space can be perfect during late winter. Many homesteaders already use these rooms for storing vegetables - and maple sap stores beautifully there if temperatures stay consistently cold.
How Long Can Maple Sap Sit Before Boiling?
Ideally, maple sap should be boiled within 24 to 48 hours of collection.
Sap is mostly water, but the small amount of natural sugar it contains makes it highly perishable. The longer it sits - especially if daytime temperatures rise above freezing - the faster bacteria begin to multiply. Even if it doesn't smell sour yet, subtle fermentation can affect the flavor of your finished syrup.
Cold weather can extend that window slightly. If nighttime temperatures stay below freezing and daytime temperatures remain cool, properly stored sap may hold a little longer. However, once daytime highs start climbing into the 40s or 50s, spoilage speeds up quickly.
During heavy sap runs, it's better to:
• Boil in smaller batches more frequently
• Keep rotating fresh sap into the boil pan
• Avoid letting large volumes sit for several days
On our homestead, I'd rather run multiple shorter boil sessions than risk losing good sap to fermentation. Fresh sap makes cleaner, better-tasting syrup - and it's far less stressful than trying to "save" borderline sap at the last minute.
When in doubt, boil sooner rather than later.

Straining Maple Sap Before Boiling
Before sap ever hits the boiling pan, I always strain it - even if it looks perfectly clear.
When you collect maple sap, tiny bits of bark, wood shavings from drilling, wind-blown debris, and even the occasional insect can end up in your bucket. You might not notice much at first, but once the sap starts reducing, those particles concentrate and can affect both clarity and flavor.
In my early years of tapping, I used whatever I had on hand - a fine mesh sieve lined with cheesecloth or even unbleached coffee filters. That works, especially for beginners. The key is to remove visible debris before boiling.
Over the years, though, I upgraded my filtering system. Now I use maple syrup filter wool paired with thin paper pre-filters, which are specifically designed for syrup production. These filters catch the ultra-fine sediment that basic kitchen strainers miss. While most heavy filtering happens after the syrup is finished and hot, starting with clean sap makes the entire process smoother.
Here's what I recommend depending on your stage:
Beginner setup:
• Fine mesh strainer
• Cheesecloth or coffee filter
More advanced setup:
• Fryer filter stand
• Maple syrup filter cone
• Paper pre-filters designed specifically for syrup
• Hydrometer test cup kit (for checking density once finished)
If you're tapping during windy Indiana days like we often are, you'll be surprised how much gets caught in that first strain. It's a simple step, but it sets the foundation for clear, high-quality syrup later on.
Straining doesn't remove sugar. It removes debris - and that makes all the difference.
Signs Maple Sap Has Spoiled
Fresh maple sap should look and smell almost like water - clear, slightly sweet, and very mild.
Because sap contains natural sugars, it can begin to ferment quickly if it isn't kept cold. Spoiled sap won't necessarily look dramatic at first, so learning the subtle warning signs is important.
Watch for:
• A sour, yeasty, or slightly alcoholic smell
• Cloudy or milky appearance instead of clear
• A slimy or slippery feel in the container
• Excessive foam forming before you even start boiling
If sap smells "off," trust that instinct. Once fermentation begins, the flavor of your finished syrup will suffer - and no amount of boiling can reverse that.
Slight cloudiness on a cold morning doesn't always mean it's ruined, but strong odor or visible fermentation are clear signs to discard it.
When in doubt, throw it out.
Starting with fresh, properly stored sap is the single biggest factor in producing clean, great-tasting maple syrup.
Why Proper Sap Handling Matters
Collecting maple sap isn't just about filling buckets - it's about protecting the quality of what you worked to gather.
Sap may look like water, but it's a delicate, perishable product. The moment it leaves the tree, it becomes vulnerable to temperature swings, bacteria, contamination, and fermentation. How you handle sap in those first 24-48 hours directly impacts the flavor, clarity, and shelf stability of your finished maple syrup.
Improperly stored sap can:
• Develop off-flavors
• Darken prematurely
• Produce excessive foam during boiling
• Require more filtering later
• Ruin an entire batch of syrup
On our homestead in Indiana, I've learned that sap handling often determines whether the final syrup tastes clean and balanced or slightly sour and heavy. Fresh sap boils more predictably, produces clearer syrup, and reduces stress during finishing.
In short: good syrup starts long before the boil.
Frequently Asked Questions About Collecting Maple Sap
Q. How do you collect maple sap properly?
A. To collect maple sap properly, install food-grade taps (spiles) in healthy maple trees, place clean food-grade buckets or tubing systems beneath them, and check containers daily during active sap flow. Sap should be strained, kept cold, and boiled within 24-48 hours for best quality.
Q. How long can maple sap sit before boiling?
A. Maple sap should ideally be boiled within 24-48 hours of collection. If stored below 38°F, it may last slightly longer, but warm daytime temperatures speed up spoilage and fermentation.
Q. Can you freeze maple sap before boiling?
A. Yes, maple sap can be temporarily frozen if you cannot boil immediately. Light freezing does not harm the sap and may slightly concentrate sugar content. However, sap should still be boiled as soon as possible for best flavor.
Q. How do you know if maple sap has gone bad?
A. Maple sap has spoiled if it smells sour or yeasty, appears cloudy or milky, feels slimy, or forms foam before heating. Fresh sap should be clear and have almost no odor.
Q. Do you need to strain maple sap before boiling?
A. Yes. Straining removes bark, wood shavings, insects, and debris that can affect clarity and flavor. Beginners can use a fine mesh strainer with cheesecloth, while more advanced setups use maple syrup filter wool and paper pre-filters.
Q. When does maple sap start running in Indiana?
A. In Indiana, maple sap typically begins flowing in February when daytime temperatures rise above freezing and nighttime temperatures fall below freezing. These freeze-thaw cycles create the pressure changes needed for sap flow.
Q. Can you tap trees other than sugar maple?
A. Yes. While sugar maple produces the highest sugar concentration, other maples - and even walnut trees - can be tapped. The sap may require longer boiling due to lower sugar content.
Q. Does cloudy maple sap mean it's bad?
A. Slight cloudiness in cold weather may still be usable, but strongly cloudy or milky sap combined with sour odor indicates spoilage and should be discarded.
Collect Maple Sap the Right Way for Better Maple Syrup
Collect maple sap the right way by using clean food-grade containers, keeping sap below 38°F, straining debris before boiling, and processing it within 24-48 hours to ensure clear, high-quality maple syrup.
The quality of your maple syrup is determined long before the boil ever begins.
When you collect maple sap the right way - using clean equipment, keeping it cold, straining debris, and boiling it promptly - you protect the natural sweetness that makes homemade syrup so rewarding. Sap is delicate. It may look like water, but temperature swings, improper storage, and delayed boiling can change its flavor quickly.
On our homestead, I've learned that careful sap handling reduces stress later in the process. Fresh, properly stored sap boils more predictably, produces clearer syrup, and requires less correction at finishing time. It also minimizes excessive foaming and sediment buildup.
Collecting sap consistently during active freeze-thaw cycles, storing it below 38°F whenever possible, and boiling within 24-48 hours creates a noticeable difference in taste and clarity. These small habits add up.
Maple season is short. Taking care during the collection stage ensures that every gallon you boil down reflects the work you put in from the start - clean, balanced, and true to the trees that produced it.