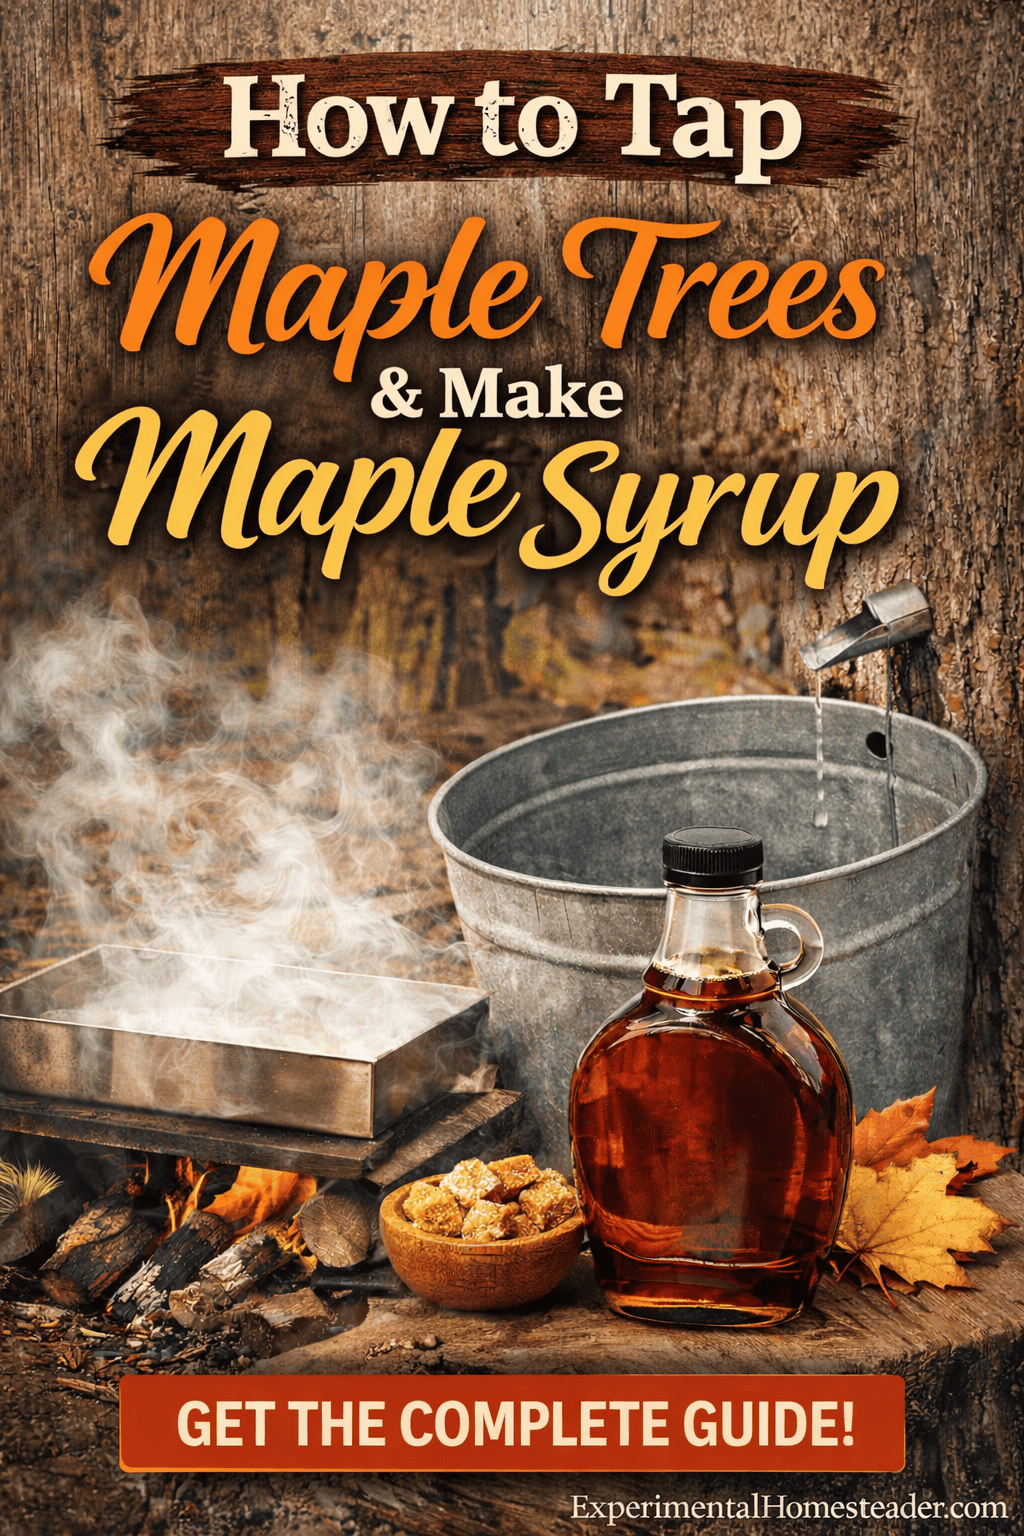
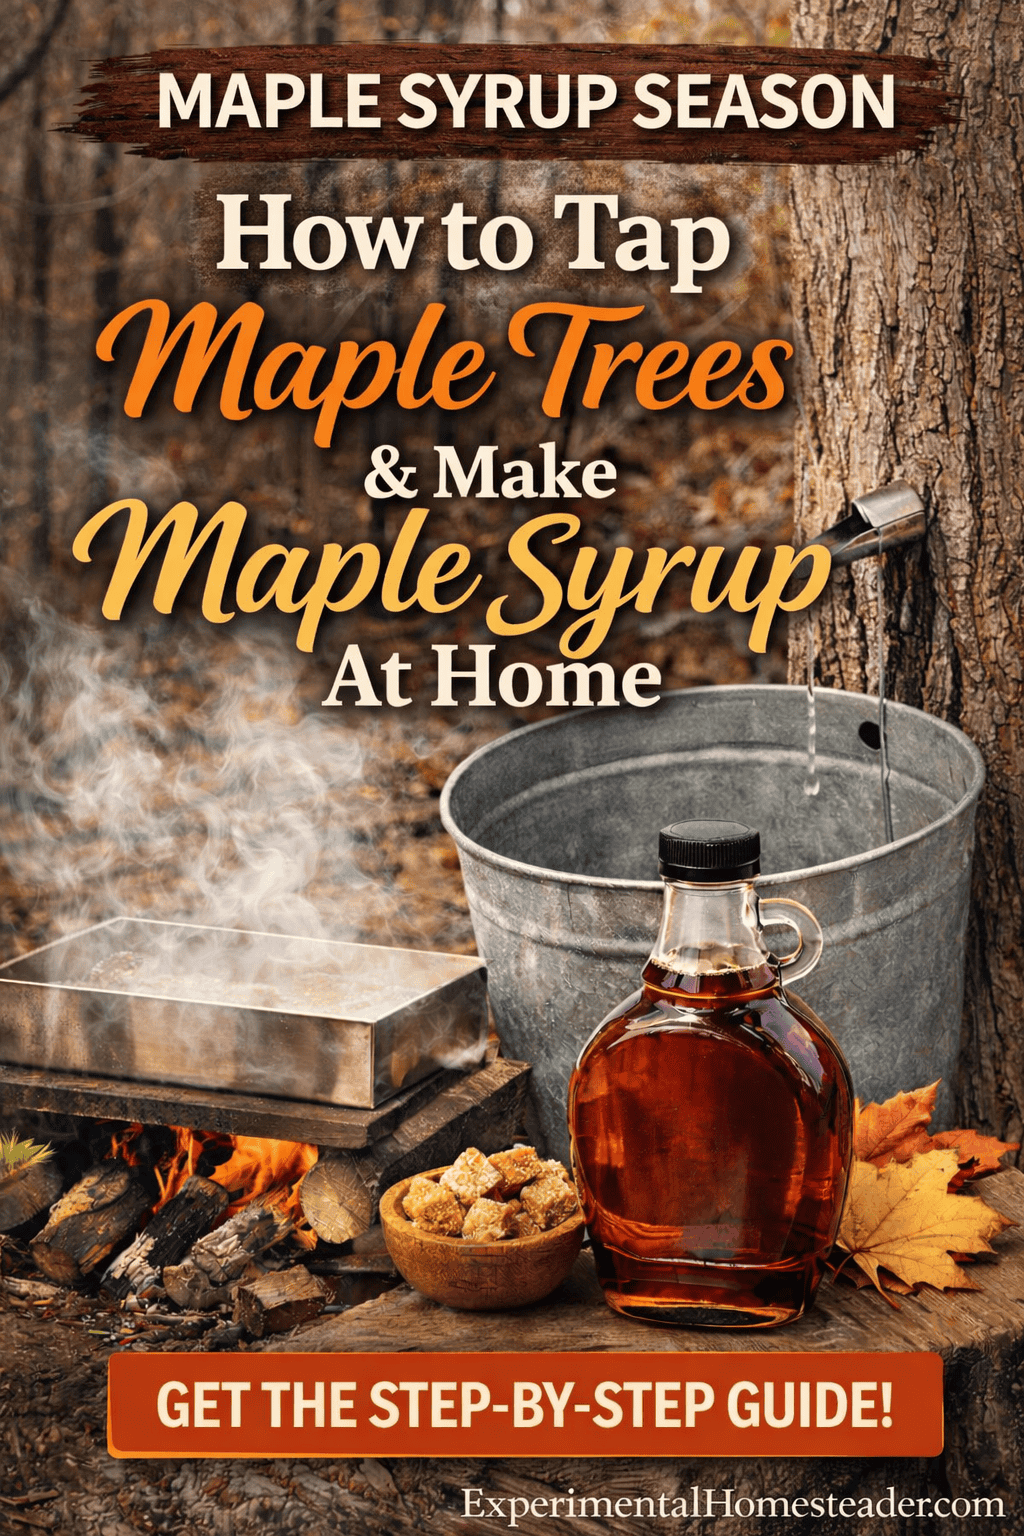
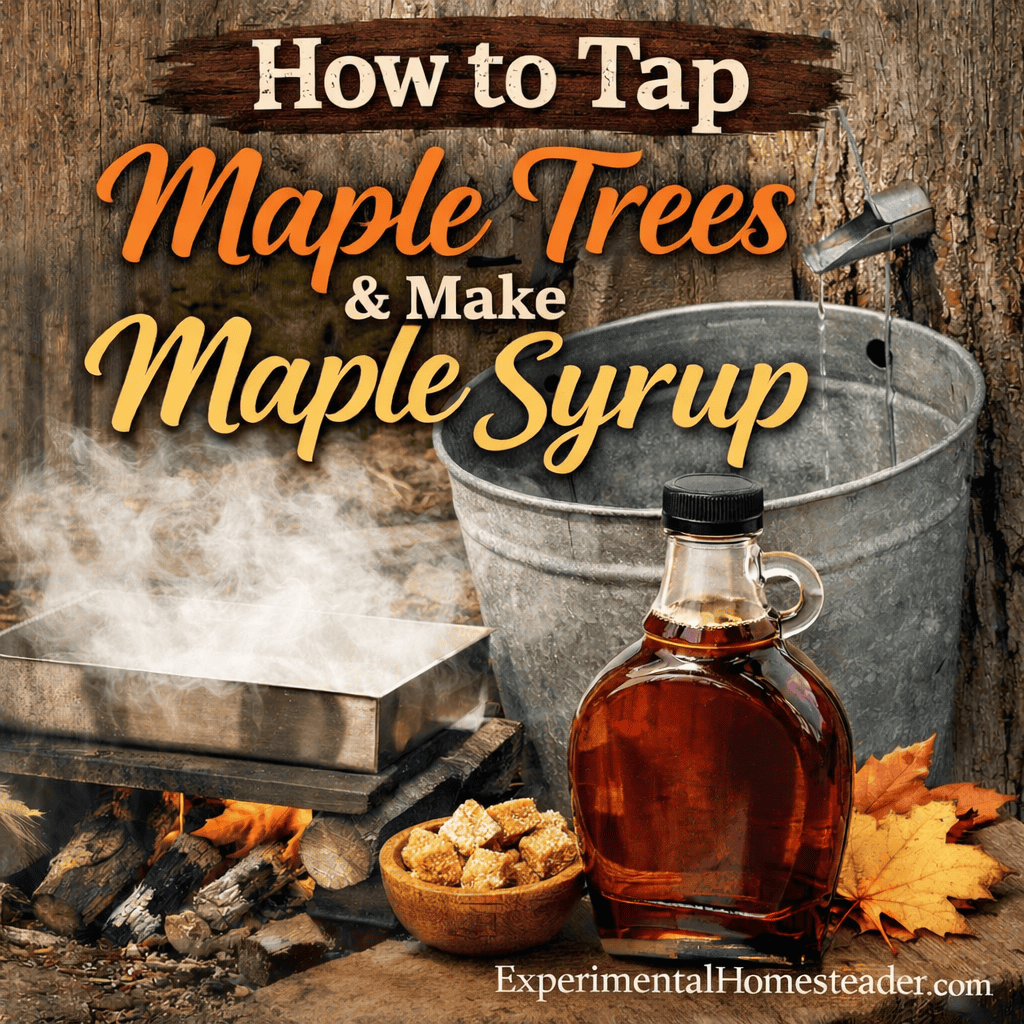
How to Tap Maple Trees and Make Maple Syrup (Complete Seasonal Guide)
How to tap maple trees and make maple syrup is a question many gardeners and homesteaders ask as winter begins to loosen its grip. What looks like a simple late-winter project quickly turns into a full seasonal process - from identifying healthy trees and installing taps to collecting sap, boiling it down to 219°F, infusing flavors, and even turning it into maple candy.

Maple syrup season isn't just about making a sweetener. It's about understanding temperature patterns, managing sap flow, monitoring sugar concentration, and timing each stage correctly. When done properly, tapping maple trees becomes one of the most rewarding ways to bridge winter and spring while producing a completely natural, homemade product.
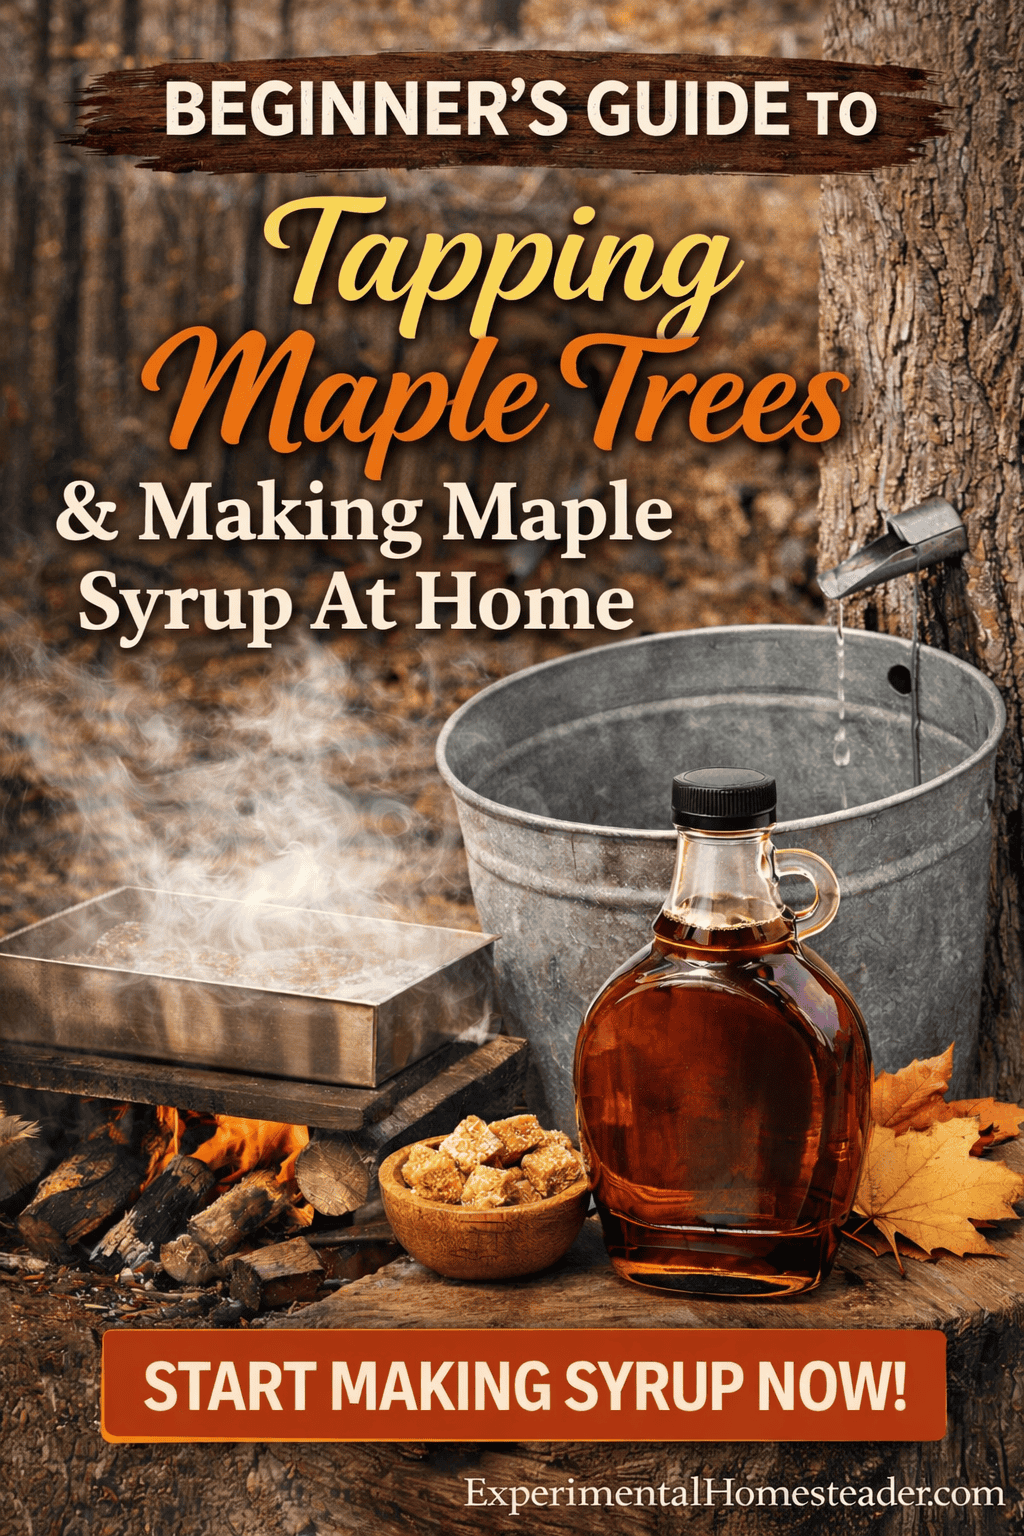
This complete seasonal guide walks you step-by-step through how to tap maple trees, collect sap, boil it into syrup, flavor it, and use it in your kitchen - all based on real experience here on our homestead.
To tap maple trees and make maple syrup, drill a small hole in a healthy maple tree during late winter freeze-thaw cycles, insert a tap, collect the flowing sap, and boil it down until it reaches 219°F to create finished syrup.
Below, I'll break down each step in detail so you can confidently tap your own trees this season.
When to Tap Maple Trees
The best time to tap maple trees is during late winter when daytime temperatures consistently rise above 32°F and nighttime temperatures fall below freezing. These freeze-thaw cycles create internal pressure changes in the tree that push sap outward through the tap hole.
In most northern climates, this happens sometime between late January and early March. While February 1 is often considered traditional tapping day, I rely on weather patterns more than a fixed date. A warm spell too early or extended deep cold can delay sap flow significantly.
Healthy trees at least 10-12 inches in diameter are ideal for tapping. Smaller trees should be left alone to continue growing. Larger, mature trees can support more than one tap, but beginners should start conservatively to protect tree health.
When learning how to tap maple trees for the first time, focus on three essentials:
- Choose a healthy, mature tree
- Drill a clean hole at a slight upward angle
- Insert the tap snugly without over-hammering
If you'd like a full walkthrough of the tools, drilling depth, and tap placement, I've documented the entire process in this step-by-step maple tapping tutorial.
Collecting Maple Sap
Once the taps are installed, the daily rhythm of maple season begins - collecting sap.
Buckets or tubing lines are placed beneath each tap to catch the steady drip that comes with proper freeze-thaw cycles. On strong flow days, especially when daytime temperatures rise above freezing and nighttime temperatures dip below 32°F, containers can fill surprisingly fast. During peak runs, I check ours at least once a day - and sometimes twice - to prevent overflow.
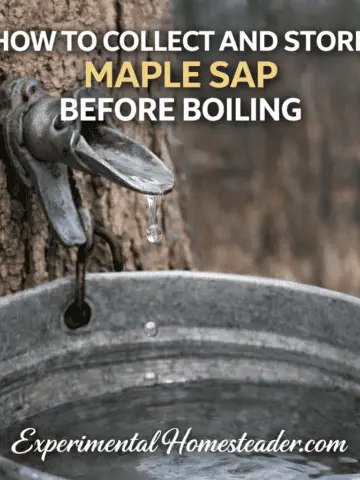
Fresh maple sap looks like clear water, but it is highly perishable. As soon as it's collected, it must be kept cold to maintain quality. If temperatures remain below freezing, nature helps preserve it. Otherwise, we store sap in food-grade containers in a cool area or refrigerator until we're ready to boil.
Before boiling, sap should be strained to remove bark particles, debris, or insects. Even with tubing systems, a quick strain ensures a cleaner finished syrup.
How you collect and store sap directly impacts the clarity, flavor, and safety of your finished maple syrup. I walk through the entire process step-by-step in my detailed guide on how to collect and store maple sap before boiling, including cold storage tips, spoilage warning signs, and best practices during heavy flow days.
Boiling Sap Down to Syrup
On average, it takes 40 to 50 gallons of maple sap to produce just one gallon of finished maple syrup - and this is where the real transformation happens.
What begins as clear, watery sap slowly concentrates into rich amber syrup through steady heat and patience. Boiling isn't complicated, but it demands attention.
We always boil outdoors. The steam released during the process carries natural sugars, and if you try boiling inside, it can leave a sticky residue on cabinets, ceilings, and walls. After doing this for years, I much prefer using a grill or outdoor setup where the moisture and mess stay outside.
As the sap reduces, the boil becomes more intense. Early on, you're mostly evaporating water. But toward the end, the sugar concentration rises quickly, and that's when things can change fast. Sap can foam up unexpectedly, and if you're not watching closely, it can scorch.
Maple syrup is finished at 219°F (7°F above the boiling point of water). That temperature signals the proper sugar concentration. Stop too early and your syrup will be thin. Go too far and you're on your way to maple sugar.
The final stage requires patience and constant attention. I never walk away during the finishing boil. That last stretch is where experience matters most.
How to Flavor and Infuse Maple Syrup
Once you've finished a batch of pure maple syrup, that's when you can start experimenting.
I love plain maple syrup, but I also enjoy creating small infused batches when I have a little extra. Cinnamon infused maple syrup is one of my favorites. During the final stage of boiling - when the syrup is close to finishing temperature - I add one or two whole cinnamon sticks and let them steep in the hot syrup. The heat gently pulls out the flavor without overwhelming the natural maple notes.
The key is subtlety. Maple syrup already has complex flavors that developed during the boil. You're enhancing it, not masking it.
If you prefer to infuse after boiling, you can:
- Finish the syrup completely.
- Remove it from heat.
- Add your infusion ingredient.
- Let it steep 10-20 minutes.
- Strain before bottling.
Simple infusion ideas that work well include:
• Whole cinnamon sticks
• A split vanilla bean
• A small piece of fresh ginger
• A strip of orange peel
• A single dried chili for heat
Always strain thoroughly before bottling to maintain clarity and shelf stability. Store infused syrups the same way you store plain syrup - sealed and refrigerated after opening.
Infusing maple syrup is one of those small touches that makes homemade syrup feel even more special. A single batch can become pancake syrup, glaze for meats, coffee sweetener, or a base for homemade maple candy.
Making Maple Candy and Maple Sugar
Maple syrup doesn't have to stop at syrup.
If you continue cooking it past the 219°F finishing point, you can transform it into maple sugar or maple candy. This stage requires close attention because once the sugar concentration increases, the temperature climbs quickly and the window between "perfect" and "overdone" is small.
For maple candy, the syrup is heated to a higher temperature - typically around 235-240°F - then removed from heat and stirred as it begins to cool. The stirring process creates the creamy texture that gives maple candy its signature melt-in-your-mouth consistency. It has to be poured or pressed into molds quickly before it firms up.
Maple sugar goes a step further. Continued cooking and stirring produces a granulated form that can be used in baking or sprinkled over oatmeal and toast.
This part of maple season is fast-paced and hands-on, but it's incredibly satisfying. There's something special about turning sap from your own trees into candy you can gift or enjoy with family.
You can watch exactly how I make maple candy using our homemade maple syrup in my Maple Candy Tutorial on YouTube, where I show the cooking process, temperature stages, and how quickly the syrup sets once it reaches candy stage.
Using Maple Syrup in the Kitchen
Maple season doesn't end when the jars are sealed.
Once you've made your own syrup, it naturally finds its way into everyday cooking. Homemade maple syrup isn't just sweeter - it has depth. Depending on how long it boiled and when it was tapped during the season, it can have light vanilla notes, deeper caramel tones, or even a slight smoky richness.
Of course, pancakes are the classic choice. One of our favorite from-scratch breakfasts is sourdough pancakes topped with warm cinnamon-infused maple syrup. That simple combination - homemade batter and syrup from our own trees - is one of those small homestead moments that makes the entire tapping season worth it.
But maple syrup goes far beyond breakfast.
We use it in:
• Savory glazes for pork and ham
• Maple-bourbon sauces
• Roasted vegetables
• Homemade baked goods
• Stirred into coffee or tea
• Sweetening oatmeal or yogurt
Maple syrup also shines in savory cooking. I often use it to balance salt and spice in slow-cooked meals. In my Swerve, Honey and Maple Syrup Slow Cooker Pork Roast, maple syrup adds depth and caramelization without making the dish overly sweet. It pairs beautifully with garlic and herbs, creating a rich glaze as the roast cooks low and slow. And if you're looking for a simple vegetable side, my Sweet Maple Green Beans Recipe uses just enough maple syrup to enhance the natural flavor of fresh green beans without overpowering them. Both recipes show how homemade maple syrup can move beyond breakfast and become a staple ingredient in everyday homestead cooking.
Because it's a liquid sweetener, it's one of the most versatile ingredients in our pantry once syrup season is underway.
You can watch how we use our homemade syrup in real time - including making sourdough pancakes topped with cinnamon maple syrup - in my Sourdough Pancakes with Homemade Maple Syrup video on YouTube, where I show how maple season carries straight from the trees into our kitchen.
Frequently Asked Questions About Maple Syrup
Q. When can you tap maple trees in Indiana?
A. In Indiana, maple trees are typically tapped in early to mid-February, depending on weather. The key is consistent freeze-thaw cycles - daytime temperatures above 32°F and nighttime temperatures below freezing. I always watch the forecast more than the calendar.
Q. How long does maple syrup season last in Indiana?
A. In most parts of Indiana, maple syrup season lasts four to six weeks. Warm spells can shorten the season, while steady freeze-thaw patterns can extend it slightly. Once nighttime temperatures stay above freezing, sap flow slows and the season ends.
Q. How much sap does it take to make one gallon of maple syrup?
A. On average, it takes 40 to 50 gallons of maple sap to produce one gallon of syrup. Trees with lower sugar content, which is common in red or silver maples, may require even more.
Q. Can you make maple syrup without sugar maple trees?
A. Yes. While sugar maples produce the highest sugar content sap, red maple and silver maple trees common in Indiana can also be tapped successfully. The process is the same - you simply boil longer to reach the proper concentration.
Q. Can you tap black walnut trees in Indiana?
A. Yes. Black walnut trees can be tapped using the same basic process as maple trees. The sap has a lower sugar content and a slightly different flavor profile, but it can be boiled into syrup just like maple sap.
Q. How many taps can you put in a backyard maple tree?
A. A healthy backyard tree that measures 10-17 inches in diameter should have one tap. Trees over 18 inches can support two taps. On a homestead scale, protecting the long-term health of the tree is more important than maximizing sap yield in a single season.
Q. Do you have to boil maple sap outdoors?
A. Boiling outdoors is strongly recommended for homesteaders. The steam released during boiling contains sugar and can leave sticky residue inside your home. Many small-scale producers use a grill, propane burner, or wood fire setup.
Q. How long can maple sap sit before boiling?
A. Sap should ideally be boiled within 24-48 hours and kept cold until then. In Indiana's fluctuating late-winter temperatures, warm daytime weather can cause sap to spoil quickly if not refrigerated.
Q. How do you know if maple sap has spoiled?
A. Spoiled sap may appear cloudy, develop a sour smell, or feel slightly slimy. If sap shows signs of fermentation, it should be discarded before boiling.
Q. When is maple syrup done?
A. Maple syrup is finished when it reaches approximately 219°F - about 7 degrees above the boiling point of water at your elevation. This indicates the correct sugar concentration for proper thickness and shelf stability.
Q. Can maple syrup be overcooked?
A. Yes. If heated too long, maple syrup can quickly turn into maple sugar or scorch. The final stage of boiling requires constant monitoring.
Q. Does homemade maple syrup need to be refrigerated?
A. Unopened, properly sealed syrup can be stored in a cool, dark place. Once opened, it should be refrigerated to prevent mold growth.
Why Maple Season Matters
Maple season is the first real food production work of the year on our homestead.
Before seed trays are filled and before garden beds are workable, we're outside monitoring temperatures and collecting sap from trees that have stood quietly all winter. The freeze-thaw cycles that drive sap flow remind us that growth begins long before the soil is ready to plant.
It's steady, intentional work - collecting, boiling, watching temperatures rise.
In February, when the landscape still looks dormant, maple tapping signals that the seasonal shift has begun. It connects us to the land in a practical way and anchors the transition from winter into active production.
Maple season doesn't stand alone - it marks the beginning of the growing year. While sap flows, I'm already planning seed starts, checking supplies, and preparing for early planting. If you're ready to move from syrup season into garden season, my guide to February garden tasks for a strong spring garden walks through exactly what to focus on next.
And if you'd like to see the entire maple process in action - from tapping trees to boiling sap down and using homemade syrup in the kitchen - you can follow along in my full seasonal maple syrup playlist on YouTube, where I document the journey step-by-step.