Lavender Bread Recipe
What if your next loaf of homemade bread had a little something from the flower garden baked right into it? Lavender gives this bread a lovely floral flavor that makes it different from an everyday loaf. Slice it while it is still warm, add a little butter, and you might find yourself wondering what other herbs you could bake with next.
I have been baking bread since I was 18, back when I mixed and kneaded every loaf by hand, and I still love trying new recipes and using herbs from the garden. If you have never baked bread before, don't let that stop you. This lavender bread recipe uses familiar ingredients and dried culinary lavender, and I will explain what to look for as you work with the dough. You can make it by hand or use a bread machine. Either way, the goal is a loaf you will be proud to pull from the oven.
In This Article
What Makes This Lavender Bread Recipe Different?
Lavender brings a floral fragrance to homemade bread, and this recipe uses dried lavender flowers in a yeast dough that can be mixed by hand or prepared with a bread machine. I use flour, yeast, sugar, dry milk, salt, butter and warm water alongside the lavender. The instructions below preserve my original method, including kneading the dough and allowing time for two rises.
For another recipe that brings the garden into the kitchen, see my spicebush homemade ice cream recipe. If you are new to baking with flowers, make sure the lavender you use is culinary lavender that has not been treated with unsuitable sprays. For another way to use flowers in the kitchen, explore my rose petal and rose hip recipes. If you enjoy making bread from scratch, you may also like my rosemary peppercorn bread.
Why Bake Bread With Lavender?
I grow herbs because I want to use them, and bread is one more way to bring something from the garden into the kitchen. In a loaf, the flowers add an aromatic note to an otherwise familiar yeast bread. The flour, butter and sugar still give the bread its basic character; the lavender is an accent rather than a replacement for those ingredients.
This is also a useful recipe for learning how flowers behave in cooking. A flower that smells wonderful in a garden can become surprisingly strong when dried and mixed into food. The amount matters, and so does the variety, freshness and condition of the flowers. Treat the original quantity as the recipe's starting point, but pay attention to the flavor of the lavender you have rather than assuming every batch of dried flowers will taste identical.
Choosing Culinary Lavender for Bread
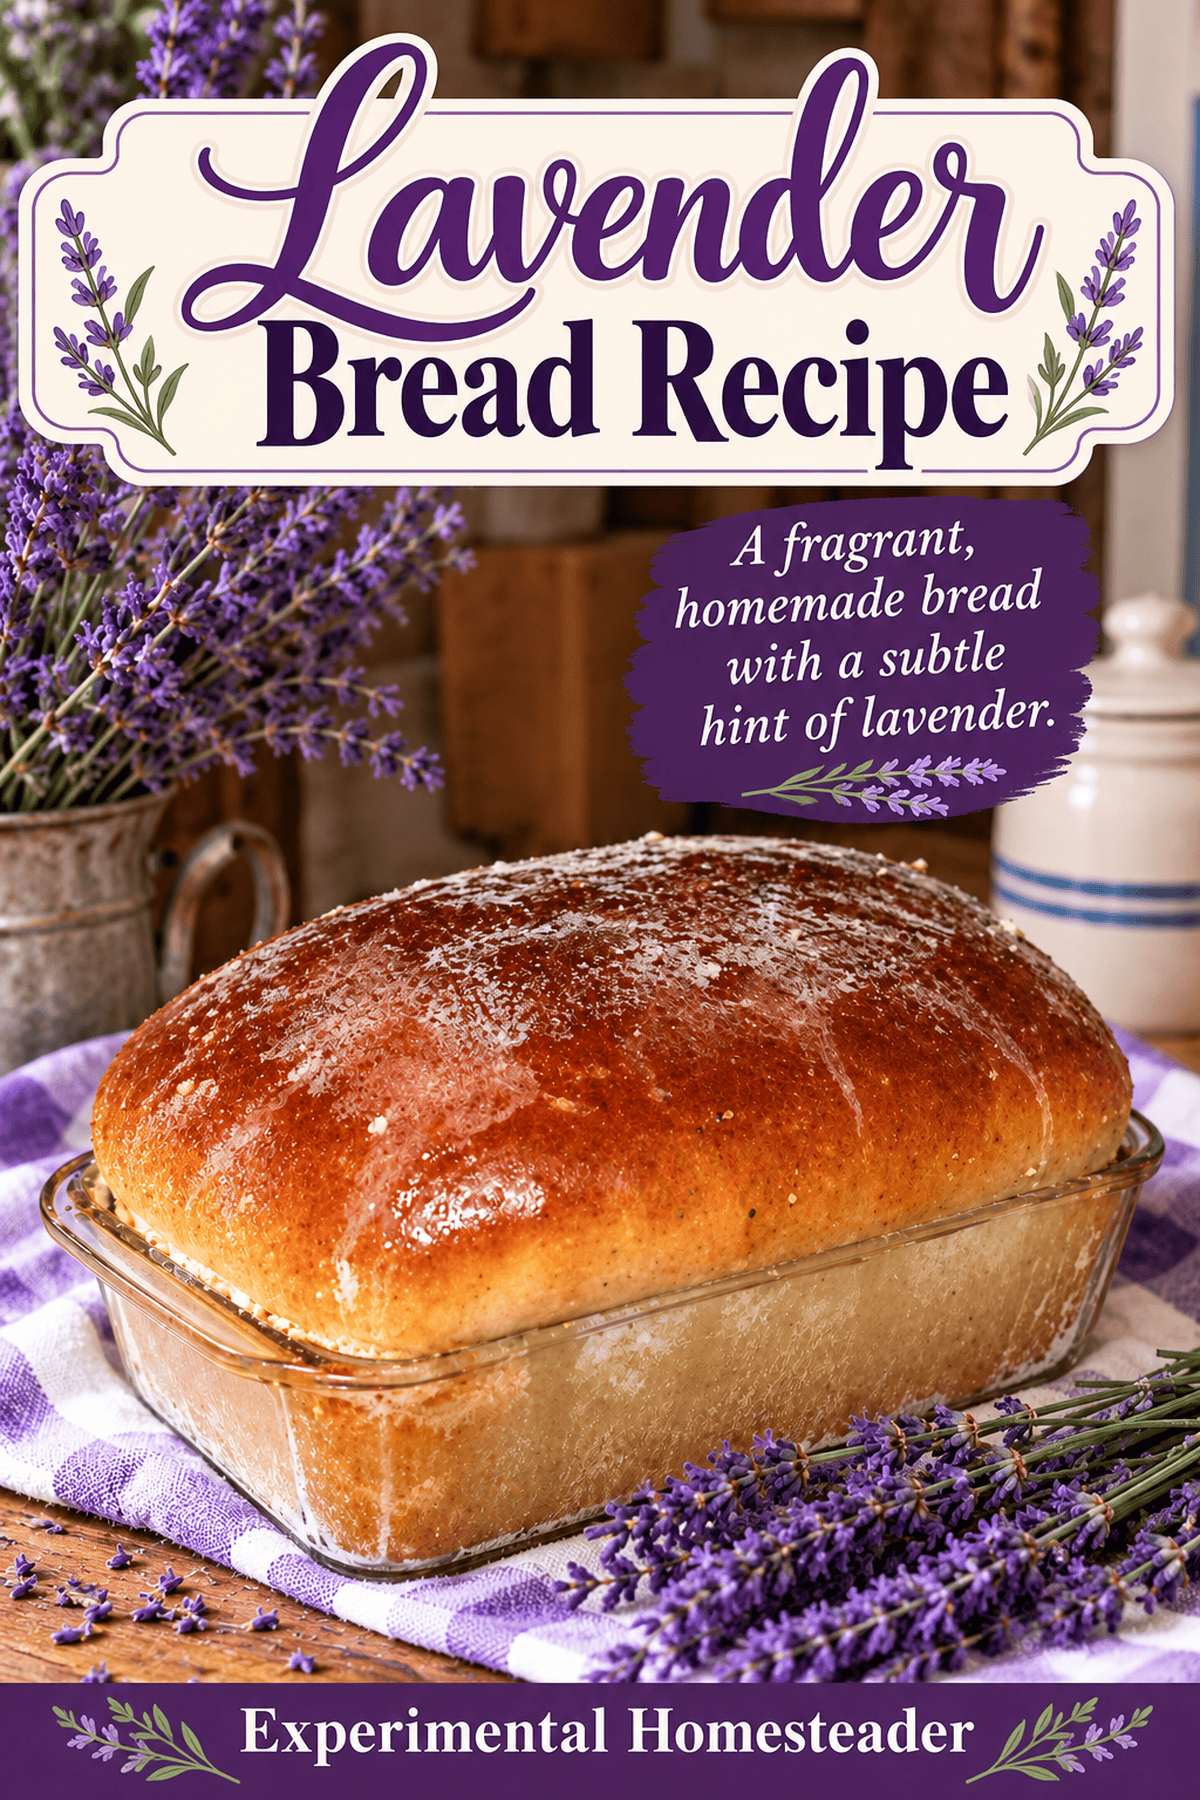
Use lavender intended for culinary use, grown without treatments unsuitable for edible crops. Do not substitute flowers from decorative arrangements, craft supplies or potpourri, even if they look and smell similar. If you harvest your own, pick clean flowers, dry them thoroughly and store them away from moisture and strong odors.
English lavender is commonly selected for cooking because its floral character is generally less sharp than more camphor-heavy lavenders. Rub a small pinch of dried flowers between your fingers and smell them before adding them to the dough. If the aroma is musty, stale or overwhelmingly medicinal, it is not the flavor you want to build into a loaf of bread. The original recipe calls for three tablespoons of dried lavender flowers, so the quality and strength of those flowers make a real difference.
How to Make the Dough Work for You
The recipe begins by combining the yeast with warm water and sugar, then allowing it to stand briefly. That pause gives you a chance to see the yeast begin working before you commit the remaining ingredients. Water should feel comfortably warm, not hot enough to damage the yeast. When mixing by hand, add the flour gradually until you have a soft dough you can handle rather than dumping in extra flour simply because the dough feels a little tacky.
Kneading develops the dough's structure. The original instructions call for about eight minutes of kneading, followed by a rise in a greased bowl and another rise after shaping the loaf. Use the time as a guide, but also watch the dough: it should become smoother and more elastic as you knead, and visibly expand during each rise. A cool kitchen can slow fermentation; a warm kitchen can speed it up. The dough's appearance is more reliable than watching the clock alone.
Hand Mixing or Bread Machine?
Both approaches are included in the original recipe. Hand mixing lets you feel the dough change as flour is incorporated and gives you control over shaping the loaf. It is a good choice if you want to understand the texture of the dough or use your preferred bread pan.
For a bread machine, follow your machine's instructions for ingredient order and select a suitable yeast-bread program. Machines differ in how they handle the mixing, kneading and rising stages, so the original recipe's simple instruction to combine the ingredients should be interpreted alongside the manufacturer's guidance. If you prefer an oven-baked loaf, use the machine's dough cycle, shape the dough and give it its final rise in the pan before baking.
Rising, Baking and Knowing When It Is Done
The original recipe calls for two rises of approximately one hour each and baking at 350 degrees F for about 30 minutes. Those are useful starting points, not a guarantee that every loaf will be ready at exactly the same minute. The size and shape of the pan, room temperature, yeast activity and amount of flour incorporated all affect the result.
During the first rise, keep the dough covered so the surface does not dry out. After shaping, allow enough room in the pan for expansion instead of packing it too full. When baking, look for an evenly browned loaf that feels set rather than doughy. If you use an instant-read thermometer, the center of a typical enriched yeast loaf is often done around 190 degrees F, though the finished appearance matters too. Let the loaf cool before slicing so the crumb has time to set.
Serving and Storing Homemade Lavender Bread
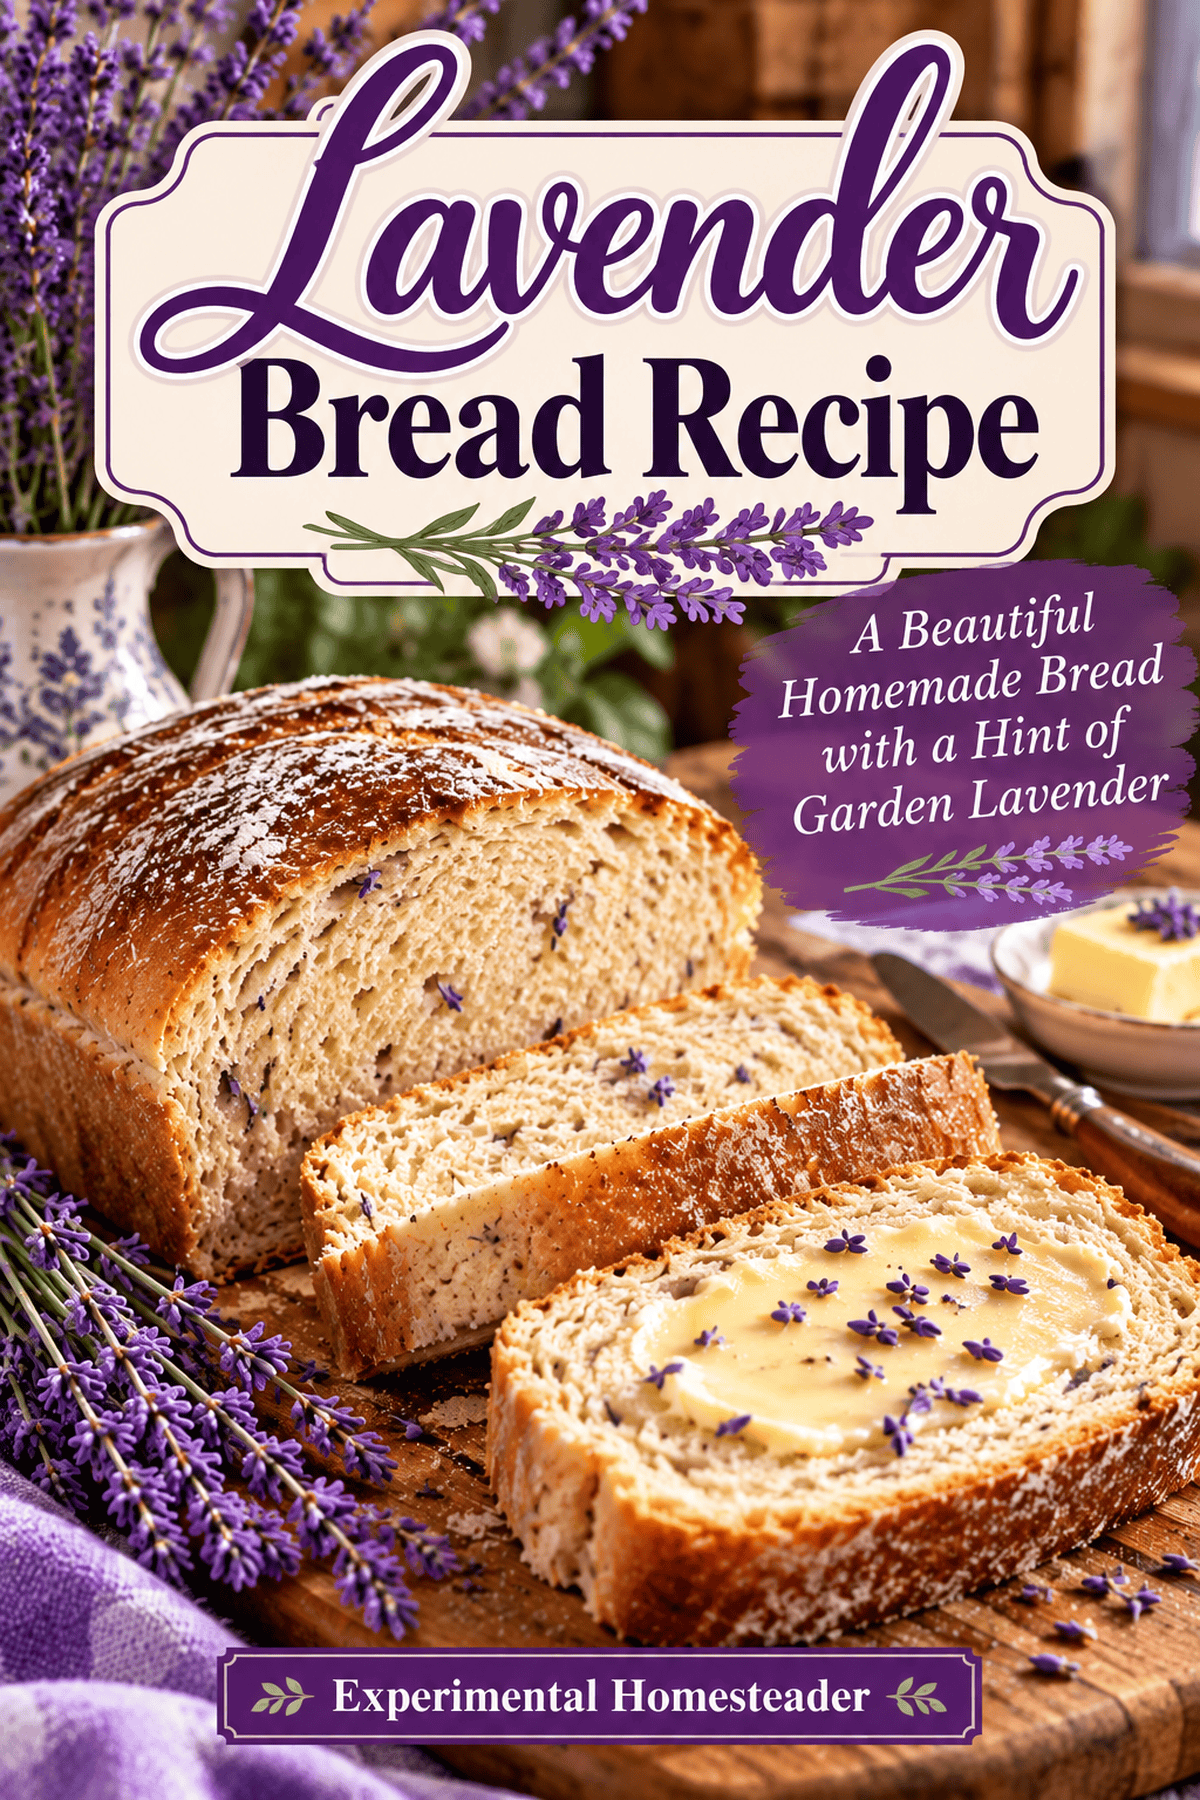
A slice of lavender bread can be enjoyed simply with butter, honey or a mild fruit spread. Because the bread already has a floral note, try it with accompaniments that will not overwhelm it. Toasting a slice is another way to enjoy leftovers, especially when the loaf is no longer quite as soft as it was on baking day.
Once the loaf is completely cool, keep it wrapped or in a suitable bread container to limit drying. For longer storage, slice and freeze it so you can remove only what you need. Avoid wrapping warm bread tightly because trapped moisture can make the crust damp and encourage spoilage. Homemade bread without commercial preservatives generally has a shorter room-temperature life than many packaged loaves.
Troubleshooting Lavender Bread
If the bread does not rise well, check the yeast's age, the temperature of the water and whether the dough was left somewhere too cold or too hot. If the dough is heavy, it may need more kneading or more time to rise. If it is very dry and difficult to work, too much extra flour may have been added during mixing.
If the lavender flavor seems too strong, the first thing to evaluate is the dried lavender itself. The strength of different harvests and varieties can vary. Record which lavender you used and how the loaf tasted so you can adjust the floral intensity next time. If the bread tastes bland, make sure the flowers still have a pleasant aroma before baking rather than simply adding more of an old, faded batch.
When to Harvest Lavender and Where to Find Culinary Flowers
If you are growing your own lavender, you can begin preparing for this recipe when the flower buds are well developed and just starting to open. Choose a dry day to cut the stems, then dry them somewhere with good air circulation and out of strong sunlight. Once the flowers are completely dry, remove them from the stems and store them in a labeled jar or another airtight container. I like the idea of being able to reach for something I grew myself when I decide to bake, and dried herbs make that possible long after the growing season is over.
You do not have to wait until lavender is blooming to bake this bread. As long as you dried and stored the flowers properly, you can make it in the middle of winter if you want. Just be sure the lavender is suitable for cooking. Flowers sold for crafts, potpourri or floral arrangements are not necessarily food safe, and I would not use them in something I planned to eat.
Keeping Notes for Your Next Loaf
A simple kitchen notebook is useful when working with ingredients harvested from the garden. Record the lavender variety, whether the flowers were purchased or homegrown, how long they had been stored, the pan you used, how long the dough actually took to rise and whether the flavor was too faint or too strong. Write down whether the loaf browned evenly and how the crumb looked after cooling.
I know keeping notes might sound like one more thing to do when you already have enough to keep up with. But even writing down which lavender you used and whether the loaf rose well can save you frustration the next time. Your kitchen, your flour and your lavender are not going to behave exactly like anyone else's, and that is useful information to have.
Lavender Bread Troubleshooting at a Glance
| What you notice | Possible reason | What to try next time |
|---|---|---|
| Dough barely rises | Inactive yeast or a cool rising spot | Check yeast freshness, use comfortably warm water and give the dough enough time |
| Loaf feels heavy | Insufficient kneading, short rising time or too much extra flour | Knead until elastic, watch for expansion and add bench flour sparingly |
| Top browns before center is done | Oven or pan browning faster than the center bakes | Check the oven temperature and loosely tent with foil near the end |
| Lavender tastes too strong | Flowers are especially potent or strongly camphor-scented | Record the variety and harvest and adjust the floral intensity on the next batch |
| Crust turns damp after baking | Steam trapped in the loaf pan or wrapping while warm | Cool on a rack and wait until fully cool before wrapping |
These are starting points for diagnosing a loaf, not guarantees that every problem has only one cause. The same recipe can behave differently with another flour, a different pan or a cooler room. Make one adjustment at a time and note what changes so you can tell which fix actually helped.
Frequently Asked Questions
Can I use lavender from my garden? Yes, provided you know the plant is edible culinary lavender and it has not been treated with products unsuitable for food crops. Dry the flowers completely before measuring them for this recipe.
Can I use fresh lavender instead of dried? The recipe was written for dried flowers. Fresh flowers contain more moisture and do not measure or release flavor in exactly the same way, so a direct tablespoon-for-tablespoon substitution would change the recipe.
Can I make this without a bread machine? Yes. The original instructions include hand mixing, kneading, a first rise in a bowl, shaping in a loaf pan, a second rise and oven baking.
Can I freeze lavender bread? Yes. Cool it completely, wrap it well and freeze in slices or as a loaf. Slices are convenient for toast and help avoid thawing more bread than you need.
Print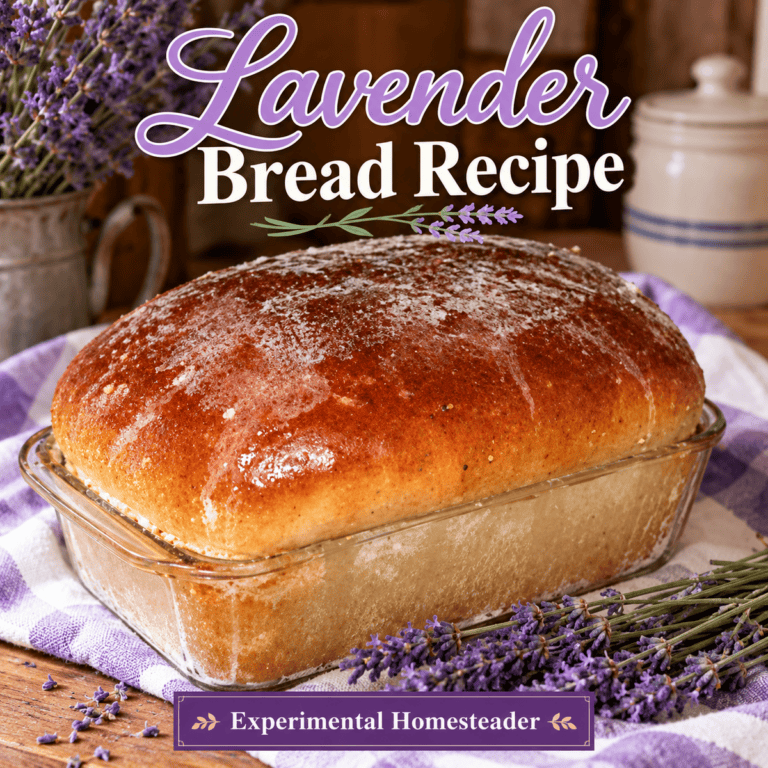
Lavender Bread Recipe
Homemade lavender yeast bread made with dried culinary lavender flowers, flour, butter and warm water. Mix by hand or use a bread machine, let the dough rise twice and bake until golden.
- Total Time: 2 hours 50 minutes
- Yield: 1 loaf 1x
Ingredients
- 1 teaspoon dry yeast
- 2 ½ cups flour
- 2 tablespoons sugar
- 1 tablespoon dry milk
- 1 teaspoon salt
- 1 tablespoon butter
- 1 cup warm water
- 3 tablespoons dried lavender flowers
Instructions
- Grease your bread pan or as an alternative, coat the bottom of the pan with whole flax seeds.
- Combine the yeast, warm water and sugar in a large bowl or you can put it into a bread machine. If you are using a bowl, stir well and then let the mixture stand about five minutes so the yeast can begin working.
- Combine the dry milk, salt, lavender and butter in a large bowl and mix well. Begin adding the yeast mixture alternating it with flour until it becomes a soft dough.
- Turn dough onto floured surface and knead for about 8 minutes until the dough is elastic and feels somewhat like a baby's bottom. Place dough in greased bowl making sure to turn the dough to coat all sides with the grease. Cover with paper towel or a clean dish towel and let rise in a warm place for an hour.
- If you are using a bread machine, simply combine all of the ingredients and turn the machine on. You can bake the bread in the bread machine or remove it and bake it in a pan.
- When the dough is ready, fill the greased pan about half way with the dough. Allow the dough to rise for about an hour. Bake the bread in a preheated oven for 30 minutes at 350 degrees F or until it is done. If you are having problems getting your bread to rise, set the pan on a heating pad turned on low heat or you can turn off the oven, add a pan of water to the bottom rack of the oven and set your bread on the top rack.
Notes
Use only culinary lavender grown without treatments unsuitable for edible crops. Lavender varieties vary in strength. Rising times are approximate; watch the dough rather than the clock. Prep time and one-loaf yield are estimates based on the original method.
- Prep Time: 20 minutes
- Rising Time: 2 hours
- Cook Time: 30 minutes