
Ingredients
Scale
- several pieces of sponge papers
- a cereal box
- 2 to 3-cm. in width floral ribbon
- a pencil
- a pair of scissors
- a medium to a large-sized circular object
- golden metallic thread
- hot glue
Instructions

- Draw a circle using a medium to large-sized object on a piece of cereal box. You should have an inner circle that is smaller and an outer circle that is bigger. The width of the wreath base should be at least 6 to 8 centimeters thick. The size of this wreath base would be based on your own preference.
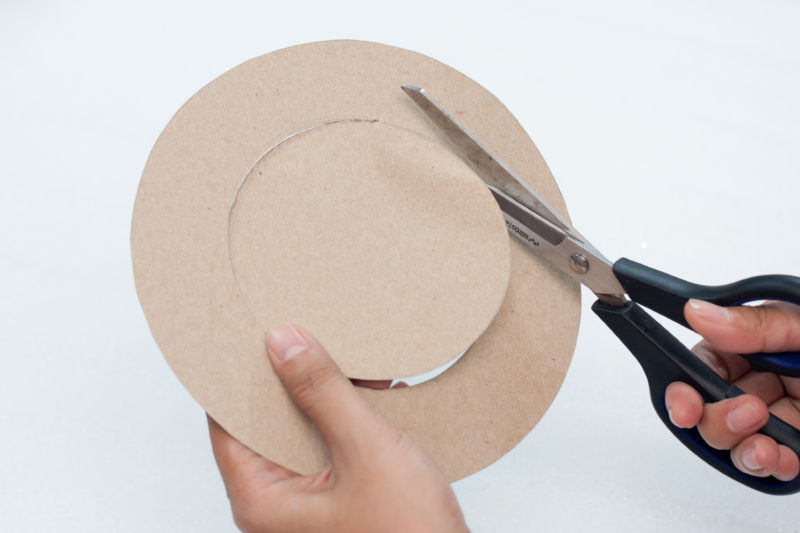
- Cut the wreath base from the cereal box.
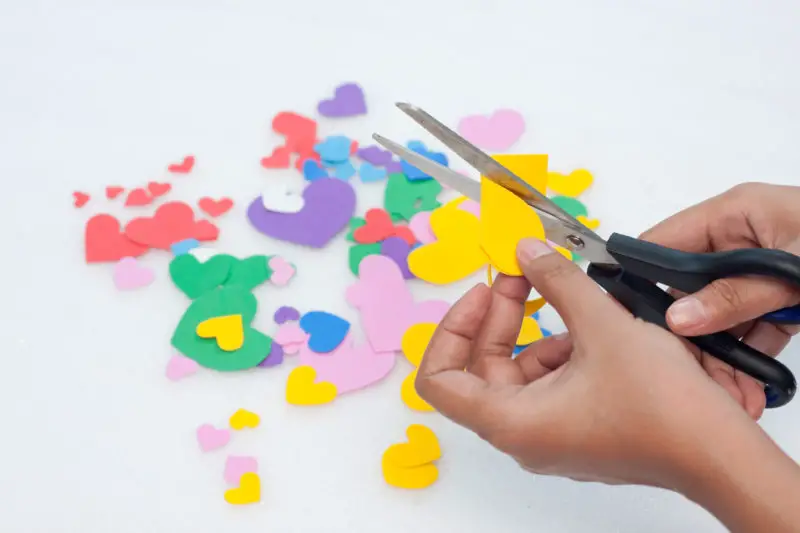
- Cut random color and size of the heart from the sponge papers. Create as many hearts as possible since this will cover the wreath base of this project.
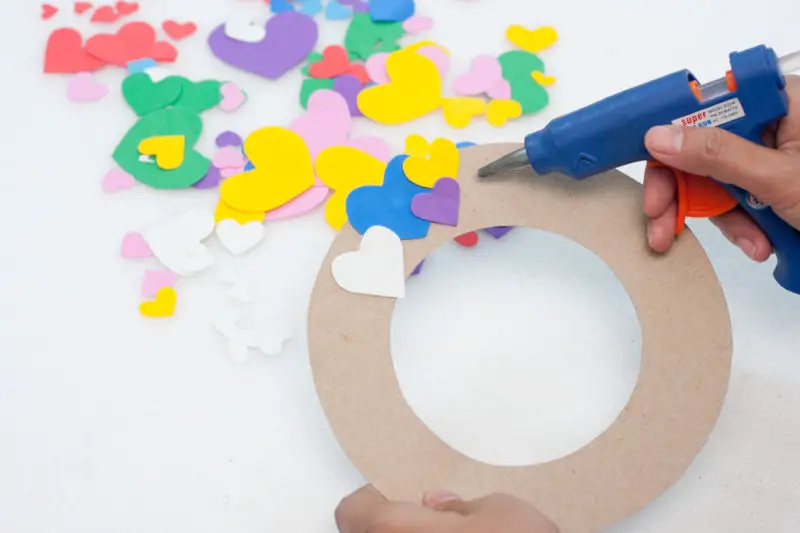
- Randomly glue the hearts on the wreath base. The hearts can overlap to each other and the sizes can be placed anywhere you want just as long as the orientation of hearts are unidirectional to each other, meaning all of them should be in an upright position.
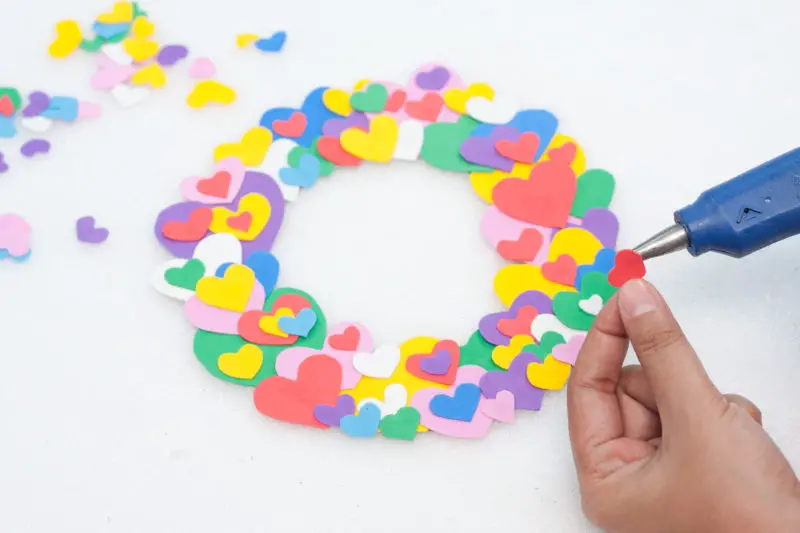
- Continuously place and glue the hearts on the wreath base until the whole body is covered with the hearts.
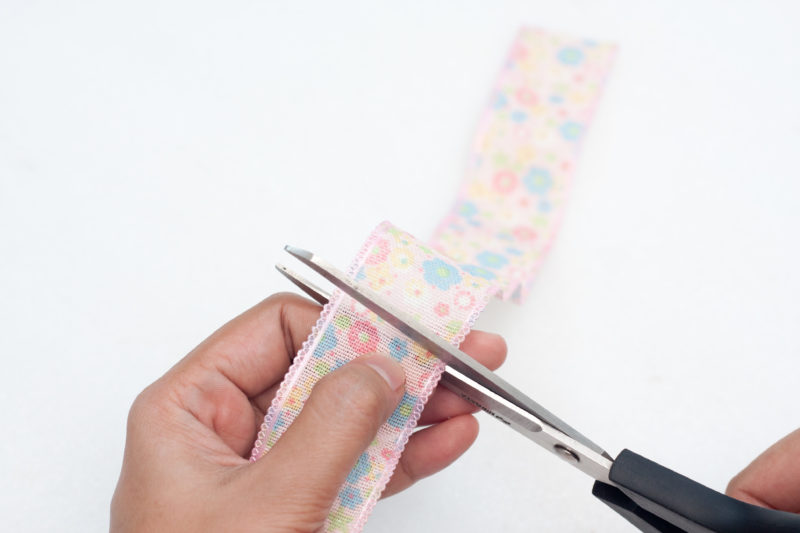
- Cut at least 6 to 10 centimeters long floral ribbon.
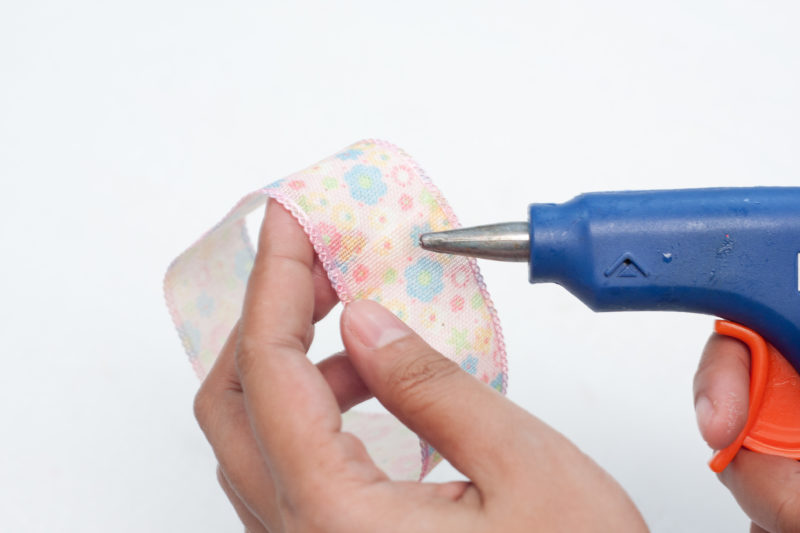
- Glue the ends of the floral ribbon together using hot glue.
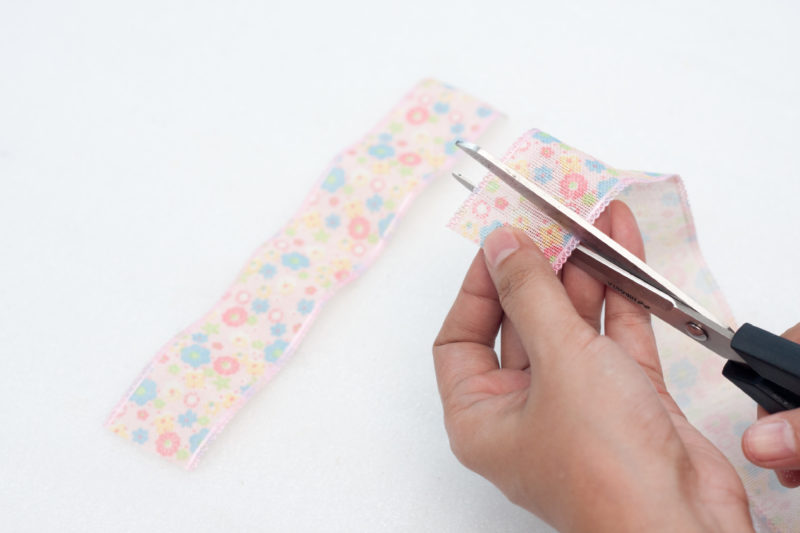
- Cut another floral ribbon strip of at least 5 to 7 centimeters long and a small strip which is at least 1 to 1.5 centimeters long. The long strip would be used as the tail of the bow and the short strip is the binding strip of the bow in the middle.
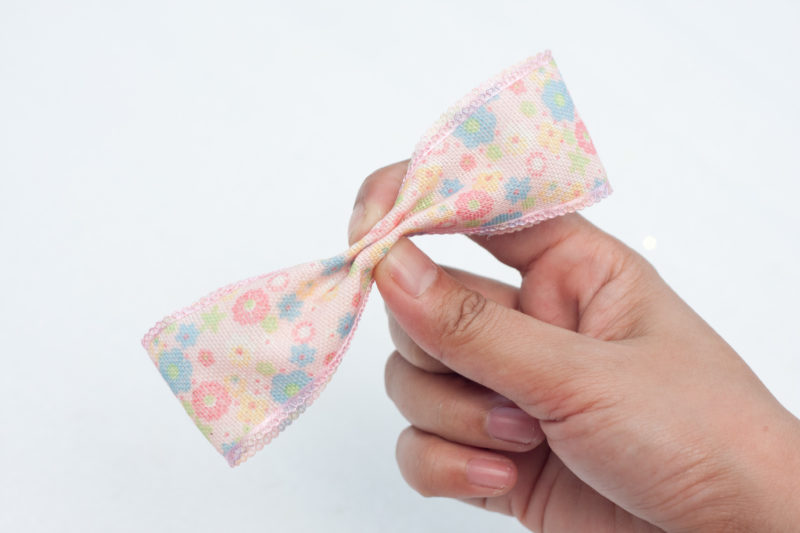
- Pinch the center of the joint ends ribbon in the center to form a bow.

- Wrap the center of the pinched ribbon with the short strip of ribbon and insert the long strip of floral ribbon on the bottom part of the bow to create a full-blown bow. Make diagonal cuts at the ends of the bow’s tail.

- Place the floral bow at the bottom part of the wreath’s body. Glue this to permanently fix it on the wreath.
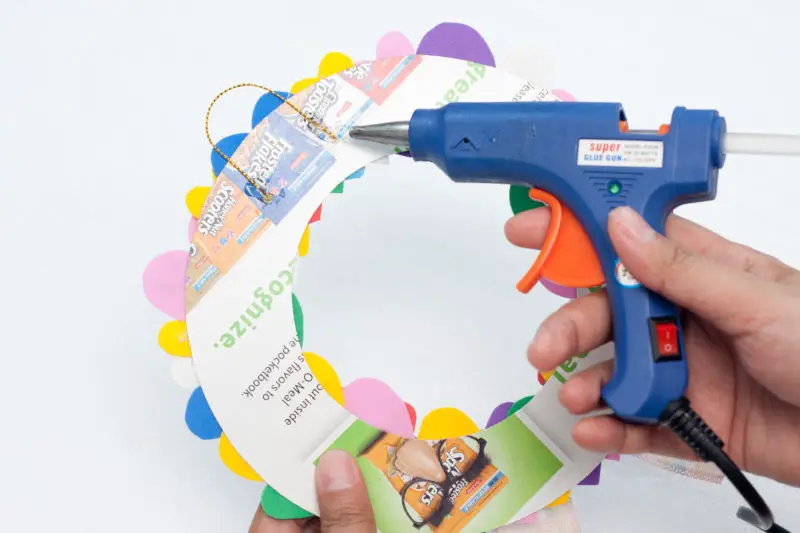
- Cut at least 4 centimeters long golden metallic thread and glue this at the topmost part of the wreath at the back.
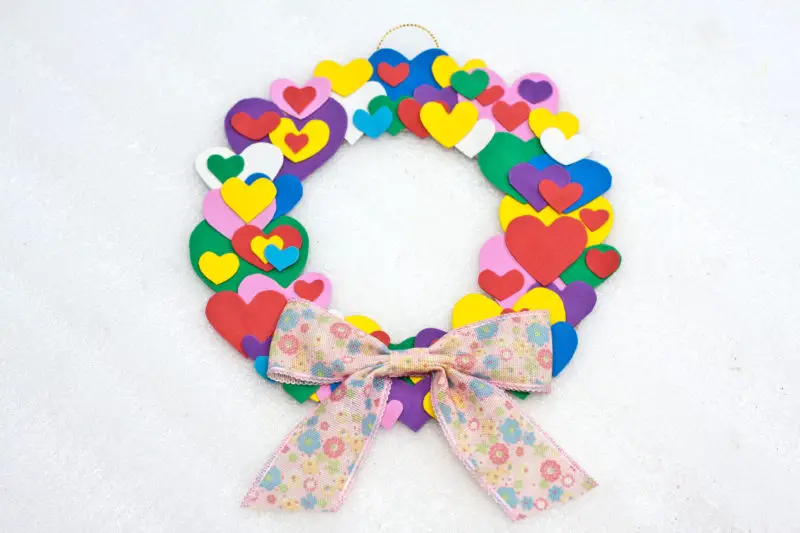
- Once all the hot glue is dry, the wreath is done. You can now hang your colorful heart wreath on a wall, on a door or give it as a gift.


