
Ingredients
Scale
For The Cupcake:
- 2 cups cake flour*
- 2 cups granulated sugar
- 1 cup boiling water
- 1/4 teaspoon salt
- 1/2 cup buttermilk
- 1 teaspoon baking soda
- 1 teaspoon vanilla extract
- 2 whole eggs
- 2 sticks butter
- 4 tablespoons cocoa powder
For The Chocolate Cupcake Filling:
- 8 ounces dark chocolate, finely chopped
- 4 ounces brewed caramel flavored coffee, at room temperature
- 4 ounces water
- 1 1/2 ounces cane sugar
Special Equipment:
For The Decorations:
Instructions
Cupcake Directions:
- Preheat the oven to 350 degrees Fahrenheit.
- Line 18 muffin cups with regular size paper baking cups.
- Combine the flour, granulated sugar and salt in a large bowl and set it aside.
- In a separate bowl, combine the buttermilk, baking soda, vanilla and eggs.
- Stir to combine the wet ingredients and set this bowl aside.
- Melt the butter in a stainless steel saucepan over medium heat.
- Add the cocoa powder to the butter and stir to combine the two ingredients.
- Add the boiling water to the cocoa powder and butter mixture, then allow it to bubble for a few seconds before removing the saucepan from the heat.
- Pour the chocolate mixture into the bowl with the flour mixture.
- Stir the chocolate into the dry ingredients until the chocolate is cool.
- Pour the contents of the other bowl into the chocolate flour mixture.
- Stir to combine the liquid ingredients into the chocolate flour mixture.
- Fill the paper baking cups with the batter until they are just over halfway full. Do not overfill the paper baking cups!
- Place the filled paper baking cups into the preheated oven on the center rack.
- Bake for 13 to 15 minutes.
- Allow the cupcakes to cool for 5 minutes in the pan, and then remove the cupcakes.
- Place them on a wire baking rack and allow them to cool completely before frosting them.
White Chocolate Star Directions: 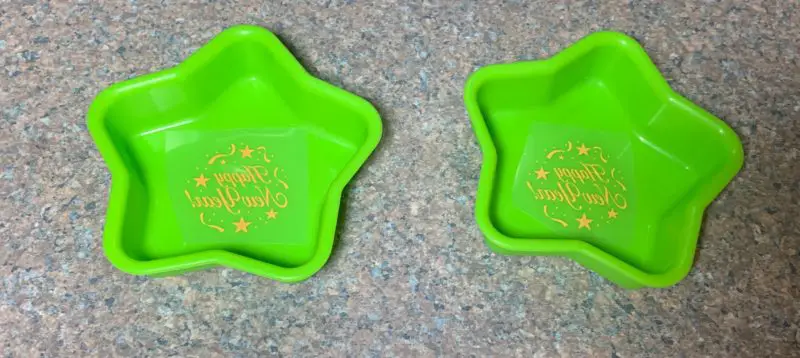
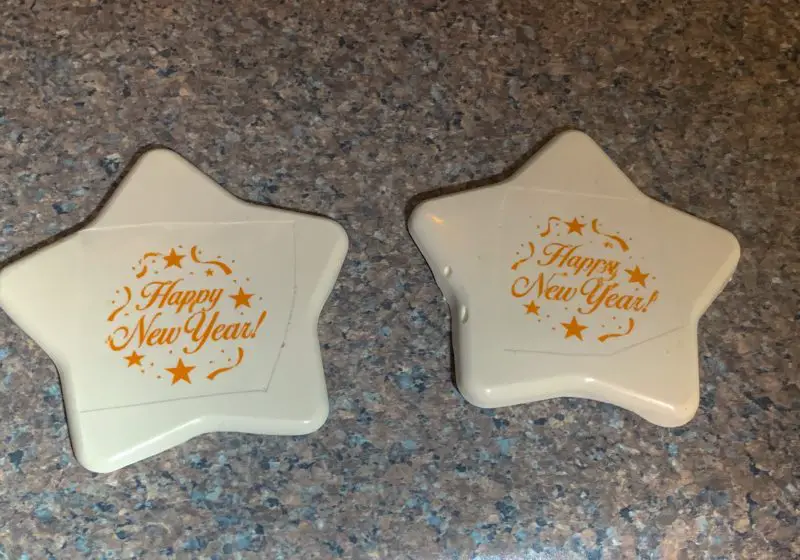
- While the cupcakes are cooling, cut out the chocolate transfers and place the cutout inside the silicone star muffin pans. Be sure the chocolate transfer sheets are facing printed side down so they are right side up once you remove the chocolate from the mold. They will look like the writing is backwards at this stage.
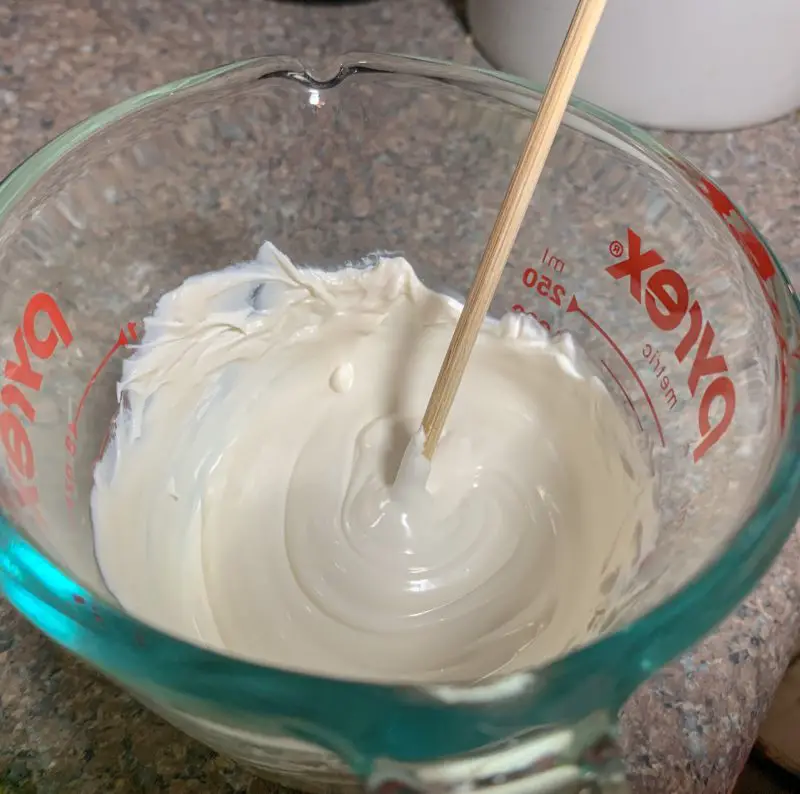
- Melt the candy melts in the microwave according to the package directions.
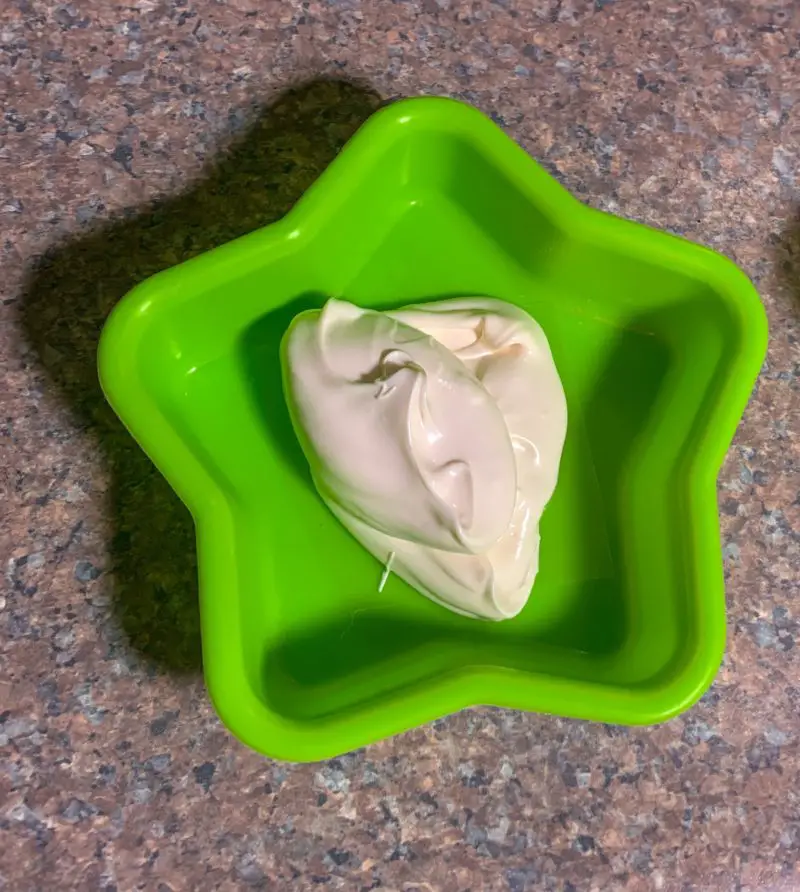
- Carefully spoon some of the white chocolate candy melts on the top of the chocolate transfer sheets.
- Spread the chocolate out very carefully with a spoon making sure you do not move the chocolate transfer sheets underneath. You do not need a thick layer of chocolate. A 1/4 inch to 1/2 inch layer of chocolate is plenty thick enough.
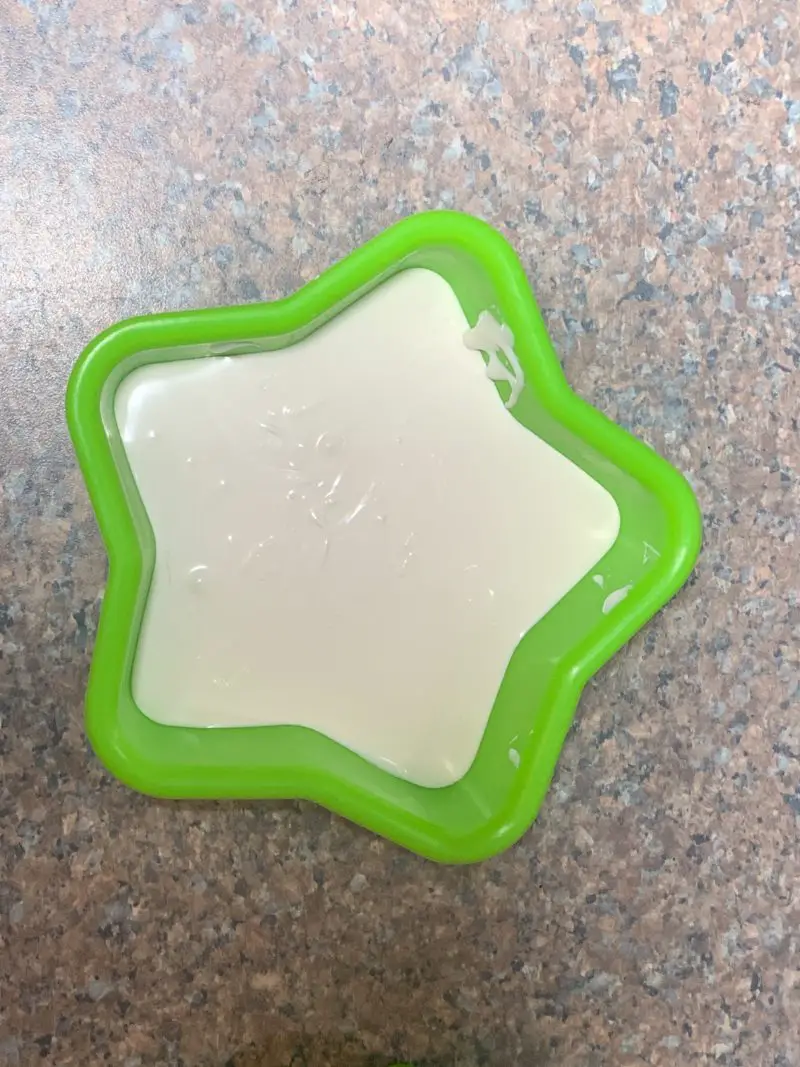
- Gently bounce the mold on the cabinet to release any air bubbles in the chocolate.
- Refrigerate the molds for 15 to 20 minutes or until the chocolate is hard.
- Carefully remove the chocolate stars from the mold by peeling back the silicone mold.
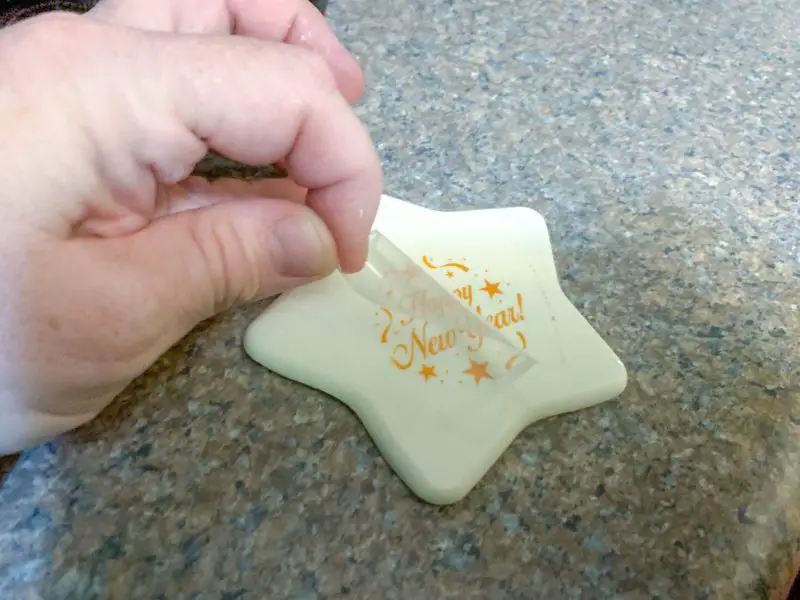
- Peel the plastic layer off the chocolate transfer design.
- Now use a paintbrush to add the gold shimmer dust to the white chocolate star.
- Refrigerate the molded chocolate until you are ready to use it.
Cupcake Filling Directions:
- Fill a large bowl with ice and water to create an ice bath.
- Add 1 inch of water to the bottom of a 10-inch saucepan.
- Bring the water to a simmer over medium heat.
- Combine the chocolate, coffee, water and sugar in a medium heatproof metal bowl.
- Place the bowl in the saucepan that contains the simmering water.
- Stir the mixture in the bowl occasionally until the chocolate is melted and the sugar is dissolved. This should take 4 to 5 minutes.
- Remove the saucepan from the heat source.
- Remove the bowl from the saucepan and place it in the ice bath.
- Whisk the mixture vigerously until the mixture reaches 60 degrees Fahrenheit. The mixture should be the consistency of heavy cream. This takes approximately 2 to 3 minutes.
- Attach one of the injector tips to the cream whipper.
- Pour the chocolate mixture into the cream whipper taking care to keep the mixture under the maximum fill line.
- Attach one N2O charger to the cream whipper and charge the contents.
- Shake the cream whipper vertically at least 16 times, but no more than 20 times.
- Set the cream whipper aside for 1 minute.
- Invert the cream whipper and insert the injector tip into the center of the cooled cupcake and inject the filling into the center of the cupcake. Take care to not over inject it or the filling will blow the side of the cupcake out! A little goes a long ways!
Cupcake Decorating Decorations:
- Pipe a large blob of chocolate icing on top of the cupcake.
- Sprinkle thieving with the chocolate flakes.
- Press the decorated white chocolate heart into the icing.
- Paint the chocolate flakes with the edible gold metallic paint.
- Return the cupcakes to the refrigerator until you are ready to serve them.
- Prep Time: 45 minutes
- Cook Time: 15 minutes
- Category: Desserts
- Method: Stovetop + Oven


