
Ingredients
Units
Scale
- 2 gallons milk
- 1 packet Thermophilic Direct Set Cheese Culture
- 1/4 teaspoon Lipase Powder, Capilase (Very Sharp)
- 1/2 cup cool water
- 1/2 Tablet Vegetable Rennet
- 1 Tablespoon Cheese Salt
- Organic Cheesecloth
- Basic Cheese Mold
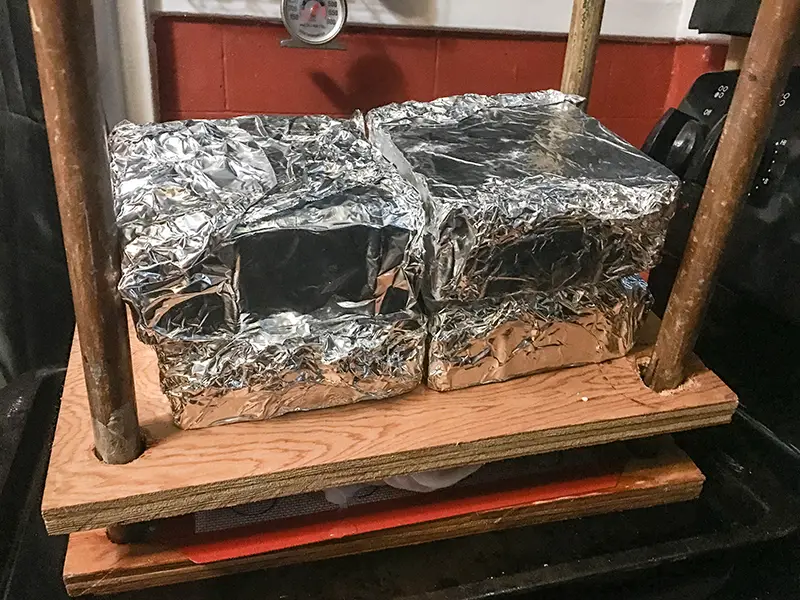
- Cheese Press for Home Cheese Making
(Mine is made of two sheets of plywood and has dowel rods on each corner to keep the wood lined up.)
- Weights (I use square brick wrapped in aluminum foil. My bricks are 5 pounds each and I have a total of 4.)
- Cheese Wax
- Silicone brush
Instructions
- Dissolve the lipase powder in 1/4 cup cool water, cover and let set for 20 minutes.
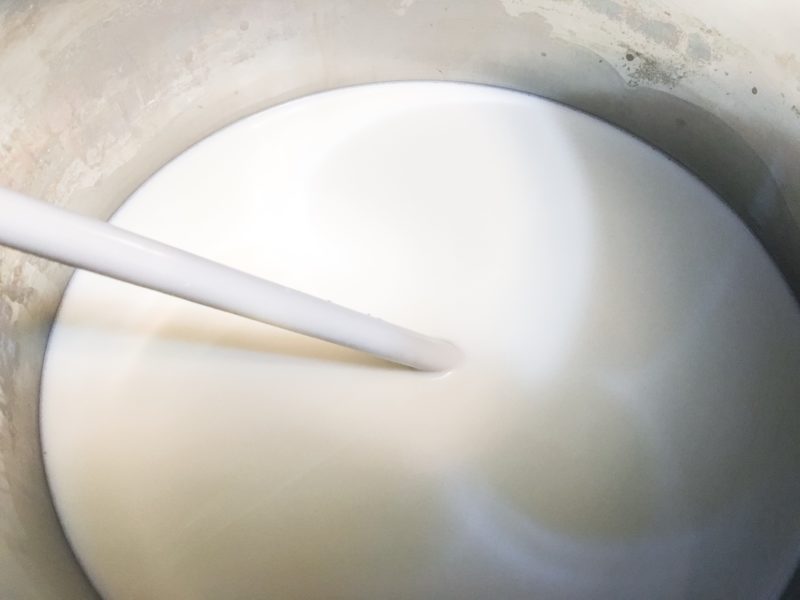
- Slowly heat the milk to 90 degrees Fahrenheit while stirring frequently.
- Once the milk reaches 90 degrees Fahrenheit, add the packet of direct-set thermophilic starter and mix well.
- Add the lipase mixture and stir well.
- Cover the pan, remove it from the heat and allow it to sit for 30 minutes so the milk ripens.
- Dilute the rennet tablet in 1/4 cup cool water - un-chlorinated water is recommended.

- Once the 30 minutes are up, check to make sure the milk is still 90 degrees Fahrenheit. If not, slowly raise the temperature until it is then remove the pan from the heat.
- Add the diluted rennet and stir with an up and down motion for two minutes. Then top stir for another minute.
- Cover the pan and allow it to set for at least 30 minutes.
- Rinse a piece of cheesecloth large enough to line a colander with cold water and then place it in the freezer.
- At this point the cheese curds should cut into cubes in the pan. I've had times where they did not, but I went ahead and proceeded. If they do cut, go ahead and cut them into 1/4 inch cubes.
- Put the curds back on the heat and slowly raise the temperature to 124 degrees Fahrenheit. Be sure to stir the curds frequently during this time.
- The curds should look more like grains of rice at this point. They should squeak if you try to eat them. Remove the pan from the heat and let it sit undisturbed and uncovered for five minutes.
- Remove the cheesecloth from the freezer and line a colander with it.
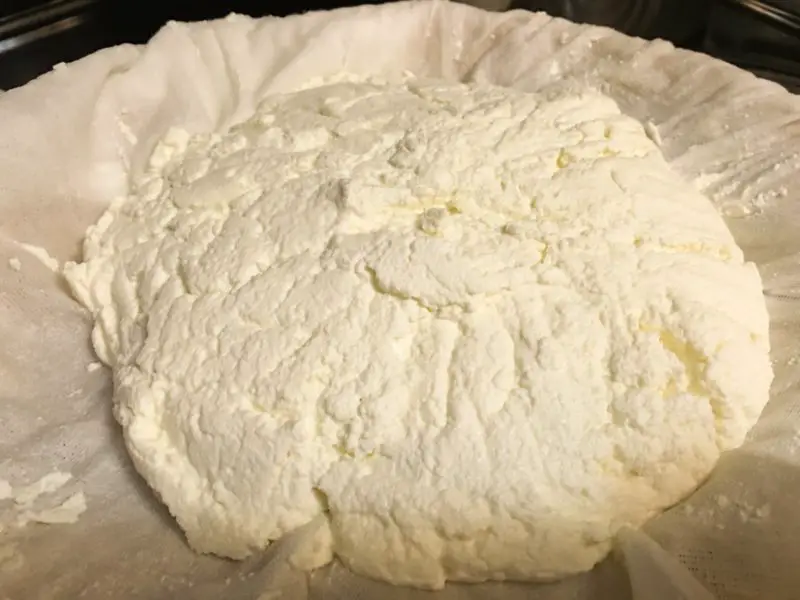
- Set the colander on a pan so you can catch the whey as you pour it off the curds. The curds will remain in the colander. Take your time with this process and realize you might have to swap out whey pans several times so you don't waste any whey.
- Once you have the curds separated, use another piece of cheesecloth to line your cheese mold, mix the salt into the curds, then press the cheese curds into the mold. I do not have anything that would fit into my cheese mold perfectly , so I removed the cheesecloth and molded cheese from the cheese mold so I could press it. I ended up with mis-shapen cheese but it still tastes great!
- Once your cheese curds are in the cheesecloth, the next step is to press the cheese. I laid mine on the bottom of the piece of wood making sure it was in a pan so the excess whey had a place to drain. The I put one 5 pound weight on top of the second piece of wood. Allow this to sit for 15 minutes.
- Remove the cheese from the cheese press, remove the cheesecloth and re-dress it with a piece of clean, dry cheesecloth. Turn the cheese over, put it back in the cheese press and press it at 10 pounds of pressure for 30 minutes. If you are pressing in the mold, make sure you put the cheese in the mold before you press it.
- Remove the cheese from the cheese press, remove the cheesecloth and re-dress it with a piece of clean, dry cheesecloth. Turn the cheese over, put it back in the cheese press and press it at 15 pounds of pressure for 2 hours. If you are pressing in the mold, make sure you put the cheese in the mold before you press it.
- Remove the cheese from the cheese press, remove the cheesecloth and re-dress it with a piece of clean, dry cheesecloth. Turn the cheese over, put it back in the cheese press and press it at 20 pounds of pressure for 12 hours. If you are pressing in the mold, make sure you put the cheese in the mold before you press it.
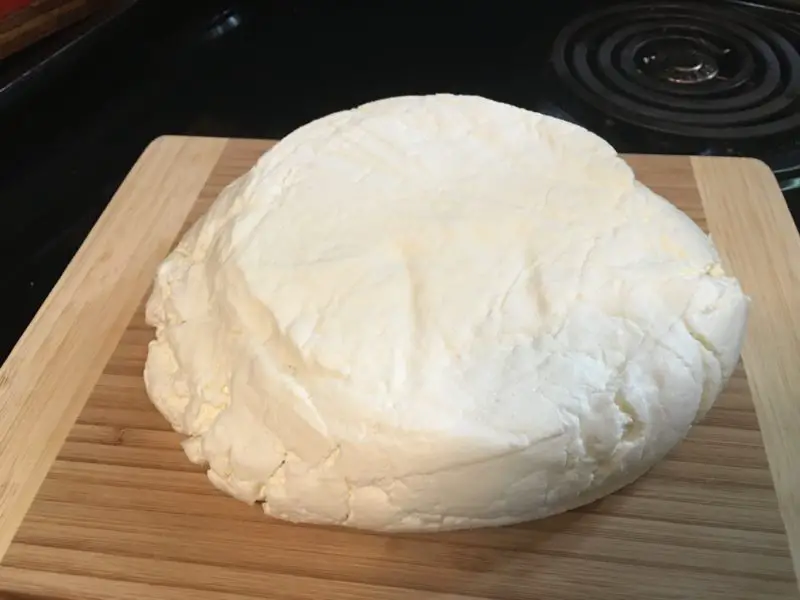
- Remove the cheese from the press and peel away the cheesecloth.
- Age the cheese at 55 degrees Fahrenheit and 85 percent relative humidity making sure to turn the cheese over daily for the first month.
- Continue aging the cheese for another month making sure to turn the cheese over weekly. During this time if you notice any mold, go ahead and cut it off then wipe the surface of the cheese - and the cutting board - down with white vinegar.
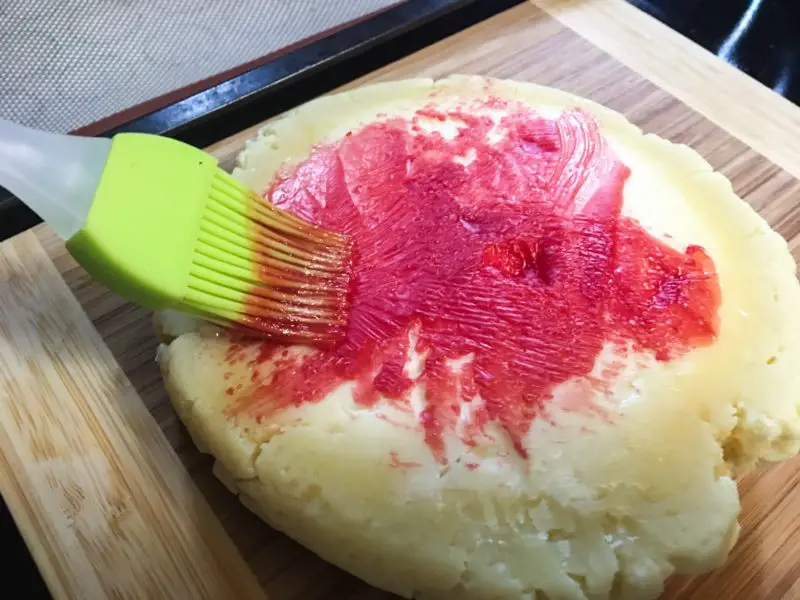
- Once it has aged for 2 months, wax the cheese with cheese wax making sure to completely cover the cheese so it cannot mold. Two coats of wax are better than one thick one. Return it to refrigerator and continue aging it for another 8 months at 55 degrees Fahrenheit and 85 percent relative humidity.
- Once it is done, cut the cheese and use it as you normally would. The wax is reusable so save it. Be sure to re-wax any exposed cheese so it does not harden too much or mold.
Equipment
thermometer made for cheese making
Buy Now →- Prep Time: 10 months 1 hour
- Cook Time: 4 hours
- Category: Dairy
- Method: Stovetop


