Ingredients
Scale
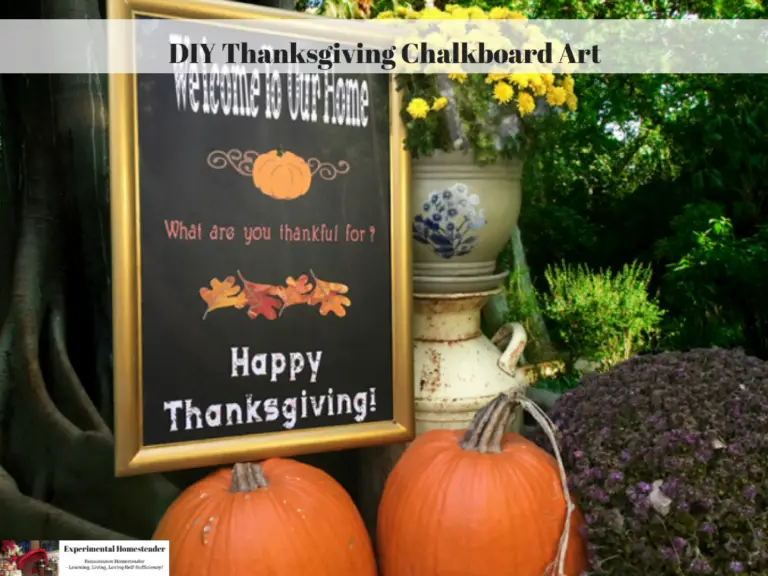
All of my images for this project came from the Cricut Access Image Library.
- 2 oz. Americana Chalkboard Paint
- 2 oz. DecoArt Dazzling Metallics Acrylic Paint in Venetian Gold
- 2 12" x 12" sheets brown cardstock
- 1 12" x 12" sheet fall leaf cardstock
- 1 12" x 12" sheet patterned orange cardstock
- 1 12" x 12" sheet white foil patterned cardstock
- 1 12" x 12" sheet black cardstock
- 1 12" x 12" sheet orange patterned cardstock
- 1 12" x 12" sheet orange cardstock
- 1 12" x 12" sheet green cardstock
Instructions
- The first step is to put a new coat of chalkboard paint on the chalkboard if you chose to purchase a used one.
- Allow the paint to dry thoroughly.
- Then paint the frame of the chalkboard with four thin coats of paint.
- Allow this to dry overnight.
- Set the design up in the Cricut Design Space then opened the app on your iPad.
- Click here for the design template.
- Connect the iPad to the Bluetooth connection on the Cricut Explore Air.
- Cut the images, switching out the colors of the paper as needed.
- Once all the pieces of the design are cut out, glue the ones together that have backs.
- Use a glue stick to apply glue to the back of the cutouts then quickly press them onto the chalkboard.
- Allow the project to thoroughly dry and display as desired.


