
Ingredients
Scale
- a clean yogurt cup
- pink, red, and black card stock - note: you can use construction paper but the end result is not as sturdy.
- 2 pcs. purple pipe cleaner
- red acrylic paint
- paint brush
- a black Sharpie or any black permanent marker
- 3 pcs. red paper clips
- 2-inch in width pink gros grain ribbon with heart design
- an awl hole crafting tool
- a pair of scissors
- hot glue gun - note: you can use Elmer's glue in place of the hot glue gun
Instructions
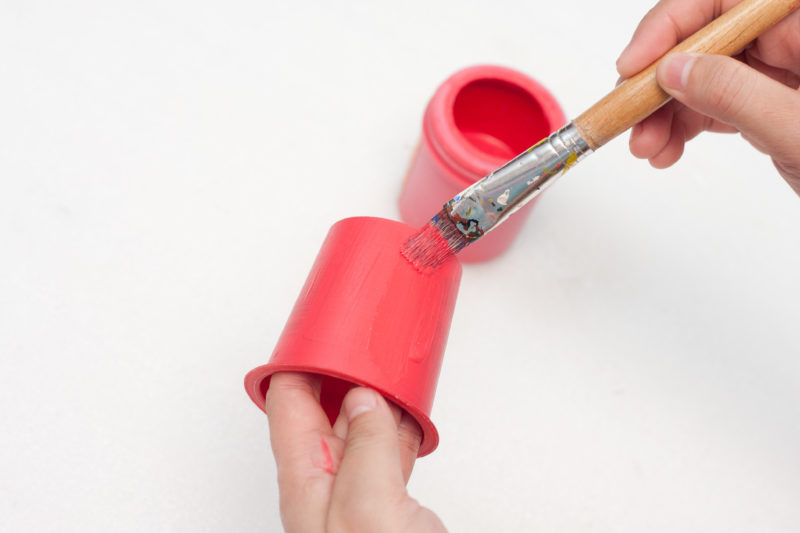
- Paint the walls of the yogurt cup with red acrylic paint. Let it dry for an hour. You can double coat this if necessary.

- Cut three medium-sized hearts from the red card stock. This will be the bug’s wings.
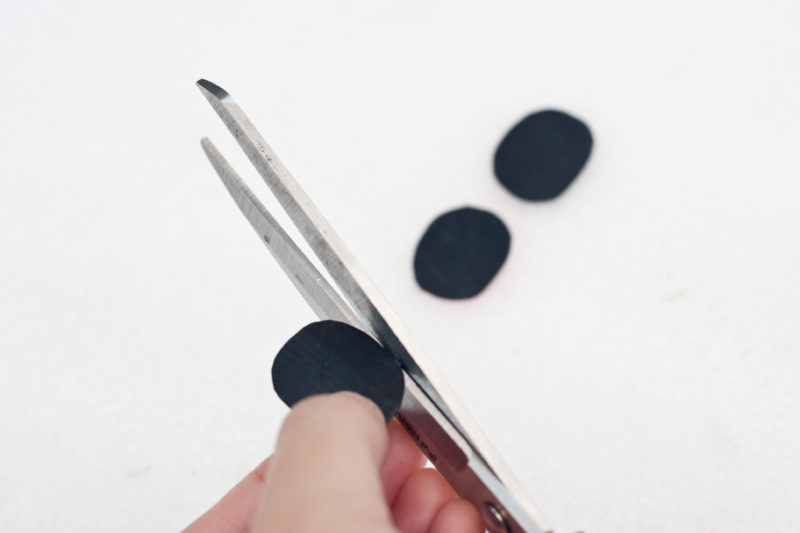
- Cut three medium-sized oblongs from the black card stock. This should be proportionate to the heart since it will serve as the head of the bug.
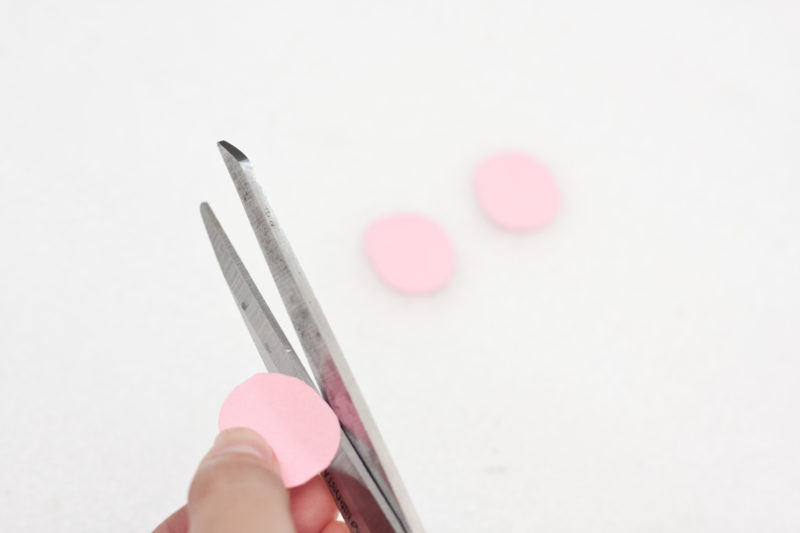
- Cut three medium sized pink circles. This is the abdomen of the bug.
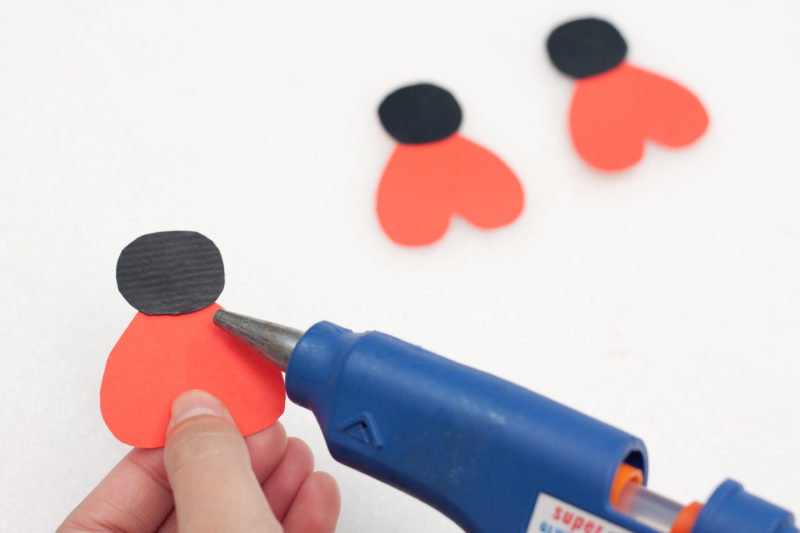
- Glue the head on the tip of the heart wings. Do these for the remaining two.
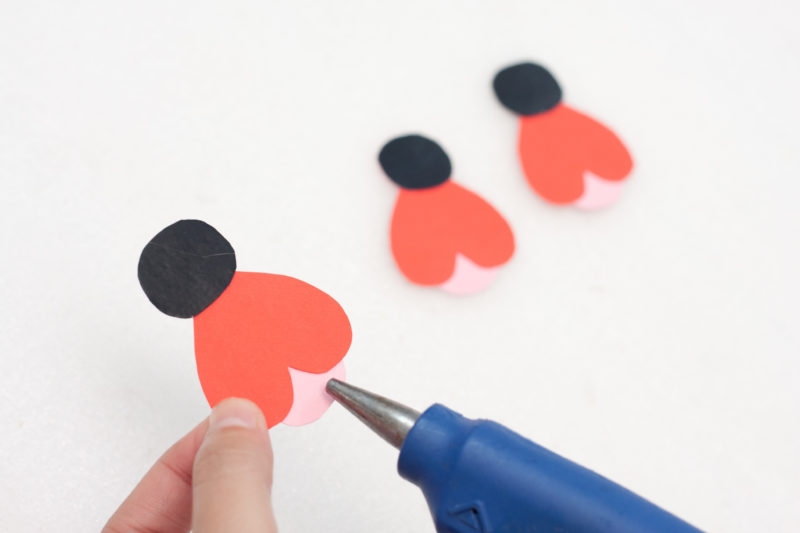
- Glue the pink circle on the rear end of the bug’s wings or at the opposite side of the head.
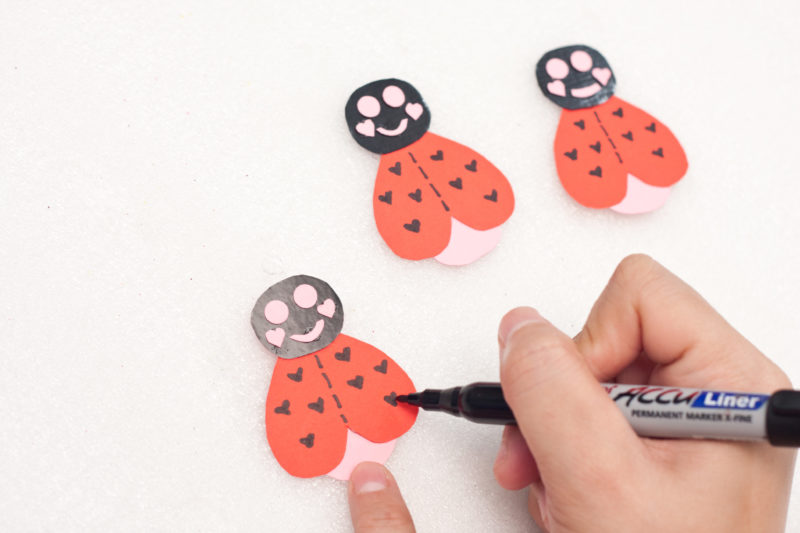
- Add some details on the face of the love bug. You can create some cut-outs from the pink card stock for the eyes, lips, and dimples. Other details that can be made on the wings can be done using a permanent marker.
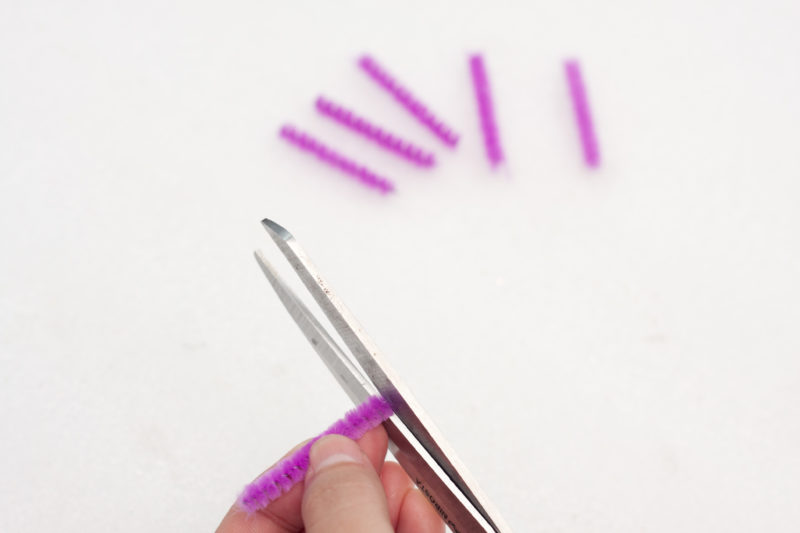
- Cut six pieces of 1 inch long purple pipe cleaners. This is the antenna of the love bug.
- Curl one end of the six pipe cleaners and glue a pair of antenna on the head of the bug from the back of the head.
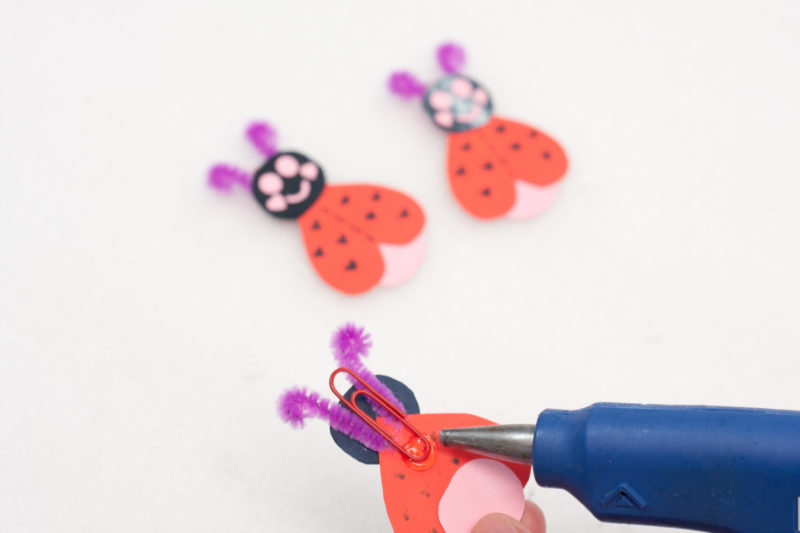
- Hot glue the red paper clip on top of the antenna at the back. This should be placed in between the two antennae.
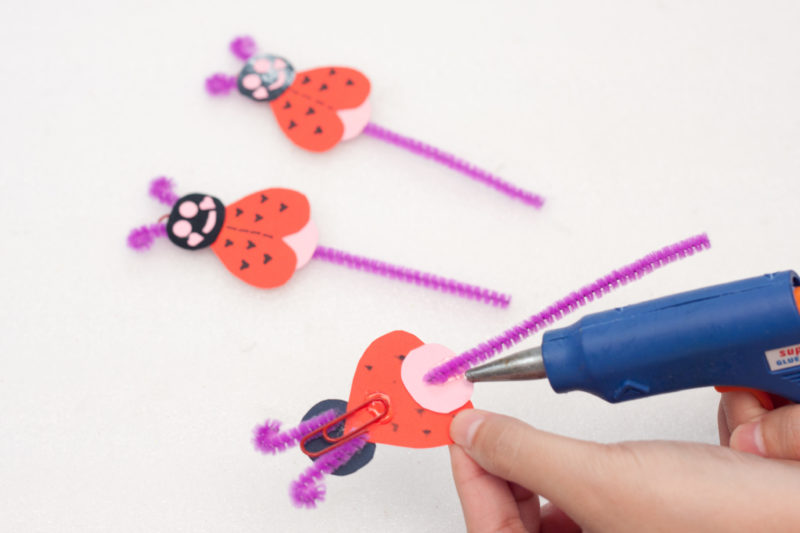
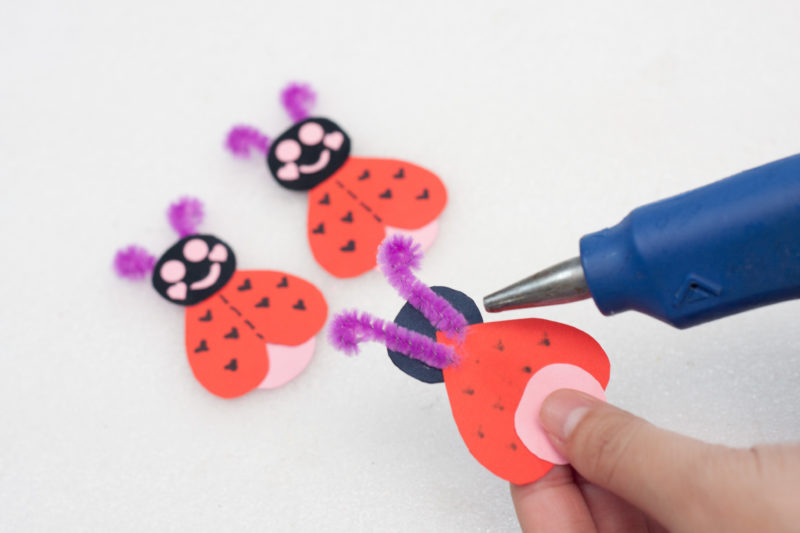
- Cut the purple pipe cleaner into 2 inch, 3 inch, and 4 inch, respectively. Glue the pipe cleaner on the gut of the bug at the back. This is the stem of the love bug photo holder.
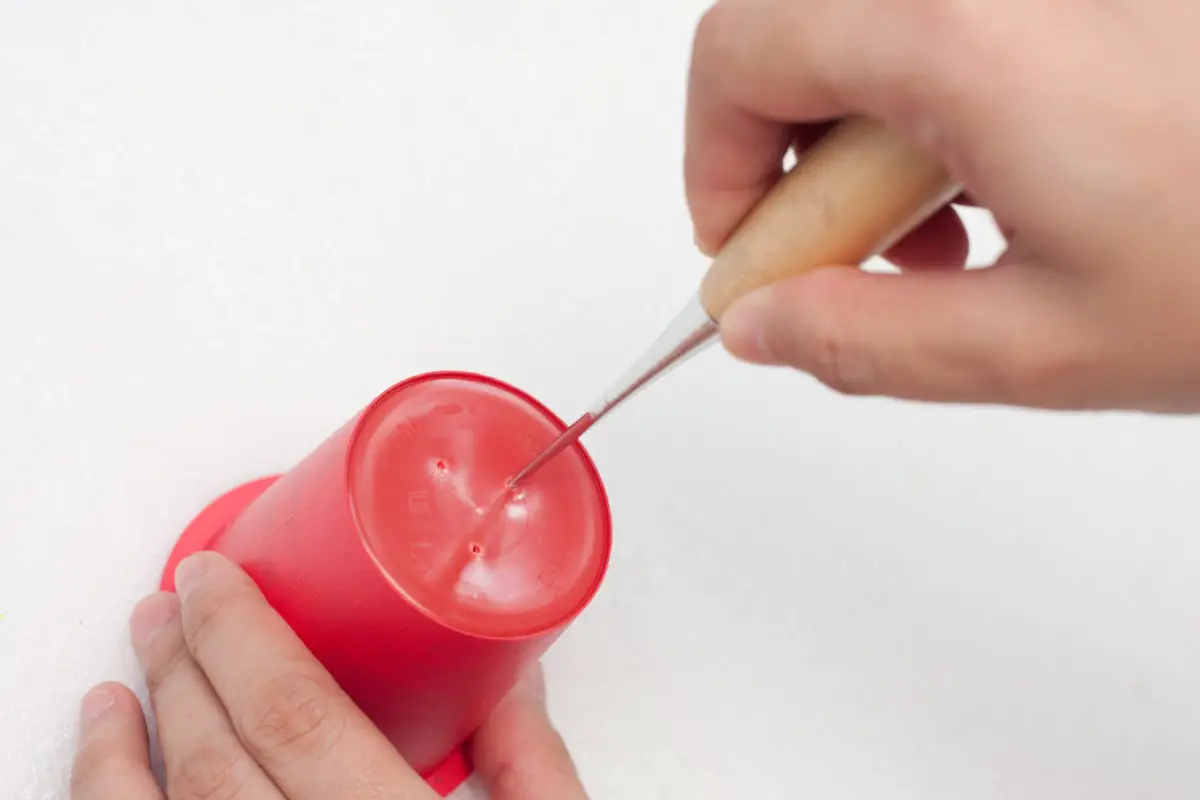
- Create three holes on the bottom part of the yogurt cup using the awl hole crafting tool.
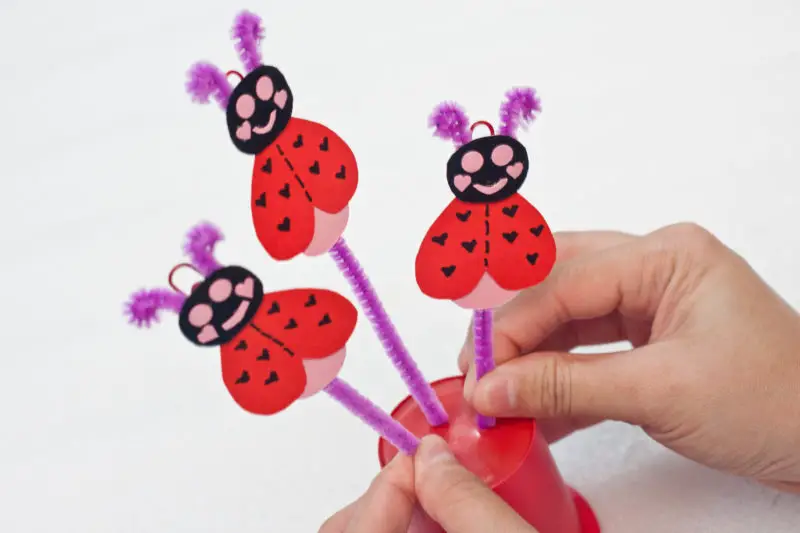
- Insert the love bugs on the holes on the yogurt cup base.
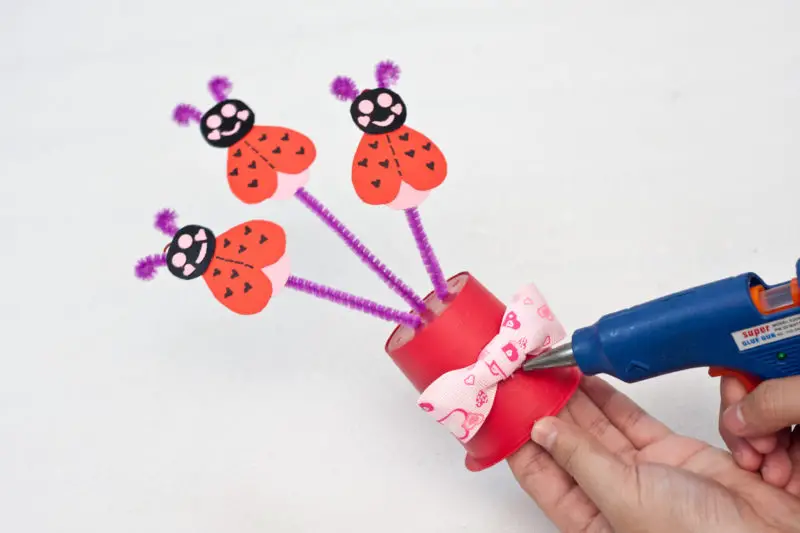
- Create a bow from the pink gros grain ribbon and glue it in front of the base cup, right in the middle of it.
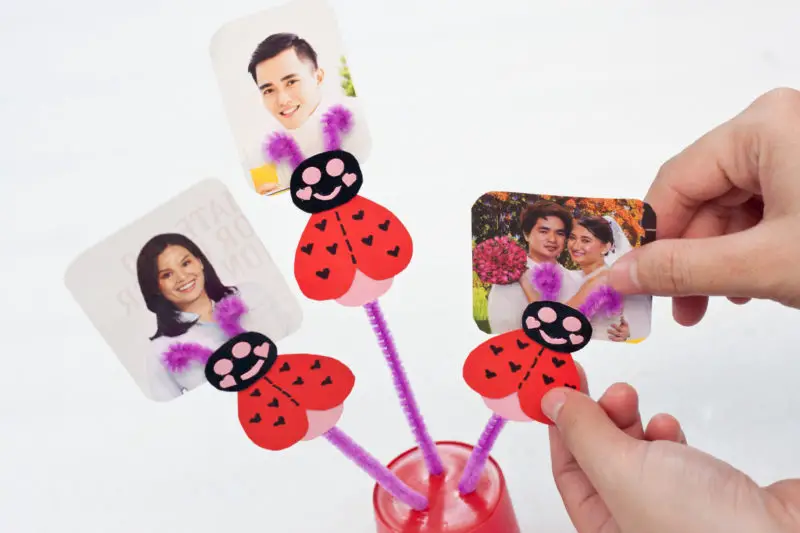
- You can now insert your photos through the clips at the back of the love bug.
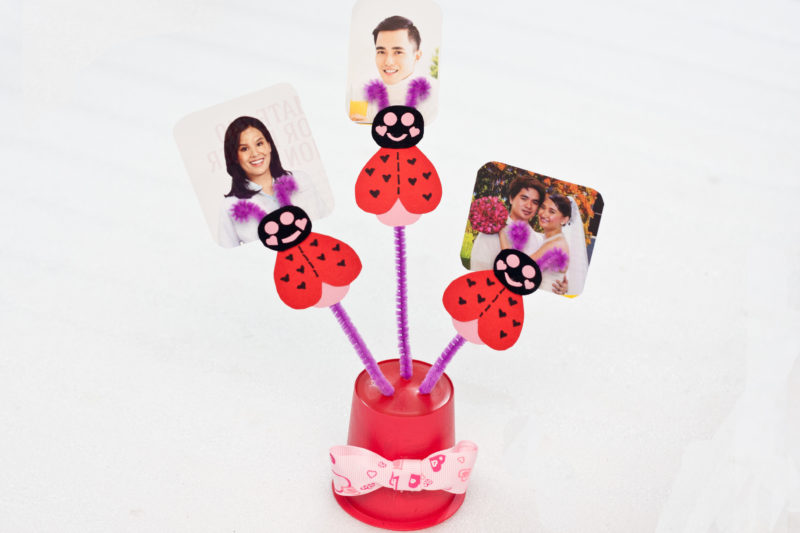
- Allow this to sit for 24 hours to make sure the glue is completely dry and then it is ready to give!


