
Ingredients
Scale
- 1 refrigerated sugar cookie dough
- ½ teaspoon orange flavoring extract
- ½ teaspoon Wilton Toasted Pecan extract
- 1 box Royal Icing mix
- Yellow food color
- 1 small can white icing
- 1 ready to use black icing tube
- Black fondant
- Red fondant
- Emoji cookie cutter set
- 2 Wilton piping bags
- Piping gel - or corn syrup
Instructions
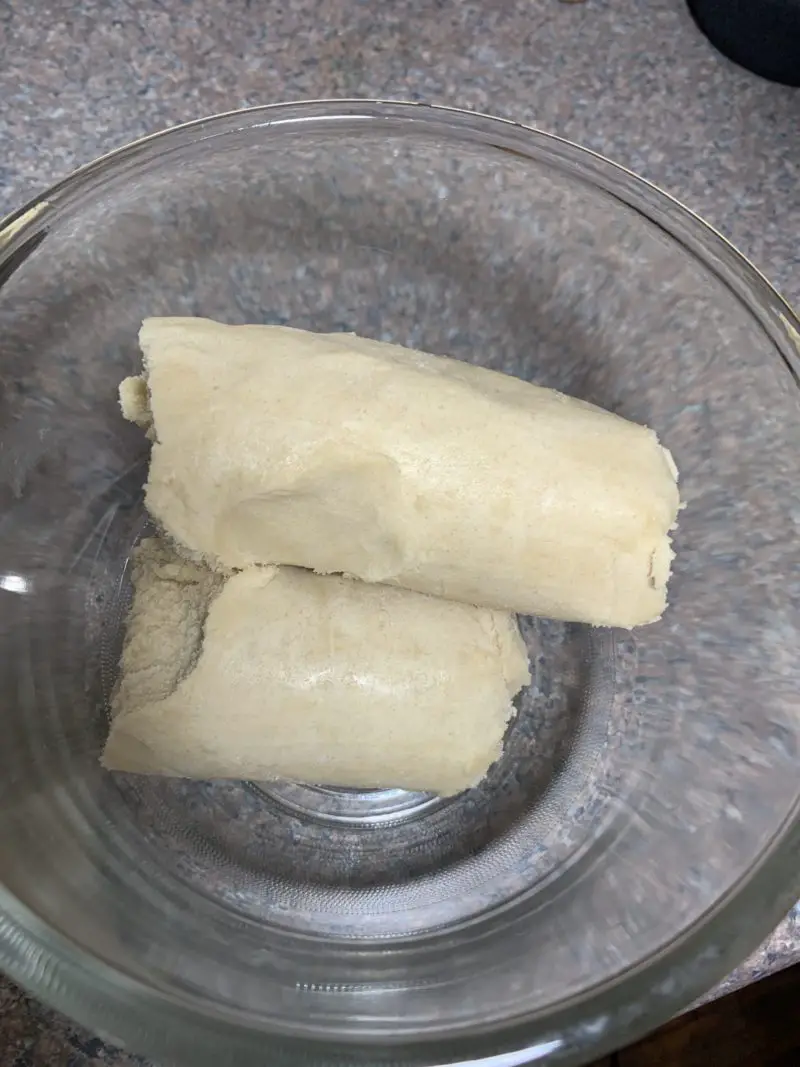
- Place sugar cookie dough in a bowl.
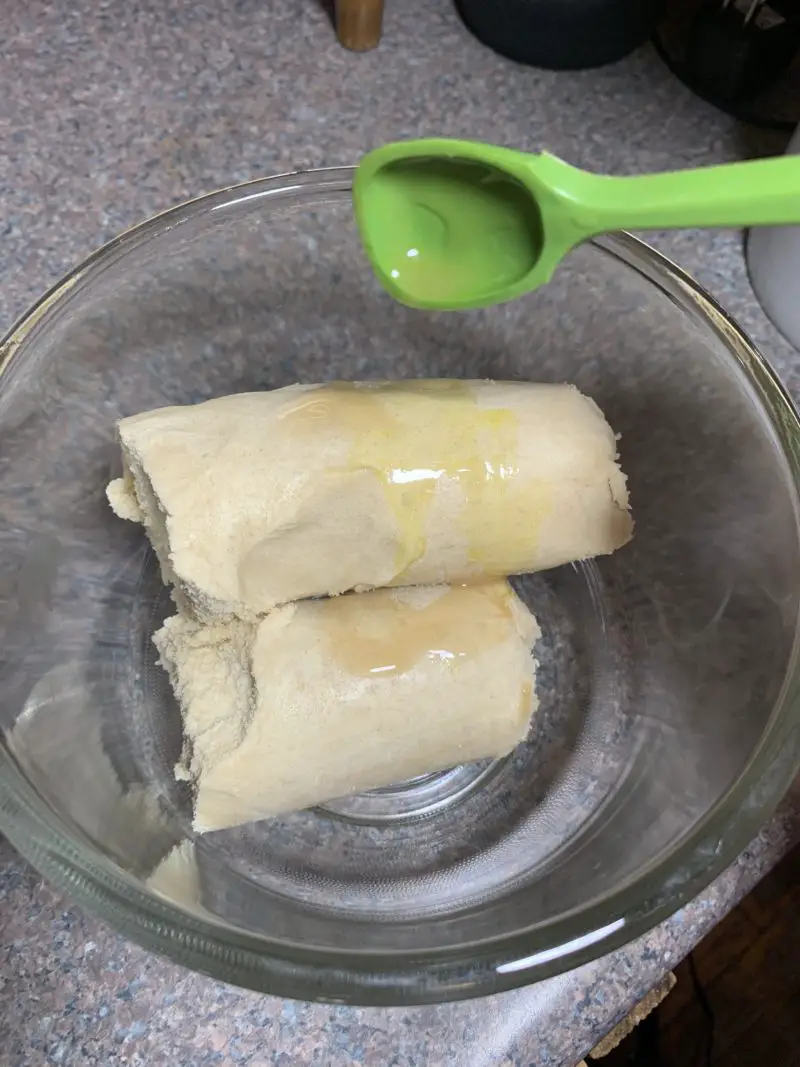
- Add the orange flavoring extract and the toasted pecan extract. Do not add more than recommended because it will make the cookie dough too runny!
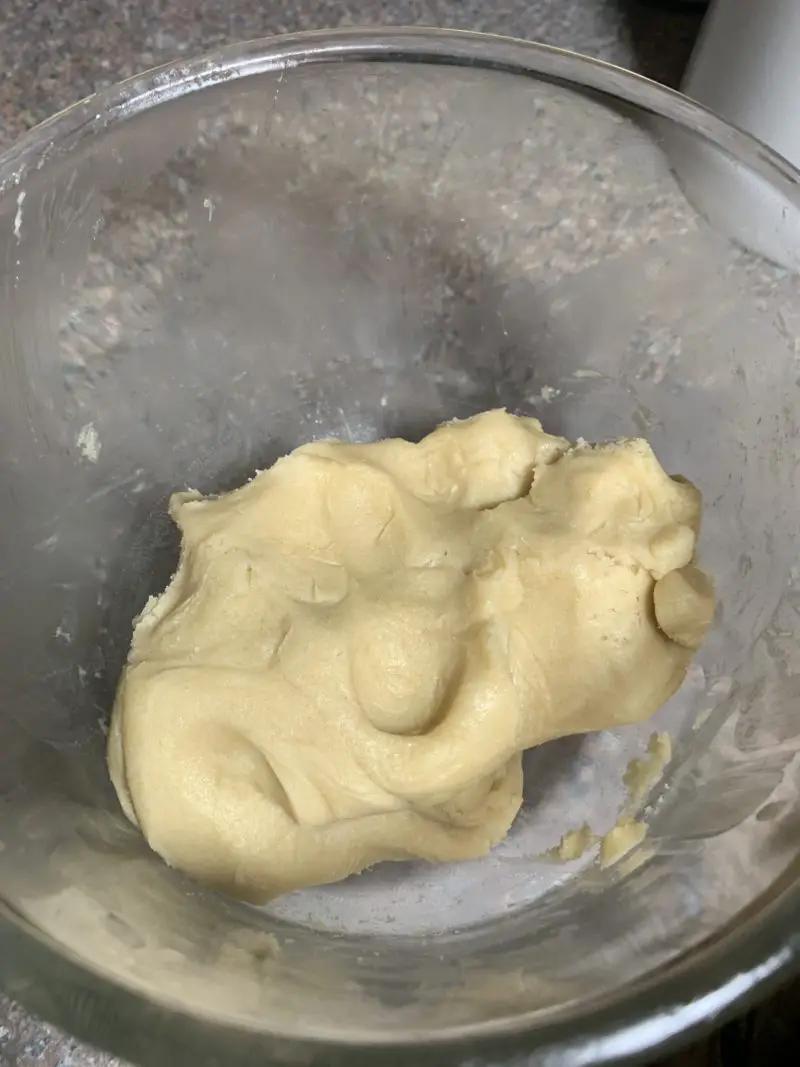
- Knead the cookie dough to incorporate the flavoring into the dough.
- Cover the bowl with plastic wrap and refrigerate for at least an hour. Overnight is ok.
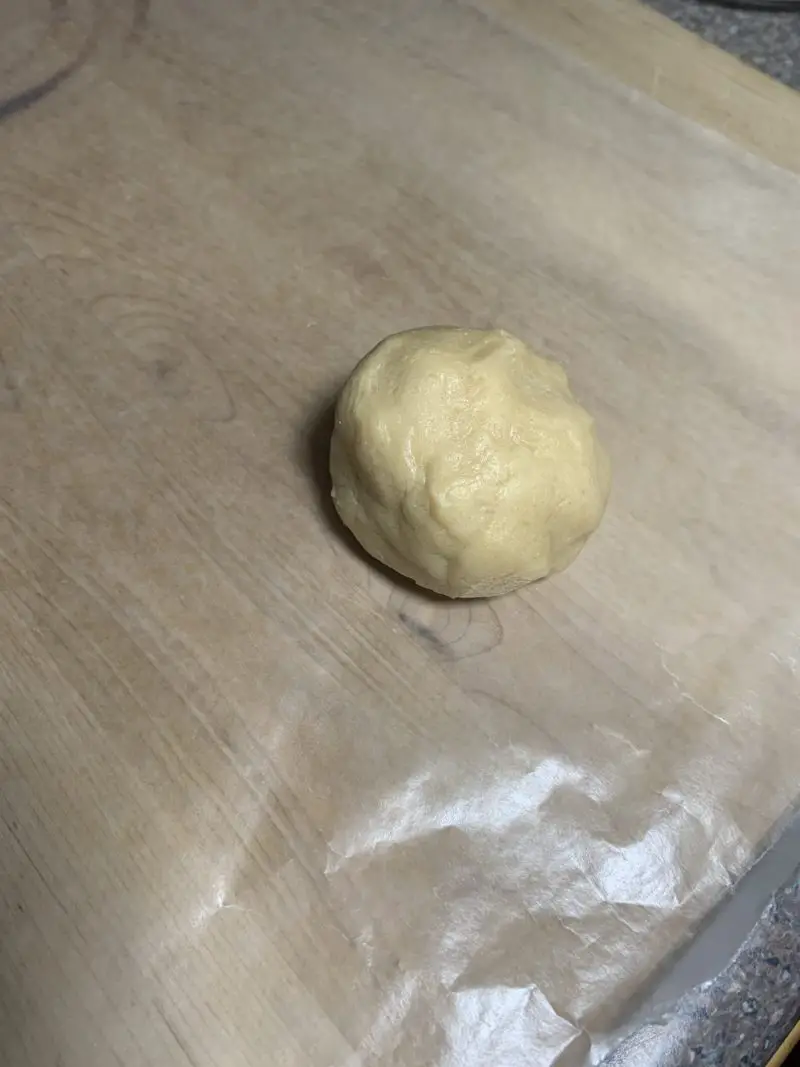
- Remove the cookie dough from the refrigerator and take a small section and roll it into a ball.
- Place the dough ball on a piece of wax paper and then cover it with another piece of wax paper.
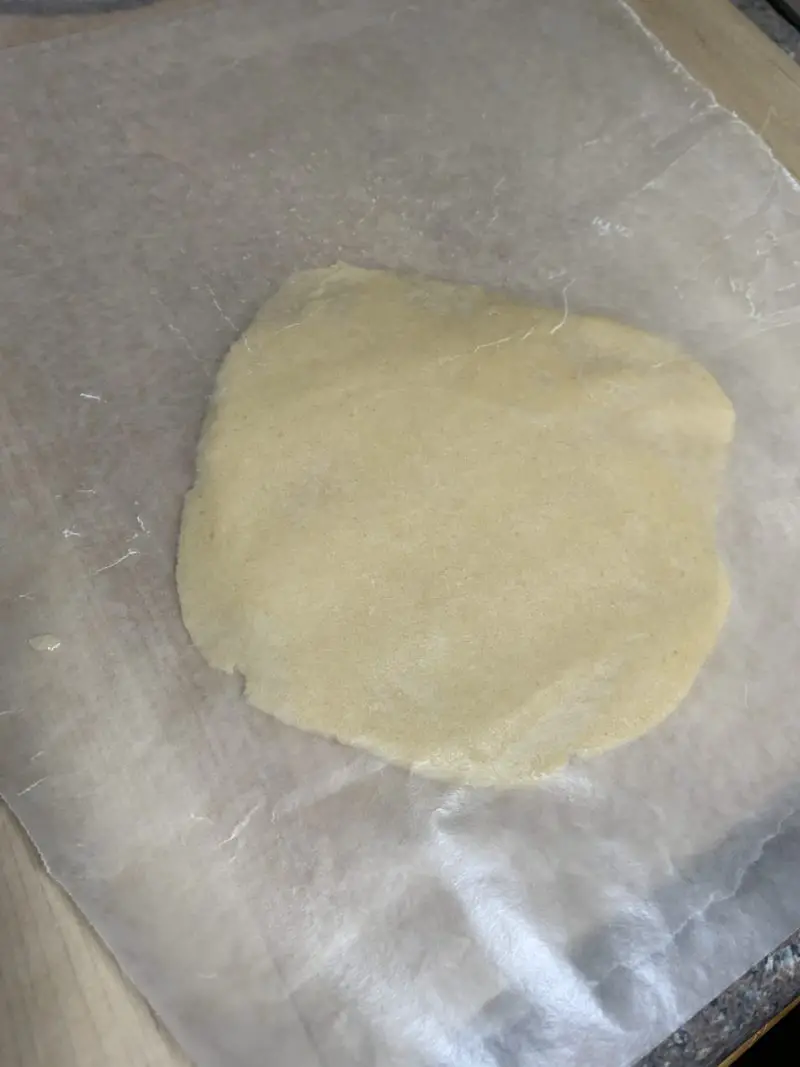
- Use the palm of your hand to slightly flatten the dough, then use a rolling pin to roll it out to ½ inch thick.
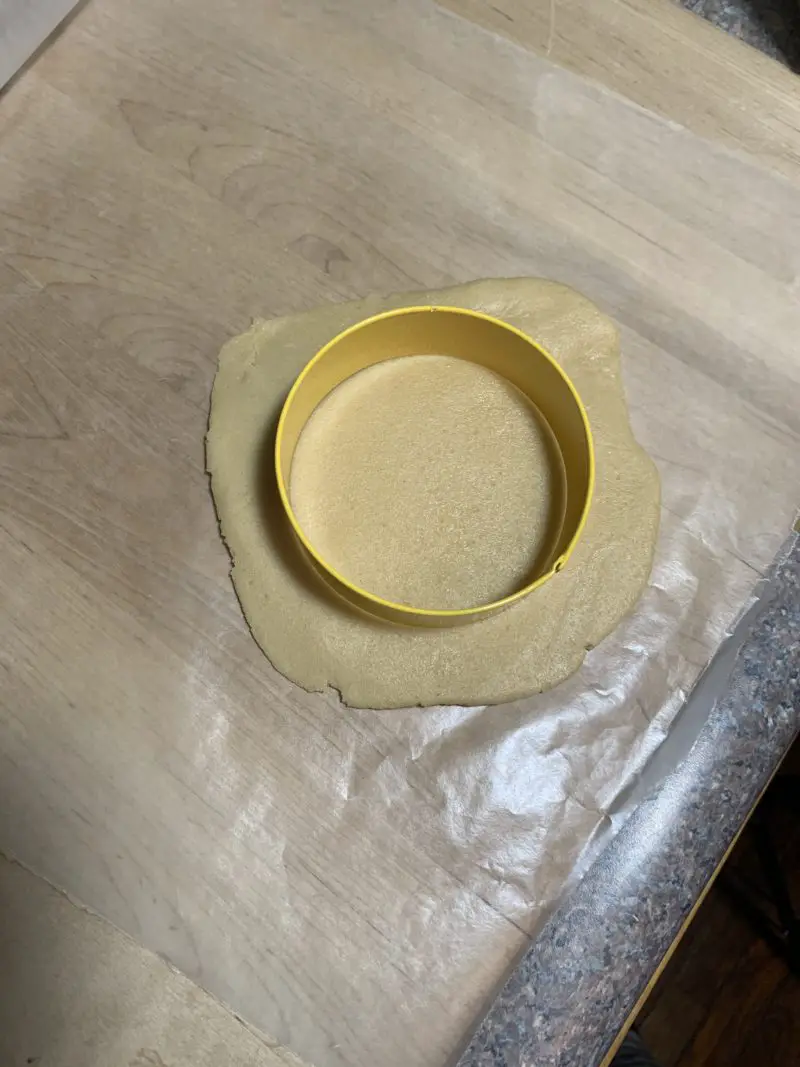
- Use the round emoji cookie cutter to cut the face of the emoji out of the dough.

- Carefully remove the excess dough, then gently lift up the wax paper and flip the cookie onto a spatula or into your hand.
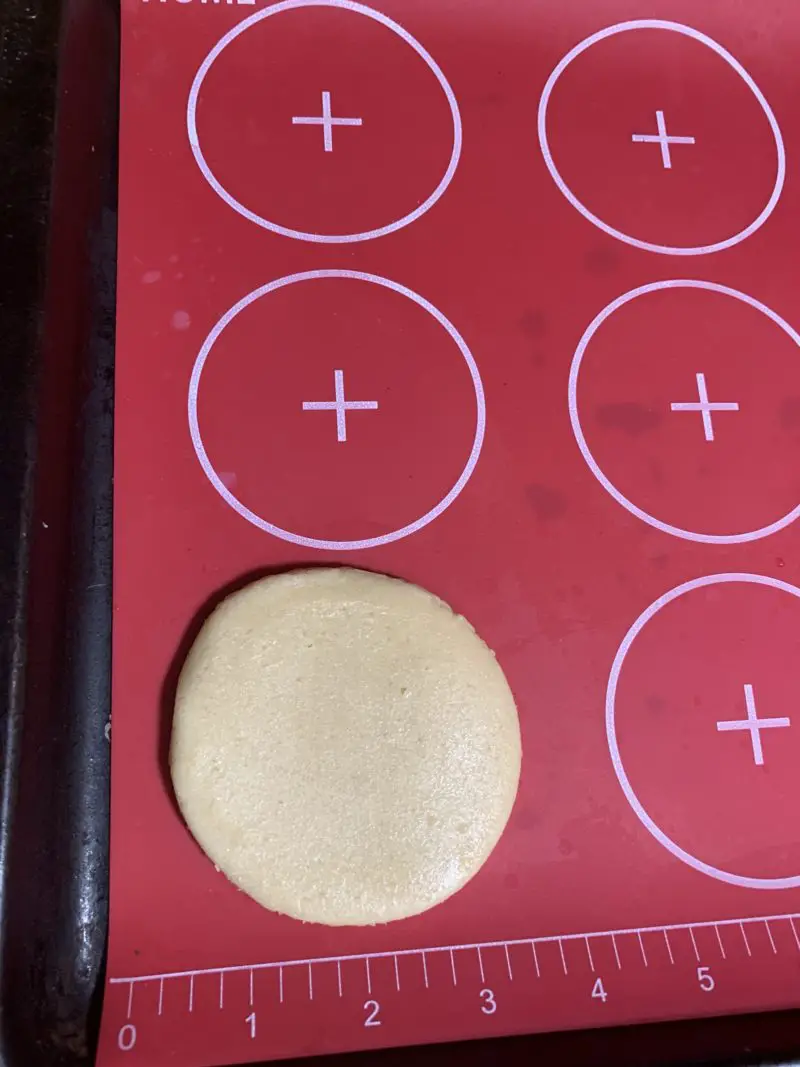
- Now lay the cookie, top side down, on a cookie sheet.
- Continue this process until the cookie sheet is full. Be sure to leave at least 2 inches of space between each cookie.
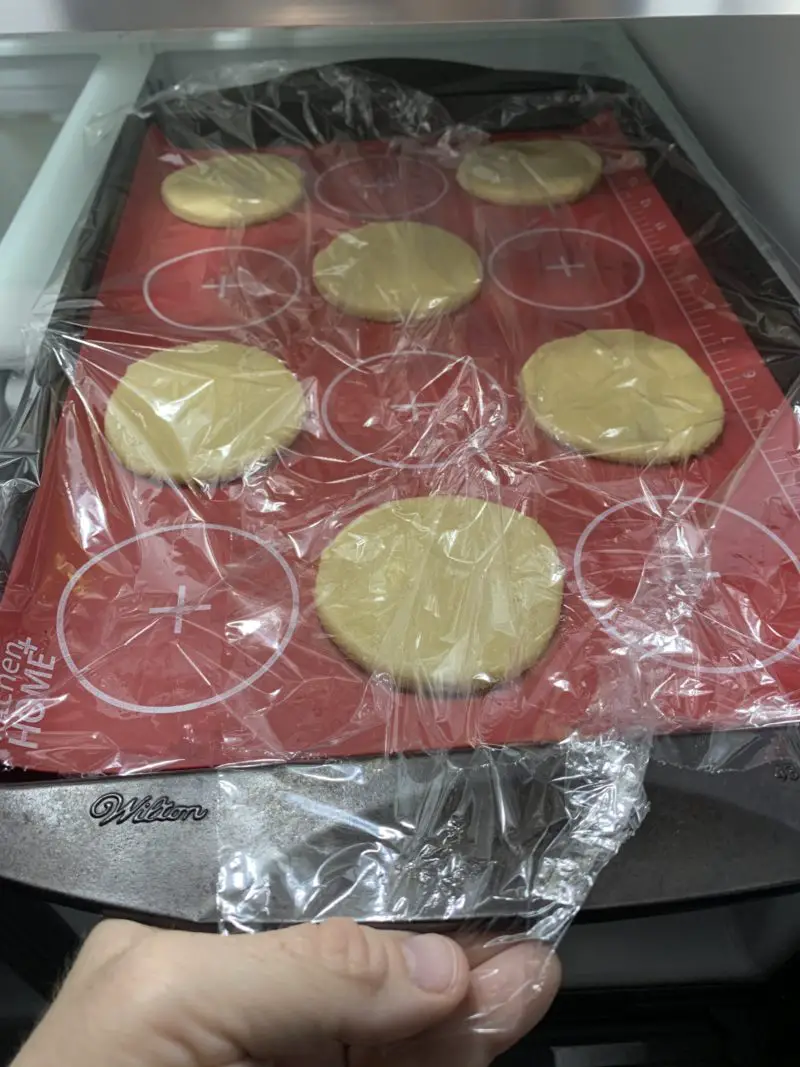
- Cover the cookies with plastic wrap then place the cookie sheet with the cookies on it in the refrigerator and allow them to chill for at least an hour. Longer is ok.
- Preheat the oven to 350 degrees Fahrenheit.
- Freeze the cookies for five minutes. This step is optional, but it does keep the cookie dough from spreading too much during baking.
- Once the oven is preheated, place the cookies on the center rack and bake for 9 minutes.
- Check to see if the edges are brown. If they are, the cookies are done. If not, add another minute or two to the timer. Do not overbake the cookies!
- When the edges of the cookies are slightly brown, remove the cookie sheet from the oven and use a spatula to carefully remove the cookies from the cookie sheet. They will be soft and want to come apart so take your time doing this.
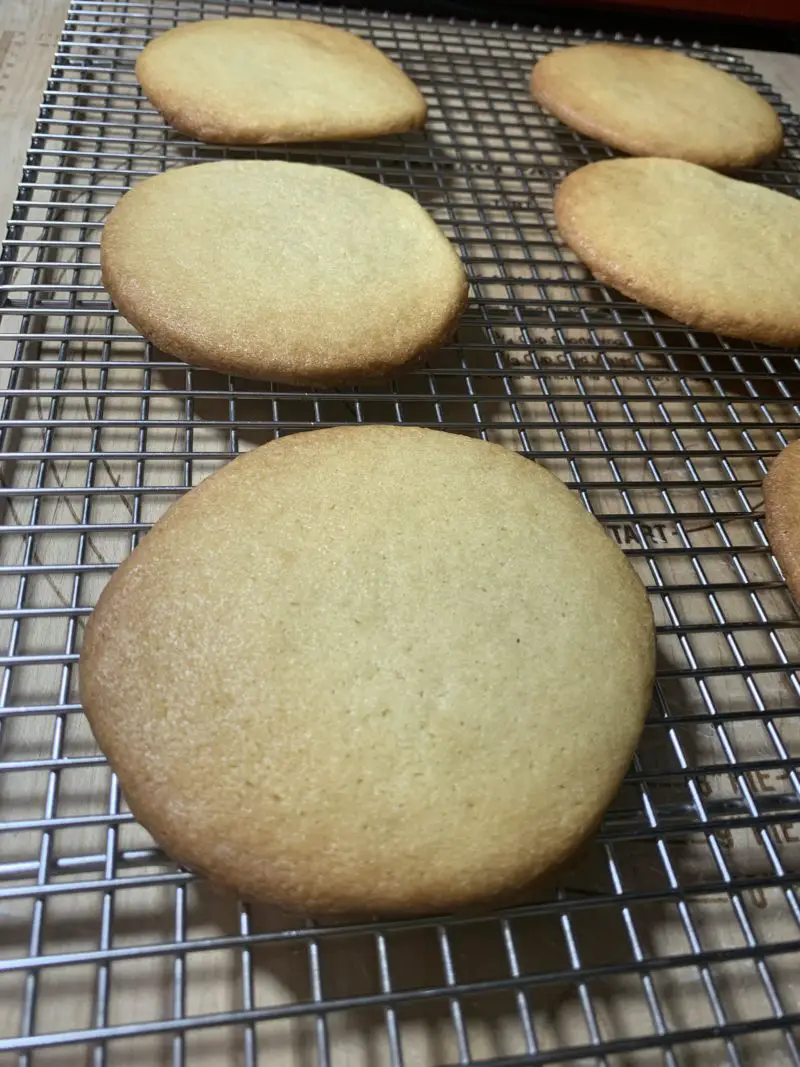
- Place the warm cookies on a wire rack and allow them to cool. This takes at least 20 minutes and possibly longer.
- When the bottoms of the cookies are cool to the touch, they are ready to decorate.
Decorating decorations:
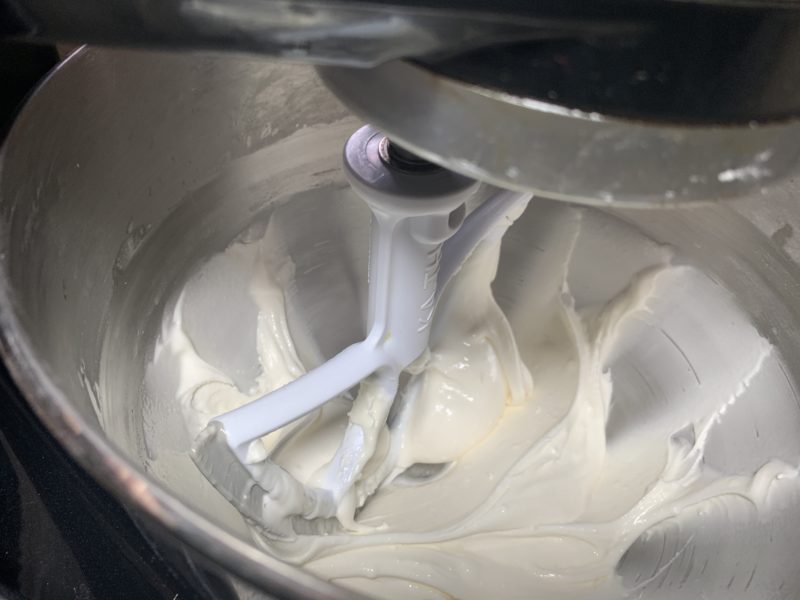
- Prepare the royal icing according the instructions on the box.
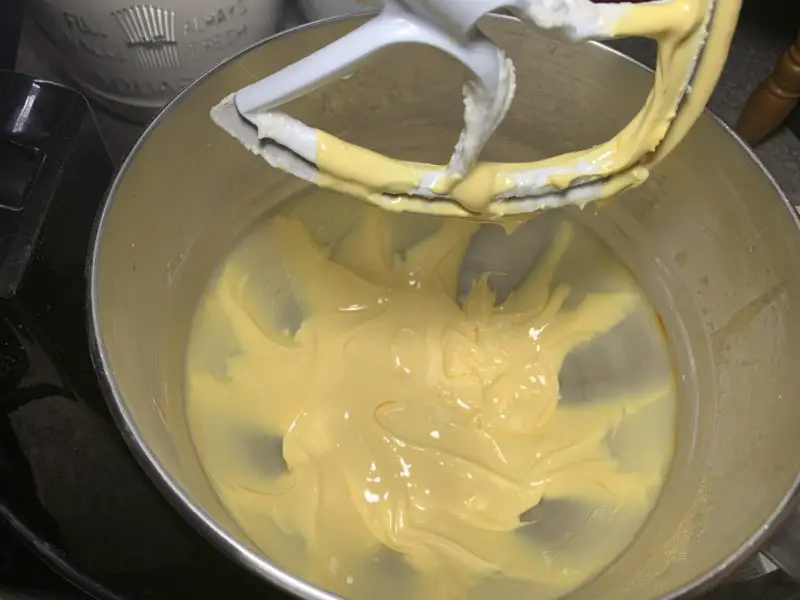
- Tint the icing yellow.
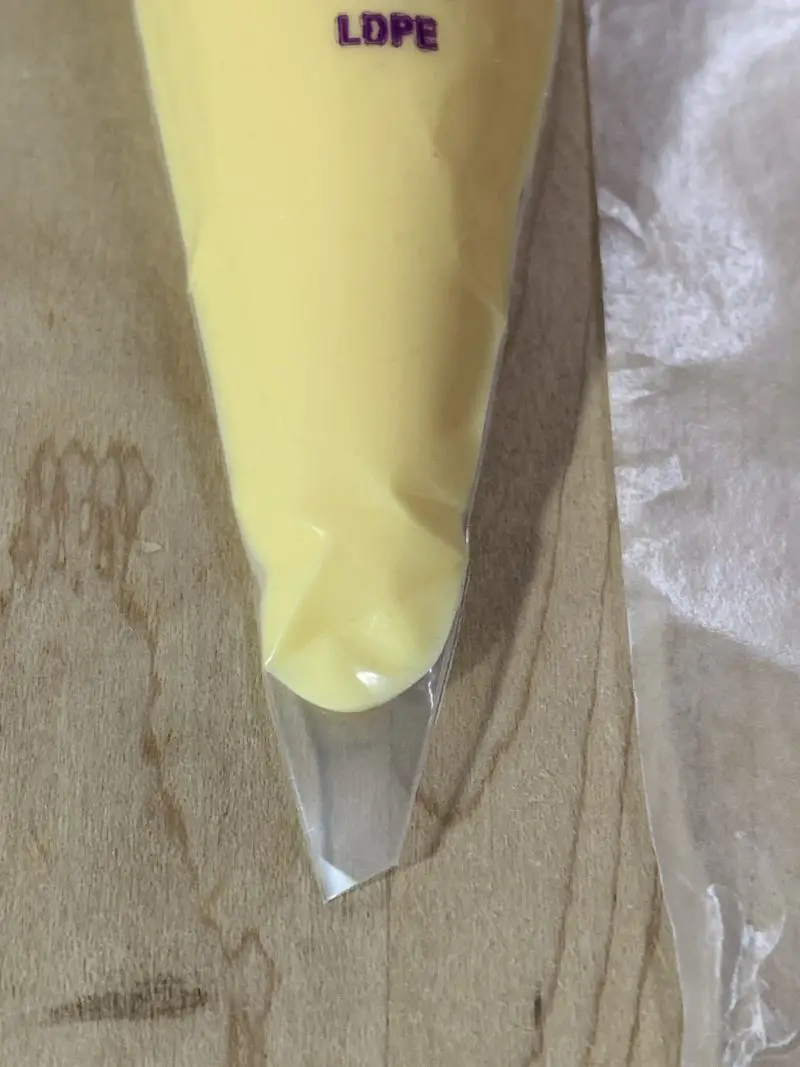
- Pour the icing into a piping bag, then cut the tip off the end of the piping bag. Keep this hole small so you have control over the amount of icing coming out of the bag.
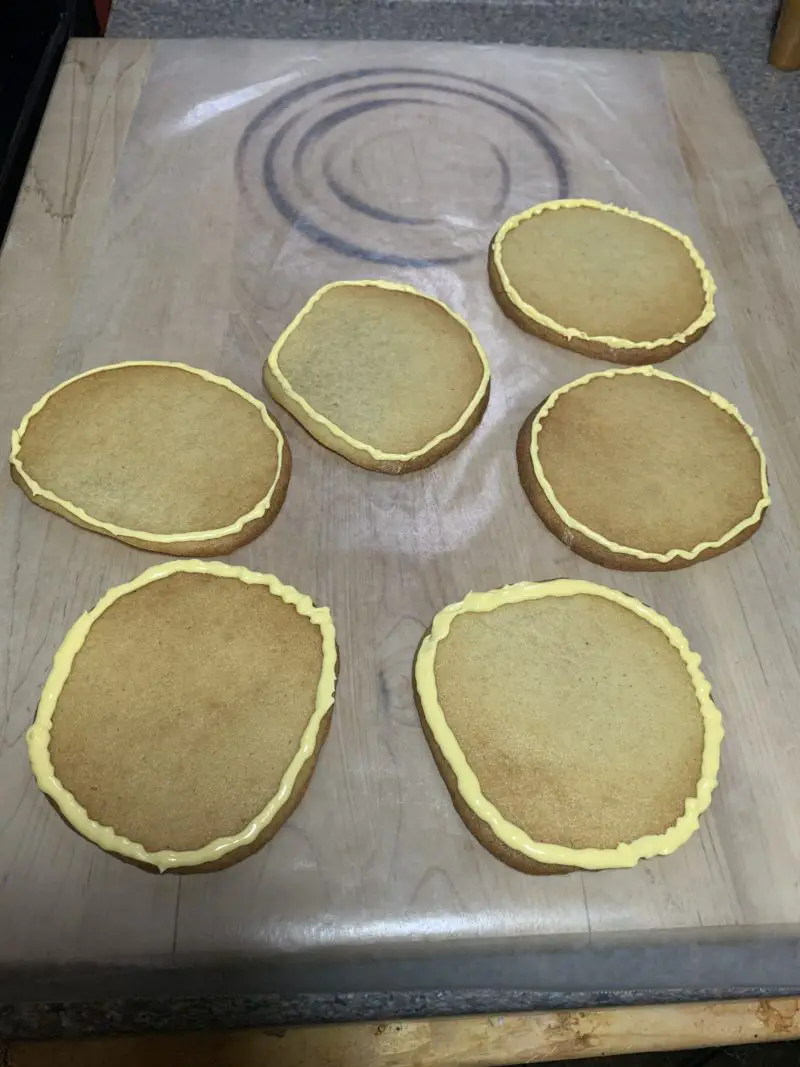
- Pipe a thin line around the edge of each of the cookies.
- Set the cookies aside to allow the icing to dry.
- Now cut a slightly larger hole out of the bottom of the piping bag.
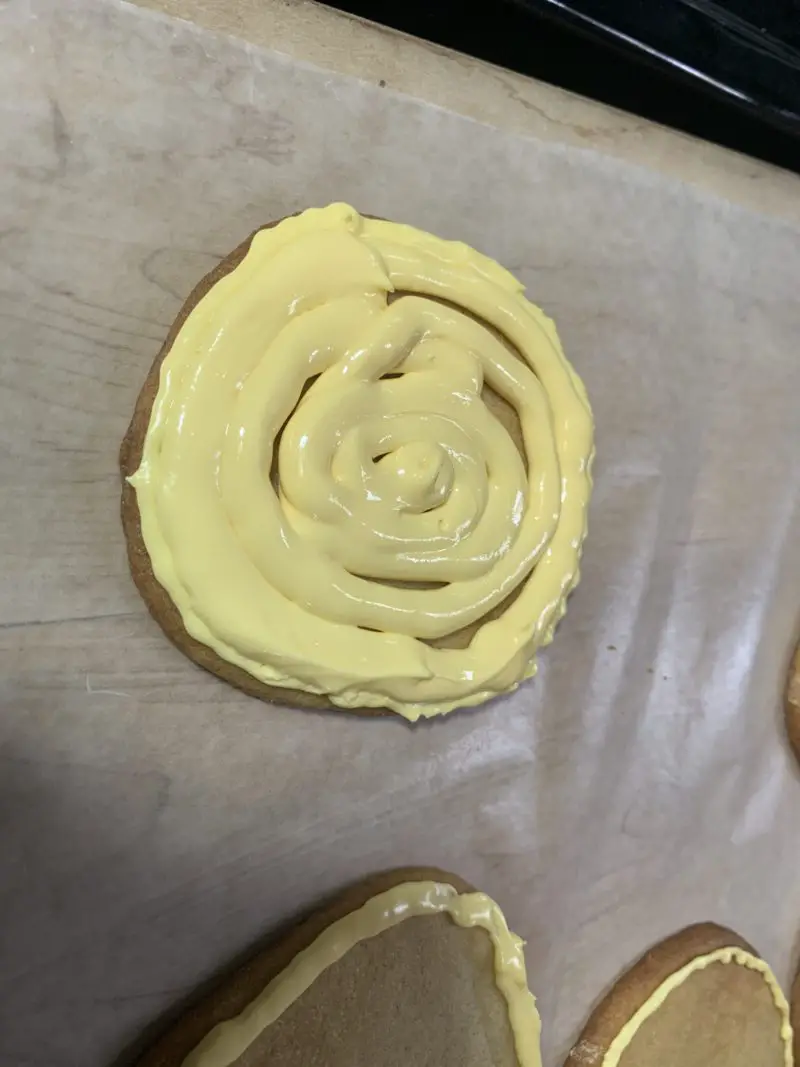
- Pipe the icing inside the outline making sure the icing touches the outline. It is important that there are no holes in the icing at this point.
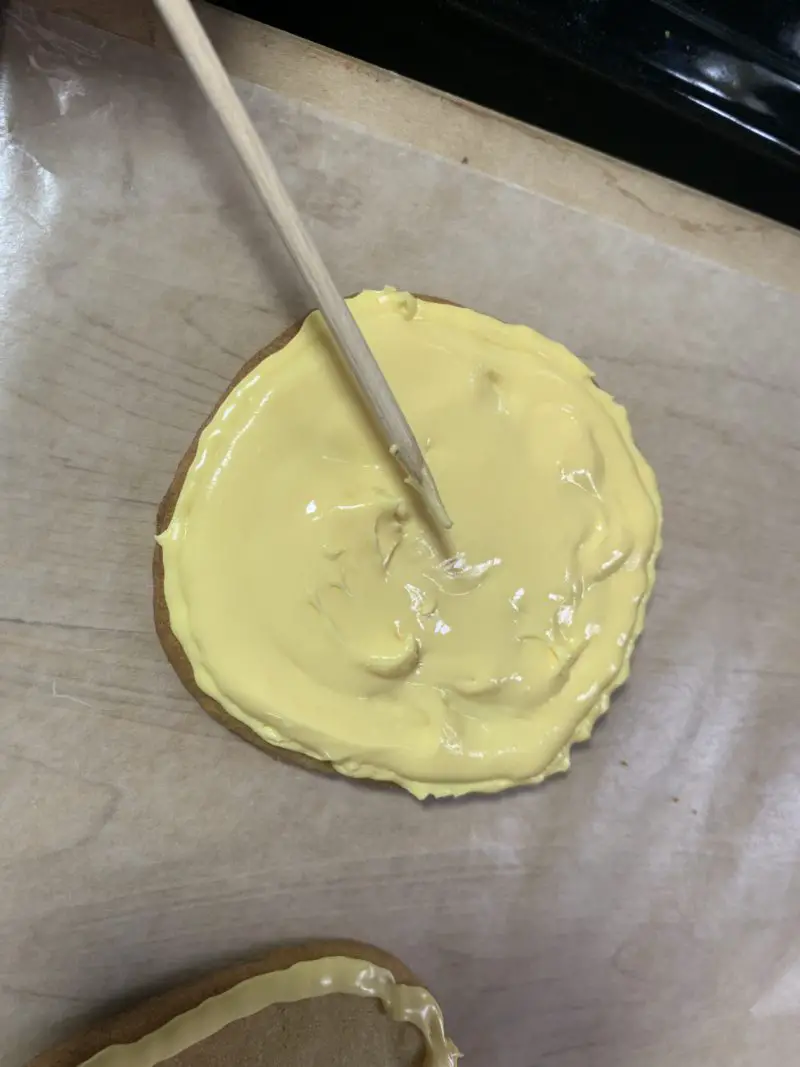
- Use the tip of the icing bag or a skewer to spread the icing to any areas that do not have it on them.
- Shake the cookie to level out the icing and bounce it gently on a hard surface if you see air bubbles to help release those.
- Set the iced cookies aside and let them dry.
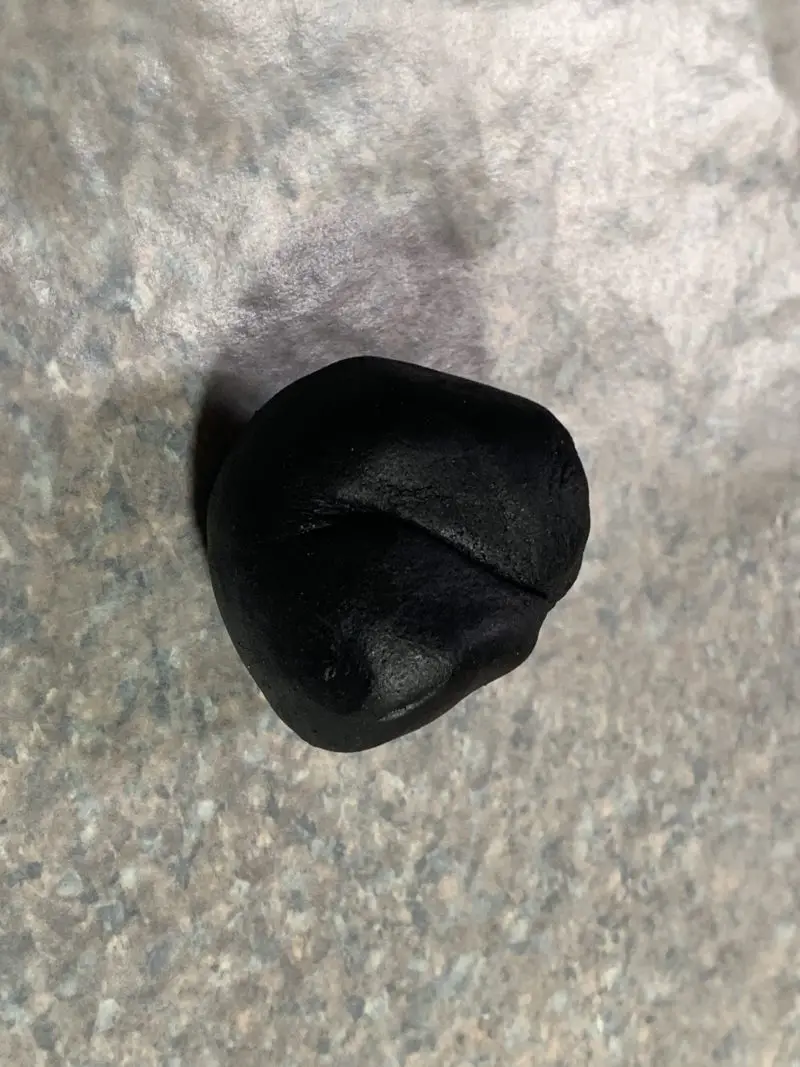
- Choose a small piece of one color of the fondant and knead it in your hands until it is soft enough to easily roll into a ball.
- Place the piece of fondant on a piece of wax paper or sprinkle a tiny amount of cornstarch on the surface.
- Place a second piece of wax paper on top of the fondant and use the palm of your hand to slightly flatten it.
- Now use a rolling pin to roll it out to 1/8” thick.
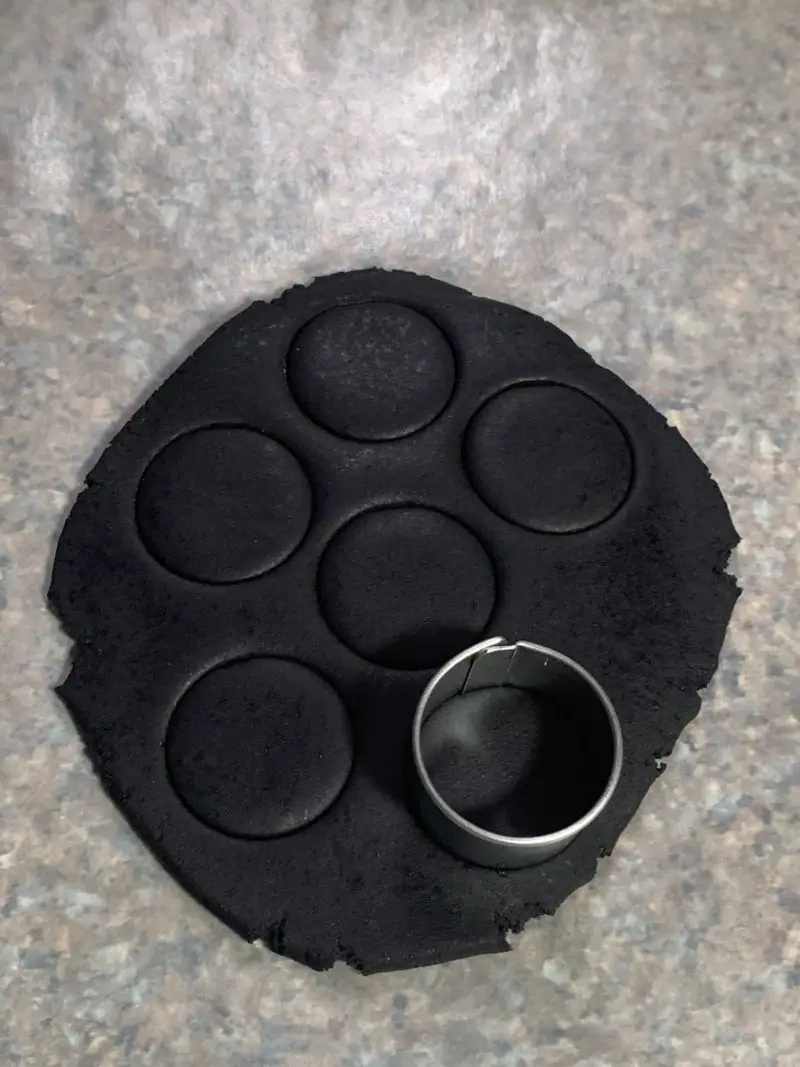
- Use the emoji cookie cutters to cut the eyes and mouth out. Use your hands to make mustaches or other features that you do not have cookie cutters for. You can work with fondant just like clay or Play-Doh.
- Set each piece of cut fondant aside.
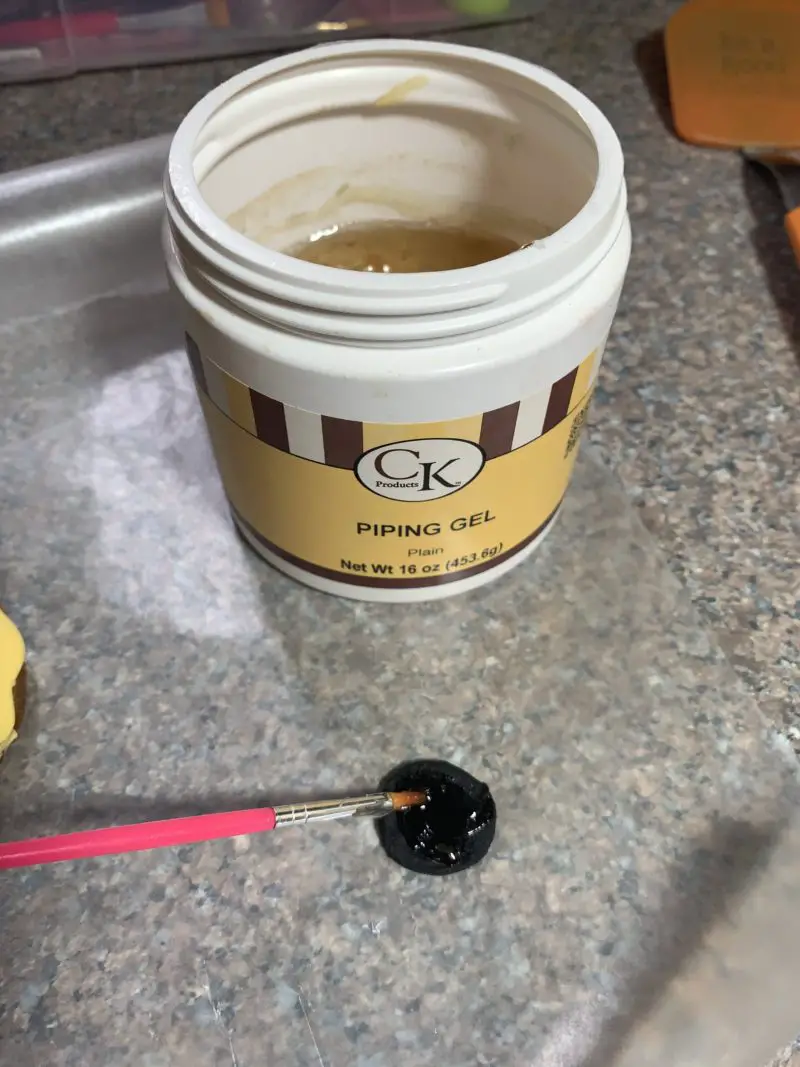
- Once you have all the pieces cut out, choose a cookie, choose the fondant features that are going to go on it, and then attach them to the cookie, one at a time using a dab of piping gel or corn syrup on the back of the fondant.
- When you are finished applying the fondant, set the cookie aside to allow it to dry and move on the the next cookie.
- Once all the cookies have fondant on them, go back to the first cookie and add the icing details. To do this, put some white icing in a piping bag and cut the tip off.

- Now pipe a dot of white icing on each of the round eyes.
- Next use the black icing to create eyeballs.
- When you are done decorating the cookies, place them back on the cookie sheet in a single layer and refrigerate until the icing hardens.
- Now the cookies are ready to serve.
- Prep Time: 25 minutes
- Cook Time: 9 minutes
- Category: Desserts
- Method: Oven


