Instructions
- Gather your materials before you begin.
- Next choose a cookie cutter shape you like.
- Now choose the polymer clay colors you wish to work with for this particular design. You will start with the ornaments base color. For example, for the snowman the base was white.
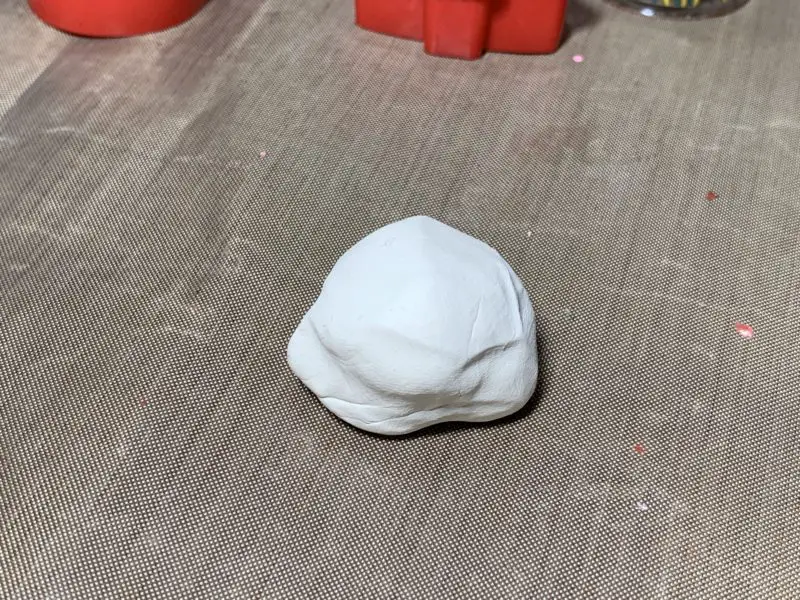
- Knead the polymer clay until it is soft and then roll it into a ball.
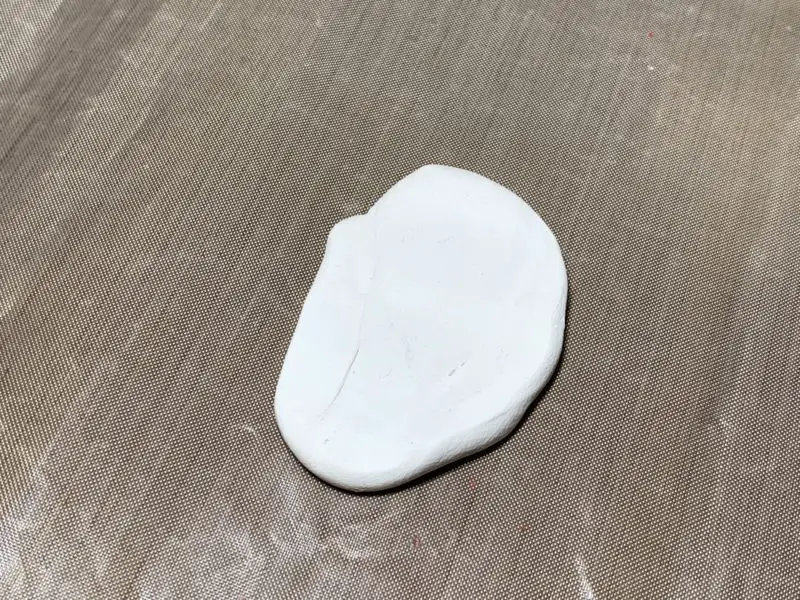
- Use a polymer clay rolling pin to flatten the ball. You want the flat shape to be 1/4 inch thick and just large enough for the cookie cutter to fit on.
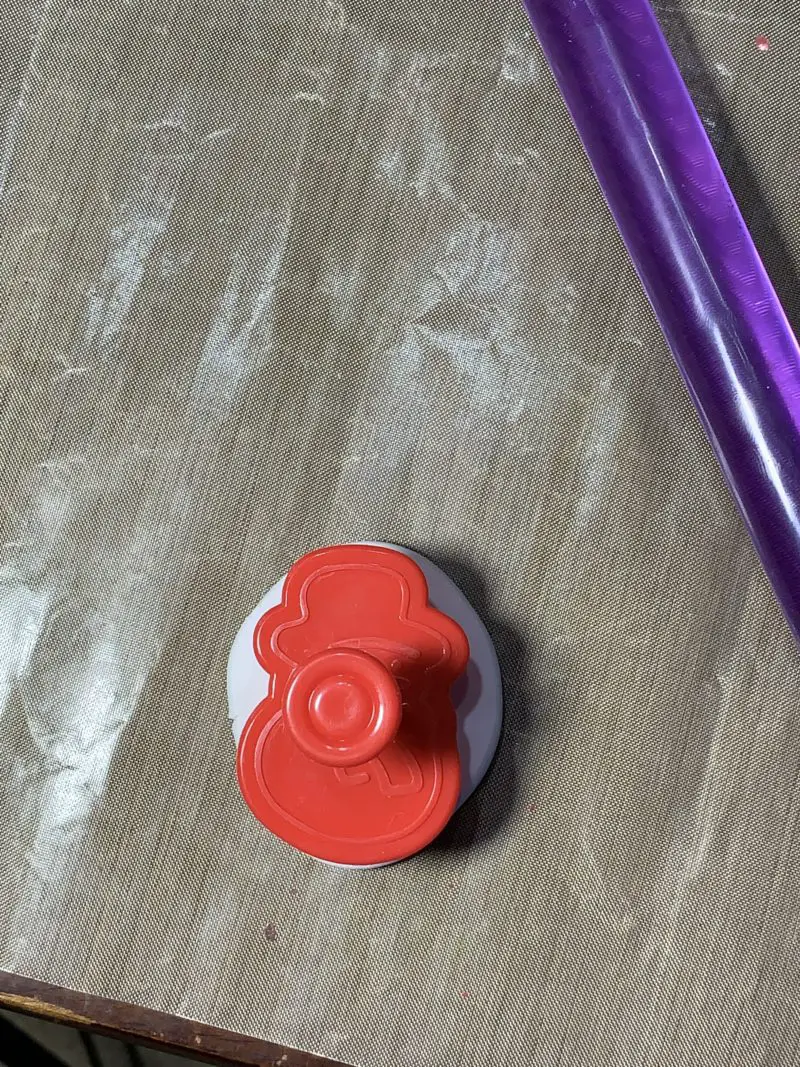
- Once the clay is the right size, place the cookie cutter on top of it and press down. Be sure you press both the cookie cutter and the stamp down so the clay is cut and imprinted with the design.
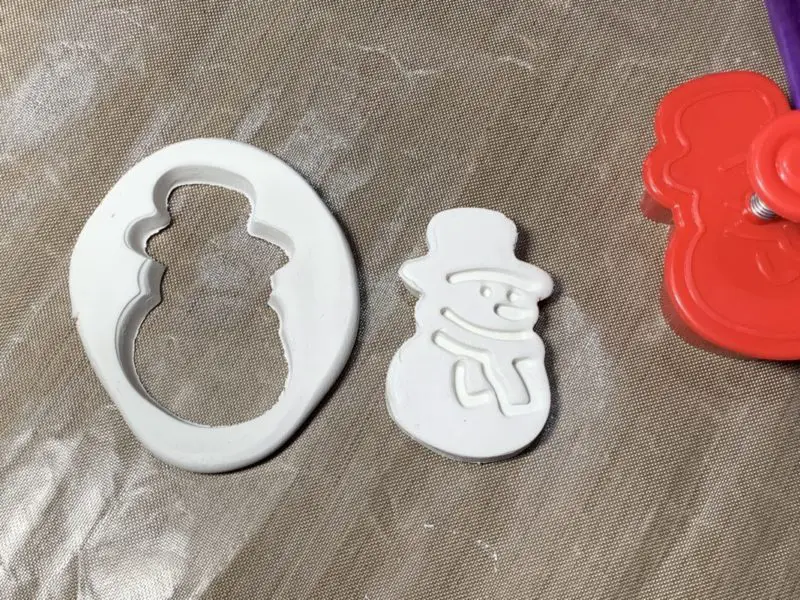
- Now remove the extra clay from the outside of the cookie cutter, then life the cookie cutter off the polymer clay. If the polymer clay does not release easily, use the plunger on the stamp to help release the clay. Be gentle however so the clay does not bend or distort.
- Now look at all the areas where the stamp created an indention in the clay. These are the areas that need decorated.
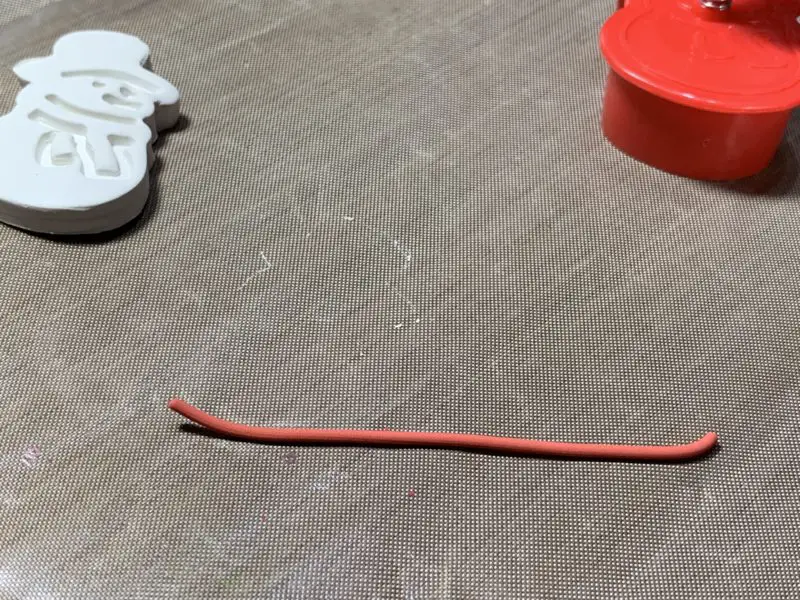
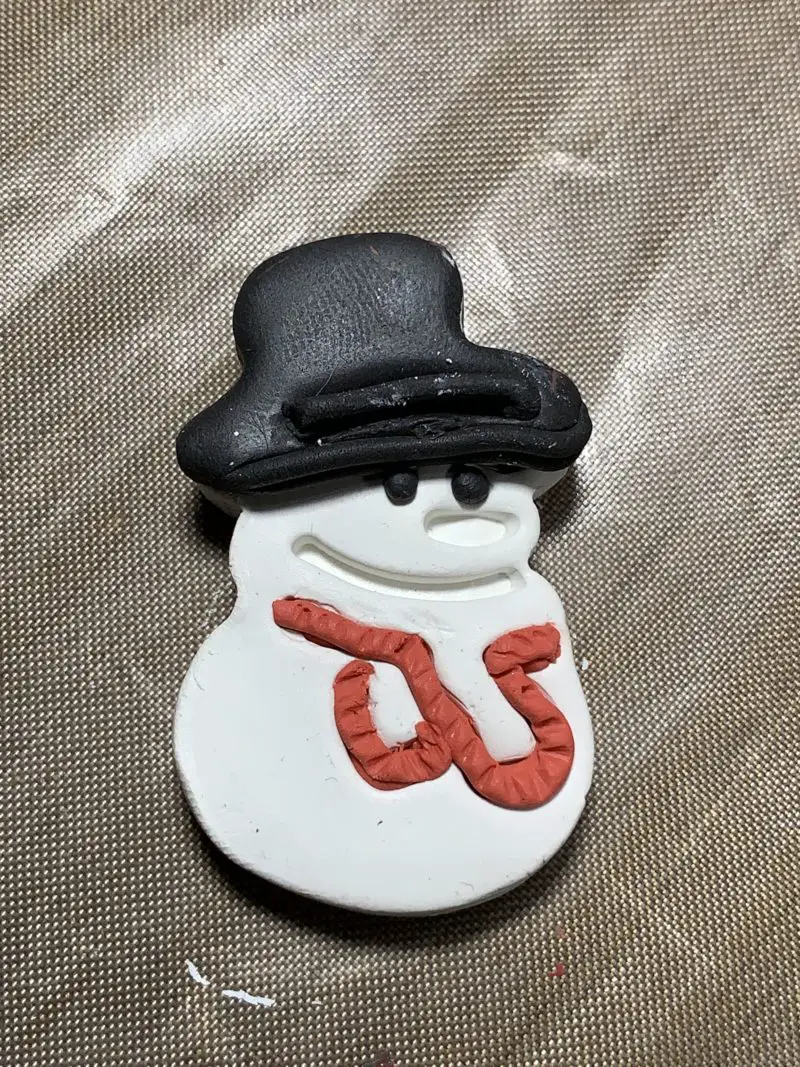
- For the snowman roll out a thin piece of red clay, then carefully lay the clay into the indention. A double layer of clay is required to get the scarf slightly higher than the indentation.
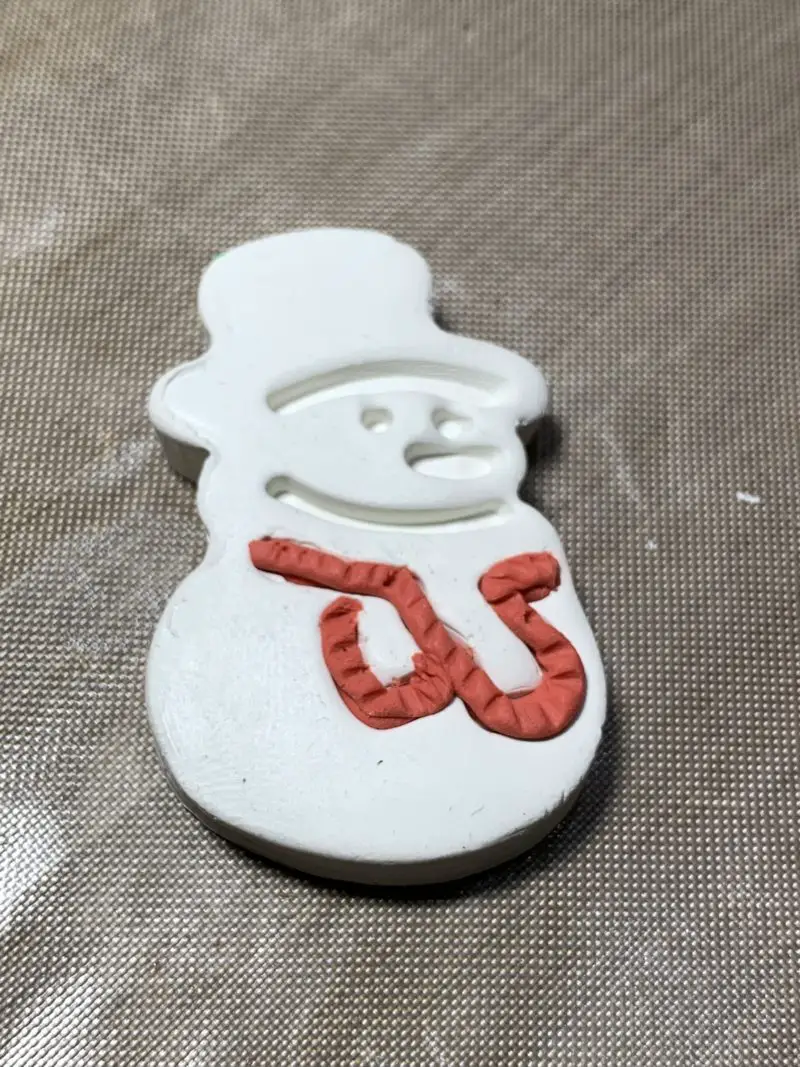
- Once the clay is in place, use the tip of the wooden skewer to make marks in the clay to give a textured appearance. Take extra care around the edges of the design to make sure the edges of the clay are sticking down and not up.
- Continue decorating the snowman by rolling clay to create eyes and making a longer orange carrot shaped nose.
- Now knead and roll out a piece of black polymer clay that is 1/8 inch thick and just large enough for the hat area of the stamp to cover. Use the snowman stamp to cut the hat out of the black polymer clay.
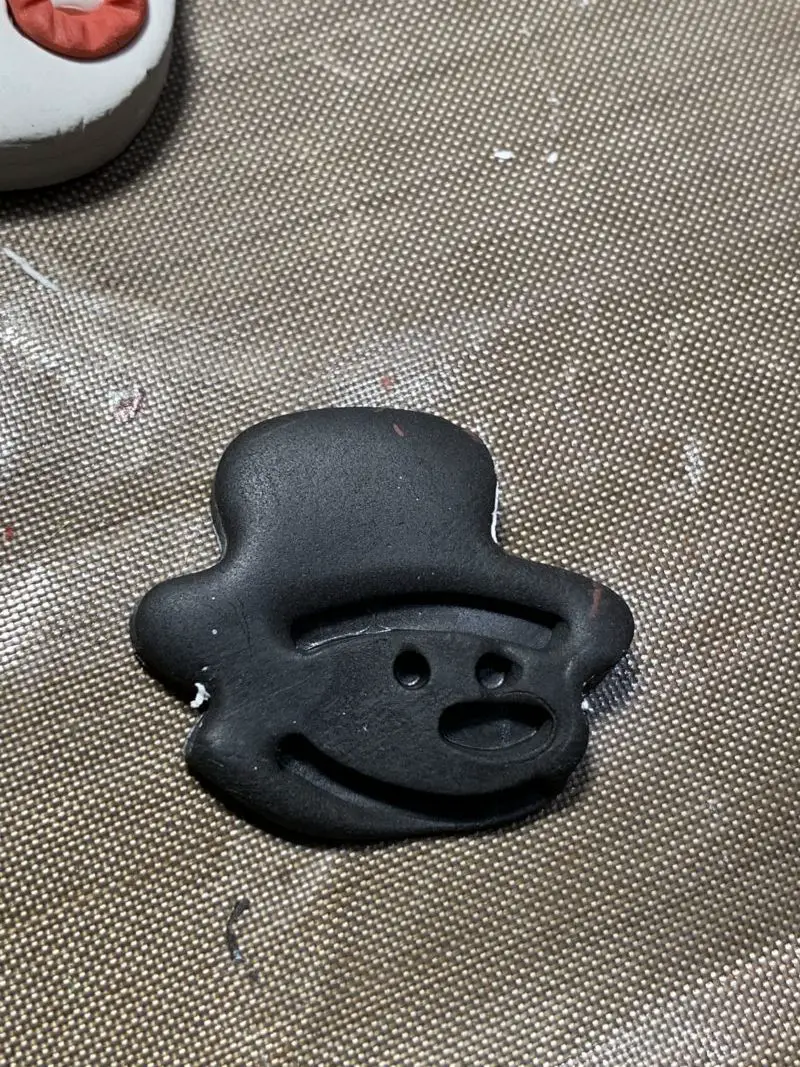
- Now trim the hat up so any polymer clay that is not part of the hat is removed.
- Carefully place the hat on top of the snowman's head right on top of the white hat. Now use thin strips of black polymer clay to create a hat band where the indention on the hat is.
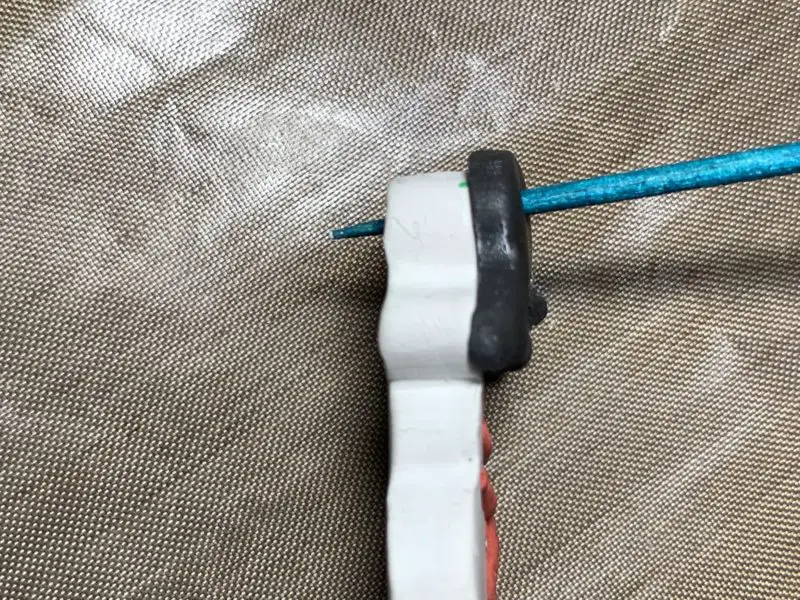
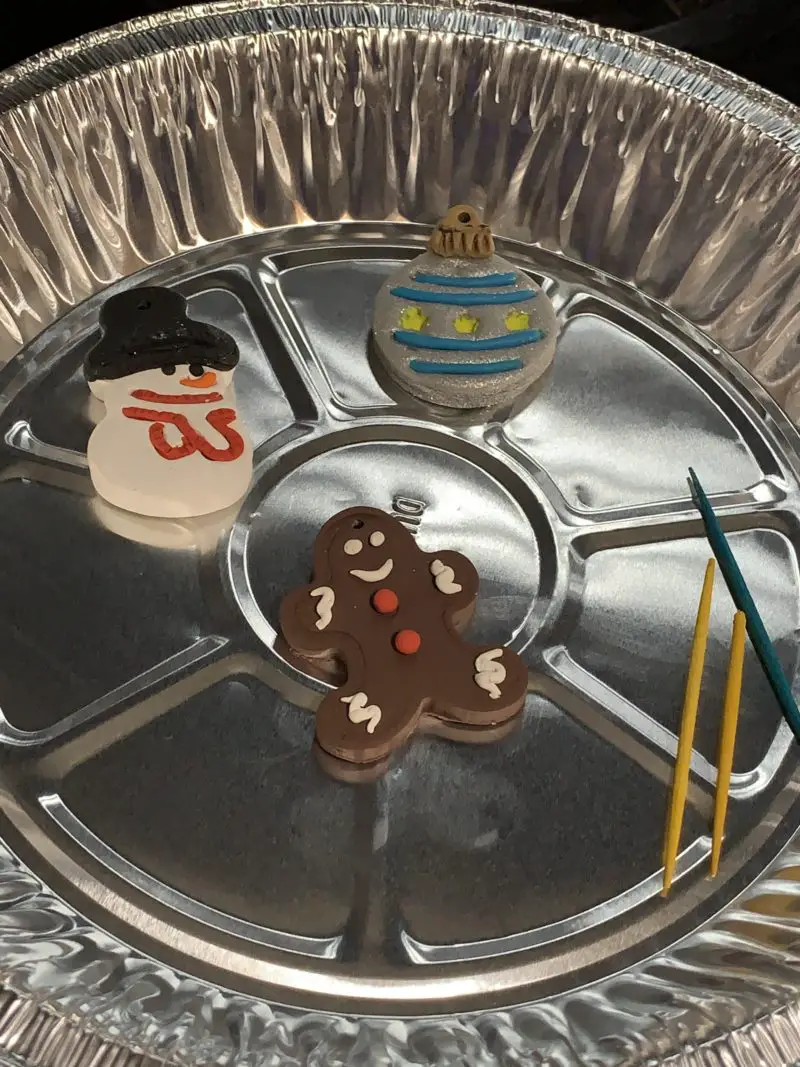
- Place a toothpick through the top of the ornament making sure it goes through both layers of polymer clay and extends out of the back just slightly.
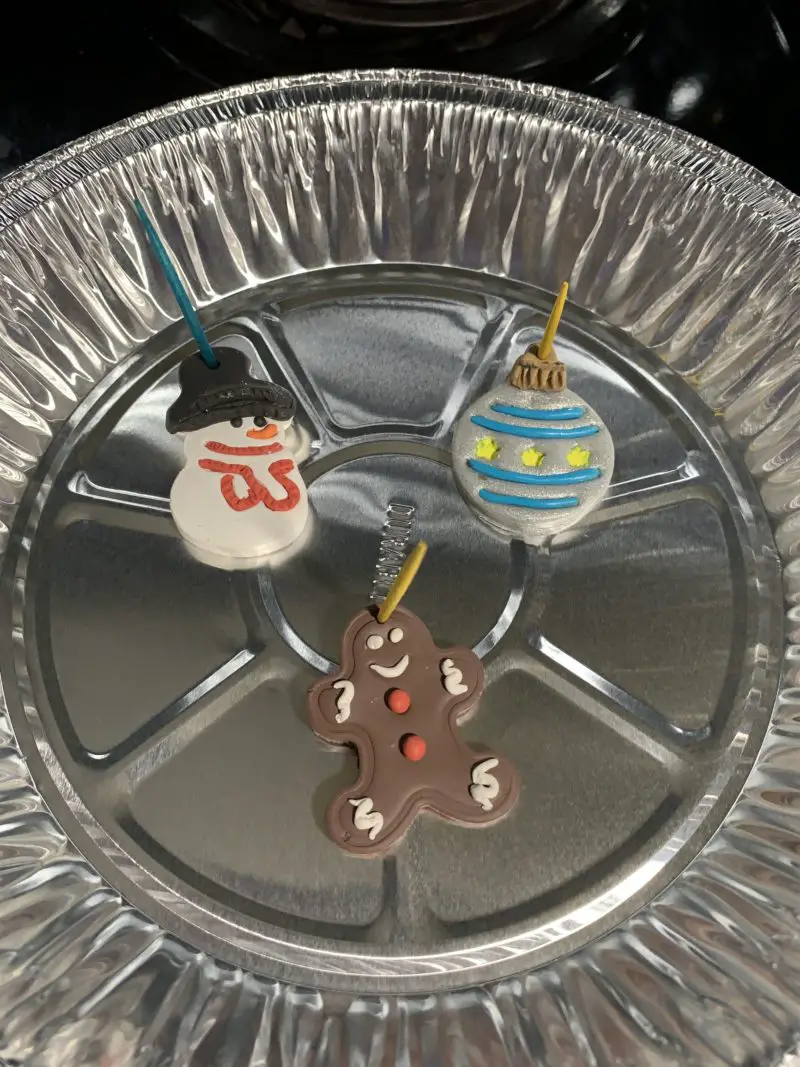
- Place the ornament, face up in an aluminum pie pan.
- Once all the ornaments are in the pie pan (be careful they do not touch one another), place a second pie pan on top, upside down.
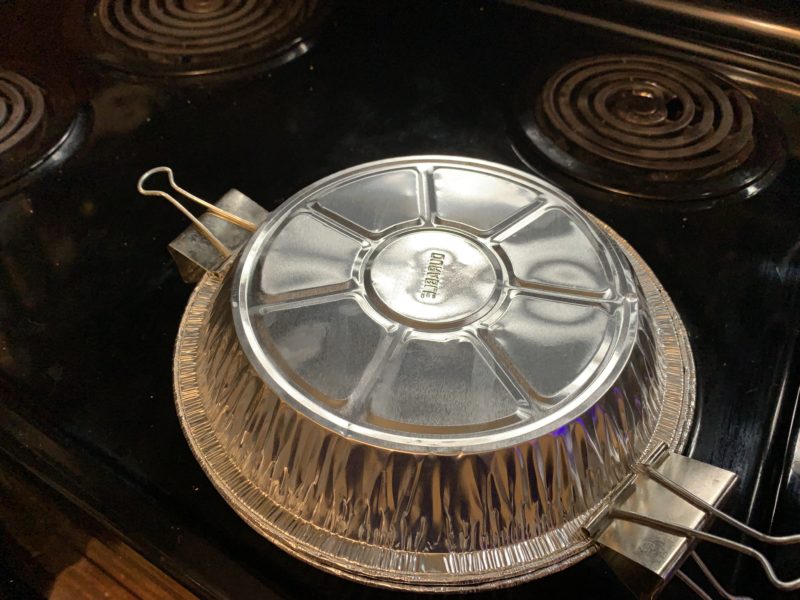
- Use paper clamps to hold the pie pans together.
- Preheat the oven to 275 degrees Fahrenheit.
- As soon as the oven is preheated, place the pie pan on the center rack and bake for 15 minutes.
- When the timer goes off, remove the pie pan from the oven and take the top pie pan off.
- Carefully pull the toothpicks out of the polymer clay Christmas ornaments without lifting them out of the pie pan.
- Allow the ornaments to cool in place in the pie pan.
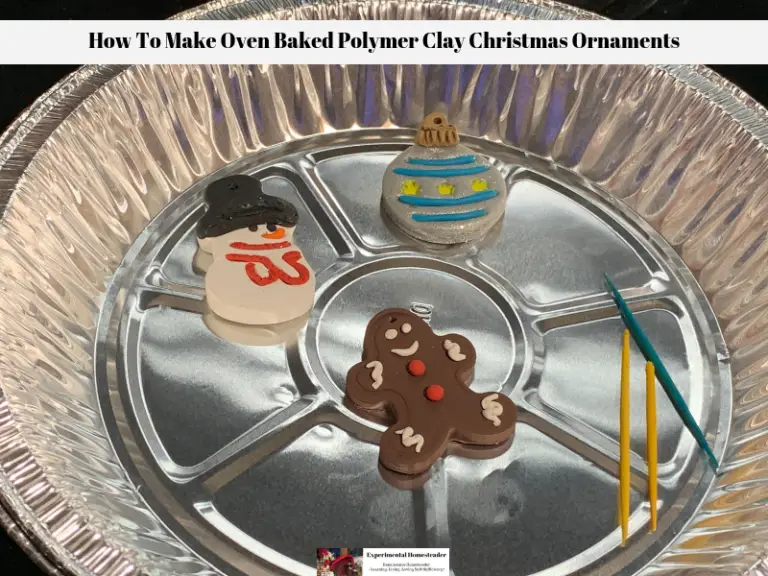
- Once the polymer clay Christmas ornaments are cool, remove them from the pie pan, add a string through the hole in the top of each ornament and they are ready to hang on your tree or attach to a package.
- Be sure to carefully wrap your polymer clay Christmas ornaments and place them in a small plastic container at the end of the season so they do not break while they are in storage.
Notes
*Choose cookie cutters that come with matching stamps to make decorating the polymer clay Christmas ornaments easier.


