How To Build An Efficient Portable Stove For Grid Down Survival
Ingredients
Scale
- 2 soda cans
- Denatured alcohol
- A coin
- Cutter or Swiss army knife
- cotton
- pin
- scissors
- plasma arc lighter
Instructions
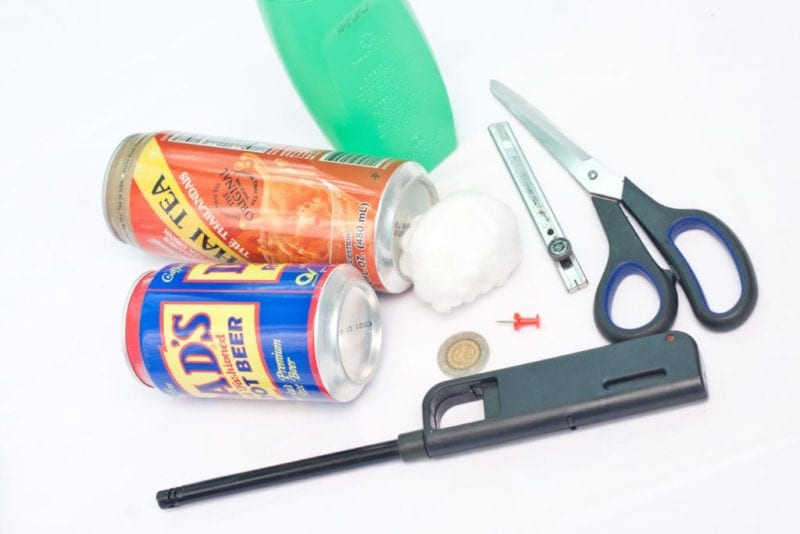
- Gather all the materials needed for this project before you begin.

- Cut the bottom part of one of the soda cans. This should be approximately one inch tall. This is the first can.
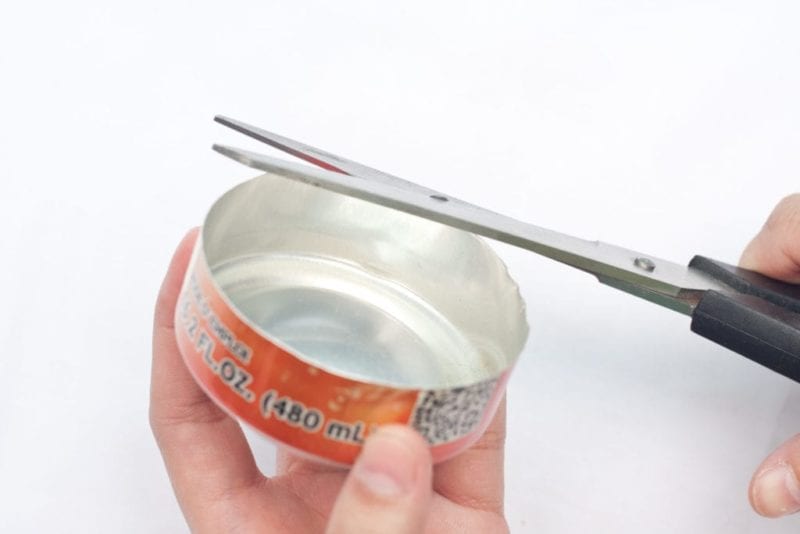
- Smooth out the edges by cutting them with scissors.

- Cut another soda can approximately 1/2 inch. This is the second can.
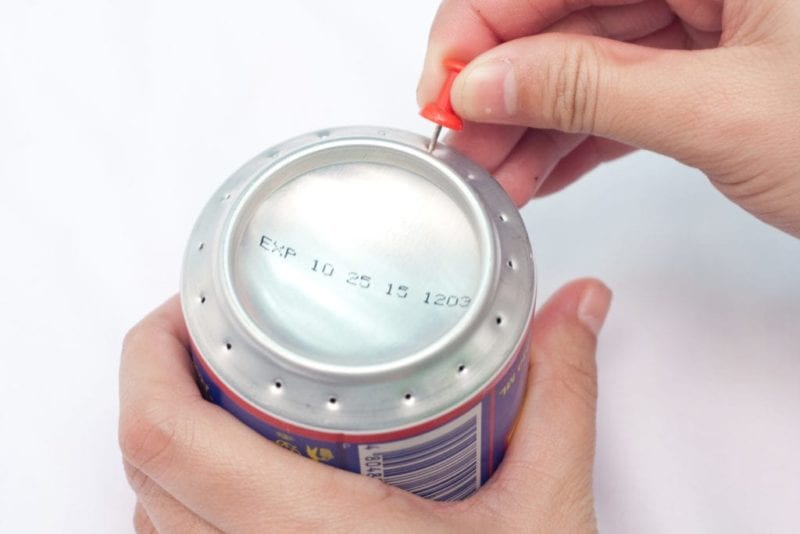
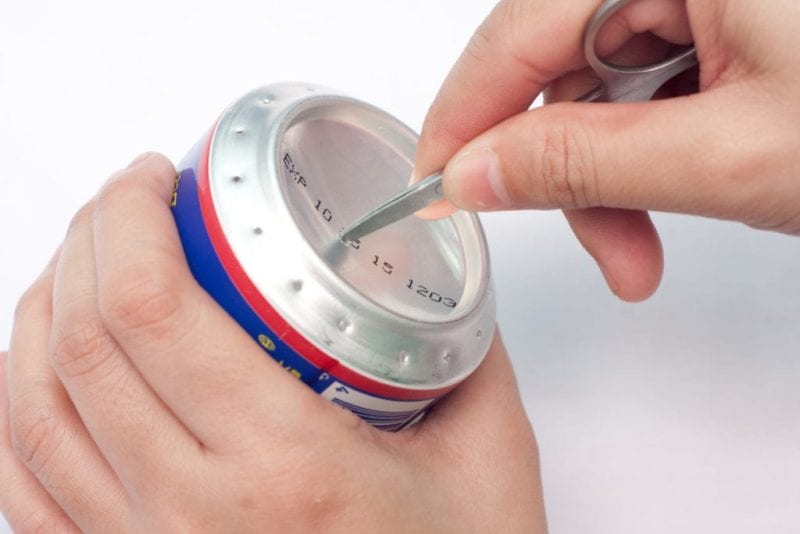
- Put small holes around the edges of the top part of the second can. Use a pin to do this and make sure that you have equal spacing for each hole.
- Make a medium hole in the middle of second can.
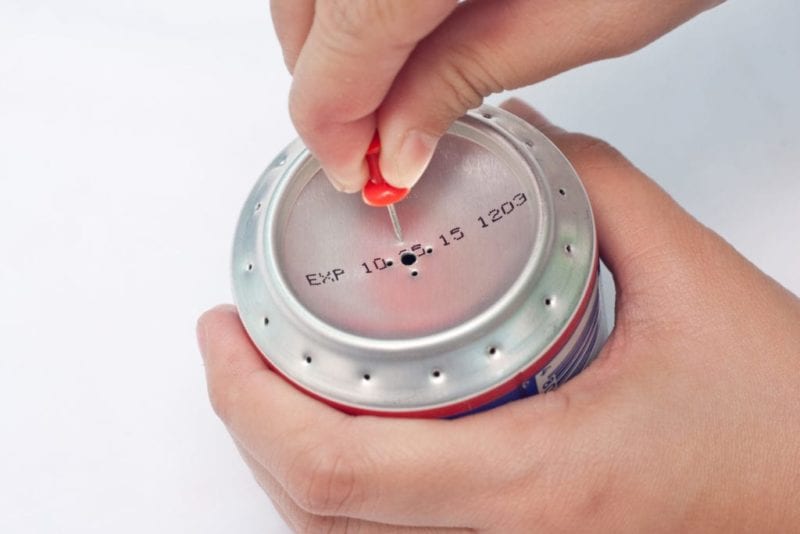
- Add additional small holes on the sides of the medium hole made in step 6.

- Place a large amount of cotton on top of the first can.

- Carefully slide the first can inside the second can. This is hard to do. Make sure that both cans are properly aligned so that it is easier to get the cans to slide inside one another.

- Once the first can is inside the second can, press the cans down firmly on a table top to push the first can further inside the second can. Continue doing this until the first can is completely inside the second can.
- Make sure that the cans fit together well because there needs to be a considerable amount of pressure in between the spaces inside the cans later on. Once this is done, the portable stove is ready to be set-up.
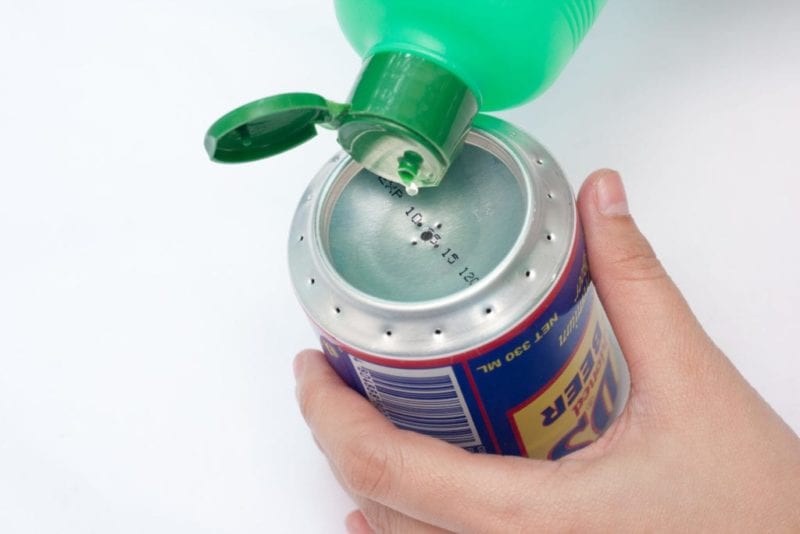
- Fill the portable stove with denatured alcohol through the holes made in the middle. Approximately 1/10 of an inch is enough.
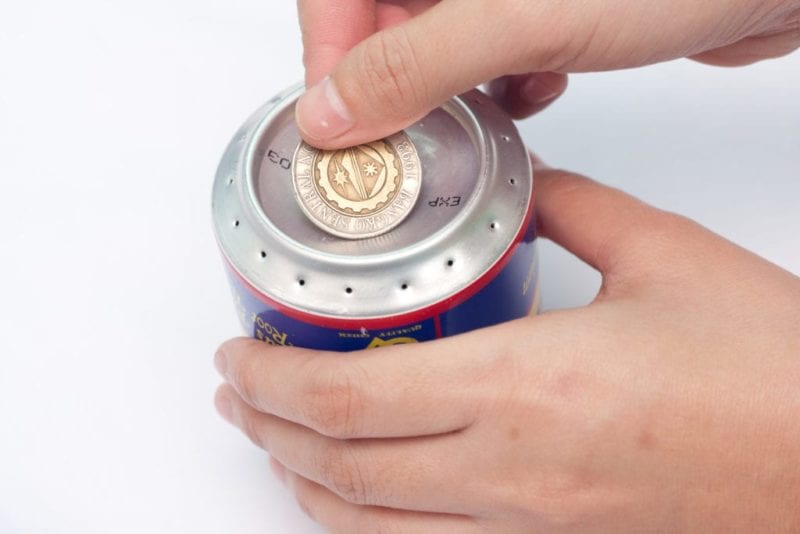
- Lay a coin over the middle hole of the stove to cover it.

- Heat the bottom of the portable stove. Do these for 3 to 5 minutes or until you smell the alcohol fumes radiating from the small holes on top.
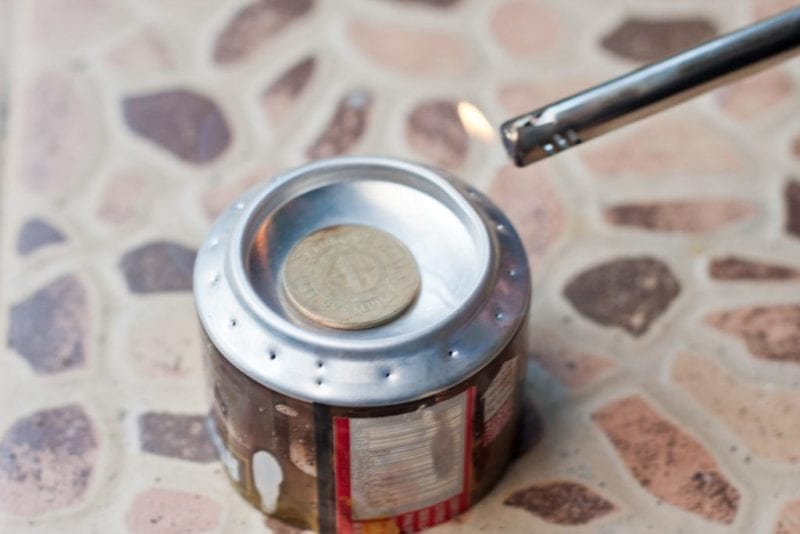
- Start lighting the portable stove on the side holes of it.
- Once you see the blue flame on top of the portable stove, you can put your pot on top of it and begin cooking. The fuel should last about 15 minutes.
Find it online: https://experimentalhomesteader.com/grid-down-survival/