Disclaimer: I received the book mentioned below in exchange for my honest review. All opinions are my own. There are also links to products I recommend from companies I have a referral relationship with. I will be compensated if you make a purchase after clicking on my links.
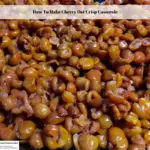
Once you learn how to make cherry oat crisp casserole, as long as you have cherries on hand, you have a quick and easy dessert that is sure to have everyone asking for a second helping.

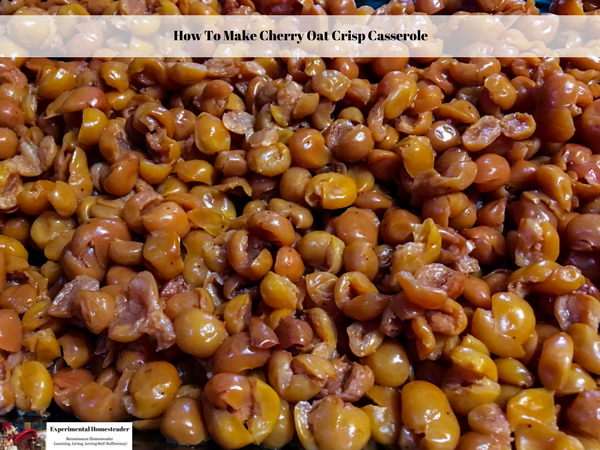

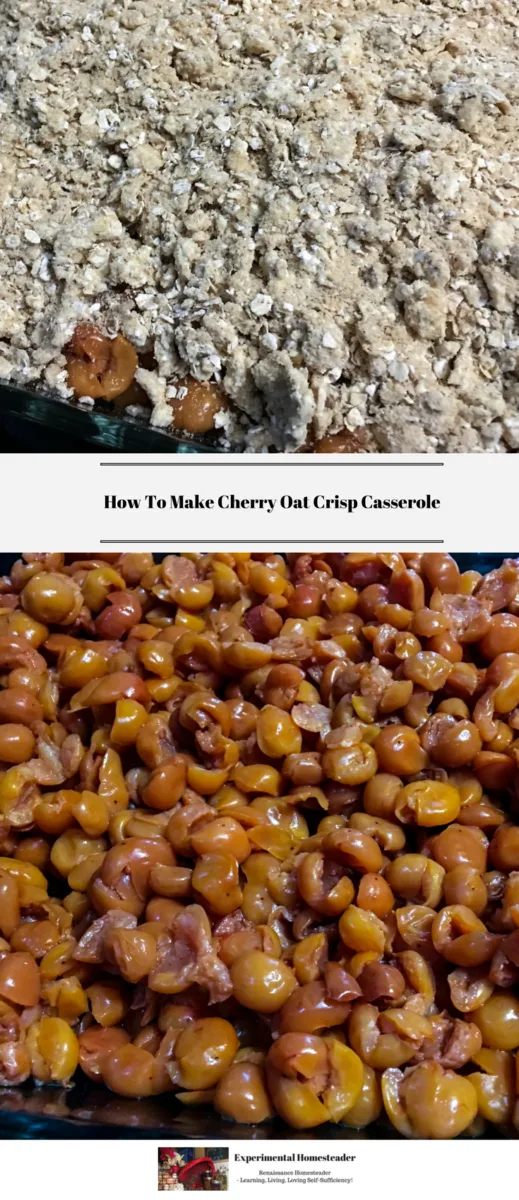
I used home canned cherries that I canned in a medium syrup – and this recipe took 5 pints.
I was a little concerned about the amount of sugar in the recipe, but the cherries were simply opened, drained and poured into the bottom of the pan, so the sugar in the topping was just right.
Here is my recipe – borrowed from a new book I am reading called Not Your Mother’s Casseroles by Faith Durand.
PrintHow To Make Cherry Oat Crisp Casserole
Ingredients
- 5 pints home canned cherries in medium syrup
- 1 1/2 cups old-fashion oats
- 1 cup light brown sugar
- 1 cup unsalted butter
- 1/2 cup flour
- 1/2 teaspoon cinnamon
- 1/2 teaspoon of the following spices mixed in equal amounts – nutmeg, ginger and coriander
Instructions
- Preheat the oven to 375 degrees Fahrenheit.
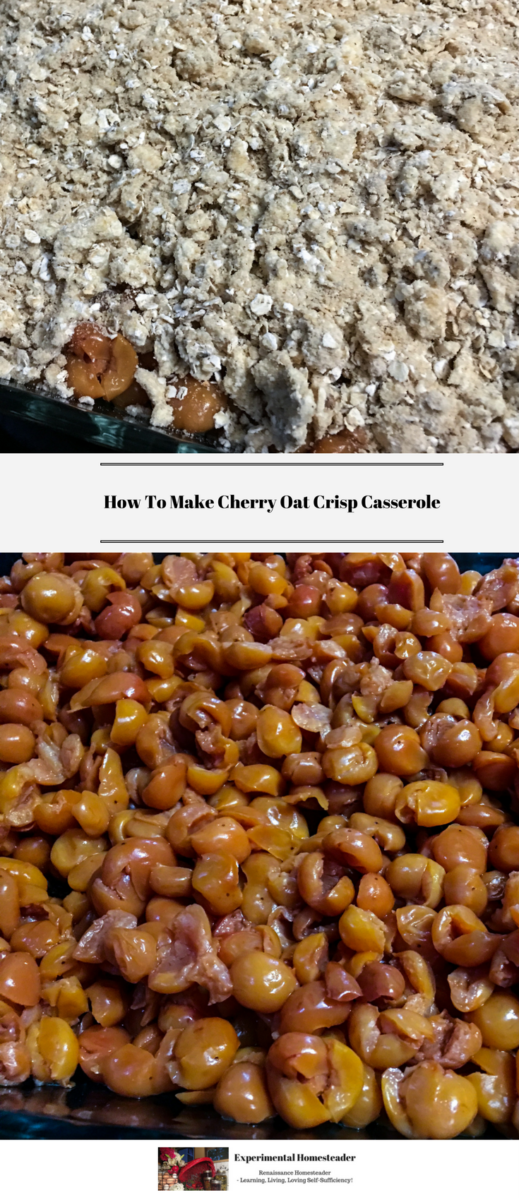
- Drain the cherries and put them in the bottom of the 9 x 13 baking pan.
- Add the dry ingredients to a large bowl and mix well.
- Use a pastry blender to cut in the butter until the mixture looks like coarse crumbs.
- Pour the mixture on top of the cherries making sure all of the fruit is evenly covered.
- Bake uncovered for 45 minutes.
- Remove the cherry oat crisp casserole from the oven and allow it to cool for about 15 minutes.
- Serve.
Notes
Note: This is a great make-ahead dessert. Just prepare it 24 hours in advance and put it in the refrigerator until you are ready to bake it.

I highly recommend the following articles:
- Maple Vanilla Bourbon Cherry Pie From Scratch
- How To Dehydrate Cherries
- How To Make Maraschino Cherries
- Five Spice Cherry Homemade Recipe For Ice Cream
- Sous Vide Cherry Cinnamon Ice Cream Recipe
Use the buttons on the right hand side of the screen to share this article with friends or family who might find it useful. Pin the picture below to your pinboard on Pinterest for future reference.