


Hey there, fellow homesteaders and embroidery enthusiasts!
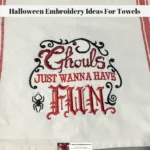
Today, we’re diving into a delightfully eerie realm of creativity – Halloween Embroidery Ideas for Towels.

As someone who’s passionate about crafting and homesteading, I can’t help but get excited about infusing a touch of Halloween spirit into everyday items.
And what better way to do it than by embroidering spooktacular designs on your trusty towels?

Unmasking Urban Threads: A Source of Inspiration
Allow me to share my genuine enthusiasm for the bountiful wellspring of creativity that is Urban Threads.
Their embroidery designs have been a constant source of inspiration for me.
From the moment I embraced the art of embroidery with my very first machine, I’ve been utterly captivated by the intricacy of their designs.
The difference now is remarkable.
I’ve since upgraded to a more advanced embroidery machine, the Brother Inno-vis NQ1700E Embroidery Machine, one that masterfully brings these intricate creations to life without a hitch.
It’s not an exaggeration to say that this upgrade has been nothing short of a game-changer in my crafting journey.
Discovering Urban Threads is like opening a door to a world of endless possibilities.
Their designs ignite the flames of creativity within me and inspire me to experiment, create, and take my embroidery projects to new heights.
It’s a place where every homesteader can find that perfect touch of artistry to elevate everyday items like towels, shirts or home decor into works of embroidered art.
Urban Threads has played a pivotal role in shaping my journey as a homesteader with a passion for crafting.
The designs on their platform have not only adorned my homestead but also brought joy and artistry into my daily life.
It’s a platform that constantly surprises and delights, a place where creativity knows no bounds.
So, fellow homesteaders, if you’re in need of inspiration and embroidery ideas, Urban Threads is a treasure trove waiting for you to explore.
Upgrade your tools, unleash your creativity, and dive into a world of intricate, stunning designs.
Your crafting journey is about to reach new heights, just as mine did.


Glow-in-the-Dark Web Weaving: A Spine-Chilling Adventure
I love embroidering with glow-in-the-dark thread.
It adds a whole new dimension to my creations, especially when it comes to crafting spooky spider webs for Halloween-themed items.
Allow me to take you on a spine-chilling adventure into the realm of glow-in-the-dark web weaving.
When you’re eager to transform a plain towel into a haunting masterpiece with mesmerizing glow-in-the-dark thread, there’s an invaluable tip I can’t stress enough: practice on a scrap piece of fabric first.
While it may sound simple, this step is pivotal in achieving a flawless finish that captures the eerie essence of Halloween.
Embroidering with glow-in-the-dark thread isn’t your typical stitching experience.
It requires a little extra care and attention to detail, but the result is utterly rewarding.
Before you embark on this spine-tingling journey, it’s essential to understand how the design stitches out.
Every intricate detail of your spooky spider web should come to life as your embroidery machine dances its way across the fabric.
The key to success is knowing precisely when to manually stop the embroidery machine and switch to black thread (or your chosen color) to highlight specific details.
This transition is where the magic happens.
The seamless shift from glow-in-the-dark thread to black or another color enhances the visual impact of your design, making it truly stand out.
As you practice and gain confidence in this technique, you’ll find that your creations take on an otherworldly glow once the lights go out.
Whether you’re crafting towels for your homestead or creating gifts for friends and family, the surprise and delight of seeing your glow-in-the-dark web weaving come to life in the dark is an experience that both you and your recipients will treasure.
So, fellow homesteaders and crafting enthusiasts, don’t be afraid to step into this world of spine-chilling adventure.
Practice, experiment, and let your creativity shine, both in the light of day and the enchanting glow of the dark.
It’s an embroidery experience that promises both excitement and enchantment, perfect for adding that special touch to your Halloween-themed creations.
Stabilize for Success: The Unsung Hero
In the world of embroidery, there’s an unsung hero, and it goes by the name of stabilizer.
This unassuming material plays a pivotal role in ensuring your embroidered creations turn out flawlessly, and I can’t emphasize its importance enough.
I’m a firm advocate of using six layers of stabilizer beneath the towel, and you might be wondering why I suggest such an abundance.
Well, it’s a technique I’ve sworn by to safeguard against any mishaps, particularly when working with thinner fabrics.
Embroidery enthusiasts, especially those in the homesteading community, can attest that the durability of our creations matters.
We don’t just craft for the sake of it; we craft to make items that last and serve us well.
That’s where the six layers of stabilizer come into play, and let me assure you, it works like a charm.
The real beauty of this technique emerges when you witness your first embroidered towels still standing strong, even after five years of regular use.
These towels have seen their fair share of action, serving various purposes on the homestead, and yet the stitching remains intact.
This is the kind of resilience that homesteaders truly appreciate.
We don’t want our hard work to unravel or deteriorate over time.
We aim for enduring quality that can withstand the demands of everyday life.
So, as you embark on your embroidery projects, whether you’re enhancing your homestead or creating thoughtful gifts, remember the unsung hero – stabilizer.
It’s your key to achieving not just beautiful designs but long-lasting, durable creations that stand the test of time.
The Stitch in Ditch Stabilizer: Safeguarding Your Towels
Now, let’s unveil the brilliance of the Stitch in Ditch stabilizer, a unique tool that acts as a silent protector for your towels during the embroidery process.
This stabilizer, aptly named for its exceptional function, is a game-changer for your crafting projects.
Here’s the secret: the Stitch in Ditch stabilizer doesn’t directly engage with the fabric.
Instead, it entrusts the embroidery hoop with the responsibility of holding the towel in place while the stabilizer does its magic.
This clever approach ensures that your towel remains unharmed and untouched while your embroidery masterpiece comes to life.
The Stitch in Ditch Stabilizer is a wonderful multi-purpose fabric stabilizer.
Use one or multiple layers for decorative stitching, stabilizing, buttonholes, light open embroidery designs, quilt paper piecing, and so much more.
The remaining stabilizer will disintegrate when washed. It does not damage delicate stitching and leaves no stiffness.
This stabilizer is available in a convenient 8″ wide by 70 yards roll.
It is perfect for paper quilt piecing and machine embroidery.
Simply draw or trace your design on the stabilizer, then baste to hold the pattern in place.
Once the design is stitched, easily tear the Stitch in Ditch Stabilizer away.
For use when sewing lace to entredeux, lace to lace, or when adding ribbon or other decorative trim.
It tears away easily, never disturbing your fine fabrics or delicate stitching.
For all you homesteaders and embroidery enthusiasts, the Stitch in Ditch Stabilizer could be a fantastic addition to your toolkit.
Whether you’re working on decorative stitching, stabilizing, buttonholes, or even paper quilt piecing, this stabilizer appears to be a reliable choice.
Imagine the convenience of drawing or tracing your design onto this stabilizer, basting it in place, and then easily tearing it away once your project is complete.
It’s a seamless process that won’t disrupt your fine fabrics or delicate stitching.
Plus, with 70 yards in a roll, it seems like a generous supply to support your crafting endeavors.
So, if you’re looking for a fabric stabilizer that’s versatile, easy to use, and won’t compromise your intricate work, the Stitch in Ditch Stabilizer might just be your next must-have tool.
It’s a brilliant addition to your homesteading and crafting arsenal, and I’m excited to see how it can enhance your embroidery projects.
Read on to discover how you can put this incredible stabilizer to use in creating your very own Halloween towel.
The possibilities are bound to be endless!
PrintHalloween Embroidery Ideas For Towels
Ingredients
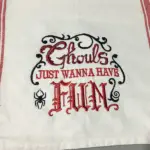
- Sulky Thread PF190 (Fun)
- Sulky Thread PF1586 (Ghoul)
- Sulky Thread 1147 (Just Wanna)
- Sulky Thread 268d
- Glow-in-the-dark thread (spiders)
- flour sack towel, washed
- Sulllivans Stitch & Ditch Stabilizer
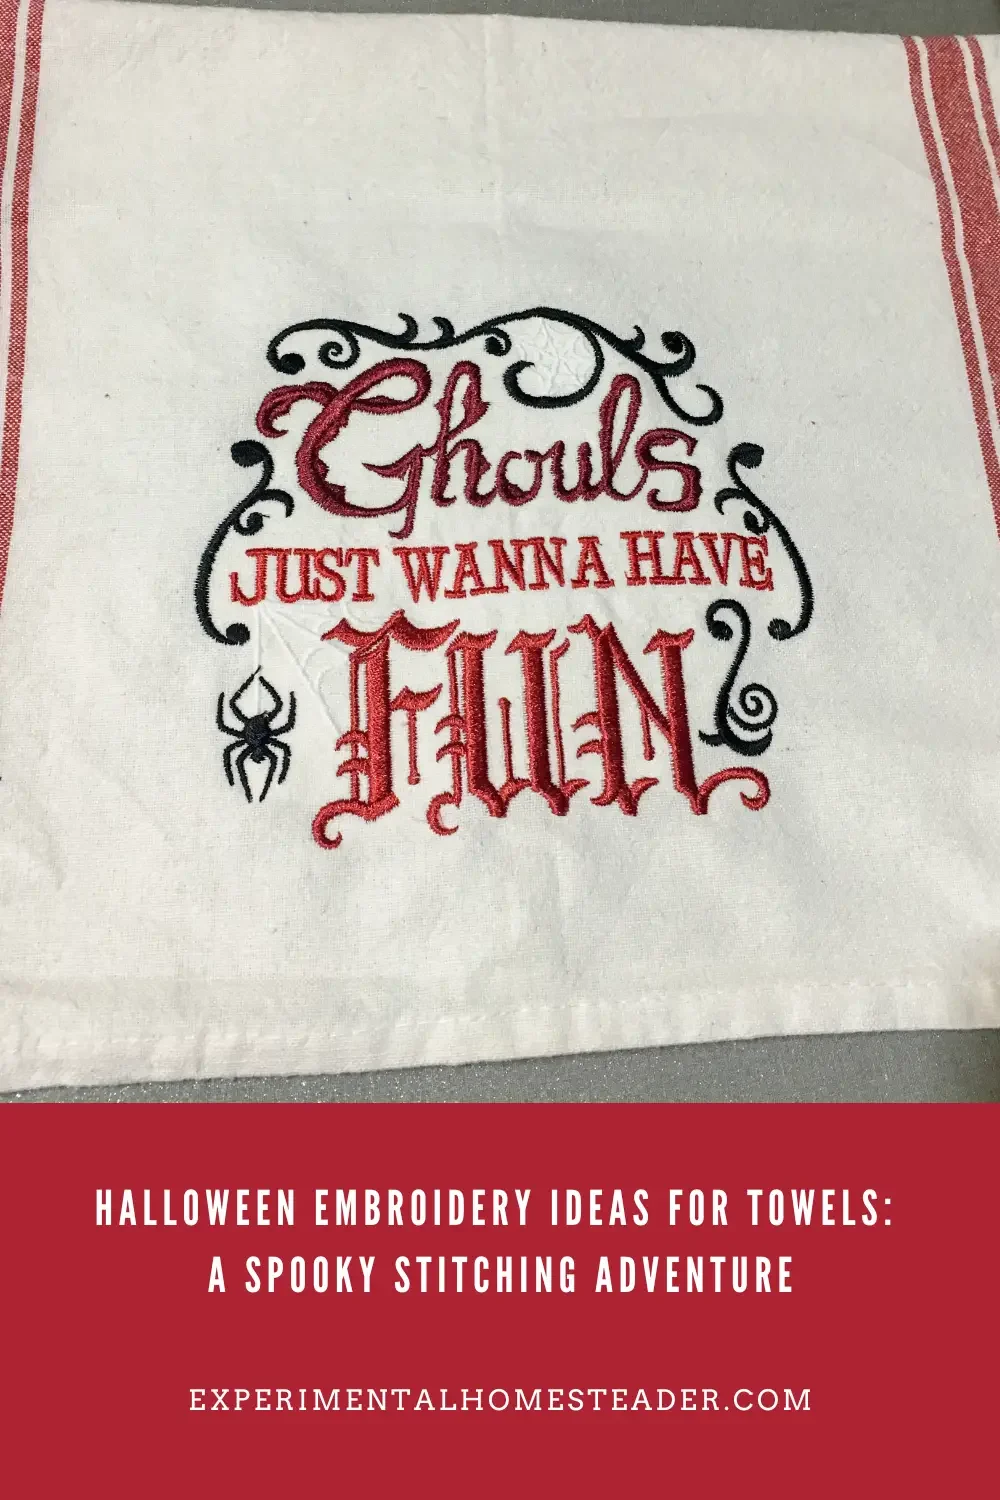
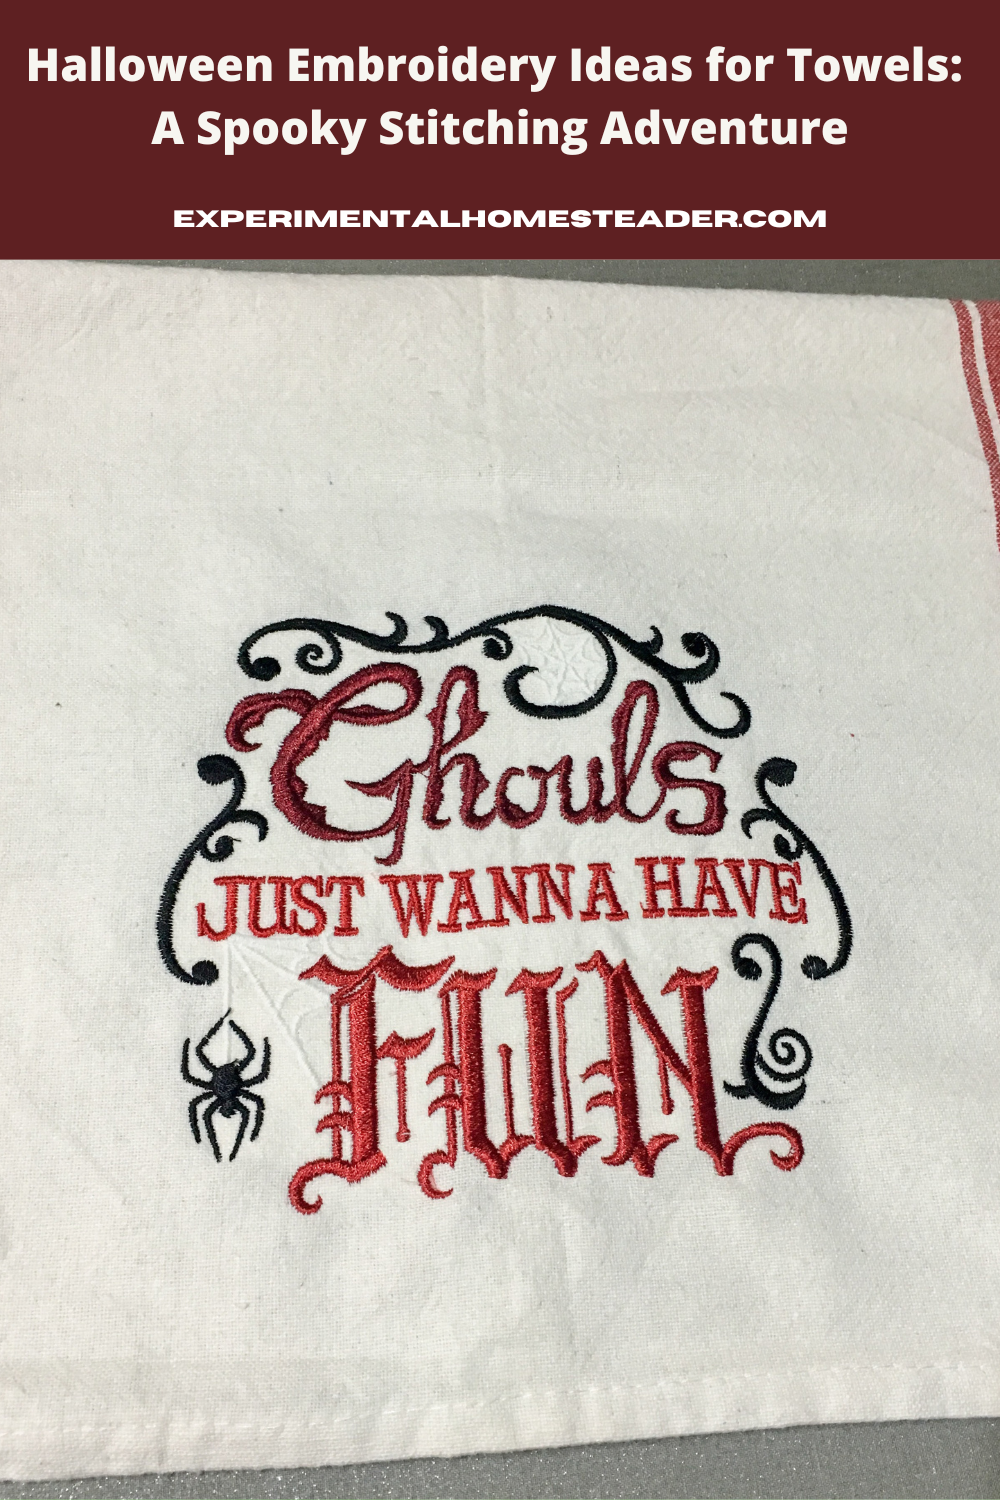
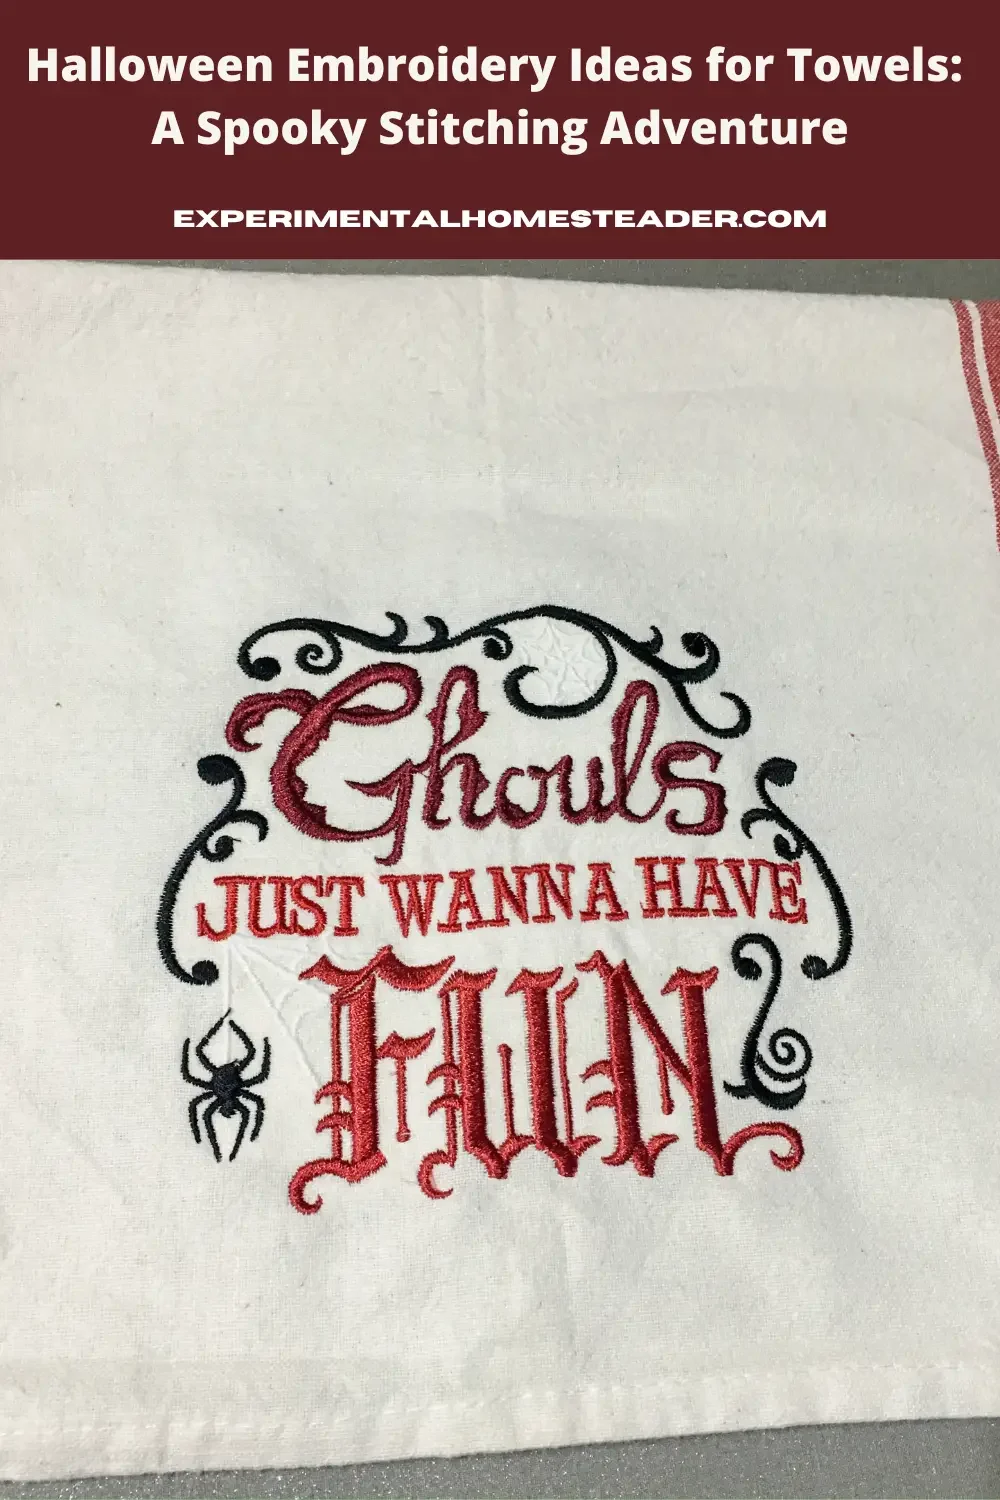
- Ghouls Just Wanna Have Fun Design From Urban Threads
Instructions
- Wash and dry the flour sack towel before you begin this project.
- Iron the flour sack towel.
- Choose the proper size embroidery hoop. I used a 6″ x 10″ hoop.
- Cut six layers of the stitch & ditch stabilizer.
- Lay these on top of the bottom part of the embroidery hoop.
- Lay the portion of the towel you wish to embroidery on top of the stabilizer.
- Now secure the top part of the hoop to the bottom part of the hoop.
- Once the embroidery hoop is securely holding the stabilizer the towel, go ahead and attach it to your embroidery machine.
- Set up your embroidery machine, bring the design up so it is ready to stitch and gather all of the thread needed for this project.
- The design – on my machine started with the spider webs. They are meant to be black. I chose to use a glow-in-the-dark thread for them. I let the machine stitch both of them out and paid close attention. Once I knew the spider webs were stitched I manually stopped the embroidery machine and removed the glow-in-the-dark thread. I replaced it with the black thread.
- My machine did stop in between all the other color changes which made switching out the thread colors so much easier.
- When the stitching is complete, remove the embroidery hoop from your embroidery machine and shut it off.
- Now there is going to be some thread trimming that needs done and the excess stabilizer will need to be removed.
- Now your Halloween embroidered flour sack towel is ready for use.
Notes
Note: This design took approximately 80 minutes to stitch on the Brother ULT2001.

Creating Your Halloween Masterpiece: A Personal Touch
Now, let’s focus on creating your Halloween masterpiece.
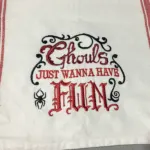
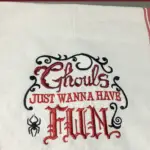
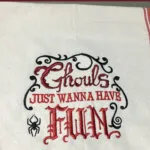
Recently, I crafted one in green for both of my daughters, but it’s hard to deny that the red hue exudes even more Halloween vibes.
Feel free to experiment with thread colors and customize the design to match your unique preferences.
As for final thoughts, I can’t help but gush about how this Halloween embroidery turned out.
The best part?
My daughters loved it just as much.
These towels are not only fantastic for personal use but also make thoughtful gifts.
They are incredibly durable in my experience.
Whether you’re using them on your homestead or sharing them with friends and family, these spooky creations are bound to bring smiles to everyone’s faces.
Fellow homesteaders, it’s time to fire up your embroidery machine and infuse some Halloween magic into your towels.
Remember, practice makes perfect, and a little extra stabilizer goes a long way.
Enjoy your crafting journey, and be sure to share your experiences and ideas in the comments below.
Let’s keep the conversation alive and the creativity flowing.
Halloween Decorating And Craft Ideas
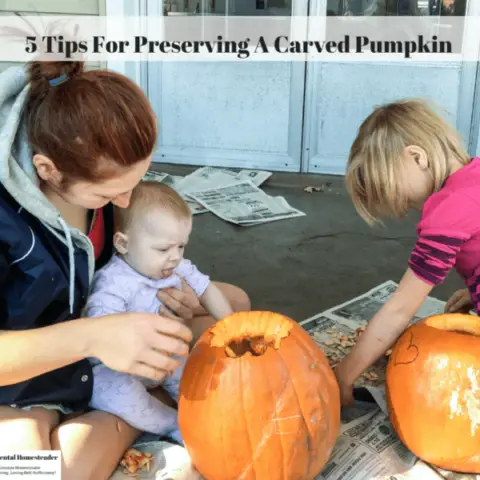

5 Tips For Preserving A Carved Pumpkin
Preserve a carved pumpkin for longer with this easy guide. Keep your Halloween design intac with our tips for preserving a carved pumpkin.

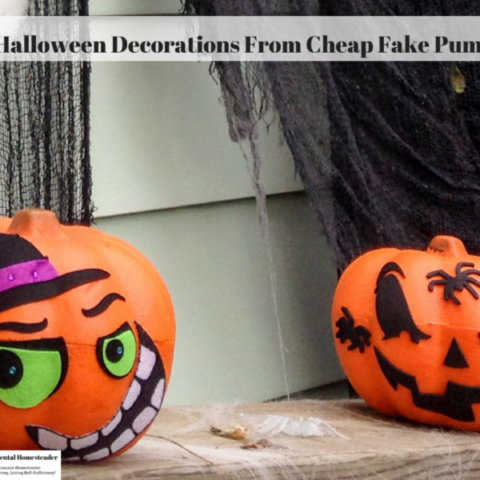
Easy Halloween Decorations From Cheap Fake Pumpkins
Yes, you can make easy Halloween decorations from those cheap fake pumpkins - and best of all they are perfect for kids to decorate.
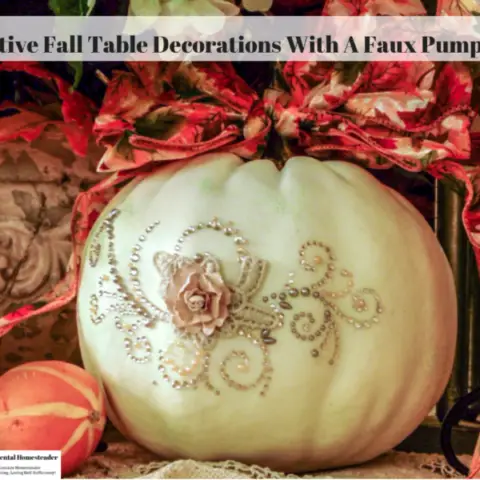

Festive Fall Table Decorations With A Faux Pumpkin
From festive centerpieces to fall table decorations faux pumpkins fit right in. Get ideas for decorating your faux pumpkins with bling and a bow.


How To Glitter A Pumpkin
Kids and adults alike love making DIY Halloween Crafts. Learn how to glitter a pumpkin at home plus how to keep the glitter on the pumpkin when you're done.
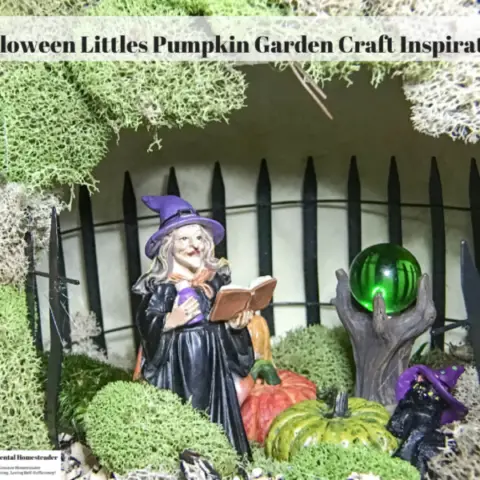
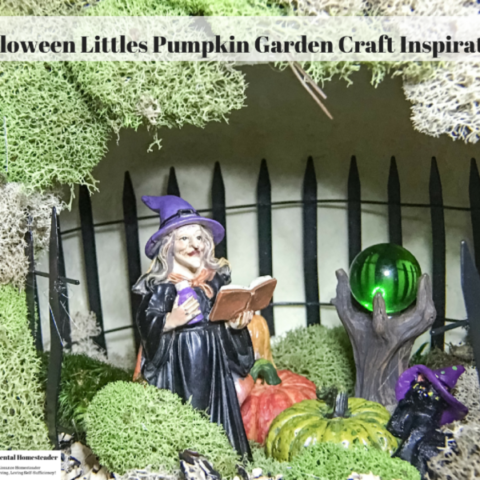
Halloween Littles Pumpkin Garden Craft Inspiration
This Halloween Littles Pumpkin Garden craft inspiration tutorial is sure to inspire you. This year make your own homemade Halloween decor.

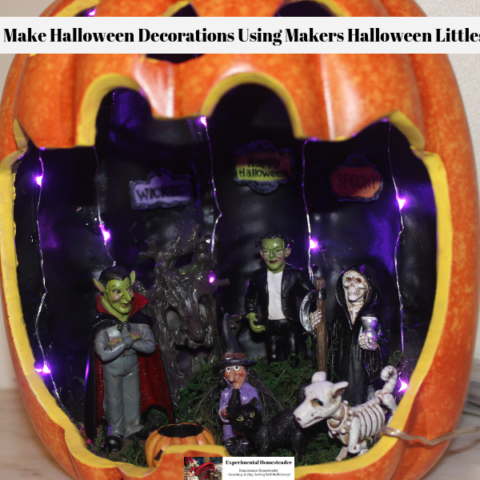
Easy To Make Halloween Decorations Using Makers Halloween Littles Decor
When it comes to easy to make Halloween Decorations, I recommend using the Makers Halloween Littles Decor. Simply arrange, glue and enjoy your fairy garden!

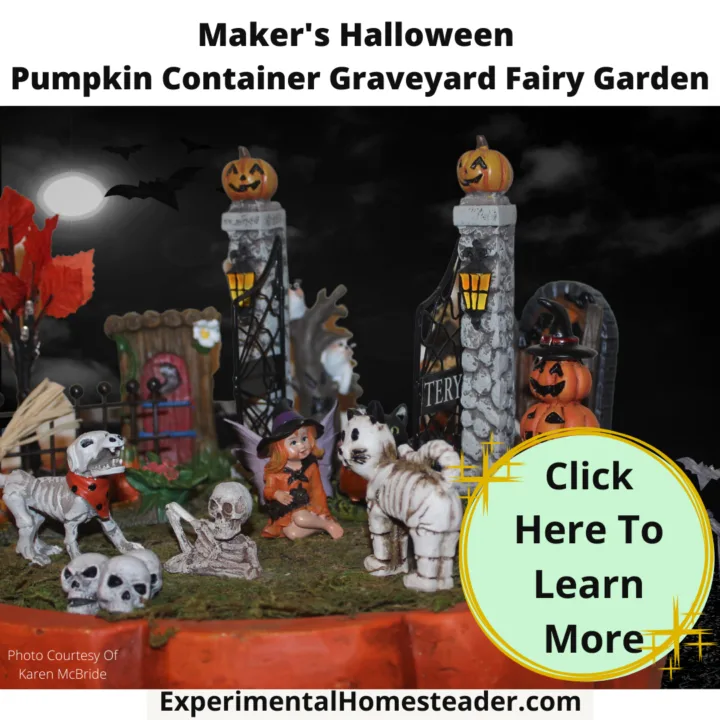
Maker's Halloween Pumpkin Container Graveyard Fairy Garden
This Maker's Halloween Pumpkin Container Graveyard Fairy Garden is the perfect combination of spooky and cute! It's easy to make too!

Scary Budget Friendly Halloween Eyeball Decorations Idea
Awesome Halloween eyeball decorations that make a perfect table centerpiece. These DIY Halloween decorations are budget friendly and easy to make.
Cheap Halloween Decorations From Empty Toilet Paper Rolls
These cheap halloween decorations made from empty toilet paper rolls are a great way to show how eco-friendly you are while having fun with your kids!

Eyeballs In A Mason Jar Halloween Project
Are you looking for budget friendly, cool Halloween projects to do with the kids? Then check out this eyeballs in a mason ball Halloween project!

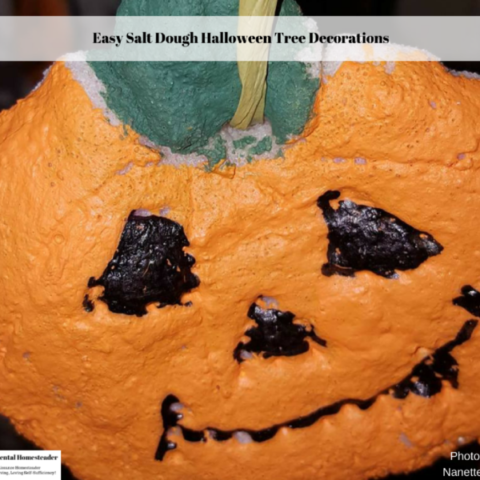
Easy Salt Dough Halloween Tree Decorations
Check out these easy Halloween decorations you make at home with ingredients in your pantry! This Halloween decorations idea is an easy project for kids.


DIY Halloween Bath Bomb Recipe
This cool DIY Halloween Bath Bomb Recipe packs a peppermint scented bath salt into a cauldron filled with a skeleton which pops out as the bath bomb fizzes.

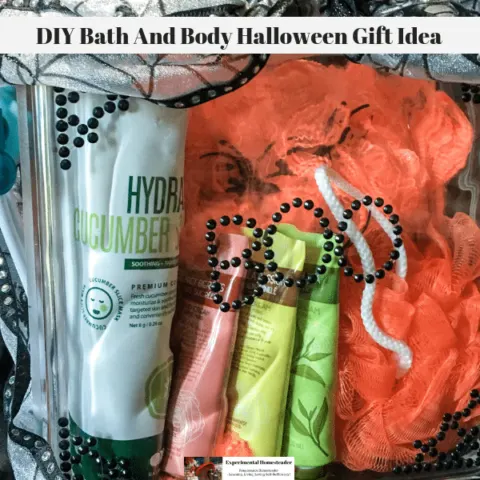
DIY Bath And Body Halloween Gift Idea
The acrylic Craft Block by Hy-Lite is a fun, creative way to make a unique DIY bath and body gift set that is the perfect finish to Halloween festivities.
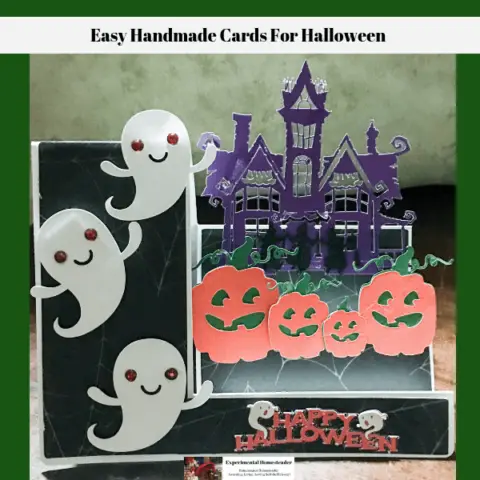
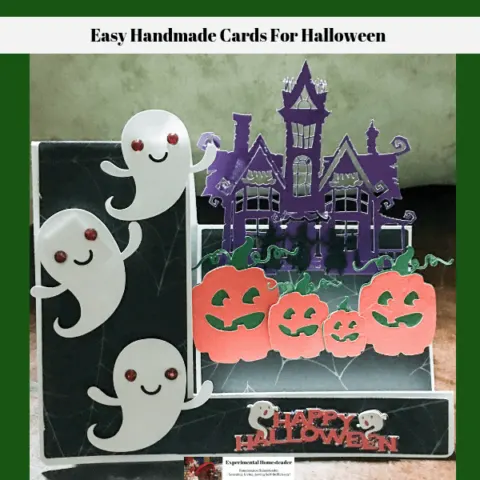
Easy Handmade Cards For Halloween
If you want easy handmade cards for Halloween that truly look intricate, then be sure to check out this step card made with the Cricut Maker.
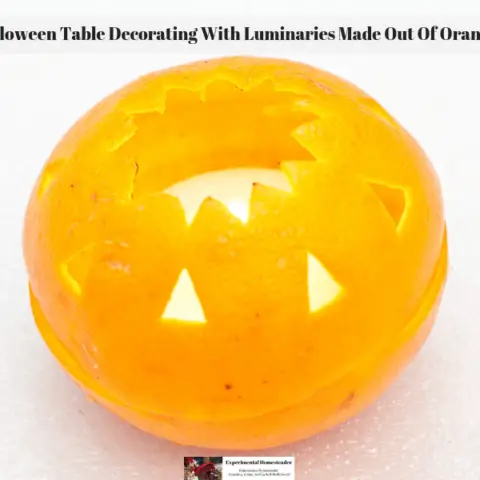
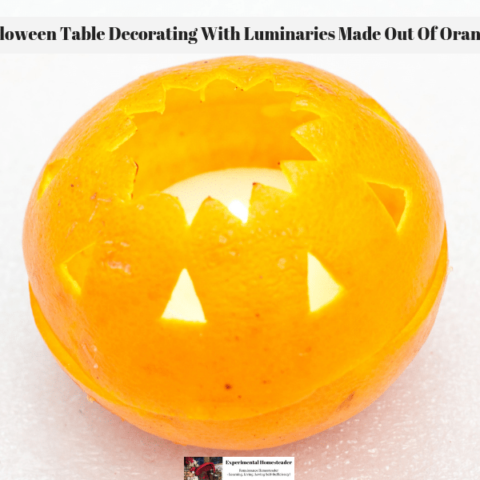
Halloween Table Decorating With Luminaries Made Out Of Oranges
When you are ready to start your Halloween table decorating this season, try using these luminaries made out of orange peels that naturally scent your home.
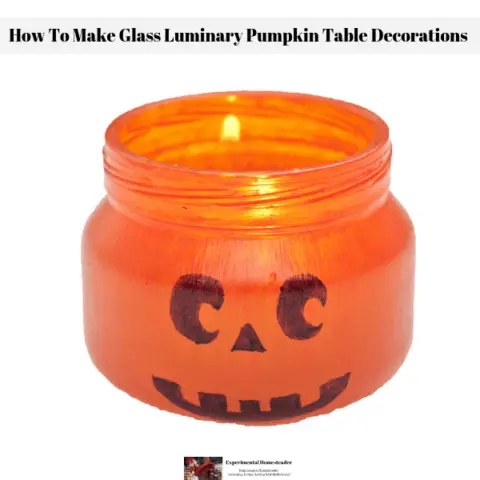

How To Make Glass Luminary Pumpkin Table Decorations
These glass luminary pumpkin table decorations are easy to make and they are a great way to recycle baby food jars! They are also easy for kids to decorate!


Creating the Perfect Homestead-Themed Pumpkin Patch
Learn how to create a captivating homestead-themed pumpkin patch, where pumpkins meet rustic charm and farm animals enhance the magic.