Ingredients
Scale
- Christmas Memories Stamp Set From Papercraft Essentials Issue 164
- Copic Marker Light Suntan E13
- Copic Marker Cadmium Red R27
- Copic Marker Skin White E00
- Bling - Gold Dots
- Paper Studio Red Gemstones
- Paper Studio Gold Foil Stick-A-Bilities
- Gold Metallic Gel Pen
- Cricut Metallic Marker In Gold
- Tim Holtz Distress Oxide Ink In Antique Linen
- Staz On Jet Black Ink
- Martha Stewart Glitter In Sugar Cube
- 2 David Tutera Celebrate 5 x 7 cards
- 1 David Tutera Celebrate envelope for a 5 x 7 card
- 1 sheet green cardstock
- 1 sheet polka dot red cardstock
- Gina K Designs Foil Mates Holiday Cheer
- Deco Foil Emerald Watercolor Transfer Sheets
- Cricut Triangle Design Template
- Laminator
- Crafters Tape
- Duel Tip Glue Pen
Instructions
- Start by blending distress ink around the edges of the front of the card.
- Use the Magical Christmas stamp to stamp the sentiment across the front of the card using the distress ink.
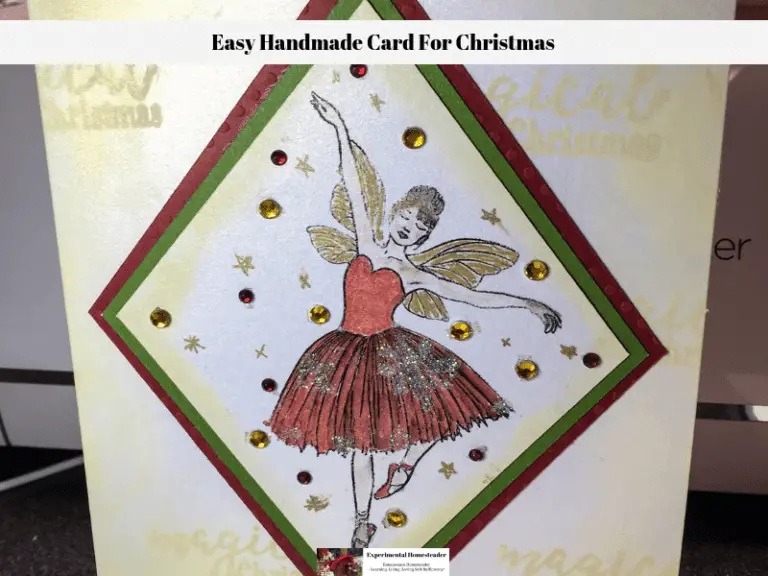
- While the ink is drying, cut a 4" square out of the red card stock, then cut a green piece that is just slightly smaller.
- Cut a square white piece that is 3 1/2", stamp the fairy on it in the center and set it aside to dry.
- Once the ink is dry, tape the piece of red card stock to the front of the card.
- Then glue the green card stock to the top center of the red piece.
- Now decorate the white card stock that you stamped the fairy on. Begin by coloring in the fairy and using the gold metallic gel pen to outline wings and create stars.
- Then add the gold dots, the gemstones or whatever else you like. Add some glitter to create a little sparkle as well, but remember to allow it to dry before continuing.
- Once you are satisfied with how the fairy looks, go ahead and glue it to the center of the green piece of card stock.
- Add the gold foil stick-a-bilities to the four corners of the card.
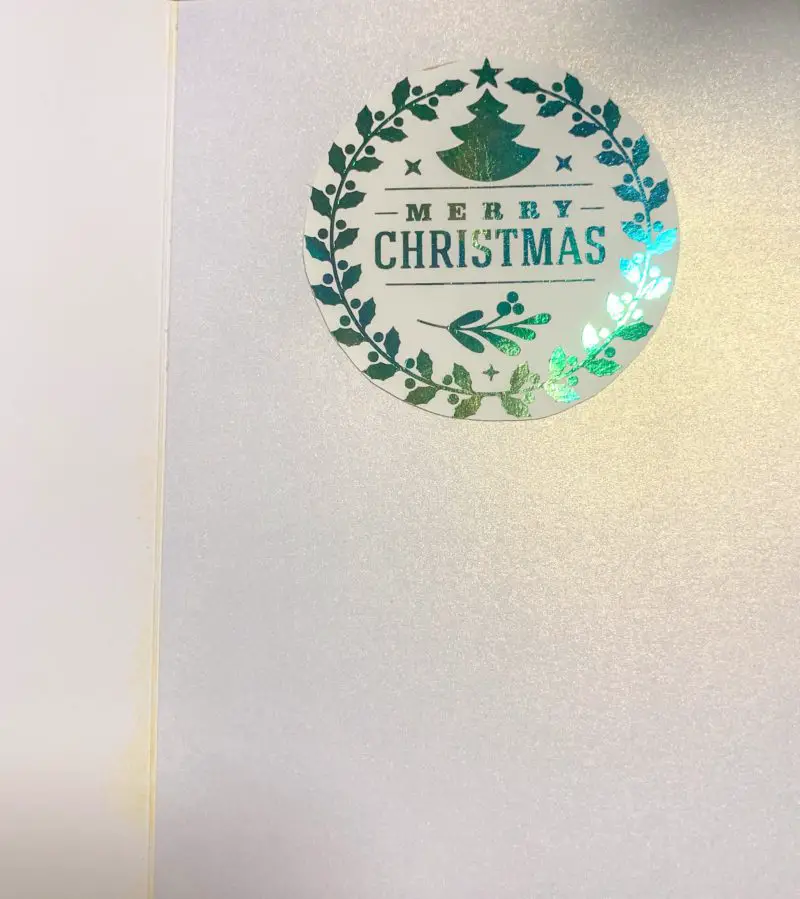
- To create the inside of the card, cut a second card in half. Glue one piece of it to the inside of the card, shiny side facing up.
- Now cut a small piece of card stock and place one of the Gina K Designs Foil Mates Holiday Cheer designs on it.
- Lay the Deco Foil on top, pretty side facing up, cover it with the piece of paper that came with the design set and run it though the laminator, twice.
- Now peel the foil off the piece of card stock slowly. If it is not adhered to the design, stop and run it though again.

- Once the foil is adhered to the design, cut the shape out and tape it to the inside of the card.
- Now the card is ready to give.


