Ingredients
Scale
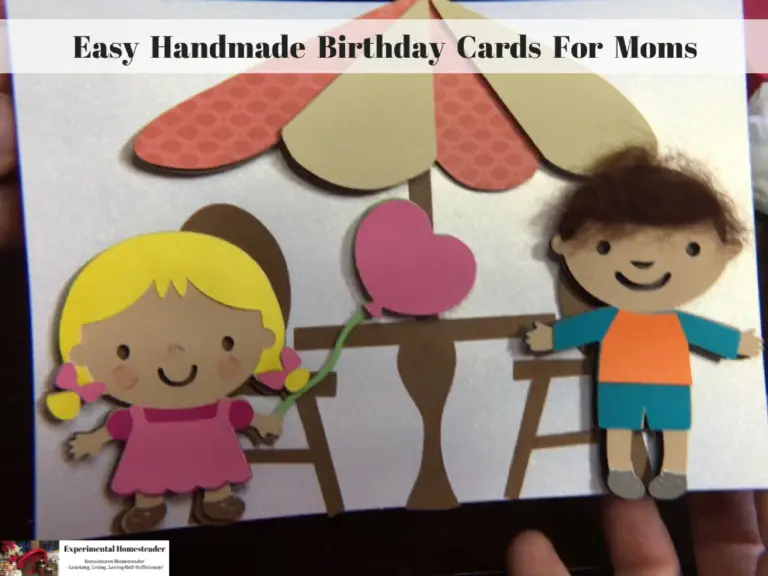
- 1 sheet brown cardstock
- 1 sheet light brown cardstock
- 1 sheet dark pink cardstock
- 1 sheet light pink cardstock
- 1 sheet cream cardstock
- 1 sheet orange patterned cardstock
- 1 sheet green cardstock
- 1 sheet yellow cardstock
- 1 sheet black cardstock
- 1 sheet turquoise cardstock
- 1 sheet orange cardstock
- Pre-made blank card and envelope
- 3D Adhesive Tabs (optional)
- Wool (for hair - optional)
- Glue
Instructions
- I set the design up in the Cricut Design Space then opened the app on my iPad.
- Click here for the design template.
- I connected the iPad to the bluetooth connection on the Cricut Explore Air.
- I then cut the images, switching out the colors of the paper as needed.
- Once all the pieces of the design are cut out, glue them together embellishing them as you please and then glue the design to the front of the pre-made card.
- Allow to throughly dry.
- Now the card is ready to sign, place in the envelope and give.
- Check out what's new at Cricut
Notes
Note: I used 12 x 12 sheets for all the paper but 5 x 7 sheets are plenty large. You can - of course - use any color cardstock you wish. This are just the colors I chose.


