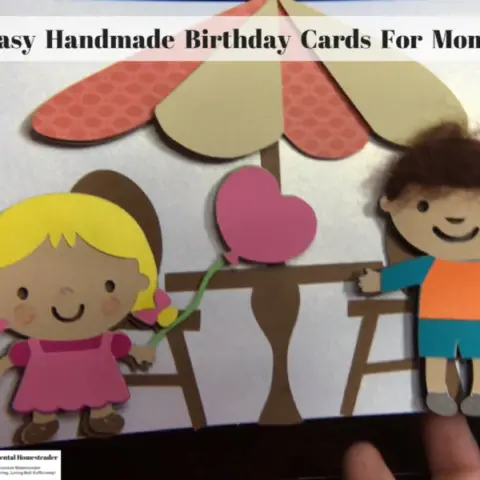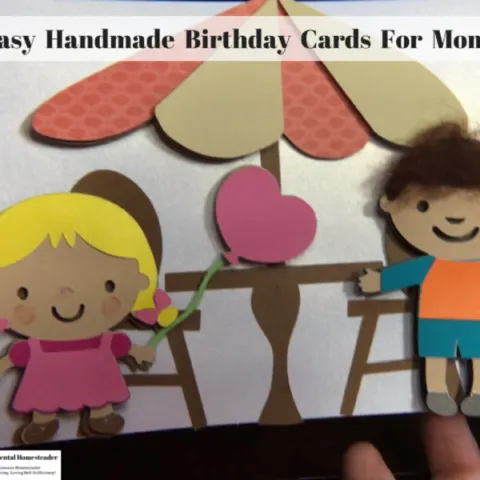
Instead of making just a handmade card, try using your Cricut machine to make a mini-book Cricut card.


Why A Mini-Book Cricut Card Is Better
Let’s face it, some scrapbook paper is simply meant to be used on something special so you can keep it forever.
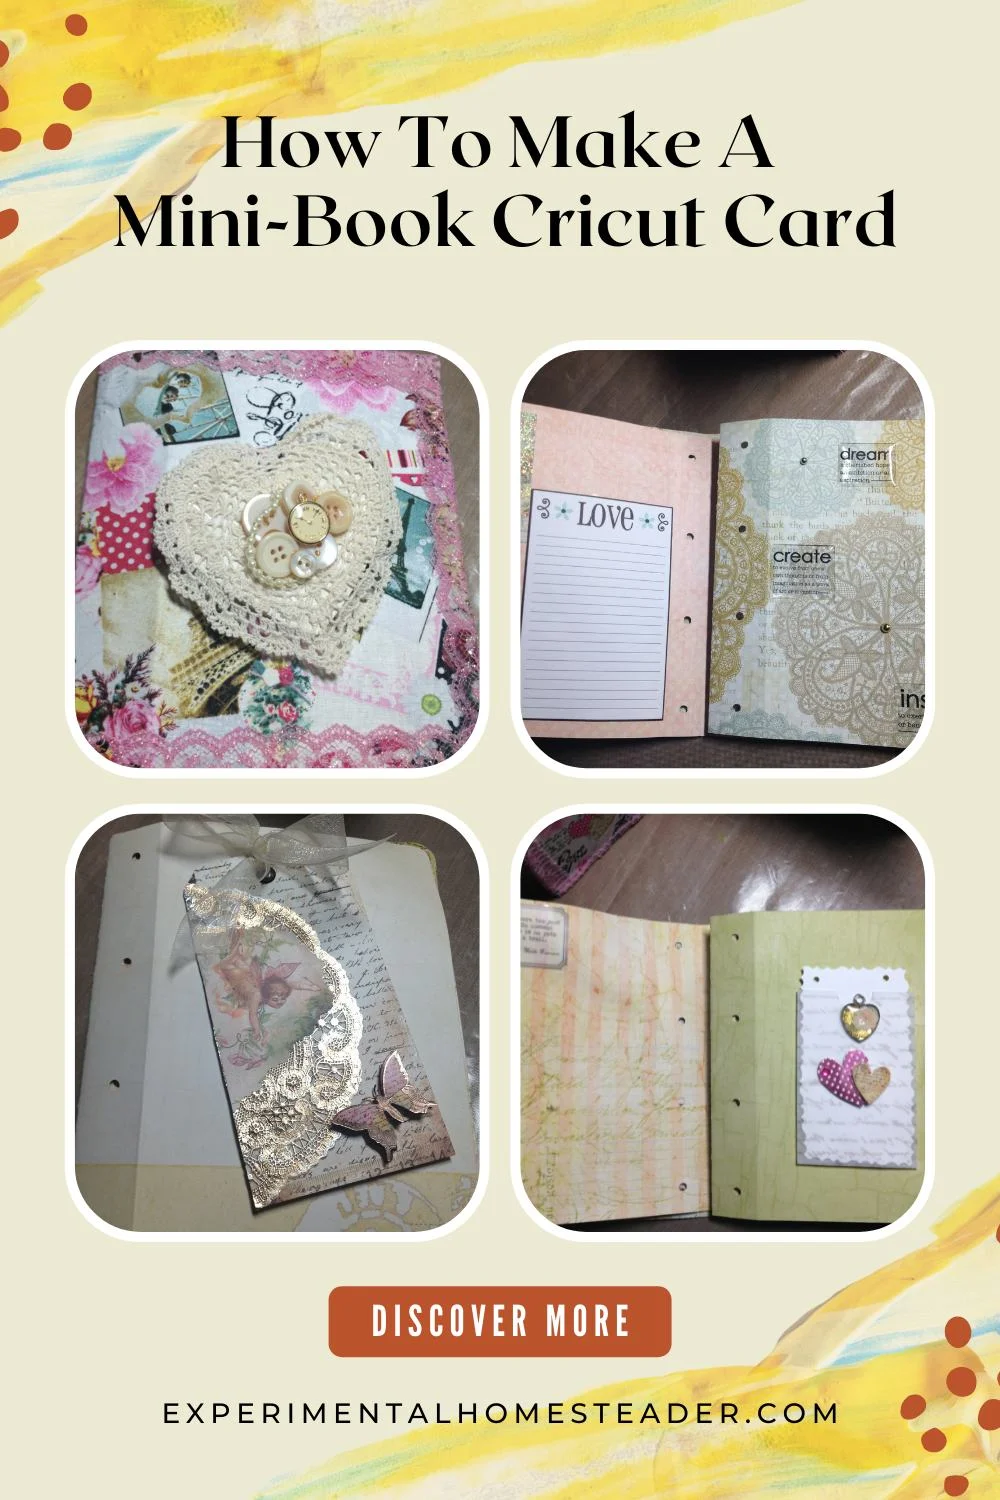
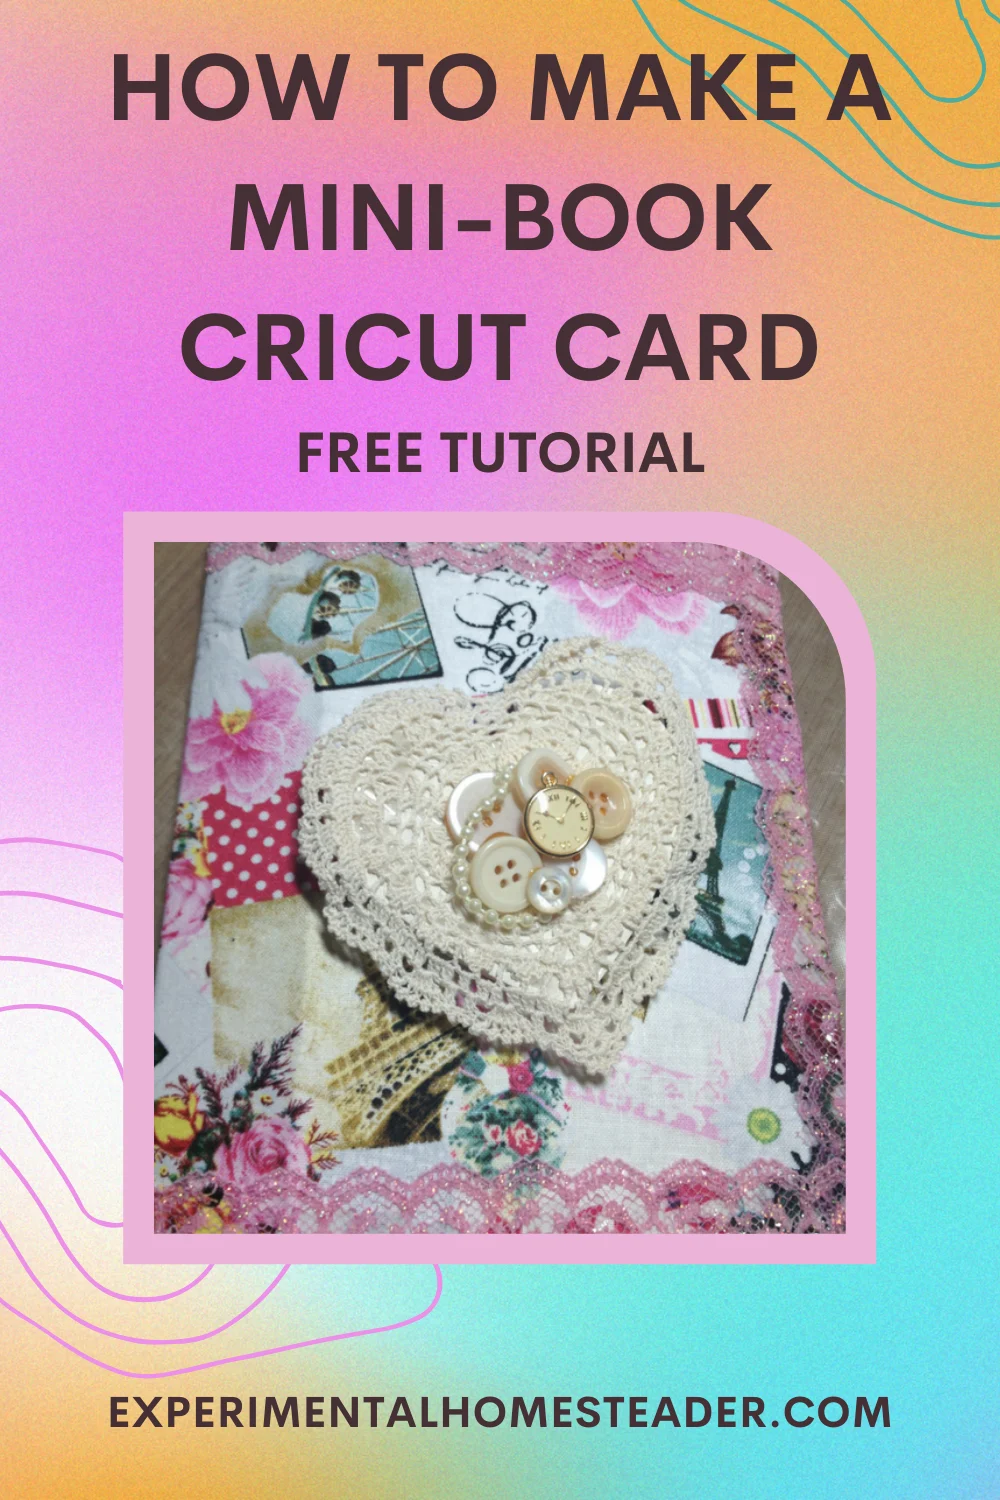
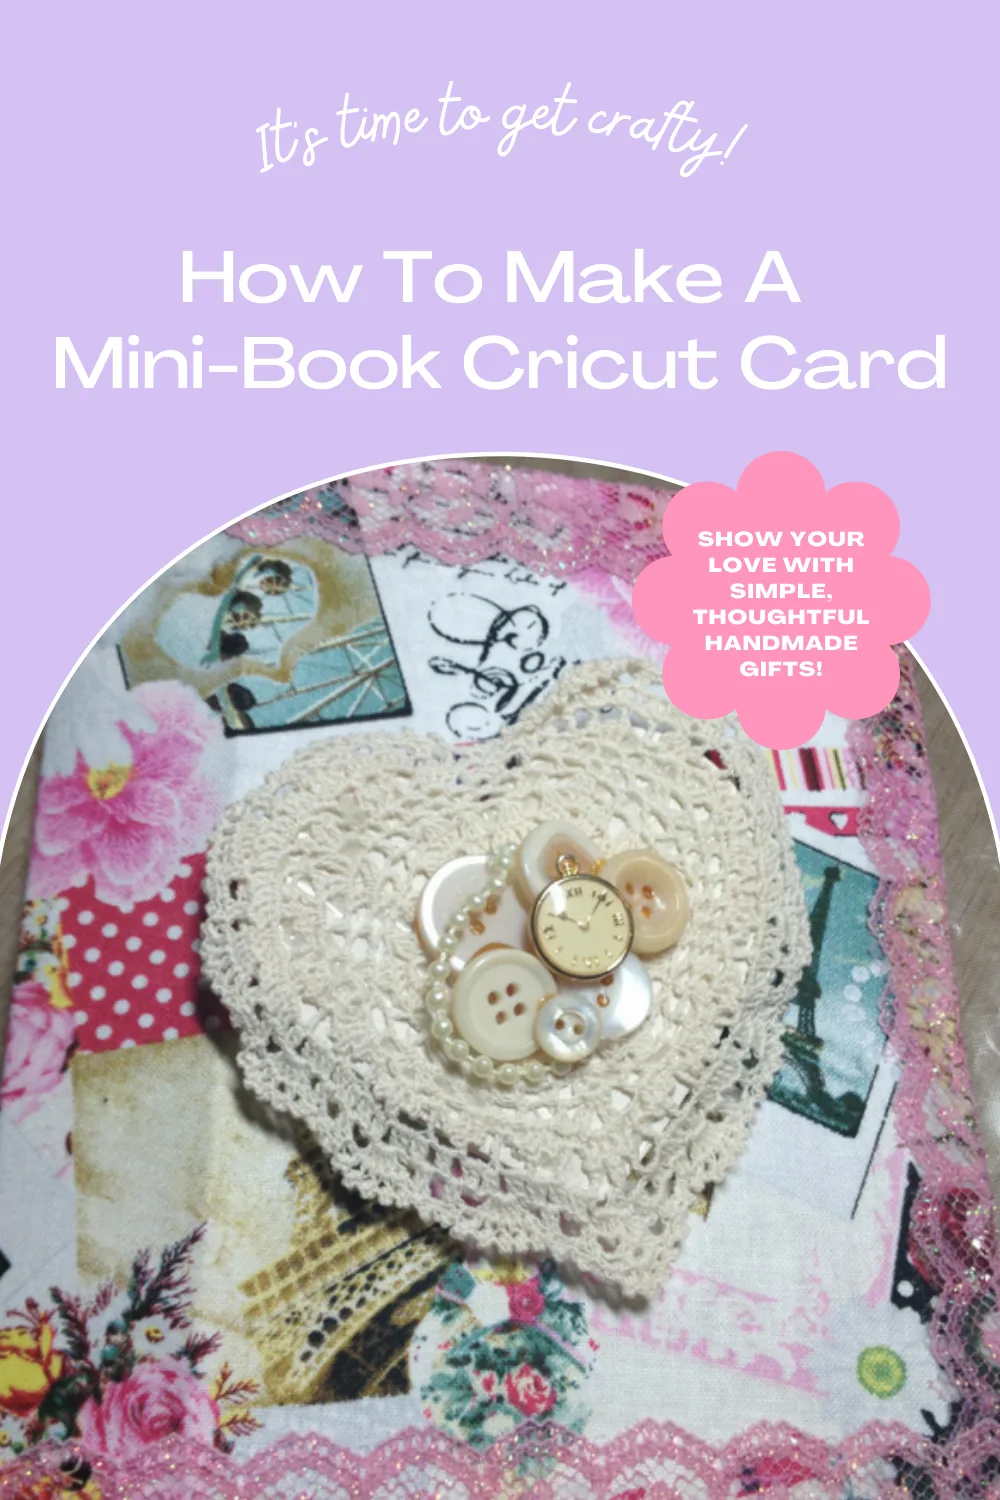
Making a handmade card using pretty paper is one way of doing this, but sometimes handmade cards get damaged – so I decided to take it one step further and make a mini-book card filled with special sayings, a bookmark and jewerly in the hopes of creating a one-of-a-kind keepsake that would become a family heirloom.

Cutting The Chipboard To Make The Mini-Book Cricut Card
I used my Cricut Imagine and the Mini Books cartridge to cut the chipboard for the mini book.
Of course, my Cricut Imagine was acting up and not wanting to cut – so I ended up stopping before I had all the pages cut that I needed.
I called Cricut and they restored the Cricut Imagine back to the original factory settings.

Why I Upgraded To The Cricut Explore Air
I really like the Cricut, but for some reason I have a lot of problems with the Cricut Imagine, which is why I have finally upgraded to the Cricut Explore Air.
The Cricut Explore Air works like a dream!
For people like me who love to craft, but have arthritis in their hands or other issues that makes it hard to use scissors, this machine makes cutting out projects fun and easy!

How To Make A Mini-Book Cricut Card


Ingredients
Instructions
- Cut the shell of the book from chipboard using your Cricut and the Mini-Books Cartridge.
- Lay the fabric on the chipboard pieces, making sure it overlaps and cut the fabric. You need to do this for both the inside and the outside of the mini-book cover.
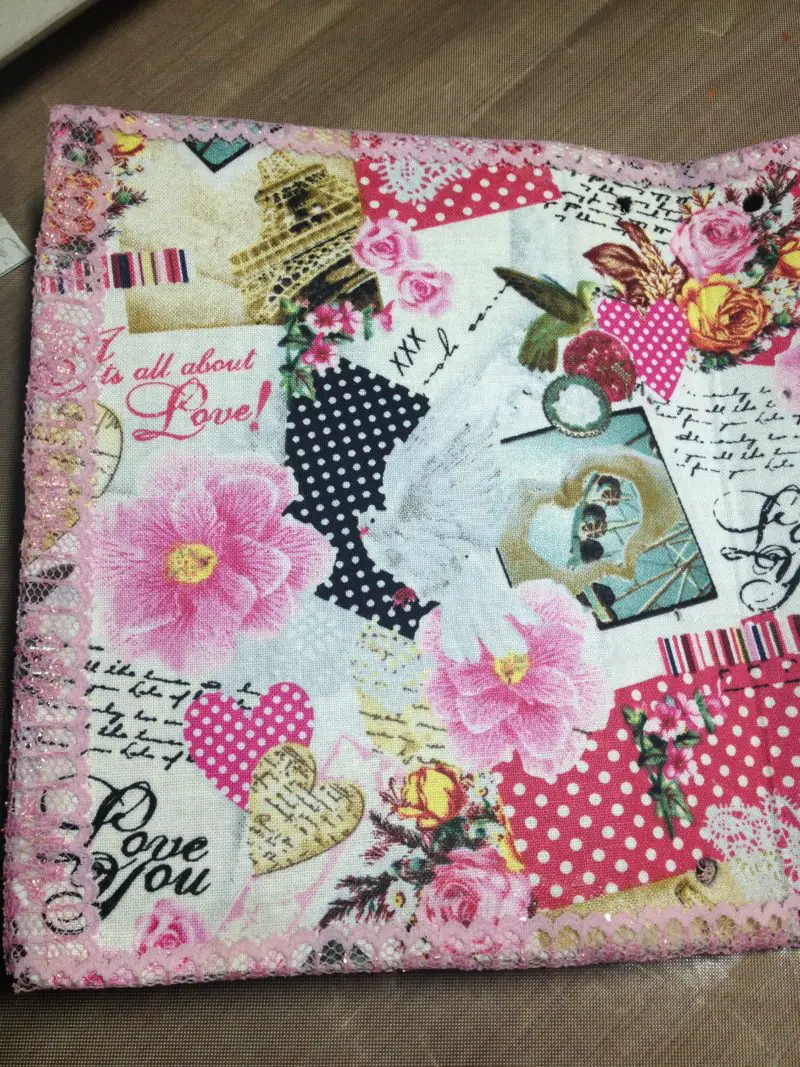

- Use a spray adhesive glue to attach the fabric to the chipboard.
- Line the edges of the fabric with lace, by spraying the lace with spray adhesive then lay it on the fabric where you want it.
- Brush a thin layer of Elmer’s Clear Glue over the top of the lace to prevent the lace from peeling away from the fabric and to get rid of the sticky residue the spray adhesive leaves behind.
- Set the cover aside and allow it to dry overnight.
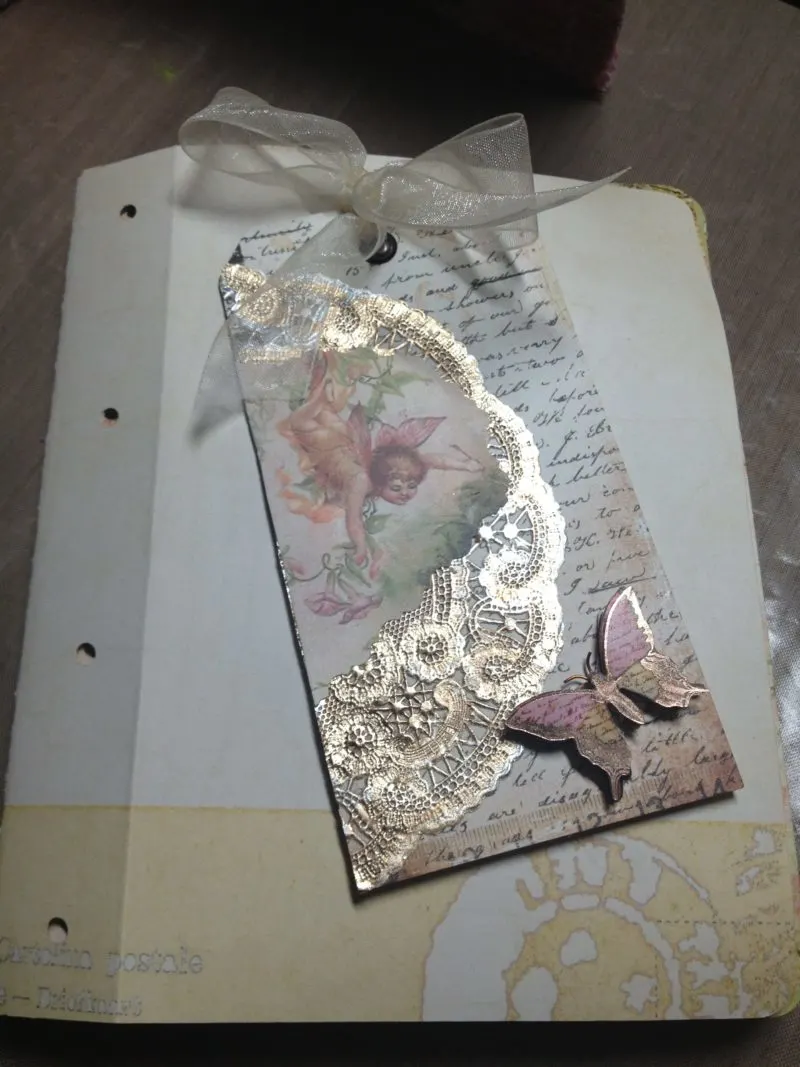
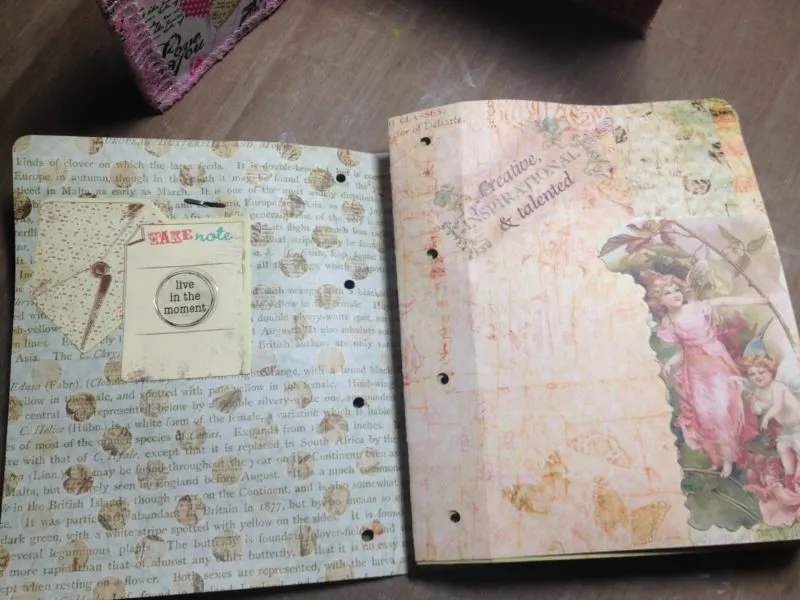
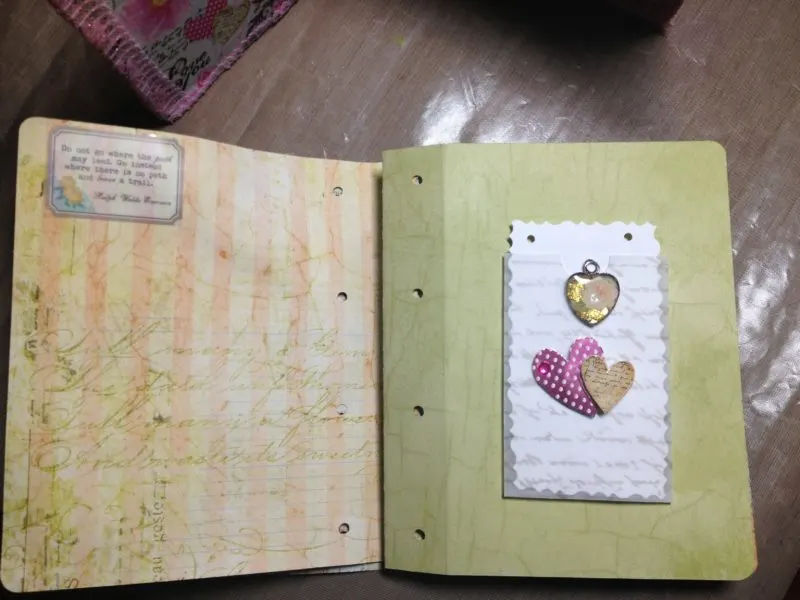
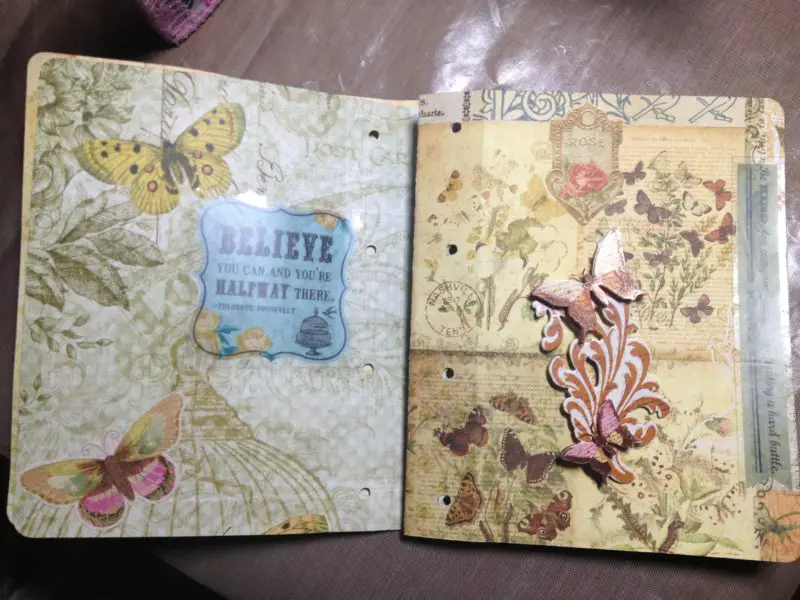
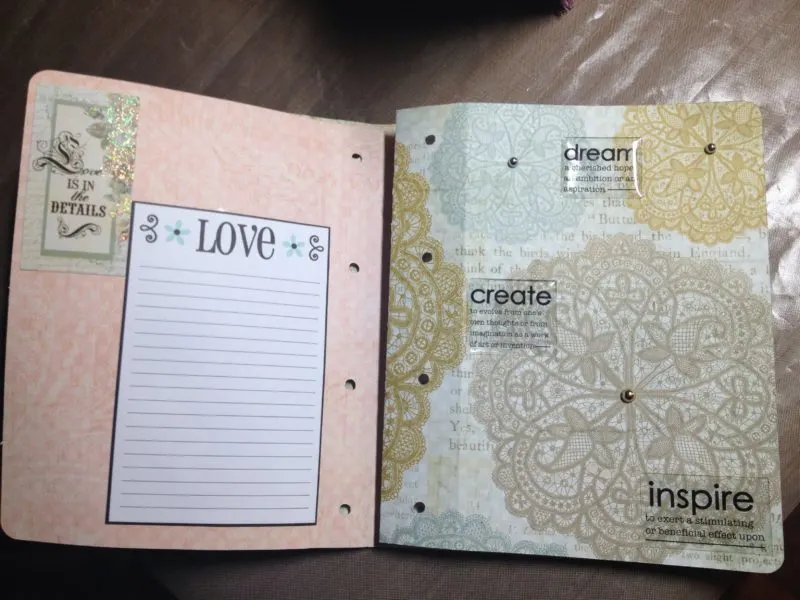
- Now begin work on the various interior pages by covering the other chipboard pieces with scrapbook paper, adding stickers, bookmarks, handmade jewerly – or whatever other surprises you wish to put inside the mini-book. Here are the photos showing each page I made to give you some ideas. I took the photos before I bound the book.


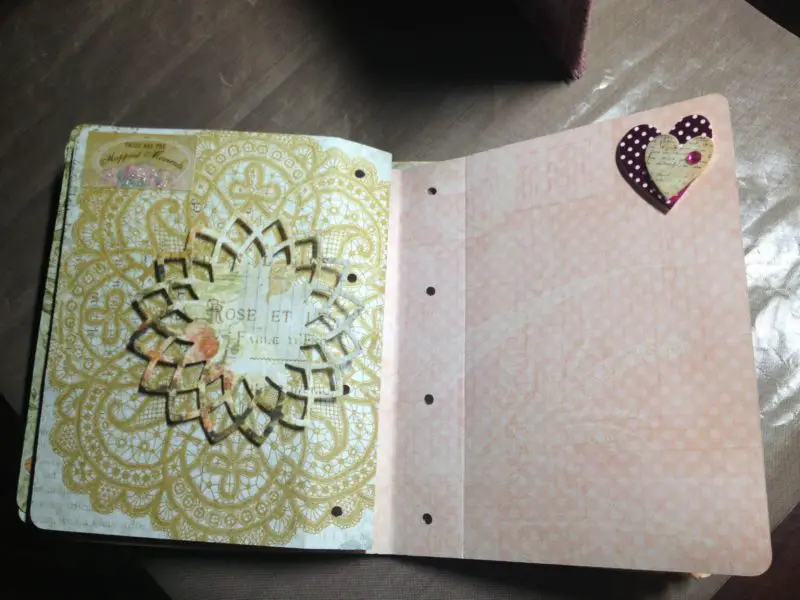

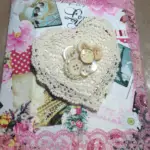
- Once the cover is dry you can decorate the front cover as you wish. I chose to add a pretty pin to mine that could be removed and worn if the person who received the mini-book chose to do that.
- Once you are happy with the way the cover and all the pages look, assemble the mini-book and give it as a gift or keep it as a special keepsake of your own. I used matching lace to make ties to assemble the mini-book.

Cricut Projects And Tips

Cricut Cutting Mat Tips
Don't throw your Cricut Cutting Mat away when it loses its stickiness! Learn how to care for it as well as get ideas on repurposing it.