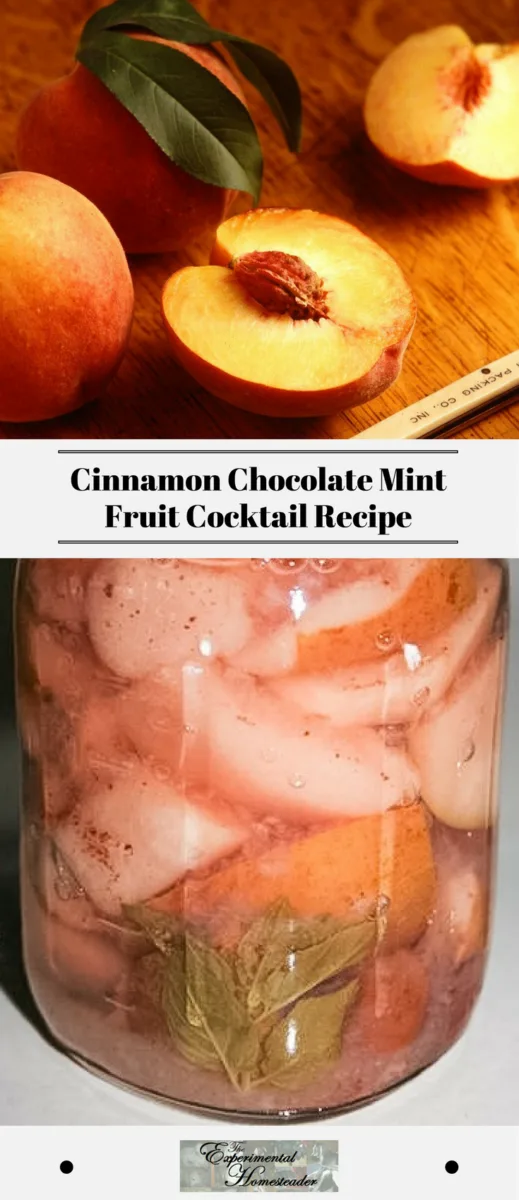
This Cinnamon Chocolate Mint Fruit Cocktail recipe is ideal to use up some of your extra summer fruit or to combine some of the fruit you have already preserved to come up with something a little different.


If you are like most cooks, you will find that after making your recipe there is extra produce left especially if you grow your own food or preserve it yourself.
While there is not always enough for another batch of whatever you are making there is often too much to eat fresh before it goes bad.
It is possible to use frozen fruit – or even dehydrated fruit – to make this recipe – and in the event you don’t have enough of all the ingredients needed, add a little more of a a different ingredient.
Instead of fresh cherries, make your own homemade maraschino cherries for this recipe.
Be sure to wash all the fruits and herbs throughly before you begin. Below are tips for sterilizing and packing canning jars plus my cinnamon chocolate mint fruit cocktail recipe.
There are also links to products I recommend from companies I have a referral relationship with. I will be compensated if you make a purchase after clicking on my links.
PrintCinnamon Chocolate Mint Fruit Cocktail Recipe

Ingredients
- 2 c water
- 1 c sugar
- 1/4 c sugar
- 1/4 c spun cinnamon honey
- 6 c peaches
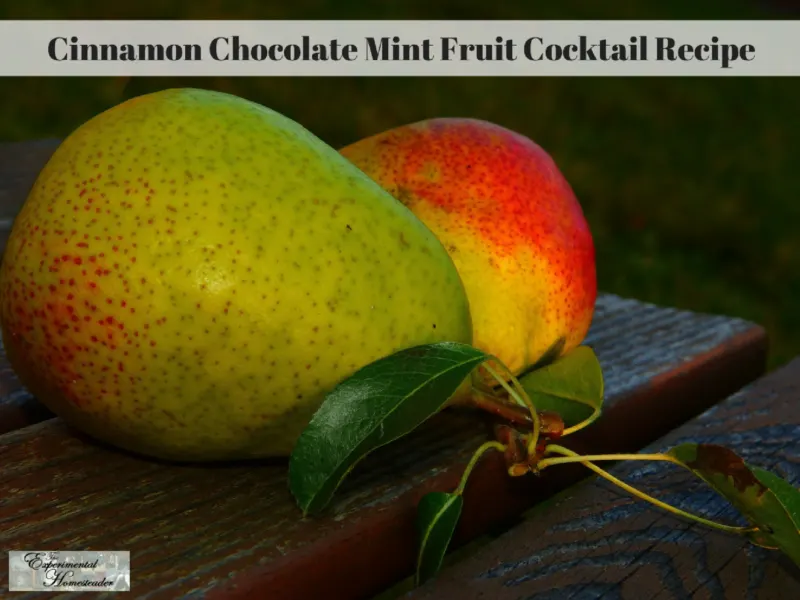
- 3 c pears
- 2 c seedless grapes
- 1 c drained maraschino cherries, halved
- 10 stems fresh chocolate mint
Instructions
- Before you begin, wash your canning jars, lids and rings. Be sure to dip them in boiling water to sterilize them.
- Fill your cold pack canner with water and begin heating it up. You will want the water in the cold pack canner to be about ready to boil before you begin making the sauce.
- Prepare a bowl of water and add in Fruit Fresh or another preservative meant to prevent browning of the fruit.
- In the meantime, peel the peaches and pears. Cut the larger fruit into bite size chunks. Make sure you remove all the seeds and pits from the fruit.
- As you cut up the fresh fruit, put it into the bowl filled with the fruit preservative.
- When the water in your canner is about ready to boil, put the 2 cups of water, the sugar and the honey in a stainless steel sauce pan.
- Bring this mixture to a boil over medium high heat. Be sure to keep it stirred so it does not burn.
- Once the mixture is boiling and the sugar and honey are melted, add the peaches, pears and grapes to the pan.
- Return the mixture to a boil, being sure to continue stirring.
- Once the mixture begins to boil, reduce the heat and simmer for five minutes.
- Add the cherries.
- Put two clean chocolate mint springs into each jar.
- Using a ladle, add the fruit to the jar, then top the jar off with the liquid.
- Leave 1/2 inch headspace. Be sure you use a knife to remove any trapped air bubbles from the jar.
- Wipe the jars rim with a damp paper towel making sure to remove any spilled syrup.
- Center the sterilized lid on the top of the canning jar.
- Screw the band down so it is finger tight. You do not want to over tighten the band, just make it tight enough to hold the lid in place.
- Place the jars in the canner filled with boiling water. The water should completely cover the top of the jar lids.
- Put the lid on the canner and cook for 20 minutes.
- Remove the canner lid, wait for 5 minutes, then lift the jars from the canner.
- Set them on a secure surface. I lay an old towel on top of my table and set the canning jars on it.
- Remember these jars are hot so use hot pads and jar lifters.
- Tighten the bands as tight as possible.
- Allow the jars to cool overnight. When the jars are completely cool, remove the bands and check the lids to make sure they are sealed.
- To check the lids, simply try to lift them up with your fingers. If they come off, set the food in the refrigerator and eat it within a week. If they do not come off, the cans are sealed. Replace the band and store in a cool, dark place.
- Be sure to label the jars with the name of the food in them and the date.

Sterilizing And Packing Canning Jars
For those who are new to canning – or simply need a refresher on what to do, I wanted to share this video I made on how to sterilize and pack canning jars.
I used green beans for the tutorial, but the method works for any product you are canning.
Be sure to double check how much head space to leave above whatever you are canning as it does vary.
Packing the jars as tightly as possible is super important as is making sure the air bubbles trapped between the food in the jar and the liquid are released.
Cleanliness is important as you do not want bacteria or non-food stuff to end up in your jars as it could cause spoilage.
[thrive_leads id=’437808′]
I highly recommend the following articles:
Use the buttons in the upper right hand corner to share this article with friends or family who might find it useful. Pin the picture below to your pinboard on Pinterest for future reference.