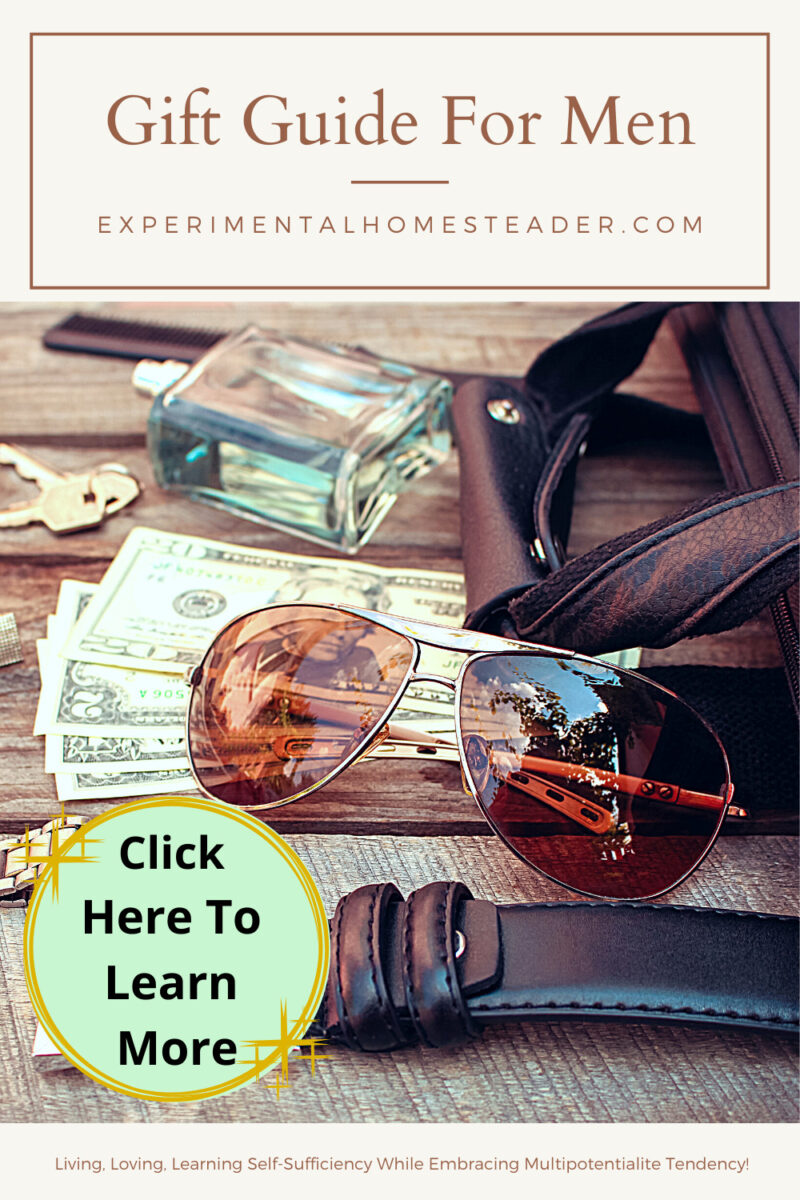
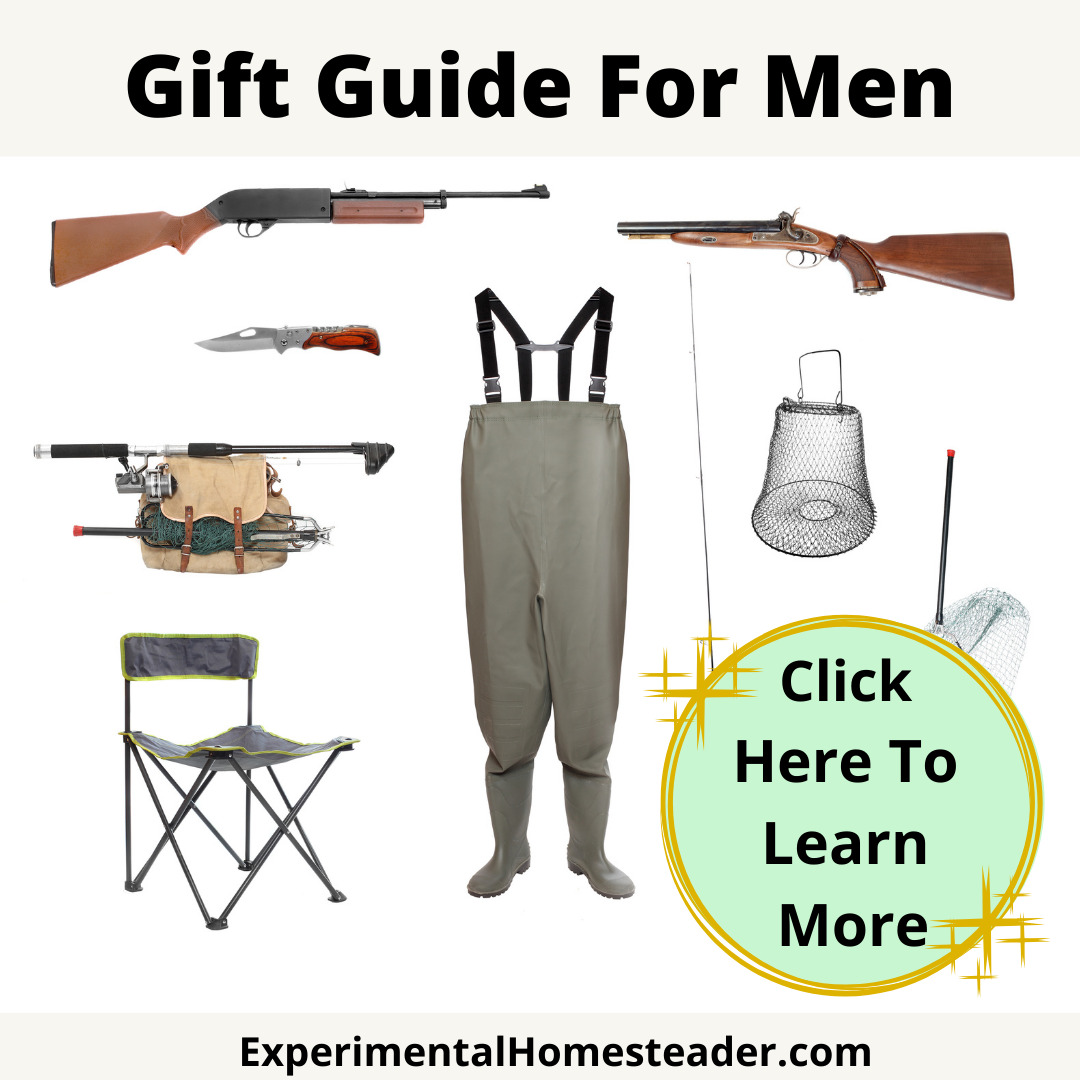
With fall and winter on our door steps you’re probably thinking you’re out of the woods when it comes to deer damage in your backyard landscapes. Wrong. Actually, fall and winter mark the beginning of the worst seasons for deer damage. Deer will eat just about anything in the winter — their food supply is very low and they can’t be choosy. They’re hungry enough to eat vegetation that they ordinarily would not choose to eat.
As with other wildlife, land development has reduced deer’s natural habitat. Combine that with a lack of natural predators and easy access to your landscapes and modern-day deer not only survive, they thrive!
The most important thing to understand about fighting deer is that it’s easier to prevent damage than to react to it. So it behooves you to know your enemy and stay at least one step ahead of them. Deer are creatures of habit — they establish feeding patterns and return to the same spot over and over again, even when that same spot stops offering enough food for them.
Even just a few deer can cause significant damage to your landscaping. A single whitetail deer can consume, on average, 8 -12 pounds of foliage a day and in many areas of the country, deer overpopulation is a serious problem. With nowhere to go and not much left to eat in the dead of winter, deer can wreak havoc on shrubs, trees and gardens, and destroy new buds and leaves before they have a chance to grow, ruining your prospects for any spring growth.
Here’s a quick list of the tell-tale signs of deer in your backyard:
1. Rub marks on trees where bucks have rubbed their antlers to mark their territory; the tree bark is actually rubbed off.
2. Any kind of torn vegetation is also another telltale sign, deer do not have incisor teeth, and therefore, they “rip” the vegetation when they bite into it.
3. If your damage is found off the ground, up to 6 feet, small animal damage can be ruled out.
4. Deer tracks are also easy to identify. The prints are about 2 to 3 inches long and are shaped like broken hearts.
So what do you do to keep the deer out of your backyard? There are loads of “home remedies” that have been tried with varying results … human hair, soap, pepper spray, even a battery operated radio, creating constant noise and fooling deer to think humans are in the yard! These remedies might work sporadically, but they are not reliable deterrents for deer.
Then there’s fencing. Properly built and maintained fencing can be an effective method for preventing deer damage. But, deer can jump up to and clear an 8-foot fence on level ground, and they can easily push and remove plastic netting. Installing a 6- to 8-foot fence can be an effective solution to some extent, but fencing is costly and can be quite unsightly.
Perhaps one of the most effective and easiest methods to deter deer are repellents. Deer repellents are designed to impart objectionable odors or tastes.
Bobbex Deer Repellent is a topical, natural, proven effective foliar spray used to deter and prevent deer, moose, and elk from browsing and causing other damage to ornamental plantings, shrubs, and forest trees. Bobbex is a blend of ingredients that are beneficial and totally innocuous to plant development. The active ingredients are a series of proteins making the product extremely safe for use on the most sensitive plantings.
Tested by the Connecticut Department of Forestry against 10 known competitors, Bobbex was found to be 93% effective, second only to a physical barrier. This product works by smell and taste aversion, can be applied in almost any climate or temperature and will not wash off after heavy rain. It dries clear and although there is a slight odor, it will dissipate within 24 hours of application (to humans but not to deer). And, it will not burn plant material.
Repellents should be used in fall months even though plants are no longer at their peak. If applications of repellents are interrupted, deer may lose their conditioning to avoid previously treated plants. Regular spraying trains deer to seek nourishment elsewhere.
Particularly at risk in the fall and winter months are shrubs that keep their leaves throughout the year. These shrubs include rhododendrons, arborvitae, holly, and yews. In winter, repellents should be sprayed at temps above 35 degrees F. This will prevent the mechanical action of water freezing on leaves and drawing out the moisture from the leaf.
This fall and winter protect your plants and shrubs and create your own boundaries for foraging deer. Now you’re in control, just spray Bobbex and watch those doggone deer disappear from your backyard landscapes.
For more information on Bobbex, retail store locations and repellents for other garden pests like rabbits, groundhogs and squirrels, visit www.bobbex.com
For your chance to win a set of Bobbex Deer, Bobbex Rose and Bobbex R, simply share this post on your Facebook, LinkedIn, Twitter or My Space page and post below where you shared the post. A winner will be chosen on May 1.
Filed under Garden Basics by on Apr 26th, 2012. 3 Comments.
Who would have thought getting dirt under your fingernails would ever be considered one of the hottest trends going? According to Doug Jimerson, Garden Core Director for Better Homes and Gardens, “growing your own fruits, veggies and herbs is something Americans are doing in record numbers this season”.
“It’s cheaper to grow your own produce than buy it – one $3 tomato plant will yield pounds of produce all season long, says Jimerson. Plus, the produce you grow just tastes better than even your grocer’s best. And while it’s healthy to eat and grow your own, gardening is rapidly gaining popularity as a great way to get some exercise, relieve stress and spend healthful family bonding time.”
Eating foods grown in your own backyard means you won’t be contributing to the carbon footprint left behind by the “food miles” it takes to bring imported produce to your local grocers – so you’re helping the environment, too.
Growing vegetables is easier than you think. Plan it properly, and you can enjoy a healthy, homegrown harvest from the fruits of your labor — without having to spend hours tending it.
Gardening 101
Sunshine is sustenance – Vegetables need at least six hours of full sun per day. The easiest thing to do is to place your garden in full sunlight. Make sure it’s easily accessible for watering….if the garden is too far from your house it could get neglected. Check the last frost date in your region and wait until threat of frost is past before you begin planting.
No yard necessary – Gardening doesn’t require a lot of room – although if you have the space and time to go large, go for it!. Many popular vegetables and herbs grow just fine in containers, making them a great option for those with limited space. For smaller yards, raised beds are an easy, low-maintenance option. If your garden is going right into the ground, just turn the earth with a shovel, toss out roots and rocks, mix in a soil amendment for healthy soil, and plant.
Water relief –Water regularly, but avoid doing so during the heat of the day when evaporation will diminish the effectiveness of irrigation. Water to wet the soil about 8 inches deep, but don’t over-water.
Feed your food– All edible plants draw nutrients from the ground, and can quickly exhaust the soil without the help of a fertilizer. Always follow label directions.
Now that you’ve got an idea of the basics, it’s time to pick your plants.
Start with transplants – seedlings are way easier to get growing than seeds, so you’ll save loads of time and enjoy improved success. Fortunately, national purveyors like Bonnie Plants make it easy to find hardy, high-quality, regionally appropriate plants at your local garden retailers. Bonnie offers time-tested vegetable and herb favorites, as well as new varieties, in eco-friendly, biodegradable pots that not only reduce plastic waste in landfills, they reduce transplant shock. Simply tear off the bottom of the pot and set the whole thing – plant in pot – directly into the ground. Be sure to pay close attention to plant tags, they’re packed with facts and details to help you successfully grow your plants.
Here are some favorites to consider for your garden:
* Tomatoes – The most popular, most-grown vegetable, tomatoes are always a best bet. Disease-resistant “Bonnie Original” is a hardy, flavorful addition to any backyard garden. For containers or small spots, try “Sweet n’ Neat,” a prolific plant that sets fruit in grape-like clusters.
* Basil – The perfect complement to tomatoes, basil works well in gardens and containers. New Greek Columnar Basil is particularly bountiful, as it grows high, leafs out densely and rarely flowers. The flavor blends traditional basil with spicy overtones of cinnamon, allspice and cloves.
* Bell peppers – Versatile, flavorful and nutritious, bell peppers are great raw snacks and make an awesome ingredient for a variety of cuisines. Harvest peppers when they’re green or red when the vitamin levels are higher.
* Eggplant – “Black Beauty” is the quintessential eggplant with a deep purple, glossy skin and meaty texture, and thrives in hot weather. White-skinned varieties like “Cloud Nine” offer a sweeter, bitter-free flesh.
* Mints – Easy-to-grow mints are available in traditional spearmint and peppermint and in more exotic flavors like Bonnie Plant’s new apple mint, orange mint and even chocolate mint, which has a flavor that echoes the classic Girl Scout cookie.
Hefty Harvest- The general rule: If it looks good enough to eat, it probably is. With many vegetables, the more you pick, the more the plant will produce.

For more gardening tips, ideas and advice, visit www.bonnieplants.com.
Filed under Herb Gardening, Vegetable Gardening by on Apr 10th, 2012. Comment.
It has been an interesting winter here in Indiana – much milder than normal. As usual, I had my winter lettuce bed that survived very nicely – and then there were the winter flowers – some of which bloomed on time, as expected – and some which bloomed much earlier than I had anticipated. Here is a pictorial view of what is growing and blooming in my Indiana garden – USDA hardiness zone 6 – this month.

The lettuce bed - inside the small tunnel house is a staple of fall garden, the winter garden and the spring garden. I allow it to set seed over the summer. The seed drops onto the ground and sprouts which means I never have to buy new lettuce seed.

The witch hazel "autumn embers" began showing signs of blooming on December 28, 2011. Here it is, the end of February 2012 and this small tree is still in full bloom.

Witch hazel "autumn embers" in full bloom in February. The yellow flower buds on the ground below the tree is winter aconite.

Hellebores are a reliable winter bloomer. This particular one began blooming in November 2011 and is still producing new flowers in February 2012.
What’s happening in your garden this February? Are there flowers blooming? Are you starting your vegetable garden earlier than usual? Do feel free to share your thoughts below in the comments section! I would love to hear from you!
Filed under Gardening News, Gardening News by on Feb 25th, 2012. Comment.

The Complete Garden Vegetable Kit from Dollar Seed has enough seeds in it to start a productive vegetable garden.
Now that the fish are settled into their new home, it is time to get a jump-start on seed starting for the aquaponic system. The plants I decided to grow in this system are pole beans, tomatoes and cucumbers. I have heard these plants are harder to grow in an aquaponic system, but since I grow lettuce and other cool weather crops outside all year long, I don’t see the point of growing them indoors.
I had just received the Complete Vegetable Garden Kit from the Dollar Seed. It was sent to me free of charge. The pole bean, tomato and cucumber seeds I selected were from those packets, so I know they are fresh seed. There was even enough seed left over to start another batch of plants with if I choose to do so.

The steadyGROW sample kit was just right size for starting seeds for the 20-gallon aquaponic set-up.
I started the seeds in the steadyGROW seed starter sample kit I received earlier in the year. I planted 8 pole bean seeds, 2 tomato seeds and 2 cucumber seeds. This is an ideal number of plants to start with since I am growing indoors. I feel like this is a good number of plants to start with for the 20-gallon system as well. I will monitor the pH, ammonia and nitrates to see if I need to add more plants or more fish to balance the system out.

Simply drop a seed in each hole and put the lid on. Sit the mini-greenhouse under a grow light and wait for germination to occur.
The material that makes up the steadyGROW seed starting medium is ideal for use in a hydroponic or aquaponic system because it won’t clog hoses and pumps up the way soil will. Once the seeds sprout, I will cut the seed starting blocks apart and plant them in pebbles where they will continue to grow, flower and fruit.
Filed under Aquaponics by on Dec 23rd, 2011. 1 Comment.
The idea behind aquaponics has intrigued me for quite sometime. I held off because I felt like getting large food-grade plastic tanks to contain the fish was beyond my ability, since I had no idea where to find them used. Then I read a post in a magazine that said you could use a 10-gallon fish tank. That got my wheels spinning. After all, when you are as avid of a gardener as I am, everyone wants to give you their used fish tanks. They all suggest you can turn them into terrariums, which is a great idea, but let’s face it, aquariums take up a lot of room.
Of course, I usually accept my friends discarded aquariums, just in case I find a good use for them. I knew I had several empty aquariums sitting around outside in the greenhouse and garage, but had no idea how big they were. As it turned out, I had one twenty-gallon tank and several ten gallon tanks that were not in use. I decided to clean up the twenty-gallon tank that used to hold carnivorous plants. This seemed like a good size to start with, not too small and not too large.
Once the aquarium was clean, I asked Jerry to clean off one of the metal book shelves so I could have a sturdy stand with two shelves on it. We put the aquarium on the bottom shelf. The plants are going on the top shelf so I can hang a grow light over the top of them. The grow light is essential to the operation since we are doing this in a corner of the living room – for now.
All I could think of as I was cleaning the tank and getting it set-up was catfish since this is our favorite type of fish. Unfortunately there were none to be had locally, so I had to move on to plan b since I was determined to start my little experiment immediately.I know, come spring, the traveling fish men will set-up at Tractor Supply. At that point, I intend to get some catfish, but in the meantime, a nice couple sold me a dozen tilapia. This made my Christmas wish come true – after all, the only thing I wanted this year was “two catfish and one aquaponics set-up.” LOL!
We went out and met the couple last night. I was thrilled with their set-up – but it did remind me of how much I missed my greenhouse, which has not been in use since it was damaged last fall by that horrible hail storm. I hope, come spring, we can repair it. I’m not sure I can stand another year without it!
We spent quite a while visiting and talking. We tasted some of the tomatoes they were growing, which were divine! We left with a dozen fingerling fish in a five-gallon bucket.
As soon as we arrive back at home last night, I released the fish into the 20-gallon fish aquarium. I think I could have added more fish to the tank, but sometimes less is better, especially when you are not real sure what you are doing to start with.
As soon as the fish were settled in their new home, I went online to read more about raising tilipia. It seems these fish like warm water. Luckily I had an aquarium heater here, so I set it up in the tank. Today I need to pick up an aquarium thermometer so I can monitor the water temperature. I know sometimes heaters go bad and I have accidently fried fish before. I sure don’t want that to happen this time around.
To complete the set-up, I need pebbles or clay rocks for the plants to grow in. Since there are no hydroponic stores close by, I suspect I will end up with pebbles, which is fine. If I am lucky, I will find a source for free or cheap pebbles, which is good, especially now that I am working on a shoe-string budget.
I also need a pond pump. There is one in our garage somewhere, but then again, there seems to be lots of things in that garage that can’t be found. I hope I can find the pump. If not, there is a local pet store that has a small one for sale at a reasonable price. I will just need to buy hose to go with it, which is not a big deal.
The next thing I will need is containers to grow the plants in. The containers must allow the water to flow freely. Last night I had an idea to grow the plants in the gallon food grade buckets my friend Shirley gave me a few years ago. They already have large holes in the bottom of them and I am pretty sure they are big enough to support a variety of edible plants including tomatoes. I’m just not sure if the holes are not too large. If they are, I have some plastic flower pots in the greenhouse that will work.
If growing plants using this method works well for me on a small scale, I intend to expand the operation this spring. I believe aquaponics is a great way to grow a lot of food in a little space. I am impressed with what I have seen happening online at other aquaponic operations.
With the economy as bad as it is and so many people needing fresh, non-GMO food, I see this as an opportunity to ramp up the amount of food I am able to grow. This, in turn, means more food for us and more food that I can donate to others in need and the local food pantries.
I am anxious to see how this will turn out and certainly look forward to being able to harvest our own fish to eat. It seems it takes 8 months from start to finish. At that time, I was told each fish will weigh close to a pound.
Filed under Aquaponics by on Dec 23rd, 2011. Comment.
![IMG_2305[1]](http://experimentalhomesteader.com/ex/files/IMG_23051-225x300.jpg)
Poinsettia Winter Rose Early Red and the frosty fern, Selaginella krausianna variegatus inside a terrarium make a colorful holiday decoration.
Poinsettia are a typical holiday plant. They come in all colors, shapes and sizes. My personal favorite is the rose poinsettia because the bright red flowers – which are really bracts – resemble a rose. Unfortunately the poinsettia is not fragrant, however placing a few scented pinecones throughout the room certainly makes up for that.
These days you can find poinsettias in all sizes from miniatures that will grow into full size plants over time to large plants that make a statement on their own. For a terrarium, choose the size that best fits inside the one you own. My terrariums are rather small so a miniature rose poinsettia was the perfect size for it.
A single plant typically isn’t enough to make a grand statement in a terrarium, so you will need to choose a second plant that compliments the first one. I chose the frosted fern, Selaginella krausianna variegatus because I loved the cream and pink “frosting” on the edge of the green leaves. To me, the variegation added a very festive look and complimented the rose poinsettia perfectly. Once the plants were in the terrarium it seemed something was missing. Holiday decor! That was it! Colorful balls in shades of silver or gold would have worked perfectly. However since I didn’t decorate the house for the holidays this year I did not have any Christmas ornaments to pick and choose from, so I chose the next best thing – a crystal ball from my curio cabinet. The clear color picked up the red and silver from the foil that I used to line the bottom of the terrarium with.Filed under Cloches And Terrariums, Houseplants, Variegated Plants by on Dec 20th, 2011. Comment.
Gardeners who start plants from seed know the best way to do it is to pre-germinate the seeds in some type of container such as a bowl, glass dish or test tube. Sometimes finding an elegant way to display those seed starting containers, especially if you have limited space, can be tricky.
Using test tubes placed inside a cloche is a great way to keep the water the seeds are soaking in warmer, germinate a lot of seeds in a limited space and turn a necessary process into an elegant endeavor.
Here is how the process works:
Begin with clean test tubes. Sometimes you can find these in the Halloween section of stores.
Place clean, dry seeds in the bottom of the test tubes.
Fill the tubes 3/4 of the way up with hot water.
Place the cork on the top of the test tube.
Place a label towards the top of the test tube so you don’t forget what type of seeds are in the tubes.
Carefully place the test tubes, one at a time, in a ceramic flower pot.
Cover the flower pot with a cloche to help retain the heat.
Change the water once or twice a day until the seeds begin to germinate.
As soon as you see roots begin to emerge, plant the seeds making sure that you don’t break the fragile young roots.
That’s all there is to germinating seeds inside of a test tube.
Filed under Seed Starting by on Dec 18th, 2011. 2 Comments.
{EAV:fdf8a60fa6253482}
Learn how easy it is to start seeds and what to do with them once they germinate.
Filed under Seed Starting by on Nov 28th, 2011. Comment.
Join Bruce Ruch as he discusses the Marion Community Gardens Project with Sheri Ann Richerson.
Filed under Community Gardens by on Nov 26th, 2011. Comment.
Helleborus niger in bloom on November 25, 2011 in my Indiana garden.
Filed under Flower Gardening, Perennial Plants, Year-Round Gardening by on Nov 26th, 2011. Comment.


![IMG_2731[1]](http://experimentalhomesteader.com/ex/files/IMG_27311-300x225.jpg)
![IMG_2723[1]](http://experimentalhomesteader.com/ex/files/IMG_27231-225x300.jpg)

![IMG_2317[1]](http://experimentalhomesteader.com/ex/files/IMG_23171-225x300.jpg)
![IMG_2307[1]](http://experimentalhomesteader.com/ex/files/IMG_23071-300x225.jpg)
![IMG_2306[1]](http://experimentalhomesteader.com/ex/files/IMG_230611-225x300.jpg)


Reader’s Thoughts