I don’t know about you, but for me figuring out which way the plastic cover goes back on the Cricut mats is a real issue, so I wanted to share my cricut cutting mat tips I’ve learned with you.
Both sides look identical to me – and Cricut does not put any special markings on them.

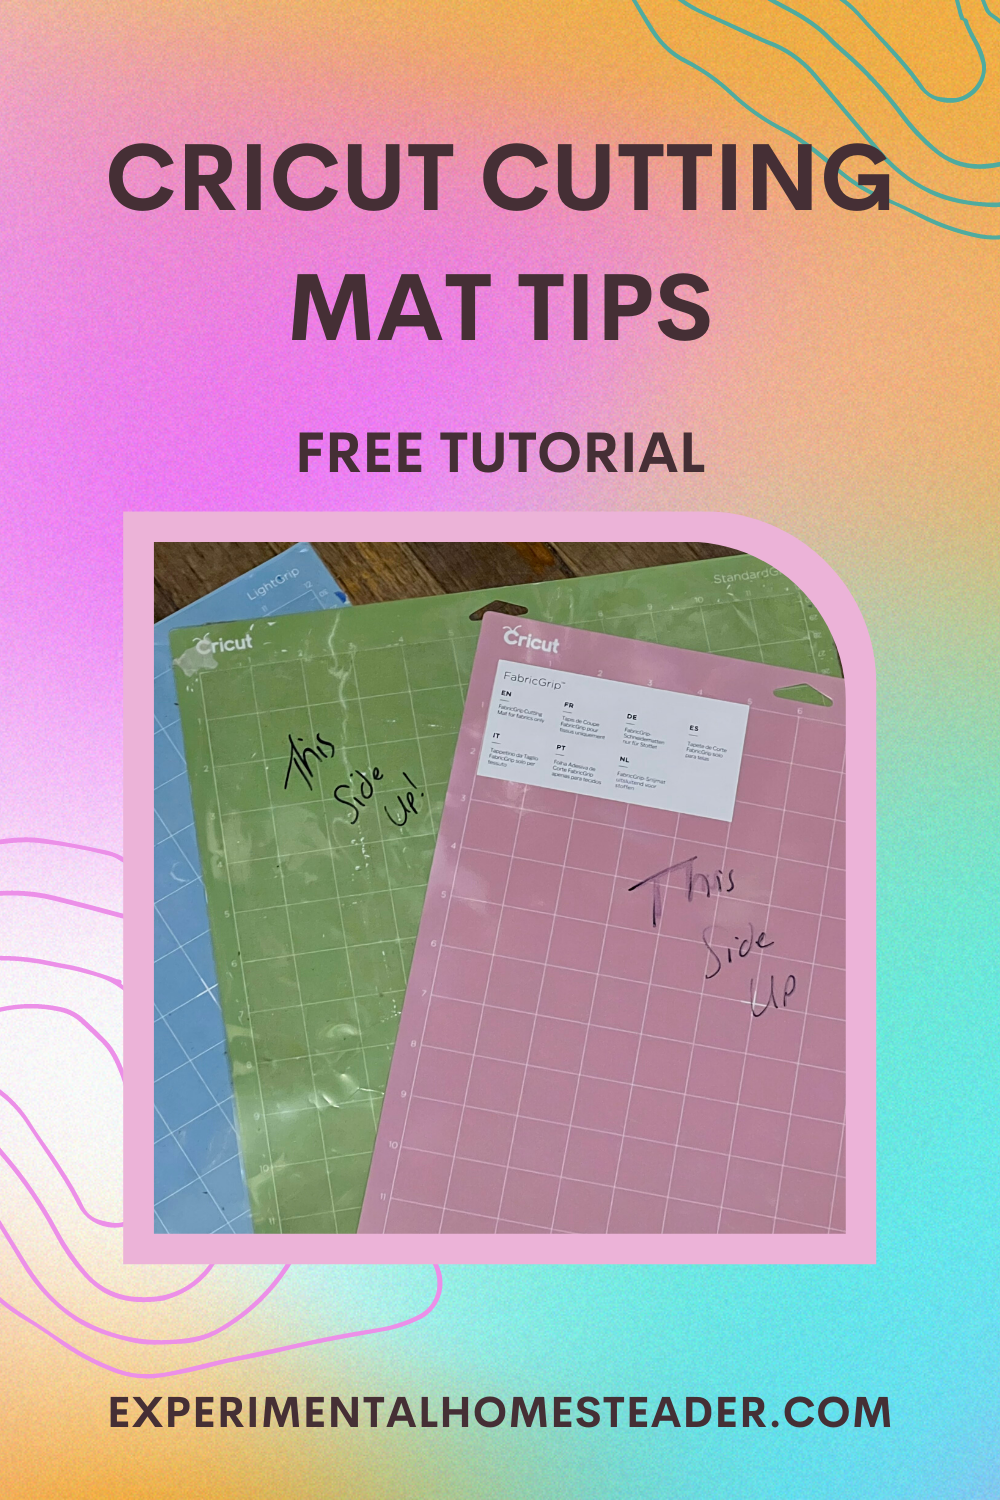
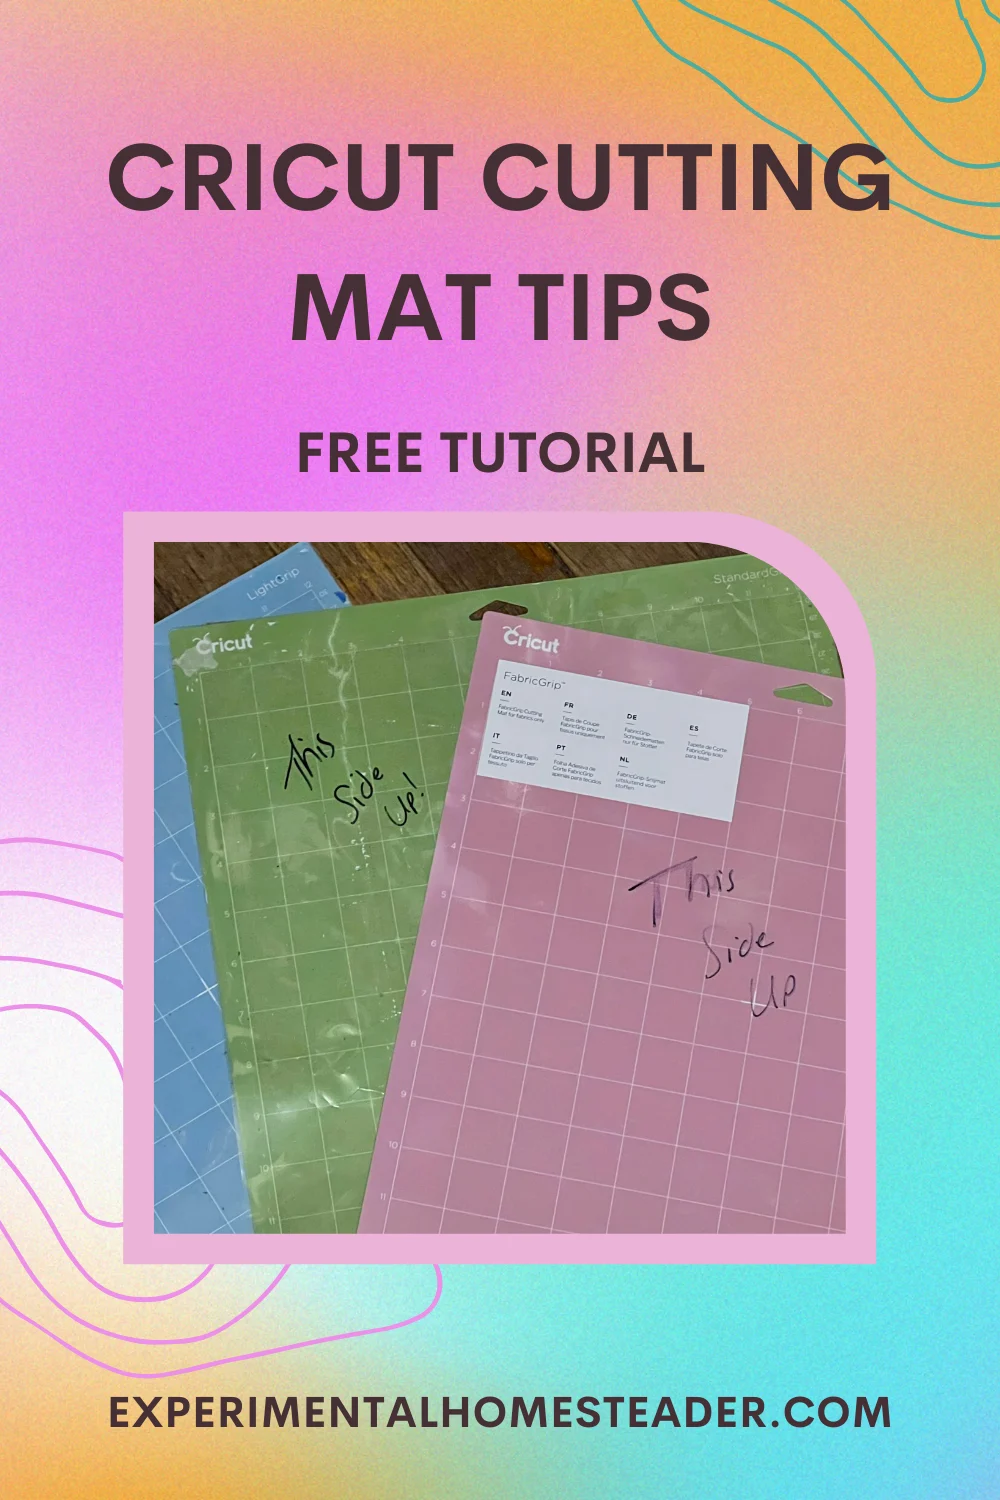
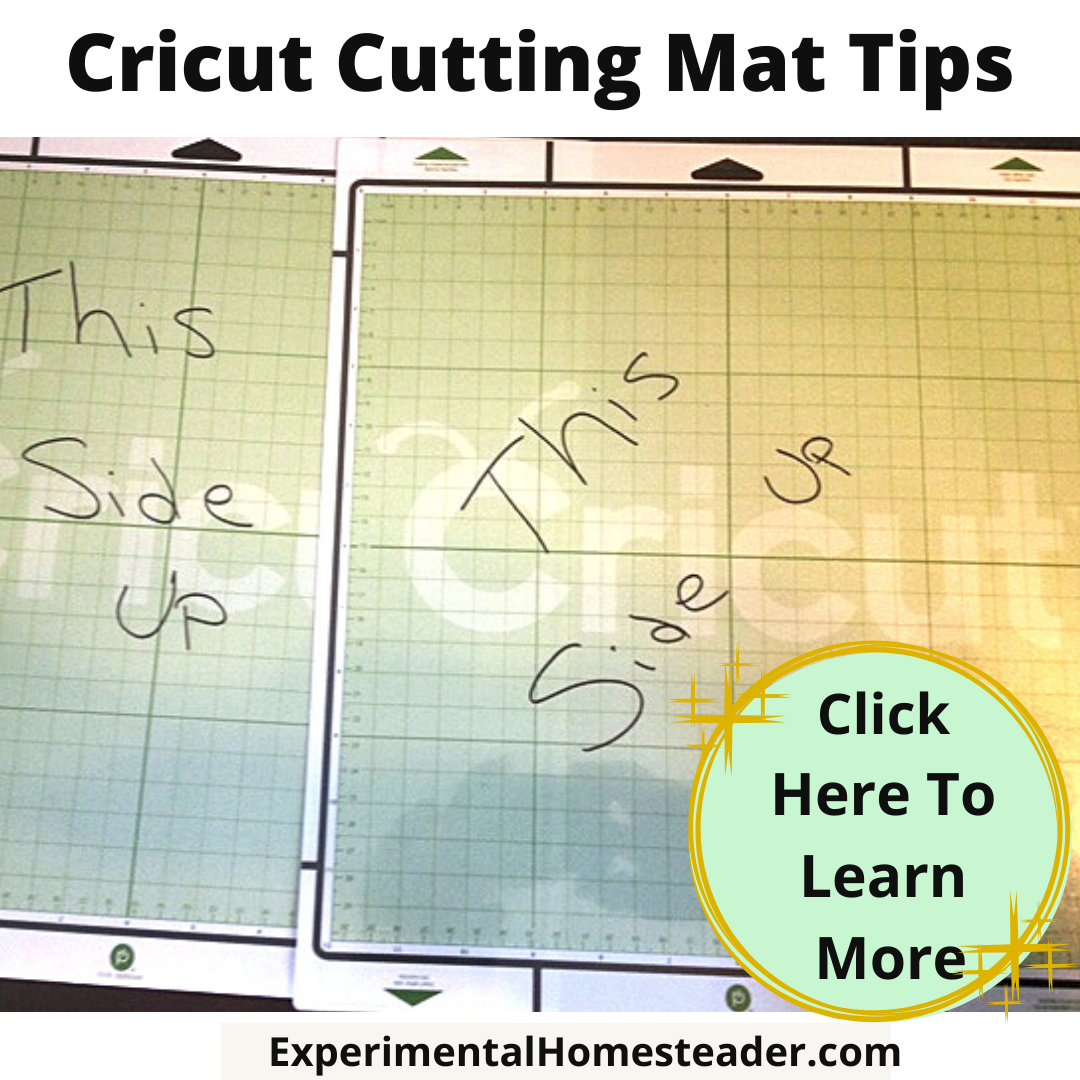
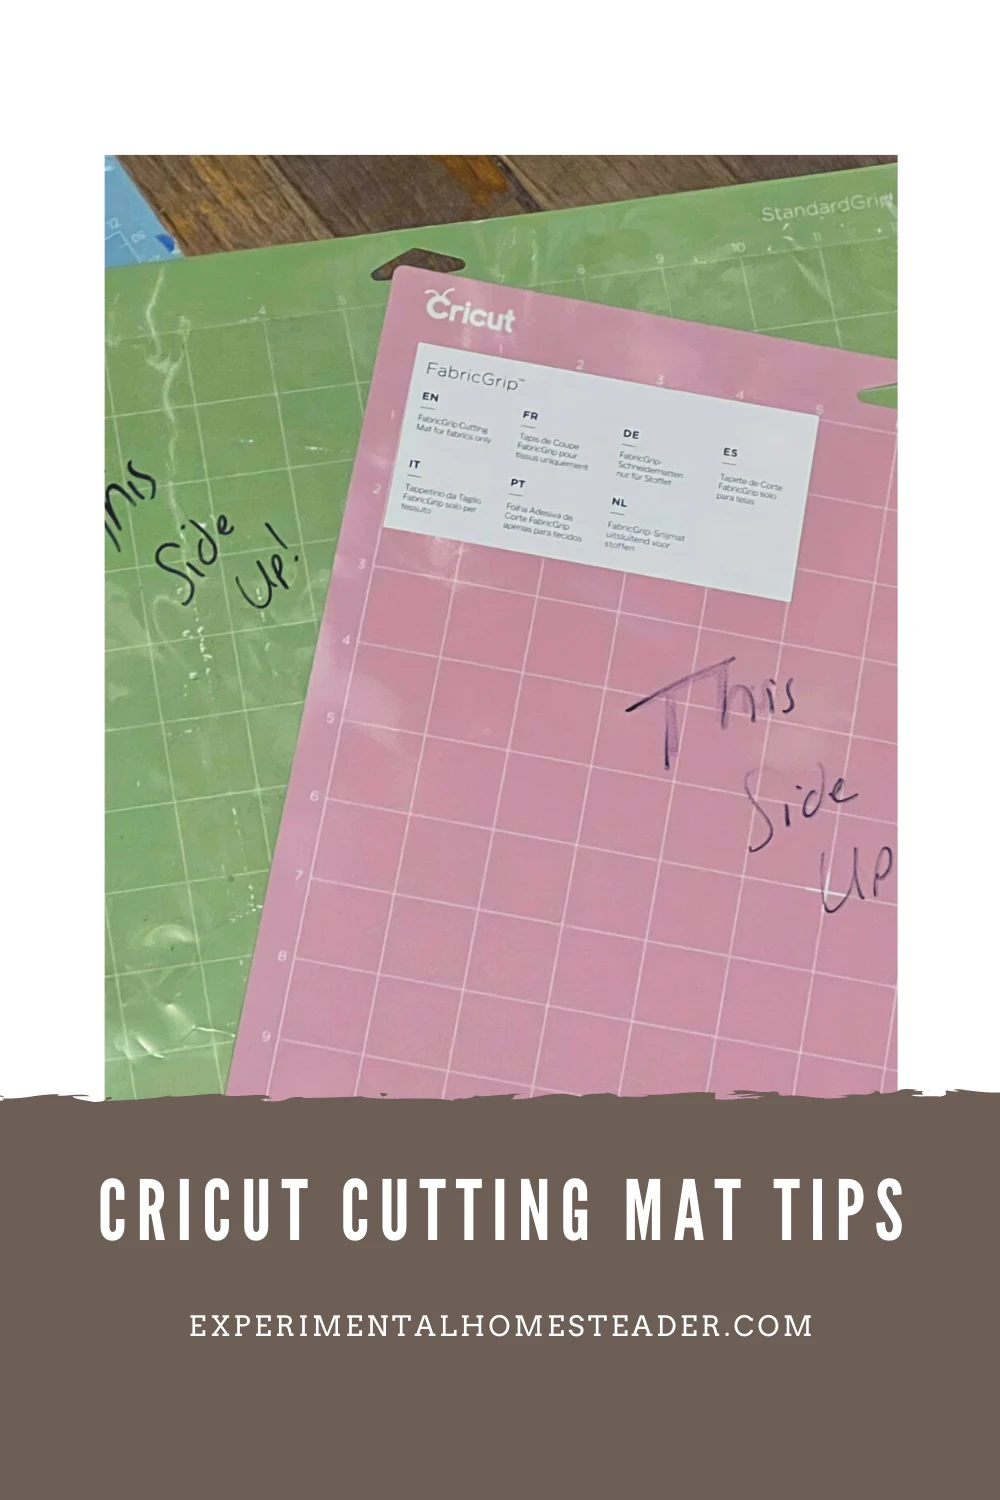
So now I mark the top of the plastic covers on the mats with the words “this side up” before I remove the plastic.
Below are some ideas I wanted to share with you to help you get the most out of your mats.

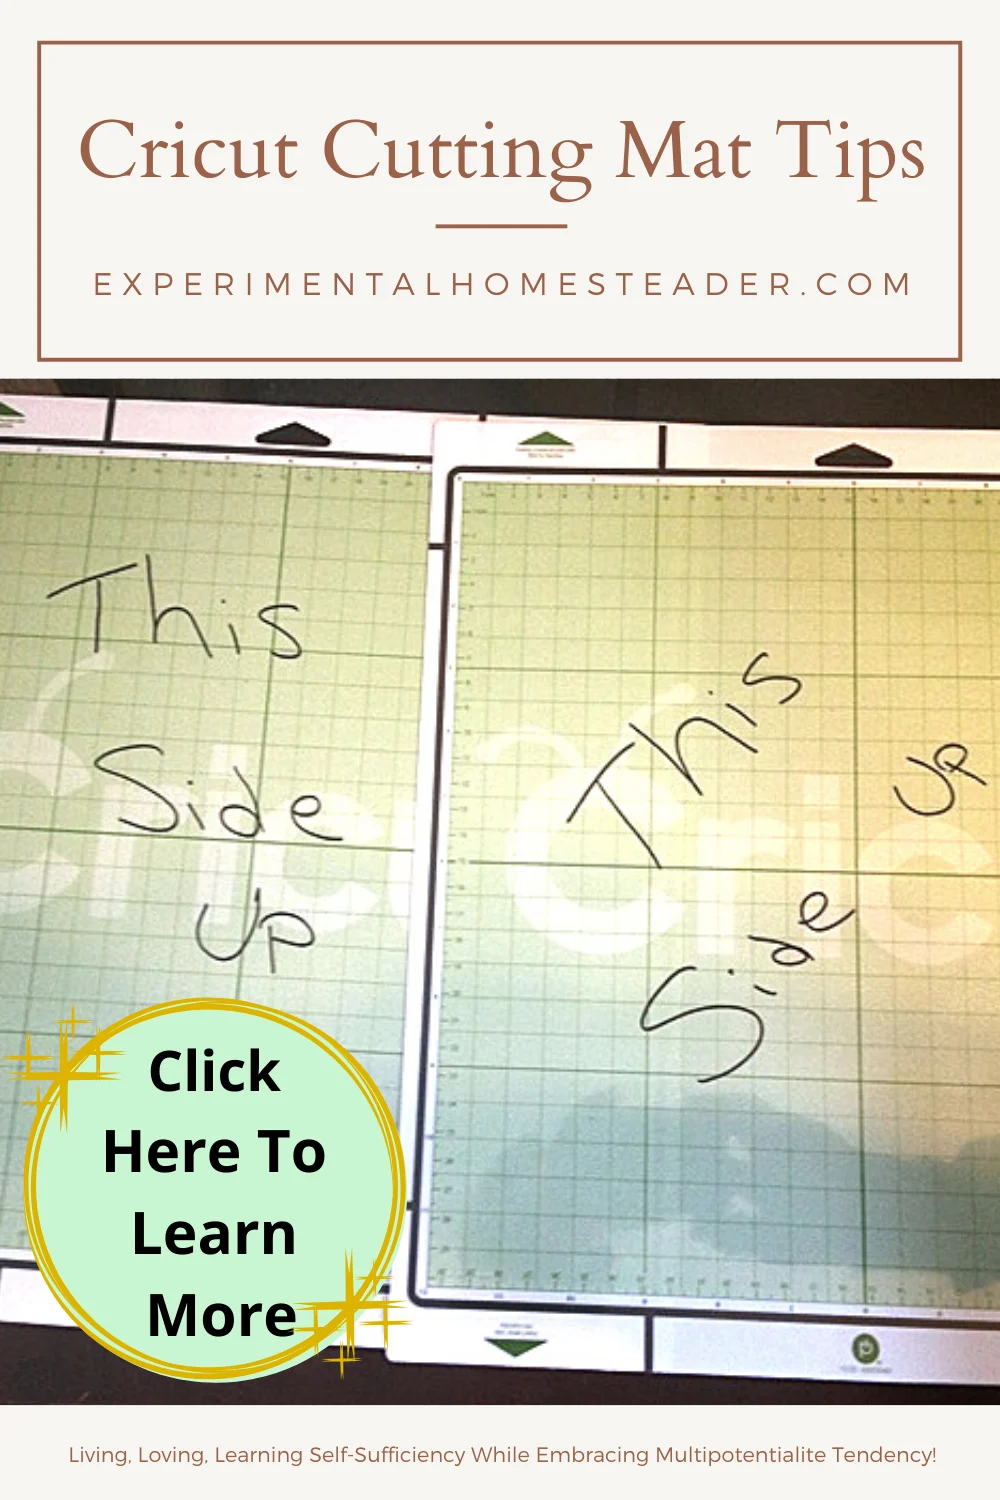
Cricut Cutting Mat Tip #1 – Write On The Plastic Mat Cover
I use a black Sharpie to write on the plastic cover – just be sure to let the ink dry before trying to remove the plastic from the mat so the words do not smear.
When you write the words on the plastic, it doesn’t matter how you position them – the most important thing – once you remove the plastic covering – is to make sure the words face the right way before you put the plastic back over the mat.
You may wonder why this is important – after all, the mats are covered regardless of which way the plastic goes on.
The reason it matters is because if you put the wrong side of the plastic against the mat, the next time it is removed, there is a very good chance the majority of the sticky material on the mat will also be removed.
This means the mat will not hold the material in place the way it should.
Cricut Cutting Mat Tip #2 – Remove Lint And Paper
There are a few other things you can do to extend the life of your Cricut mats.
For example, remove all the lint, dust and bits of paper from the mat after every cut.
I have used a slightly damp rag to wash my Cricut mat when the bits of lint and dust were too fine to remove by hand.
It is also a good idea to put just enough paper on the mat to make your cut.
You do not need to place a full sheet of paper on the mat every time unless you are making a full sheet of cuts. By doing this you will extend the life of the sticky stuff on the mat.
Cricut Cutting Mat Tip #3 – Wash Your Mats
I wash my mats with Dawn Platinum Foam when they get really nasty.
Often I do have to scrub them and for some reason the foam works the best for this.
I have tried regular Dawn Dishwashing Liquid as well as other brands and it did not work as well as the Foam.
I then allow them to air dry before putting the plastic cover back on them.
Often this is exactly what the Cricut Mats need to become sticky again.

Cricut Cutting Mat Tip #4 – Use Masking Tape Or Scotch Tape
If you’re in a rush and don’t have time to wash your mat or just one side is not sticking like it should, use tape.
I have found that both masking tape and regular Scotch Tape works well on the Cricut Cutting Mats.
It doesn’t take a lot either.
Simply use small pieces on the corners or sides as necessary to keep whatever you are cutting from lifting up from the mat.
This trick also works well on those tiny pieces of paper you want to cut that tend to slide around.
Just be sure not to get tape over the area you are cutting as it could damage the paper itself.

Cricut Cutting Mat Tip #5 – Use Spray Adhesive As Necessary
One thing I have done in the past when I was unable to find a new mat was to spray the mat with craft spray adhesive outside, then bring it back indoors and allow it to set for several minutes before using it.
I only do this on old mats when I’m in a pinch.
Around here, the Cricut mats often sell out as soon as they are put on the shelves.
Cricut Cutting Mat Tip #6 – Repurpose Them
Another way to get more from your mat, is to continue to use them for other projects even after they are past their prime.
I use them as protective covers on my work areas. I also use them as a cutting mat for making small cuts by hand with an exacto – just be aware there may still be some sticky stuff on the mats that will cause your paper to stick.
Getting the most use out of my Cricut cutting mats is important to me – and I am sure it is to you too.
I hope these tips are helpful and if you have any Cricut cutting mat tips of your own, I’d love to hear about them!
Please share your tips in the comment section below.
Cricut Projects And Tips